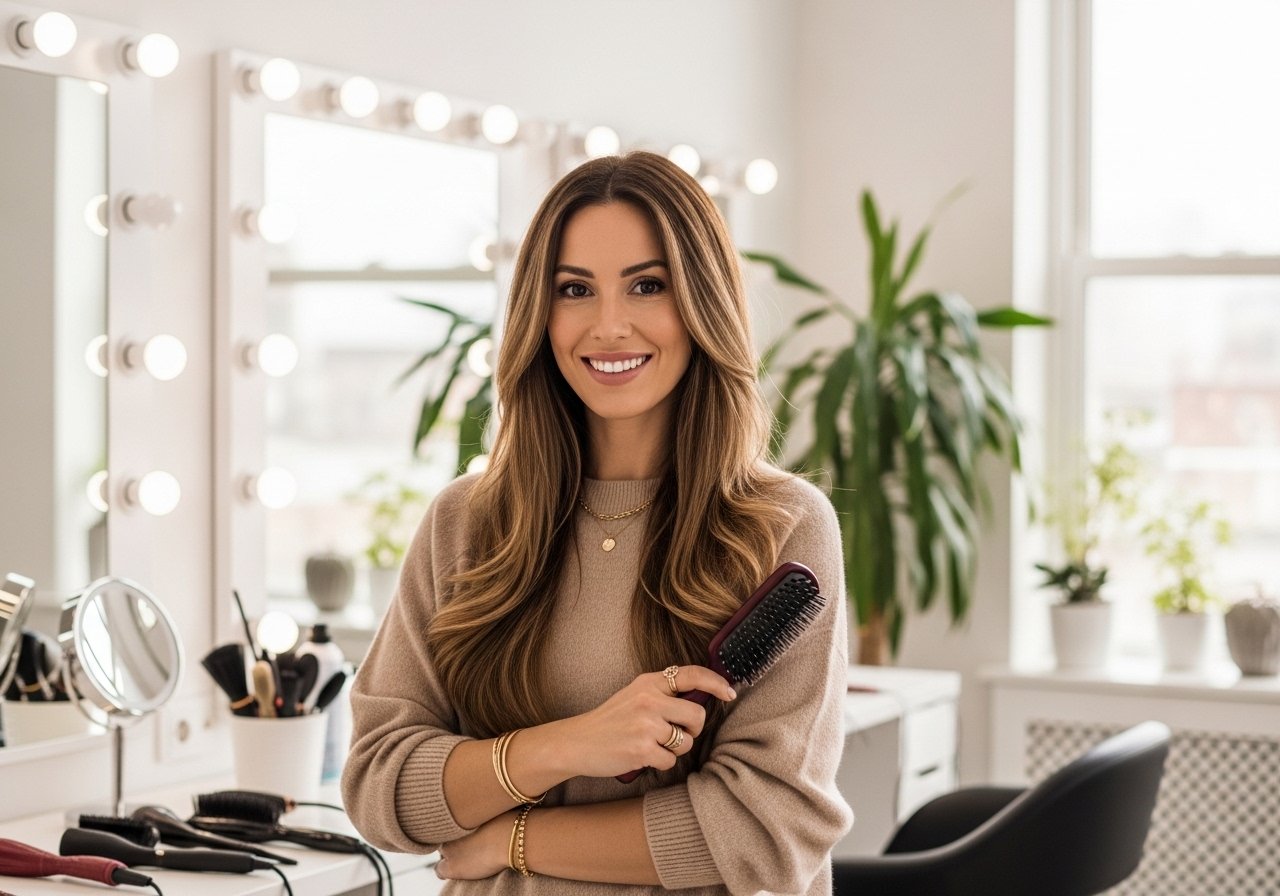
If your curls look defined when you walk out the door and then fall flat by lunch, this is the set of looks I kept going back to. My curls looked great on TikTok and like wet noodles by 11am. I tried the gel-only route, the over-layered cut, and a kitchen bleaching experiment that cost me a salon fix later. These 11 shaggy curly long hair ideas are what actually worked on my hair and on friends with different curl patterns.
These looks are written for long hair with natural curl from loose 2C waves up to tighter 3C coils, with notes where Type 4 textures can adapt them. Most take under 30 minutes to style, a few need a 60 minute prep or a salon visit. Budget ranges from under $20 for textured spray to a $30 bond-builder treatment, with one styling tool splurge mentioned. Several are DIY friendly, a couple are better handed to a good colorist.
Shag Cut With Long Layers That Keep Bounce
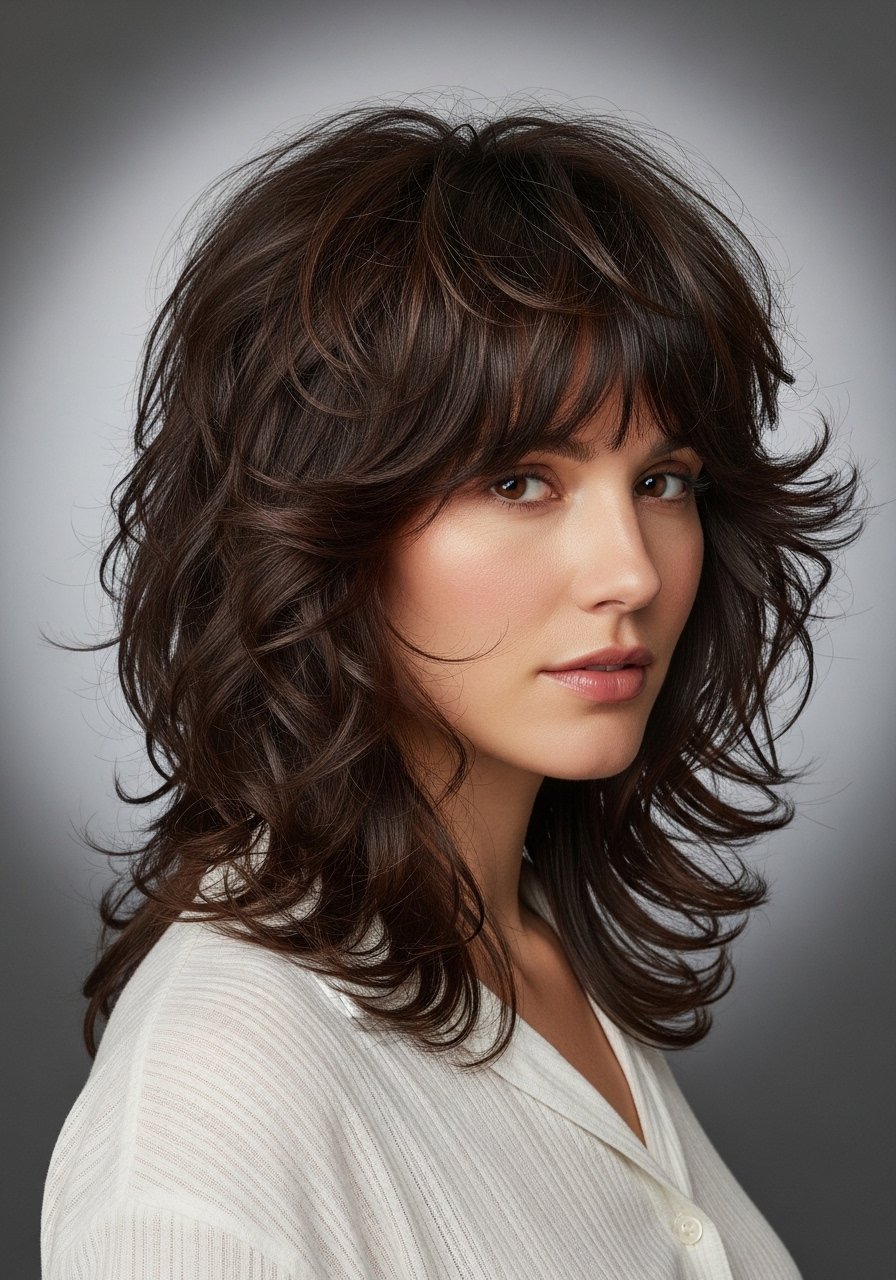
The whole point of a shag for curly long hair is weight redistribution, not chopping off inches. Ask your stylist for long interior layers, a 45 degree point-cut on the ends, and fewer than six face-framing slices so the front does not collapse. On medium density Type 3A to 3B hair this keeps the shape while preserving length. If your hair is denser or 3C, tell the stylist to thin via slide cutting rather than blunt razoring to avoid frizz. At home, finish with two pumps of a lightweight leave-in, raked through in four vertical sections, then scrunch with a small nickel-sized dollop of gel. Mistakes people make include over-drying the roots with a round brush, which kills the natural bounce. This is a salon cut, but a good stylist will show you how to clip the top layers for multiple home looks.
Curtain Bangs On Curly Long Hair Without the Forehead Gap
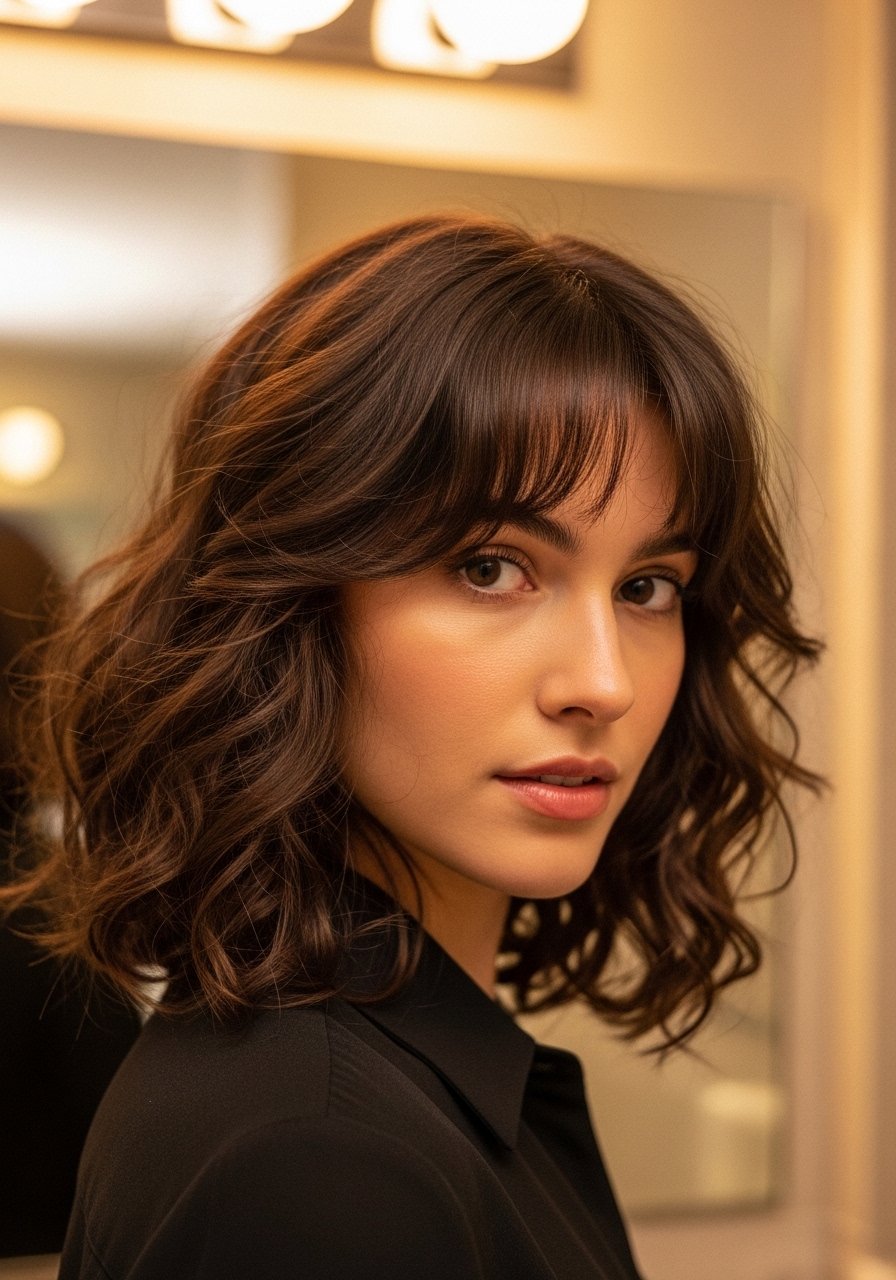
Curtain bangs can soften a shag without turning into a wet noodle. Key detail, ask for long, layered bangs that are cut on dry curl pattern and left 30 to 40 percent longer than you want at the salon because curls bounce up. For 3B curls, I recommend blow-out on low heat to set the shape, or air dry with a lightweight curl cream applied in five vertical sections. A common mistake is cutting bangs wet and flat, then being surprised when they sit short. Bang trims are something I do at home every 6 to 8 weeks once the shape is set, using small snips and a wide-tooth comb for control. If you have a sensitive scalp, avoid high-acid styling products on the roots and patch test any color for frontal highlights.
Heatless Robe Tie Waves To Add Shape Overnight
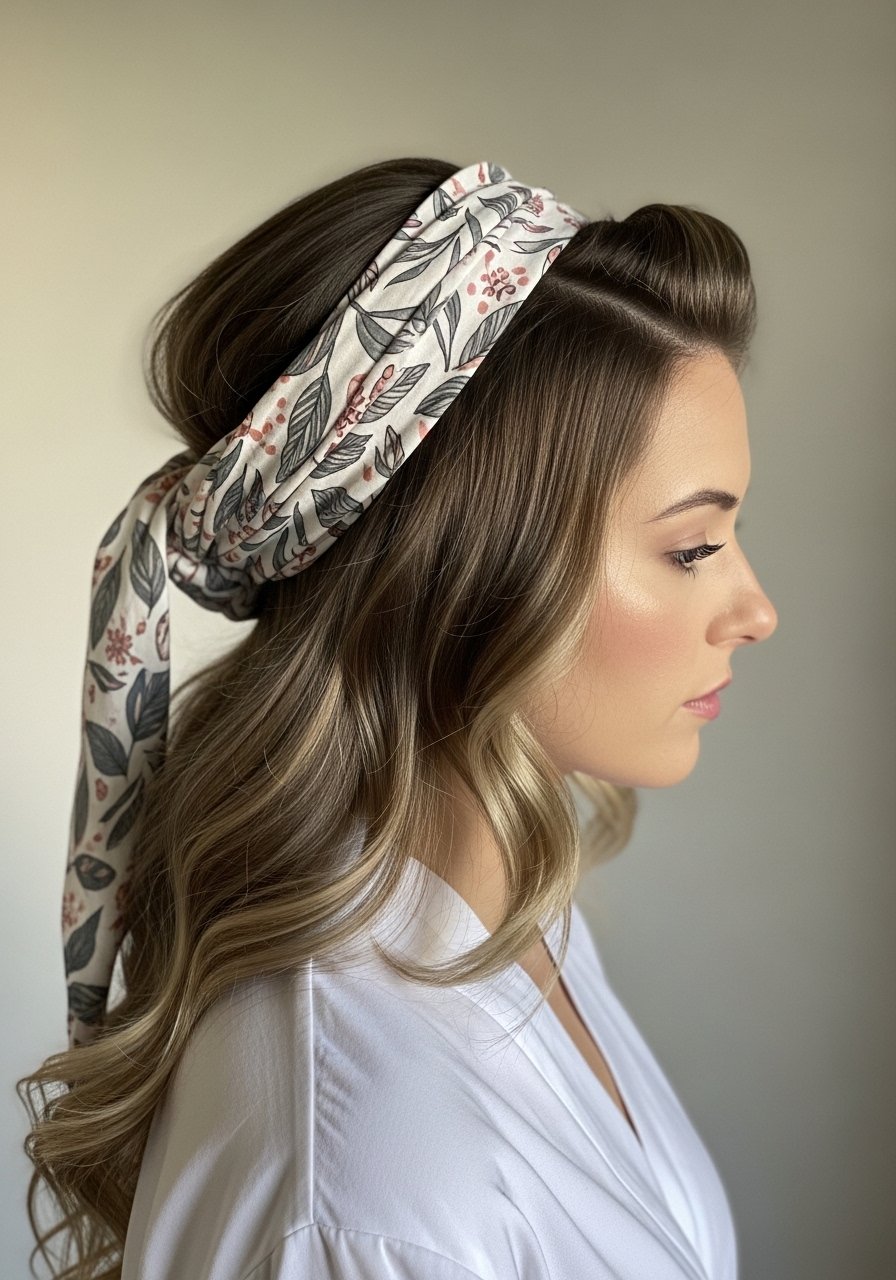
If you do not want to touch a curling iron, wrap-sections around a robe sash do the heavy lifting. Section hair into eight pieces for mid-back length, wrap each piece around the sash twice, tie, sleep, and release in the morning. For looser 2C to 3A patterns it cuts frizz and gives face-framing movement. Apply a thin layer of leave-in, then two sprays of a flexible-hold texture mist before wrapping. Mistake to avoid, overloading each section so the sash gets lumpy and your roots stay flat. This is fully DIY, takes under 10 minutes to wrap, and is great when you need volume without heat. If you try this on fine high-porosity hair, use one less wrap per section to avoid stretched-out waves.
The Bond Builder Routine That Actually Stops Breakage
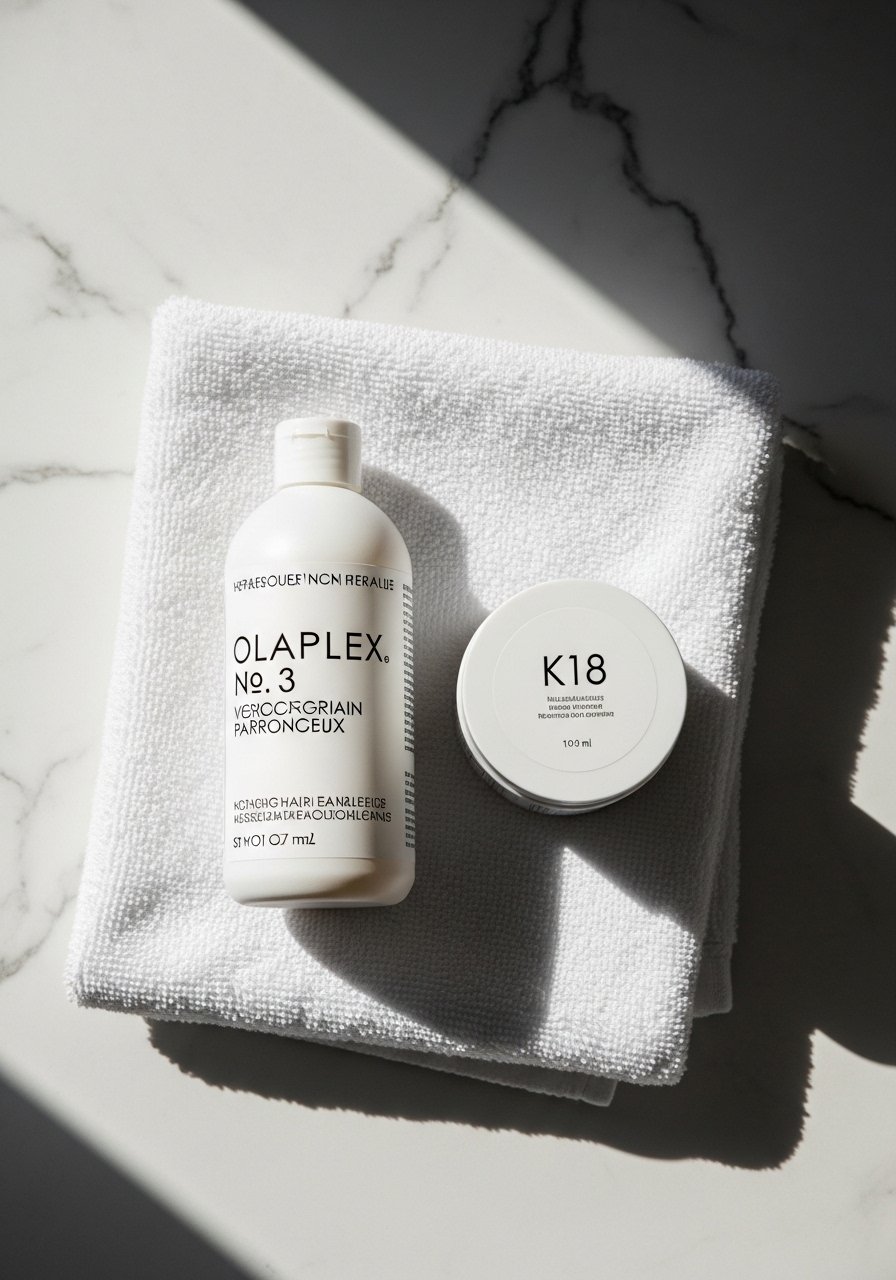
When my ends looked like split fiberglass after too many at-home lightening attempts, weekly bond building saved what was left. Use a bond builder once a week on damp towel-dried hair, leave on for the recommended time, then rinse before conditioning. I use Olaplex No. 3 hair perfector or K18 leave-in molecular repair mask depending on porosity. Small but critical detail, apply 2 to 3 pea-sized pumps per quadrant for mid-back hair, not a giant glob. Buy from the official store on Amazon or Sephora to avoid counterfeits. These do not undo past breakage, they strengthen strands to prevent more. If your hair was recently bleached, do not bleach over bleach at home, book the salon.
Pineapple Sleep Method For Second-Day Definition

There is a difference between a messy sleep bun and a proper pineapple. Gather dry curls loosely at the crown with a silk scrunchie, leave the front two sections loose if you have curtain bangs, and sleep on a silk pillowcase. The silk reduces friction, and the high pony preserves curl clumping so day two looks are actually wearable. For tighter 3B to 3C curls, pillowcase plus a satin bonnet keeps volume controlled. A mistake I see, using a rubber band that pulls the curls, which causes breakage. This is cheap and takes 30 seconds. If you want more shape, refresh with a quarter-sized mix of leave-in and water sprayed into the palm and scrunched into the ends.
Money Piece Face-Framing Highlights You Can Maintain
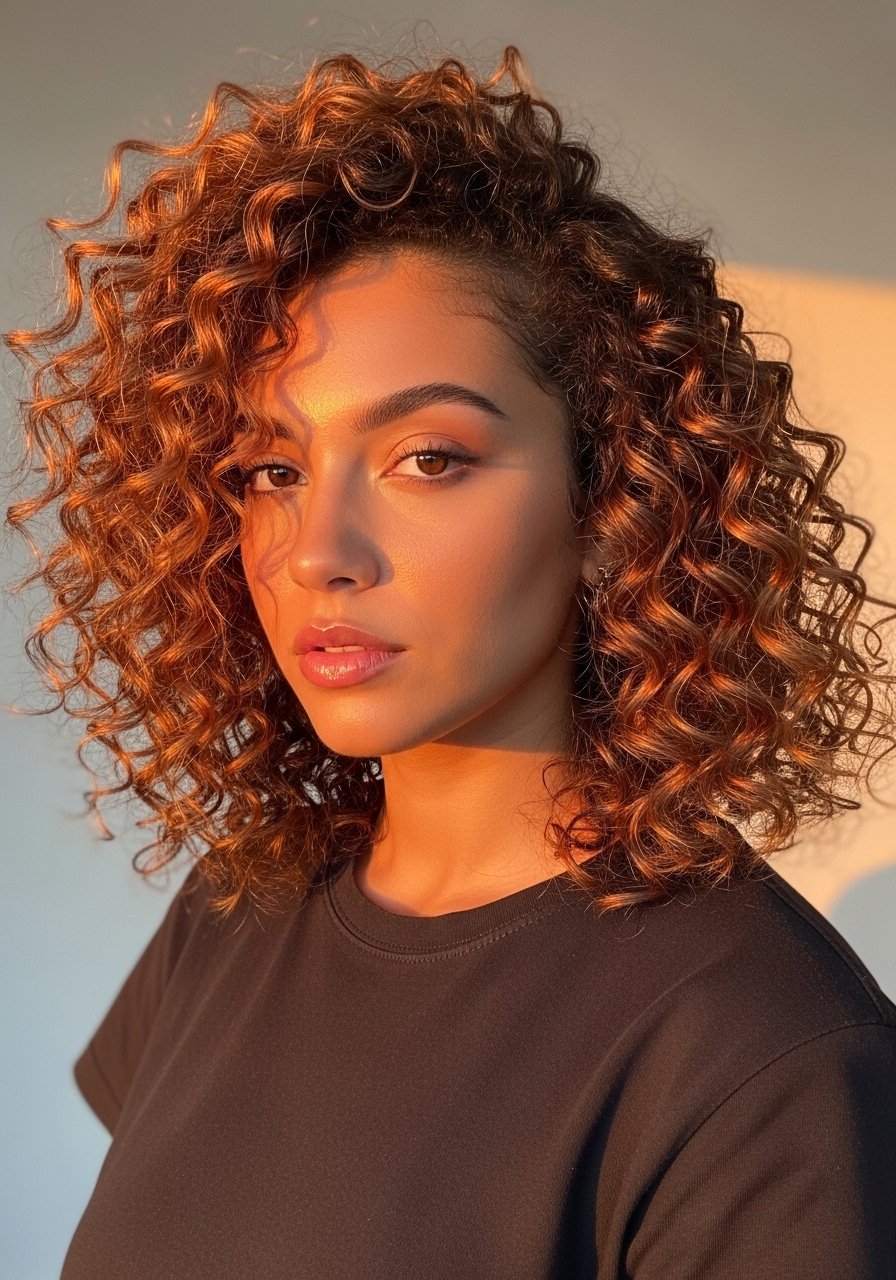
A lighter slice around the face can lift a shag without a full color job. Ask your colorist for a money piece that blends into the rest with a soft hand-painted technique, or do a root-to-tip micro-lightener touchup if you are skilled. For maintenance, use a color-safe sulfate-free 8oz shampoo and a toning treatment every 6 to 8 washes if the brass shows. One practical note, highlight placement should follow where your hair parts naturally so the shape reads correctly when you wear it half up. DIY touchups are possible but risky, bleaching over previously dark dye can break hair. If you attempt at home, do a strand test, and have a neutralizer on hand.
Diffuse On Low Heat For Texture Not Frizz
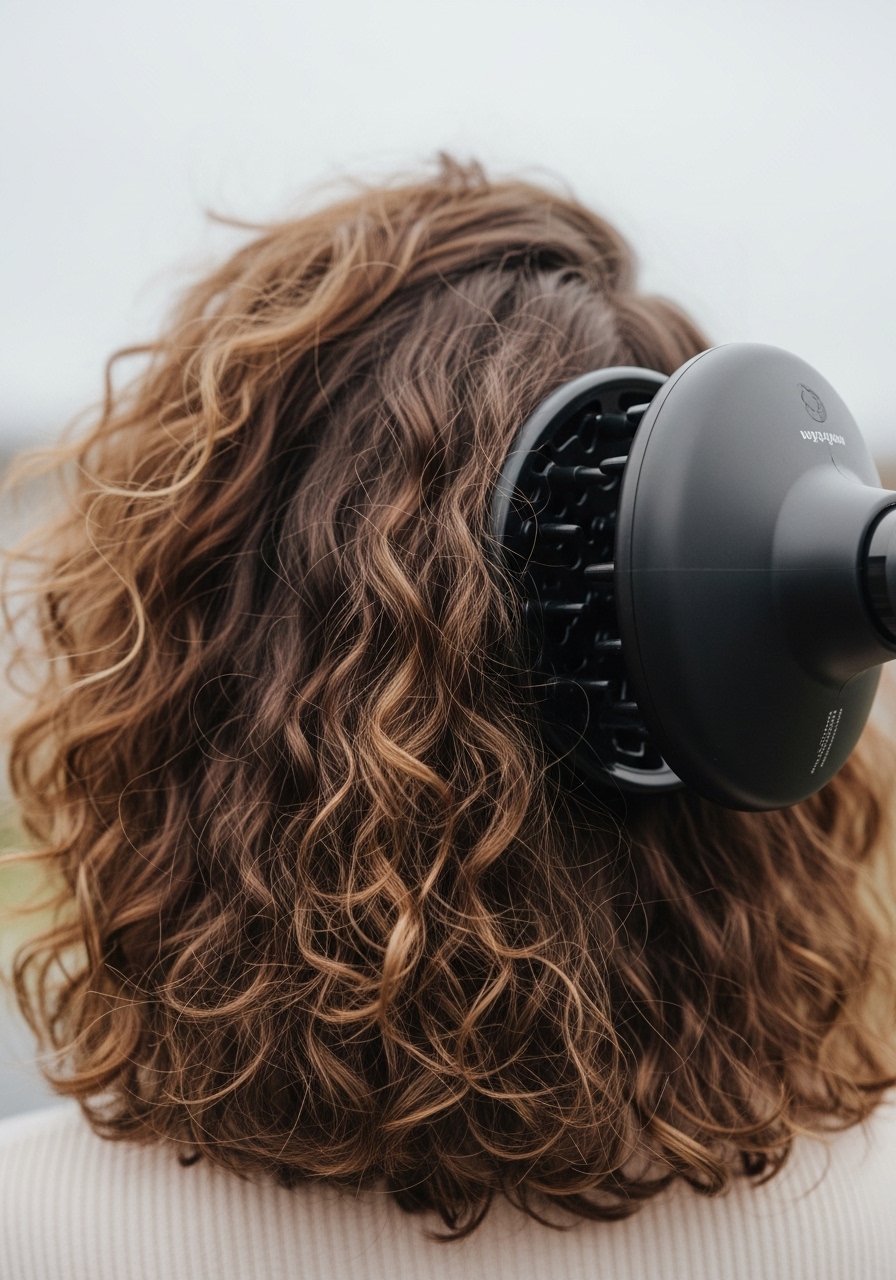
The difference between fluffy shriek and controlled volume is heat and motion. Diffuse on low heat and low airflow for 20 to 25 minutes for mid-back 3B to 3C hair, cupping curls into the diffuser in 12 to 16 sections so the root dries without upsetting the clumps. Add a heat protectant beforehand because heat above 300F needs protection. Most heat protectants you spray on dry hair before flat ironing barely work. They need to absorb into damp or just-dried hair to actually shield the cuticle. A small mist of a slip serum on the ends before diffusing helps prevent frizz. Mistake to avoid, over-manipulating the hair while it dries. This is a home styling win and saves a salon blowout appointment.
What I Actually Keep For Shaggy Curly Long Hair
Olaplex No. 3 hair perfector 3.3oz, buy from official store on Amazon or Sephora to avoid counterfeits
A microfiber hair towel for plopping and robe-tie wrapping, under $15
Color Wow heat protectant spray for blow dry and irons, gentle hold and shine
A silk pillowcase queen to reduce friction and preserve curls
Denman classic styling brush for clump definition in wet styling, also at beauty supply stores
Flexible-hold texture spray for piecey ends and not crunch, mid-price range
A wide-tooth comb for detangling in the shower, cheap and essential
Bond builder kit travel size for weekly use on damaged hair, salon brands often at Ulta or Sephora too
Silicone-free curl cream for layering under gel to stop gel-only crunch
Satin scrunchies pack for pineapple and low-tension styles
Flexible foam hair donut set for sock bun or partial updos, specify hair-covered look
Layered Trim Technique To Keep The Shag Shape Between Cuts
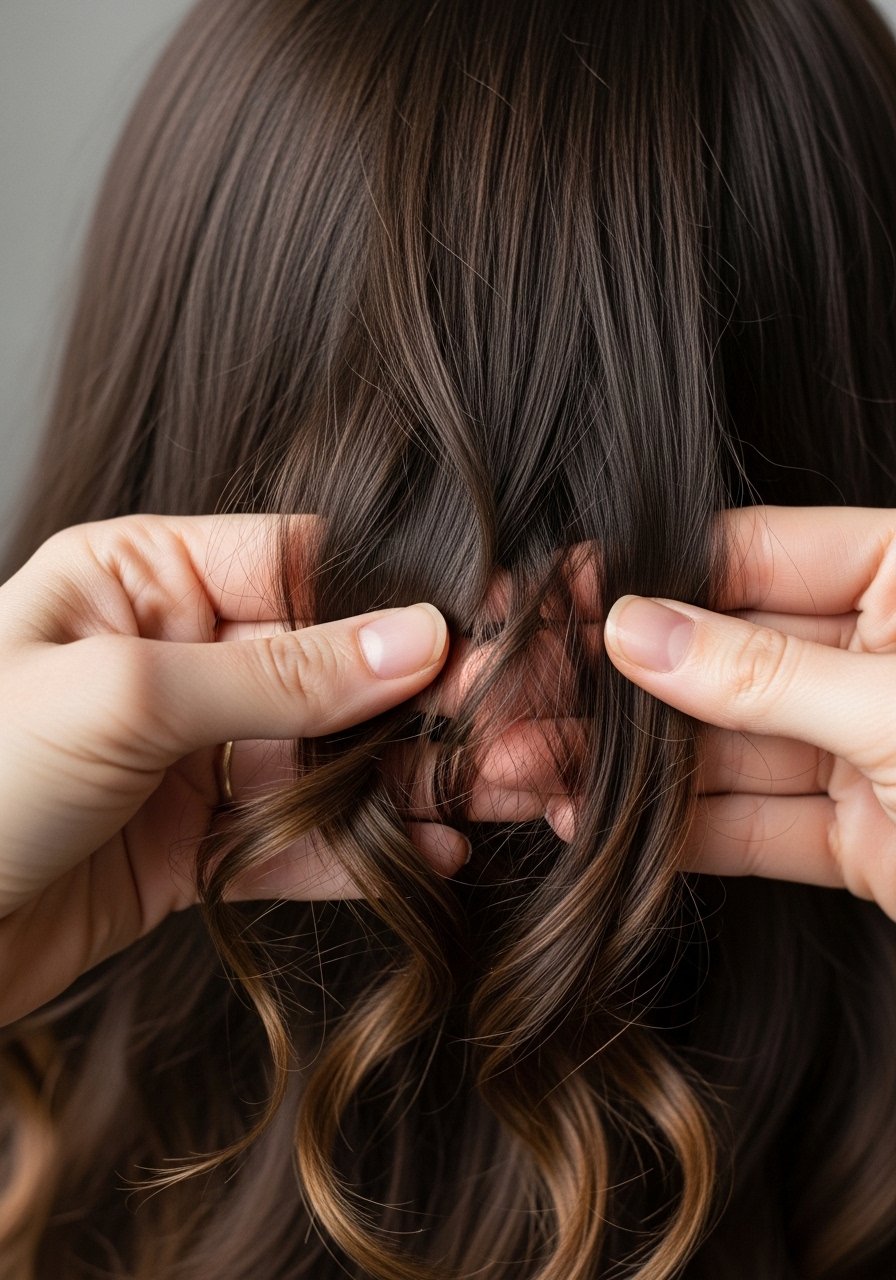
If you want a shag look without a salon every six weeks, learn the three-point trim method. Work in three horizontal layers, trim 1/4 inch from the ends on the bottom layer only, then dust 1/8 inch on the mid layer, and leave the top layer untouched. For 3A to 3B lengths, that keeps the shape and removes split ends without shortening your silhouette. Mistake to avoid, cutting while hair is soaking wet and smoothed, which hides curl spring. Dry or slightly damp trims show the true pattern. This is a DIY technique that saves money, but if your hair has uneven density or heavy chemical history, see a stylist for a corrective cut first.
Apply The LOC Method To Lock In Definition
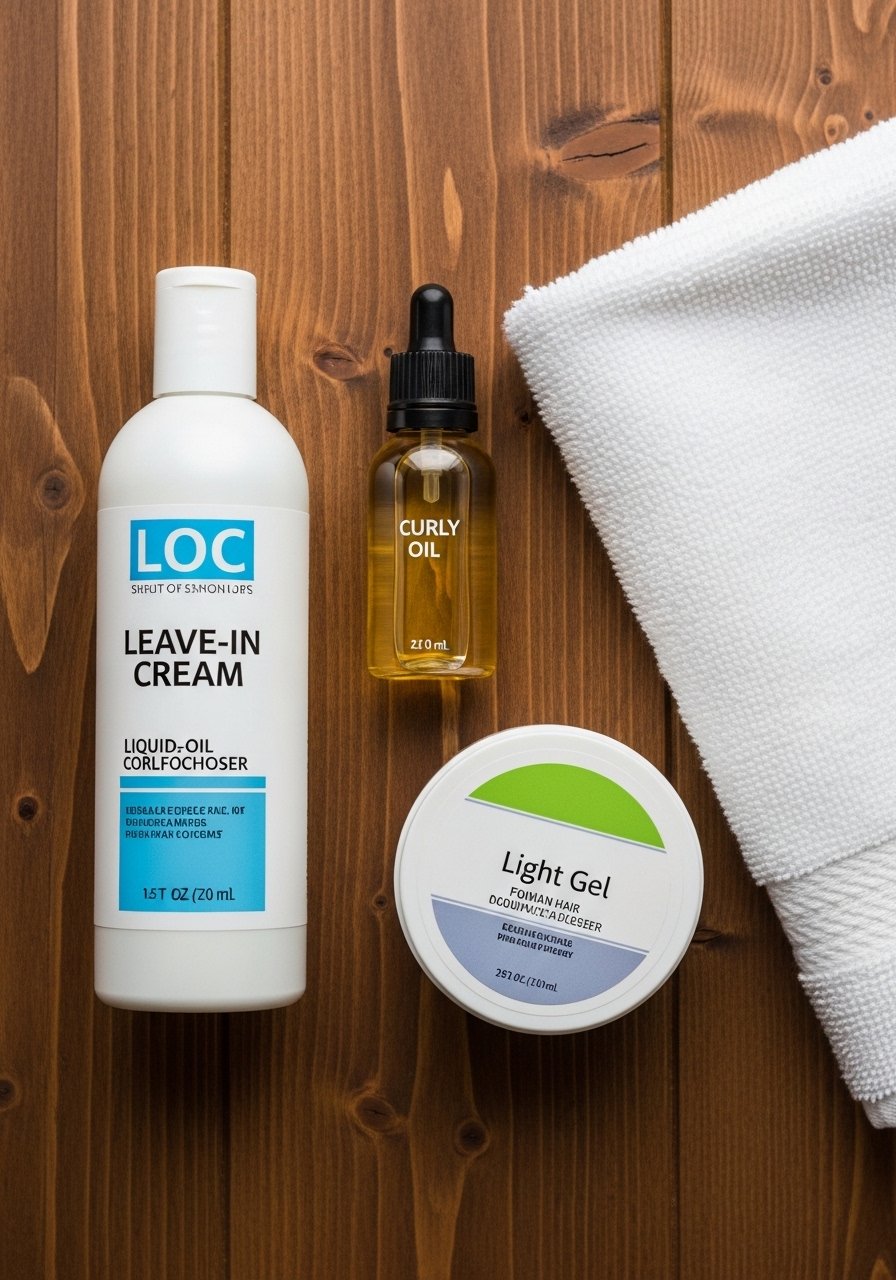
LOC stands for leave-in, oil, gel. For long curly shags with mid-weight texture, apply a quarter-sized pump of leave-in in five sections, follow with a light oil dabbed on the ends only, then seal with a pea-sized amount of gel where you want hold. For high porosity hair use a heavier oil and reduce gel to avoid stiffness. 80/20 product placement helps here, place 80 percent of product on mid-lengths and ends, 20 percent at the roots. A common mistake is slathering product at the scalp which weighs curls down. Let hair air dry or diffuse on low. Layering like this changed my second-day hair from flat to wearable.
Texturizing Spray For Piecey Ends Without Dryness
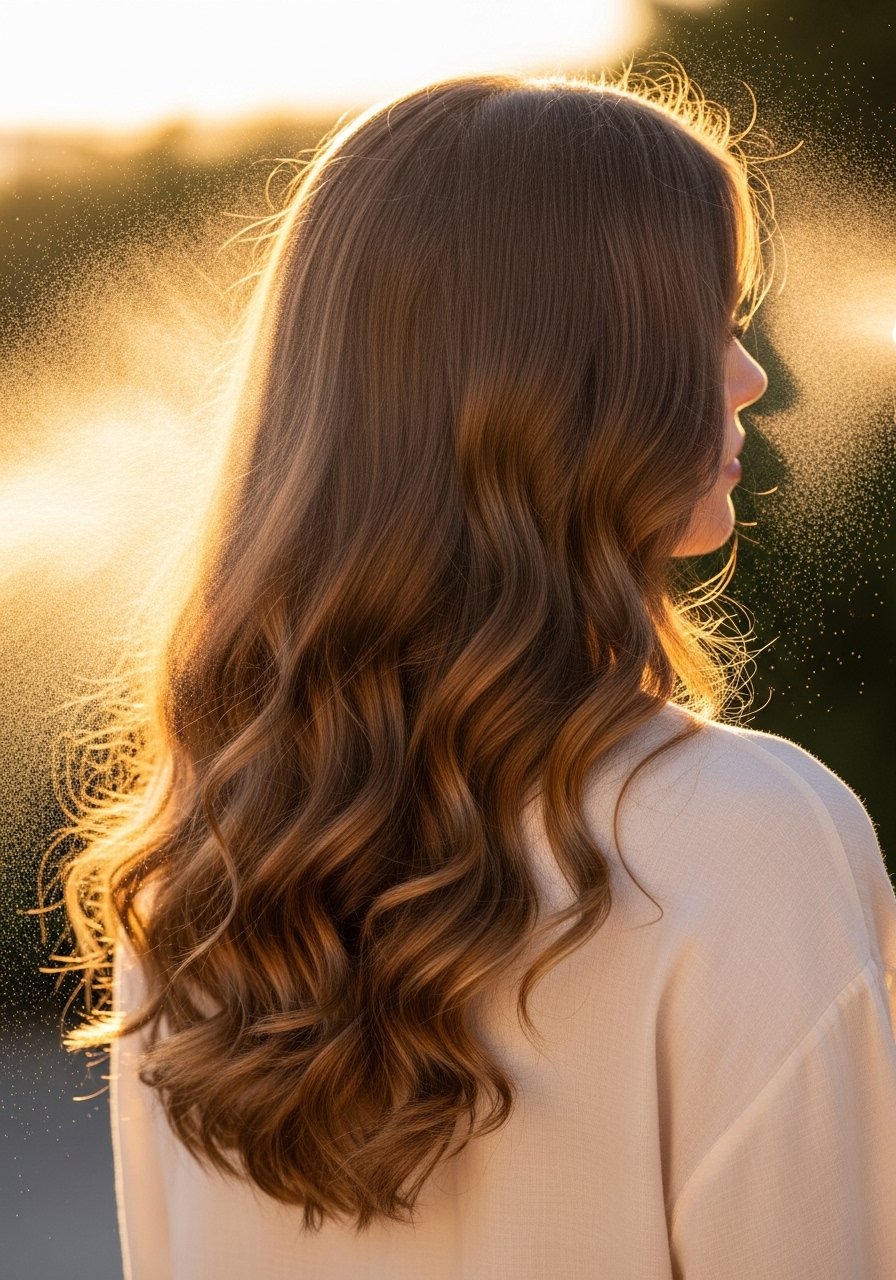
If your shag keeps looking heavy at the ends, a good texturizing spray creates separation without crispness. Spray at arm's length into the palm and scrunch into the ends. On low porosity hair, mist lightly and work in; on higher porosity hair, spray into dry hair then use a small amount of oil on the tips to keep them from feeling straw-like. I like a flexible-hold spray that reads natural, not crunchy. The mistake is spraying while hair is saturated with product which causes flaking. This is a quick fix for second or third day looks and pairs well with the pineapple method above.
Half-Up Sock Bun For Lifted Volume Without The Doughnut Look
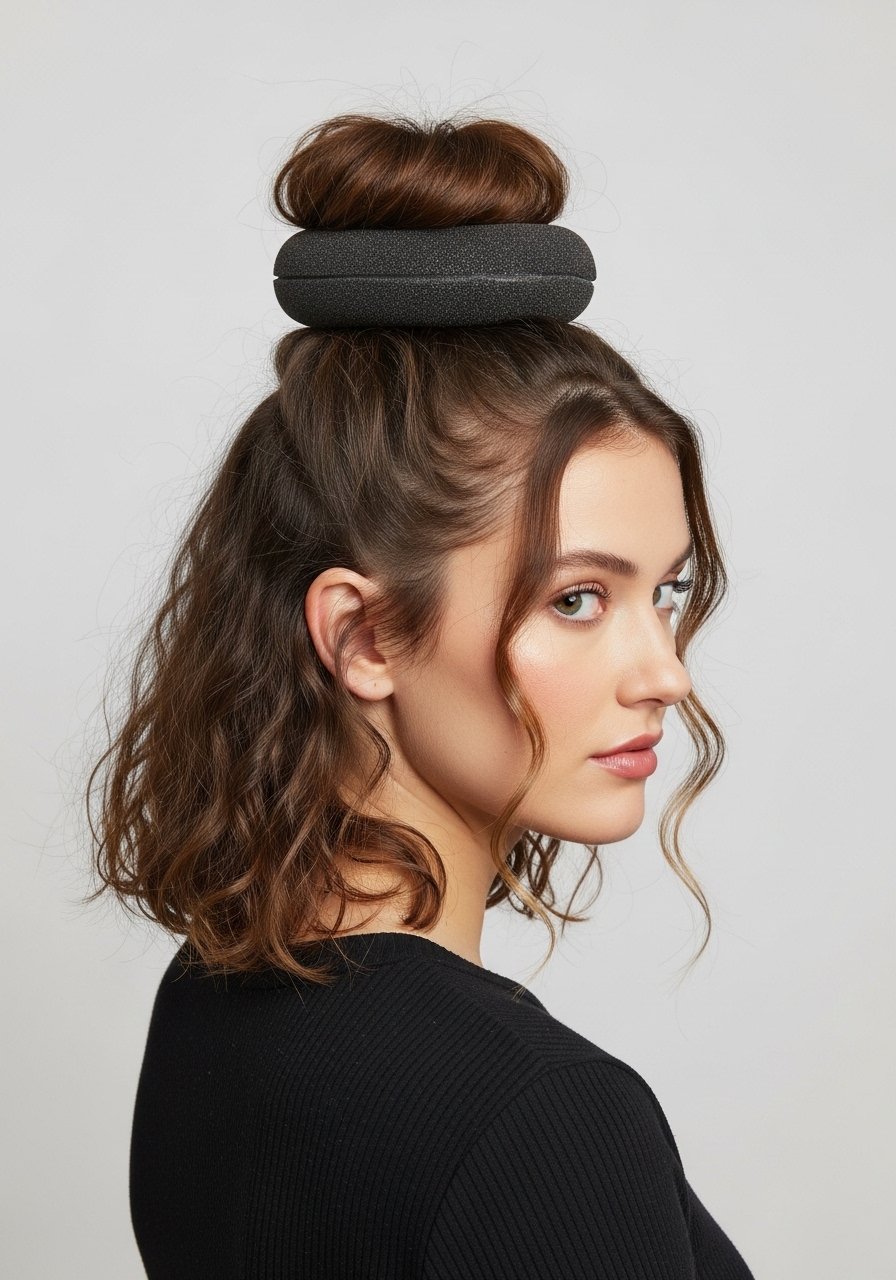
A half-up sock bun gives the illusion of extra crown volume while keeping length visible. Use a small foam donut, wrap a top section around twice, then pin discreetly. For curly long hair, split the top section into four and wrap each quadrant to avoid a lumpy dome. Mistake to avoid, using a thin elastic that digs in and creates breakage. This is a two minute style that looks polished and keeps your shag shape intact. If you have very fine hair, pinch the bun slightly to open up the shape rather than adding more hair which can slip.
What I Wish Someone Told Me Before My First Shaggy Curly Cut
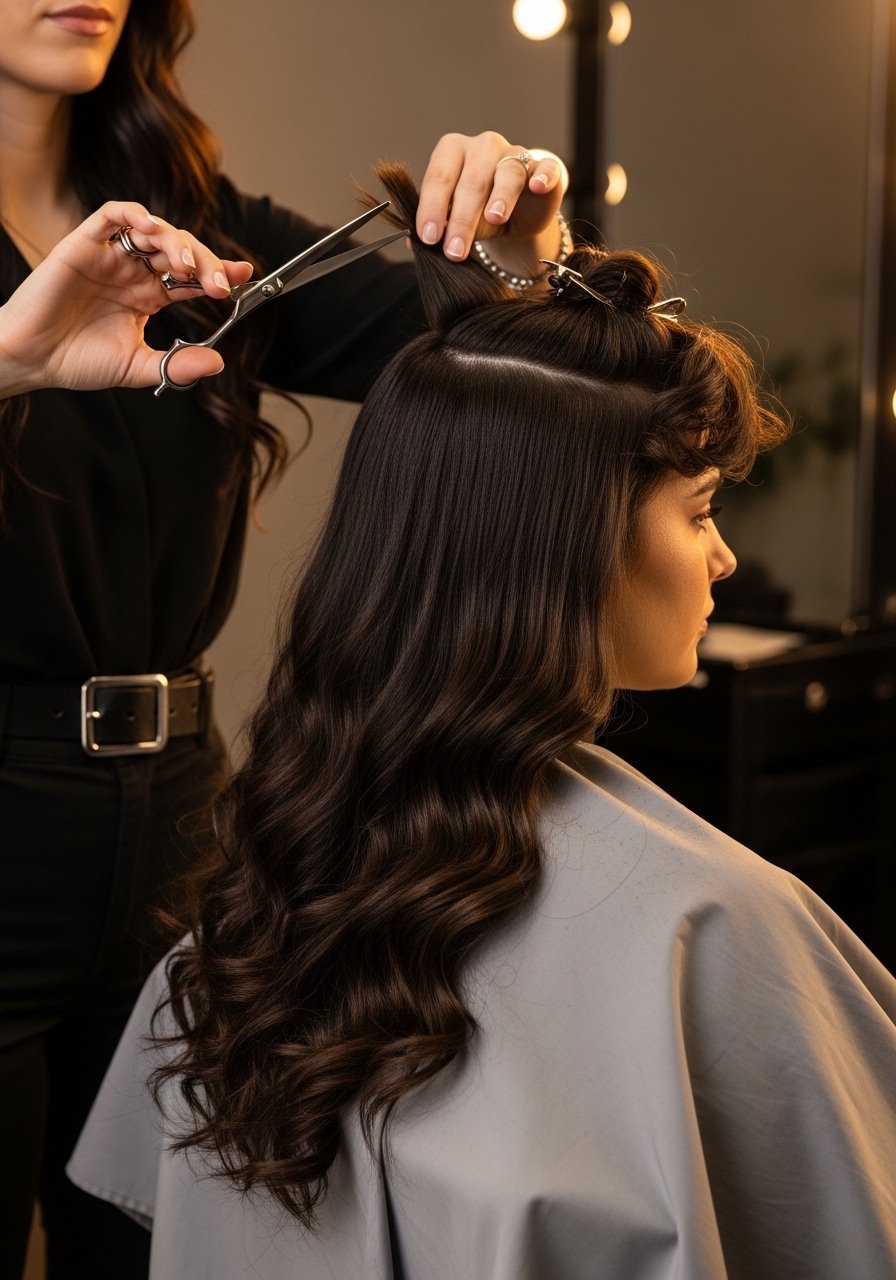
Hair grows about half an inch a month at most, regardless of what biotin gummies promise you. That means every choice has real upkeep. Tell your stylist you want movement not volume at the crown, show photos of the exact curl pattern you have, and ask for a demonstration of how the cut looks when twisted into its natural curl. Avoid the urge to push for every trend in one visit. A shaved undercut paired with a long shag is a different maintenance game than soft layers. Trims every 10 to 12 weeks keep the silhouette, bond builders protect the length, and a silk pillowcase keeps the styling work from disappearing overnight.
What Helped Me Most, And The Mistakes To Avoid
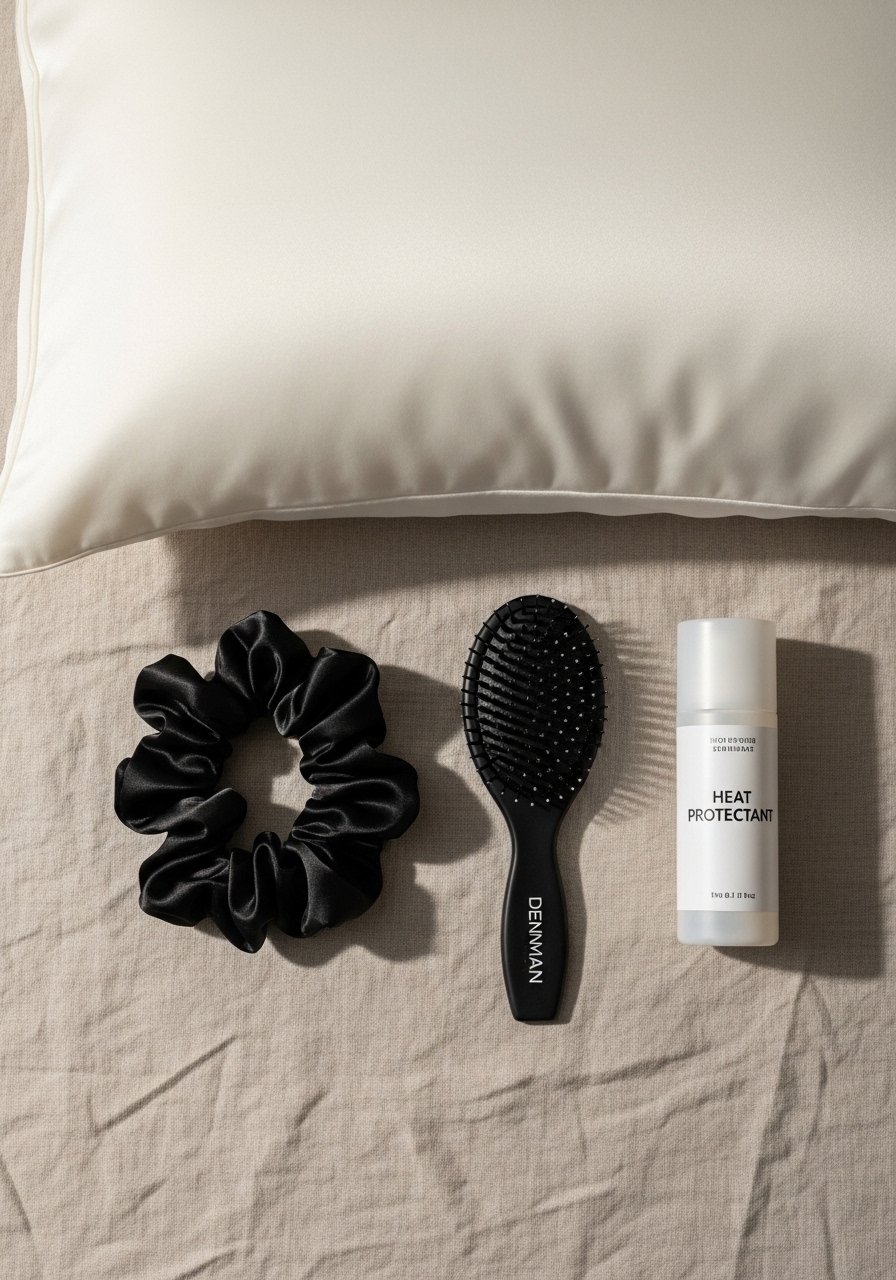
- Heat protectant goes on damp hair, not dry. The cuticle is more open and the product actually absorbs. Color Wow heat protectant spray is the one I reach for for hot tools.
- Grab a microfiber hair towel for $12. It cuts your blow dry time by a third and stops the frizz before it starts.
- Drugstore shampoo is fine. Where you need to spend is conditioner and the bond builder. Olaplex No. 5 conditioner does more for damaged hair than an expensive shampoo.
- Most stylists agree, avoid bleach-over-bleach at home. If you must go lighter accept multiple sessions.
Frequently Asked Questions
Q: Can I use Olaplex No. 3 if my hair is not damaged, or will it make it worse?
A: Use it as a preventive once every two to four weeks if you style with heat or color often. It will not harm healthy hair, but you do not need to use it weekly unless your hair shows breakage. Buy from the official store on Amazon or grab it at Sephora to avoid counterfeits.
Q: How often should I actually use purple shampoo to fix brassy tones without making my hair dry?
A: Once a week is the starting point for most highlighted hair. If your color fades quickly, stretch to 10 days between use and always follow with a good conditioner or a weekly deep mask to avoid drying.
Q: Is the robe-tie heatless method okay for 3C curls?
A: Yes, but reduce the number of wraps per section and use a silk or microfiber sash so the curls can clump without bulking. Do eight sections for mid-back length and check in the mirror before bed to avoid tension at the roots.
Q: Can I diffuse every day or will it damage my curls?
A: Diffusing daily with low heat and low airflow is fine if you use a heat protectant and do not overwork the hair while drying. If you have fragile or chemically processed hair, limit heat to three times a week and rely on heatless styling between.
Q: What is the difference between a leave-in and a curl cream, and do I need both?
A: A leave-in detangles and adds lightweight moisture. A curl cream adds definition and often more slip. For long shags I use the leave-in first for detangling, then a small amount of curl cream where the curls need weight. The LOC method can follow if you want more hold.
Q: How do I keep my money piece from going brassy quickly?
A: Use a cool-toned color-safe shampoo every 6 to 10 washes and a purple rinse if needed. Avoid long sun exposure without protection, and book gloss touchups every 8 to 12 weeks for the cleanest maintenance.