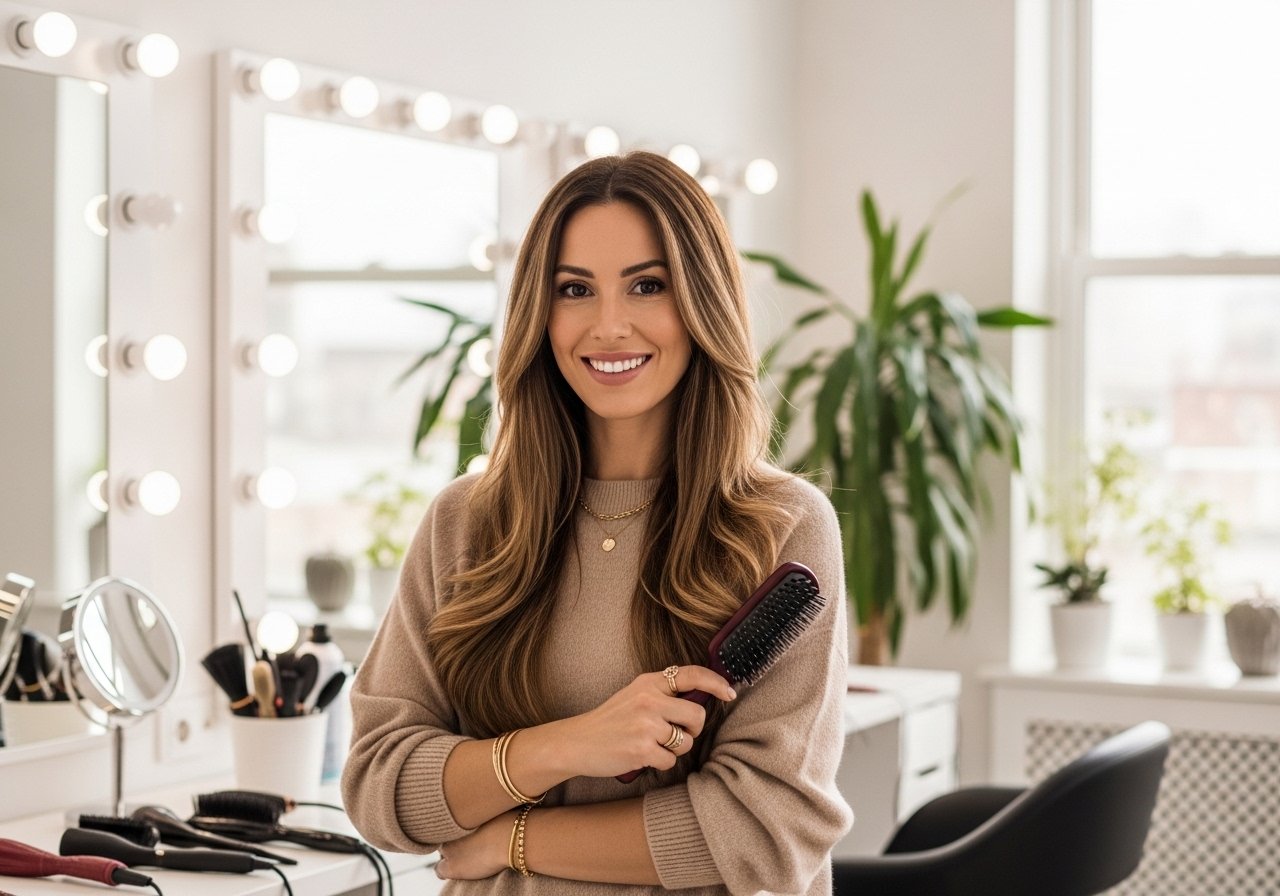
I bleached my own hair last winter trying to save $200. Three months later I paid $400 to fix it. Olaplex No. 3 saved what was left. If you want red highlights in brown hair that read caramel in daylight, these 15 looks are the ones I actually tested on my hair or helped friends ask for at the salon. Each entry says who it fits, how long it takes, and the product moves that matter.
These ideas mostly serve fine to medium 1B through 3B hair, shoulder length to mid-back. A few are written specifically for thick or very curly textures with the adjustments noted. Most options are doable at home for under $60, with a few salon-only color melts worth the splurge for longevity.
Face-Framing Caramel Money Piece For Soft Definition
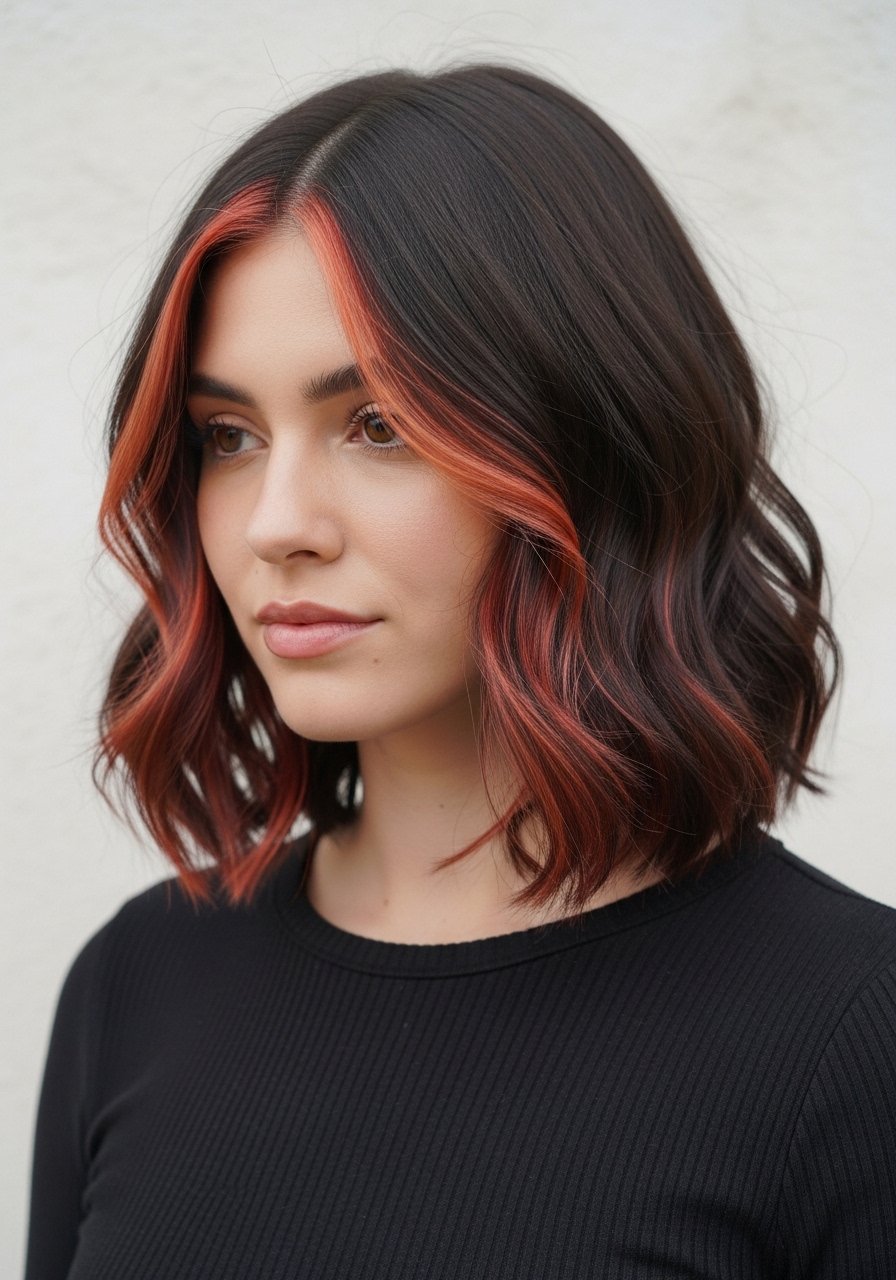
The money piece is the trick I reach for when someone wants red highlights in brown hair that pop without a full head lightening. For fine hair, ask for one to two 1/2 inch sections each side, softened at the edges so they read caramel in sunlight. I usually tone those sections with a demi gloss for eight to ten minutes to get warm red without orange brass. Do a patch test for any color and remember lifting over previous color can break hair, so avoid bleach-over-bleach unless your stylist schedules two sessions. Two spritzes of a heat protectant before styling and a 300F max on irons keeps the pigment from fading faster.
Subtle Caramel Balayage With Red Undertones
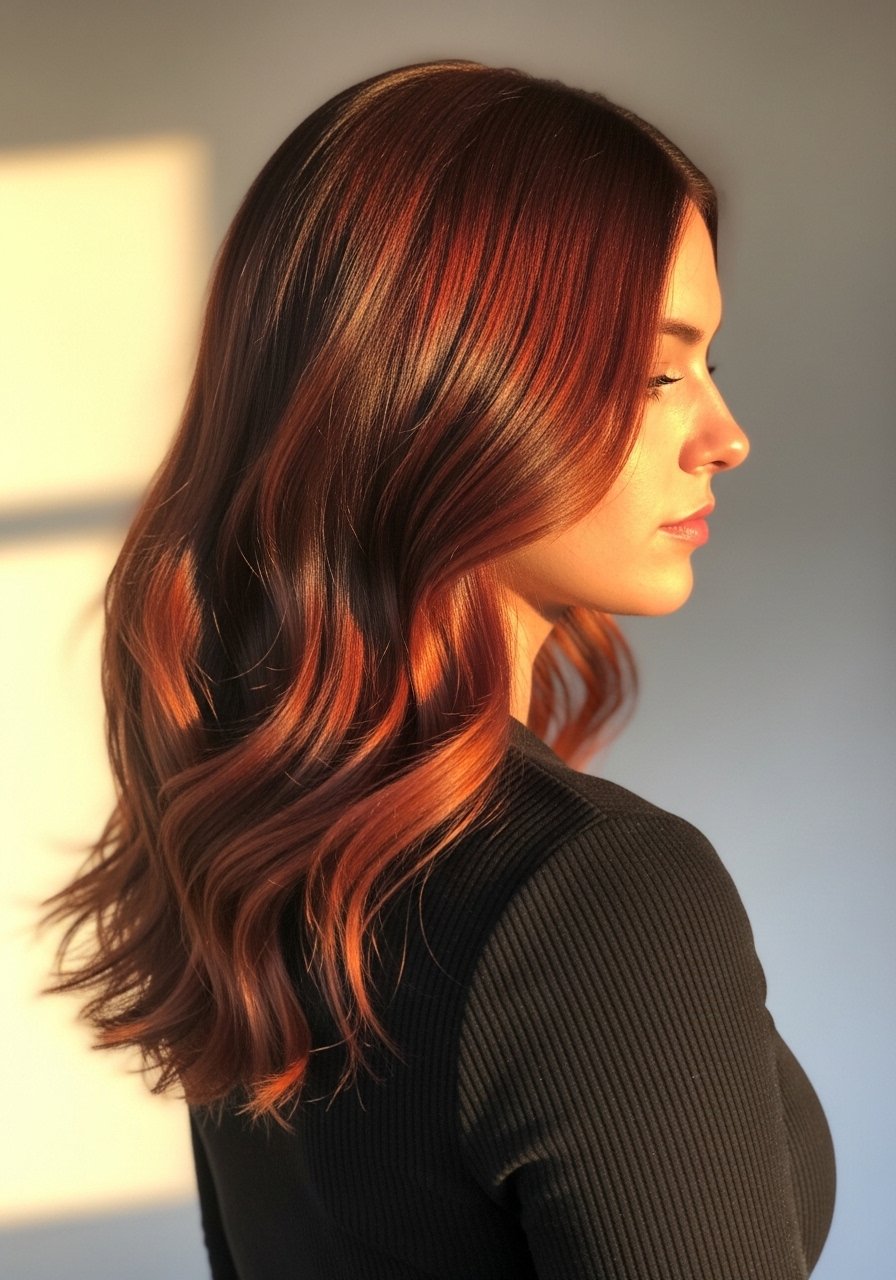
Balayage is the easiest way to get that caramel-red warmth without obvious regrowth lines. For medium density hair, ask the colorist to place thin painted strokes at a 30 degree angle, leaving 30 percent of the mid-lengths untouched to preserve weight. The result is low maintenance, with touch-ups every four to five months. If you try it at home, use a 10 volume developer on small 1-inch slices and monitor lift every five minutes. A weekly gloss for 10 minutes will keep the red from shifting muddy. Common mistake, over-toning to force red on hair that lifted pale orange, which looks brassy by day three.
Babylights With Copper Through The Ends
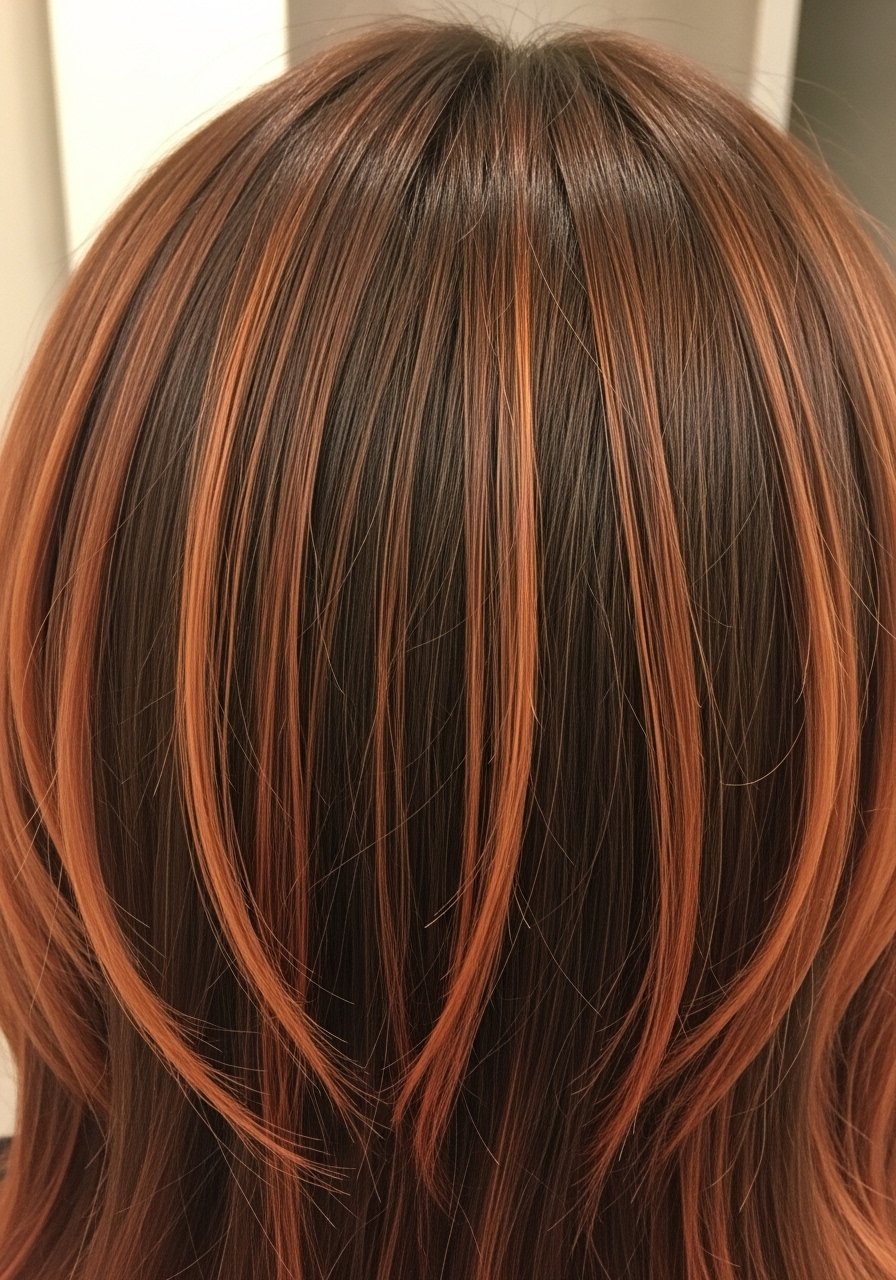
Babylights give a peppered, sun-kissed effect that reads like tiny caramel-red sparks when you move. They work best on fine to medium density hair because the thin slices avoid banding. Section hair into four panels and take subsections no larger than 1/8 inch for natural blending. If you are lifting more than two levels, expect a two-step salon job. A frequent mistake is foiling too many large slices and ending up with stripey warmth. For maintenance, a color-depositing conditioner every other wash keeps the copper lively without constant salon trips.
Peekaboo Red Foils For Low-Maintenance Pop
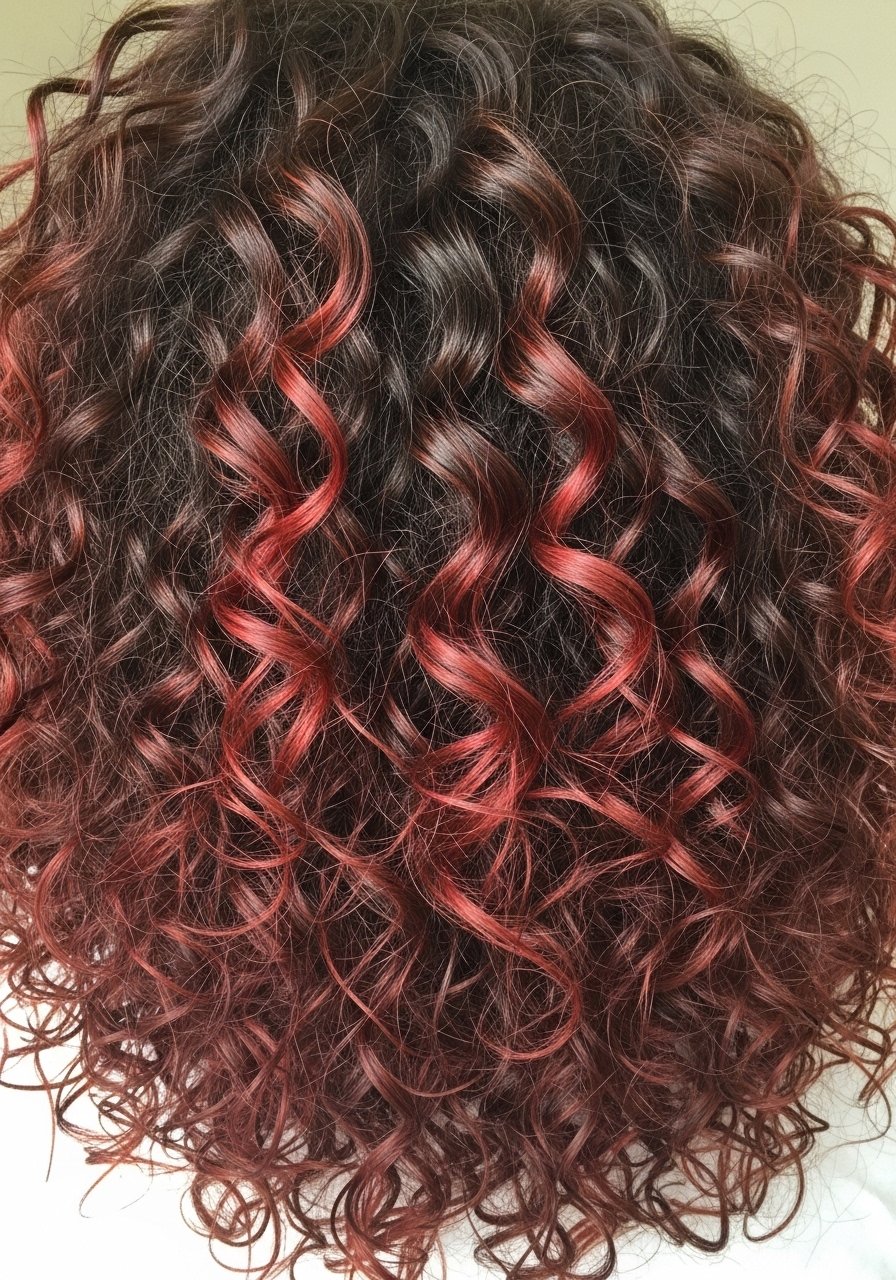
Peekaboo foils are my rescue move for people who need subtlety at work. On curly hair, place 4 to 6 thin foils under the top layer, focusing at temple and crown for peekaboo color when you part or put hair up. This reduces overall damage and keeps upkeep down to two touch-ups a year. A common real-life problem is color bleed on pillows for fresh reds. I tell clients to sleep on a silk pillowcase for the first three nights after a color day. If you want to DIY, use semi-permanent red depositers on small under-slices to avoid over-processing the whole head.
Gloss And Red Toner Refresh To Keep Caramel Warmth
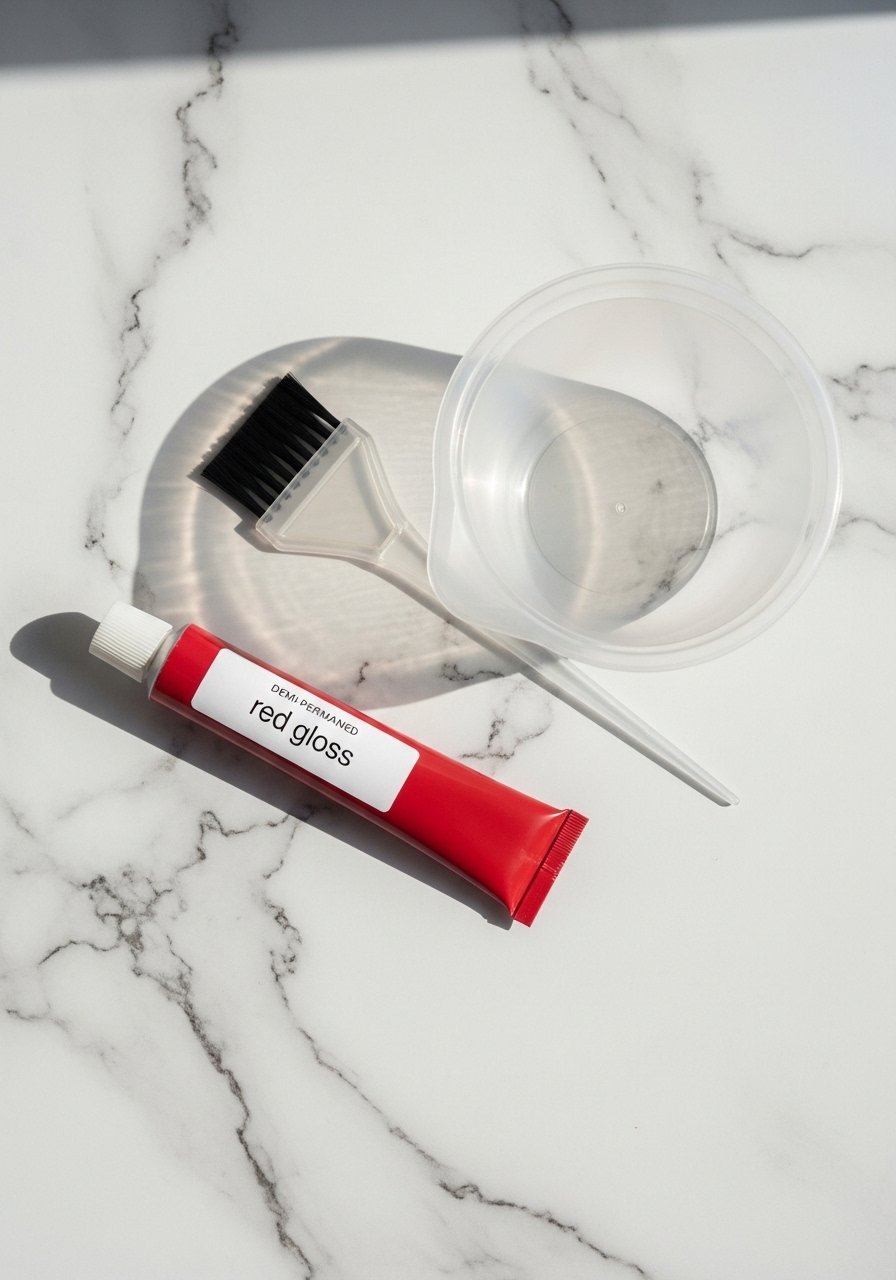
A demi-permanent gloss is what makes red highlights look like a glazed caramel rather than flat red. I use a five to 10 minute gloss over highlighted areas every four to six weeks. It deposits color without extra lift and adds surface shine. The real-life hack is diluting the gloss half-and-half with your conditioner for an at-home refresh that is gentle on previously lightened hair. Watch for scalp sensitivity and always do a patch test 48 hours before use. Glosses do not repair damage, they just smooth the appearance until the next wash.
Copper Melt For Natural Root Blending
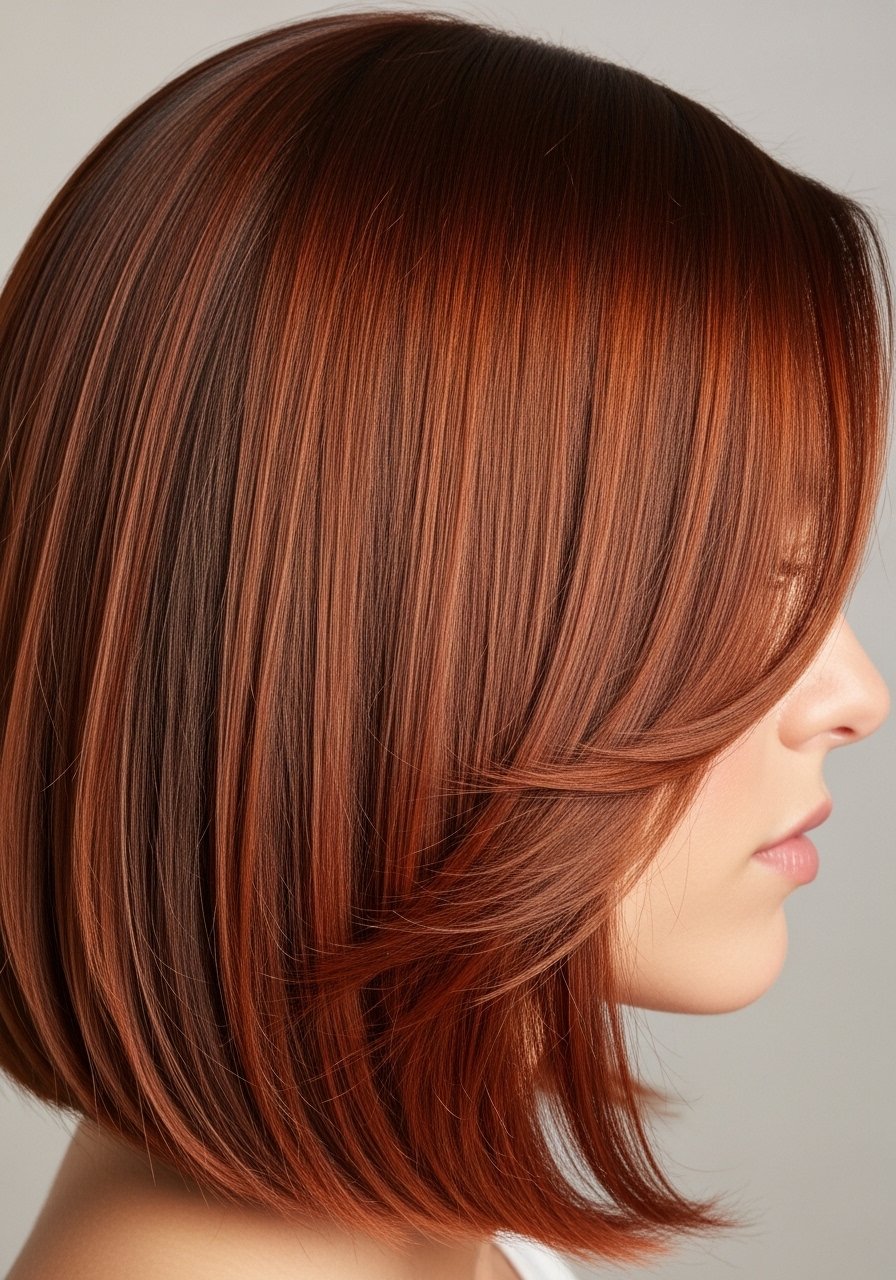
A root melt avoids harsh regrowth and makes red highlights in brown hair read like they belong. For medium brown bases, a root-smudge using a 10 minute application creates root shadowing that transitions into caramel-red. Ask for a 70/30 ratio of root color to ends color for a natural gradient. This is a salon move if you want a seamless melt. For DIY attempts, only smudge color on the first half inch of dry hair to avoid overprocessing. Damage note, never use a 30 volume developer near the scalp if your skin is sensitive.
Caramelized Babylights For Fine Hair That Adds Dimension
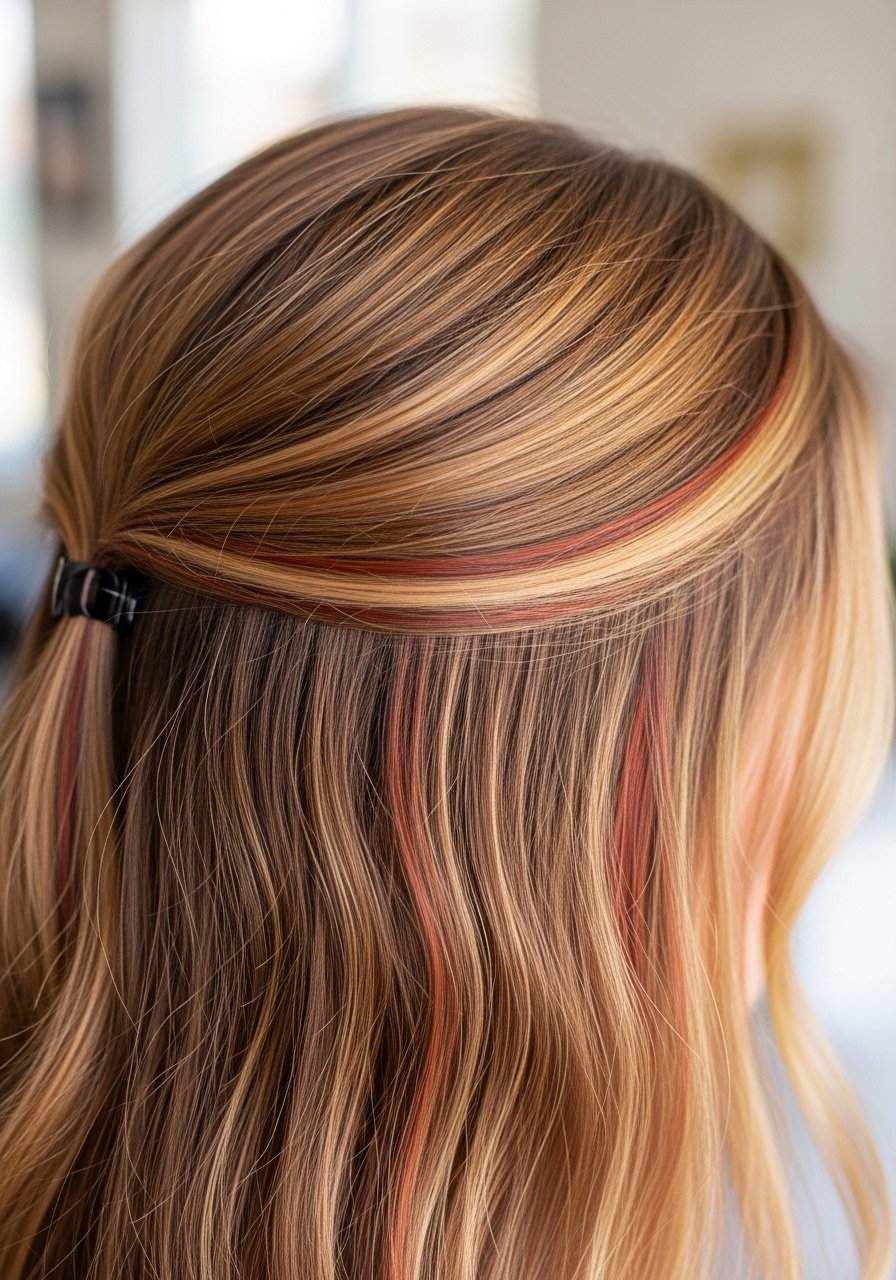
If your hair is fine and you want the illusion of density, thin babylights warmed to caramel-red do the job. Sections should be 1/8 inch and no bigger. I recommend lifting to a pale gold then applying a short 5 minute red glaze so the highlights sit warm rather than orange. The mistake most people make is foiling too wide, which flattens the result. These read natural under office lights and more caramel in sunlight. Use a lightweight leave-in at the roots and LOC method on the lengths for hold without weight.
My Red And Caramel Highlight Kit
- Honestly, the two things that slowed my color fading were this and patience. Olaplex No. 3 hair perfector 3.3oz, use once a week after color days. Buy from the official store on Amazon or grab it from Sephora to avoid counterfeits
- For depositing red without bleach, try Overtone color depositing conditioner for red on brown hair 8oz jar, mix with conditioner for lighter refreshes
- Keep a heat barrier handy, because heat strips color fast. Color Wow heat protectant spray one to two spritzes on damp hair before any iron
- For at-home sectioning and foil work, 12-piece stainless hair clips makes neat subsections under $10
- A reliable curler matters. 1-inch ceramic curling iron with adjustable temp so you can keep heat under 350F
- For weekly glosses, a demi-permanent gloss kit lasts two to three applications
- Sleep protection that actually helps color stay put, silk pillowcase queen size under $30
- For curly textures with highlights, wide tooth comb set helps detangle without ripping color-treated curls
- Bonus splurge: Dyson Airwrap styler is great for blended styles, but you can do most looks with a $30 round brush
Chunky Sliced Highlights For Thick Hair With Movement
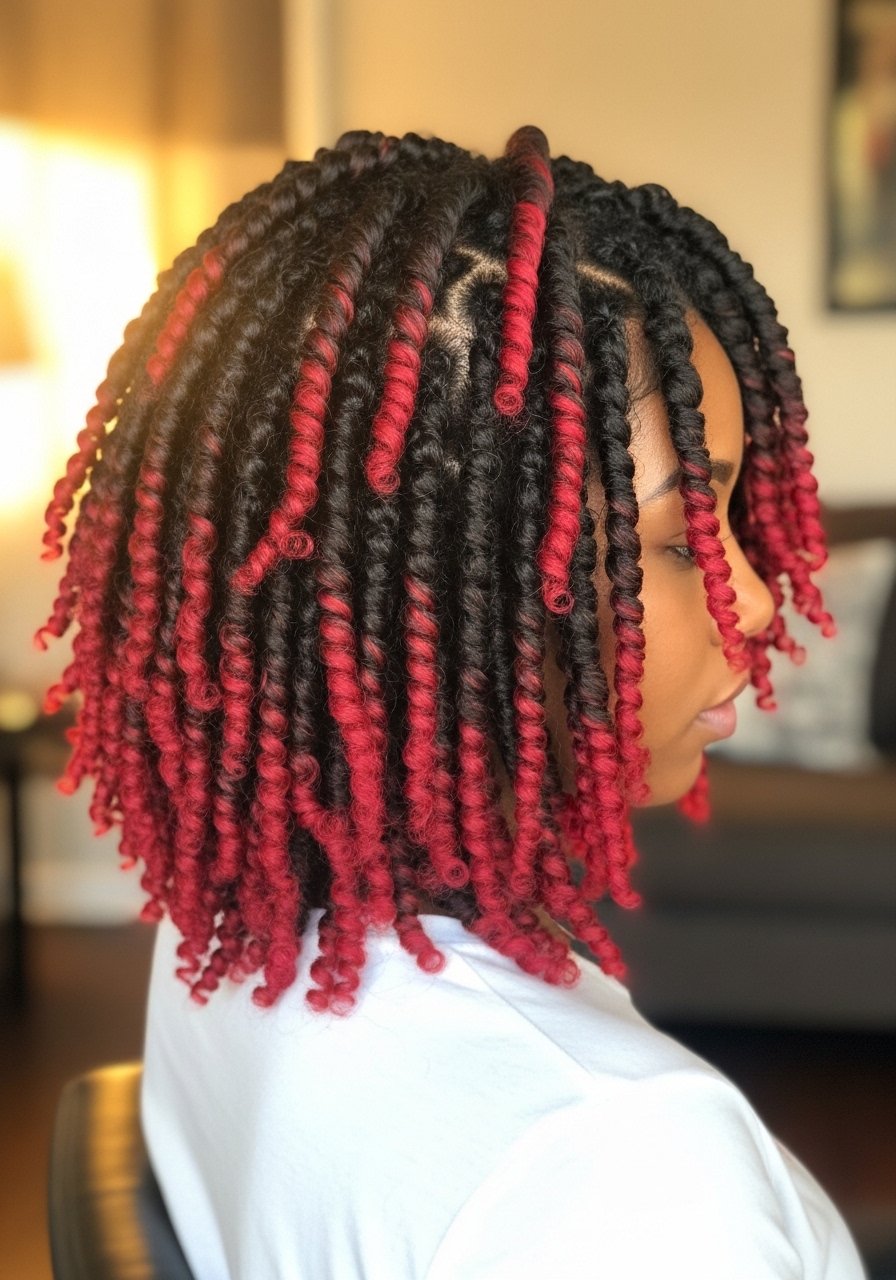
Chunky slices make brown hair look like it has intentional movement and warmth. They read bolder on thick hair and age with grace because you can see the contrast less as it grows. Ask for 1 inch slices placed every 2 inches, softened with a razor point on the ends. For thick textures, expect two to three hours in the chair. The mistake is using too small a developer on thick hair, which gives uneven lift. After coloring, use a weekly bond builder and avoid heat over 350F to keep the slices from frying out.
Auburn Root Melt For Dimensional Ombre
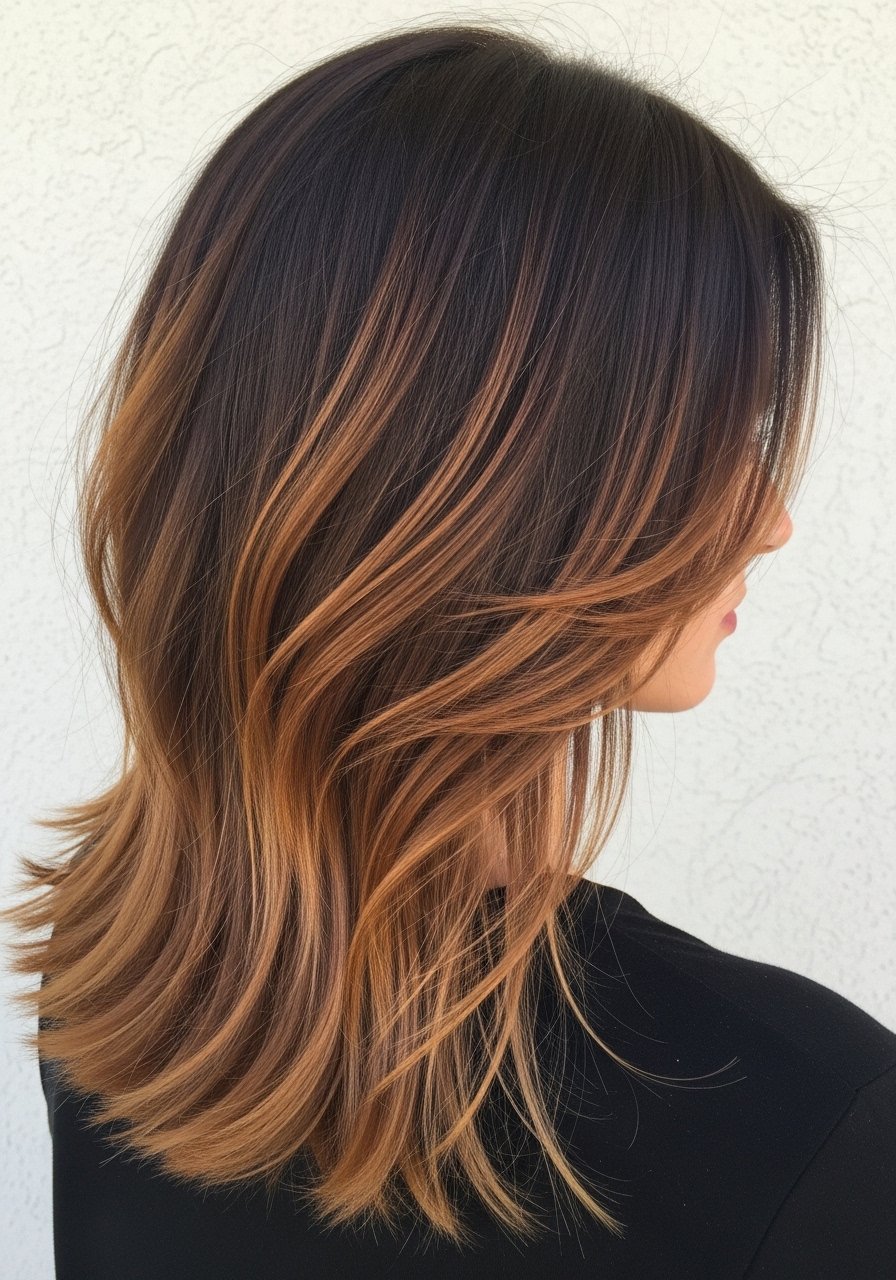
An auburn root melt gives you color that reads warm at the face and softer in the lengths. For brown hair wanting red that is not screaming, blend the root into color with a 3 to 4 minute smudge, then balayage the mids and ends. Time in the bowl matters. Overprocessing brightens too much and looks fake quickly. Keep styling heat to 300F or below for daily touch-ups, and schedule a gloss at 6 to 8 week intervals to prevent muddying.
Micro-Highlights Around The Hairline For Instant Definition
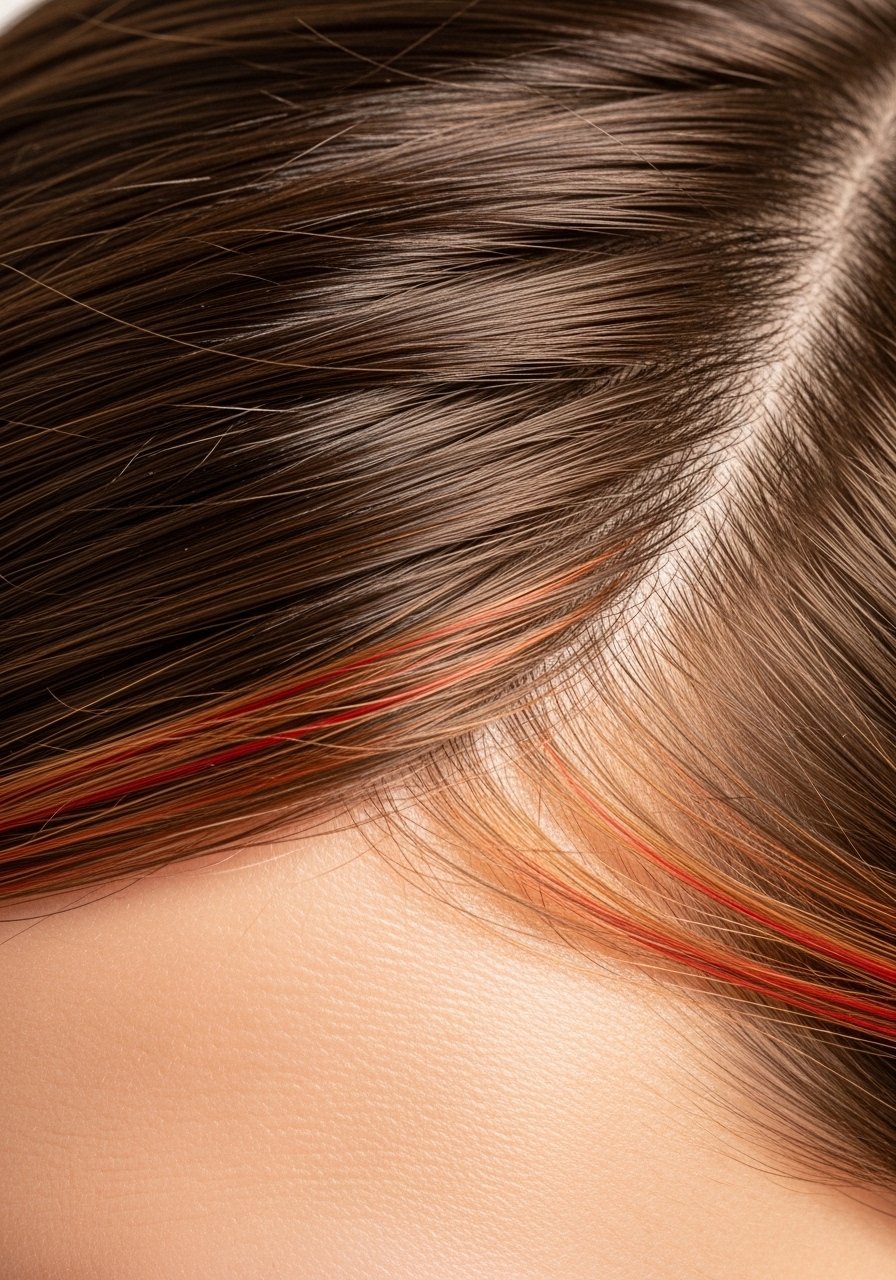
Micro-highlights around the hairline frame the face and make color look intentional. For any hair type, take sections no wider than 1/4 inch and weave highlights for a natural halo. These are quick to touch up and add life to brown hair without a full color day. A common mistake is overdoing the hairline and ending with a frothy halo. If you have sensitive scalp, ask for a spot test because frequent hairline work can irritate.
Glossy Red Tint Over Brown Without Bleach
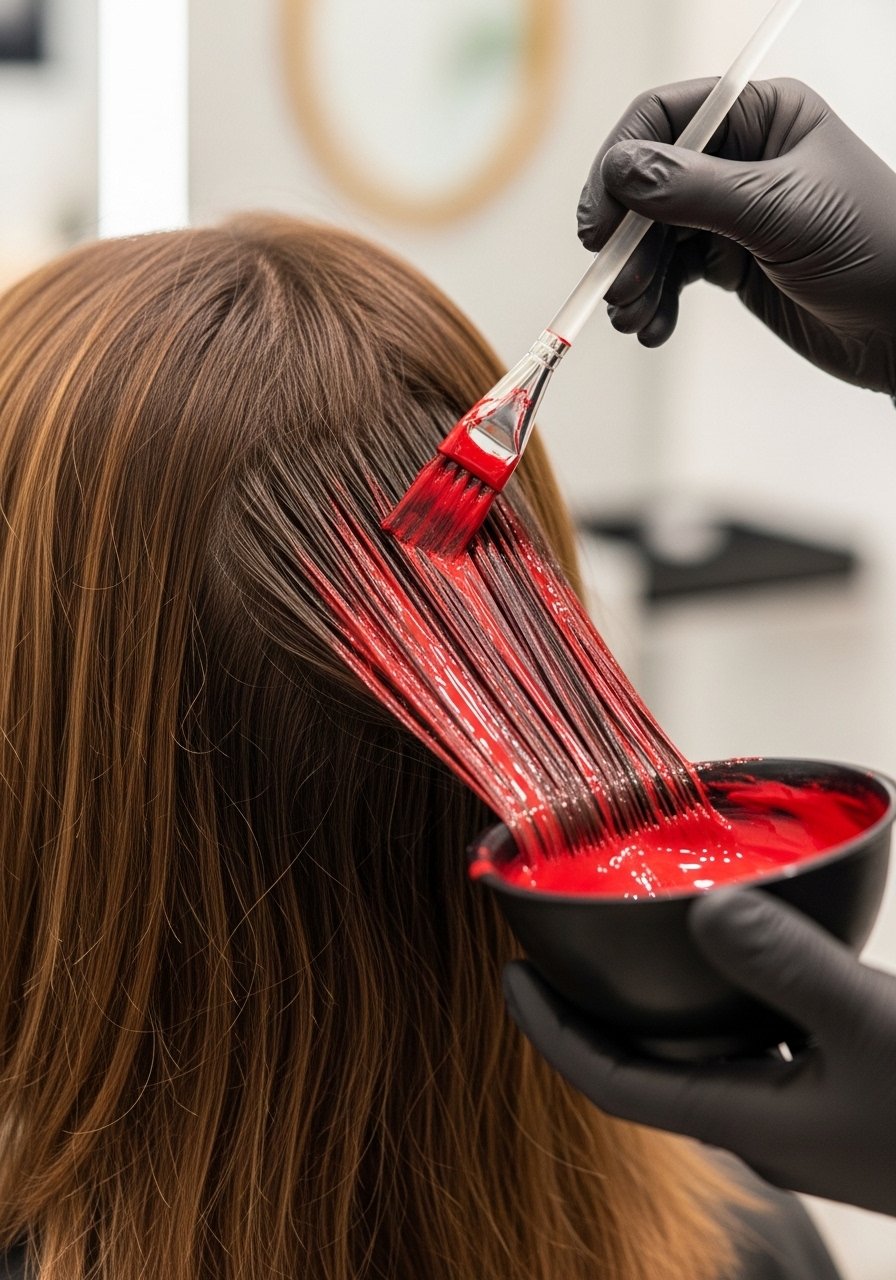
If your brown is already dark and you hate the idea of lifting, a glossy red tint deposits color over your base for a subtle shift. For medium brown hair, a demi-permanent red mixed 1:1 with a clear glaze for 10 minutes gives warmth without lift. The upside is no bleach, the downside is the color sits nearer the surface and fades in six to eight weeks. Safety note, do a 48 hour allergy patch test on new tints.
Red Balayage That Works On Curly Hair
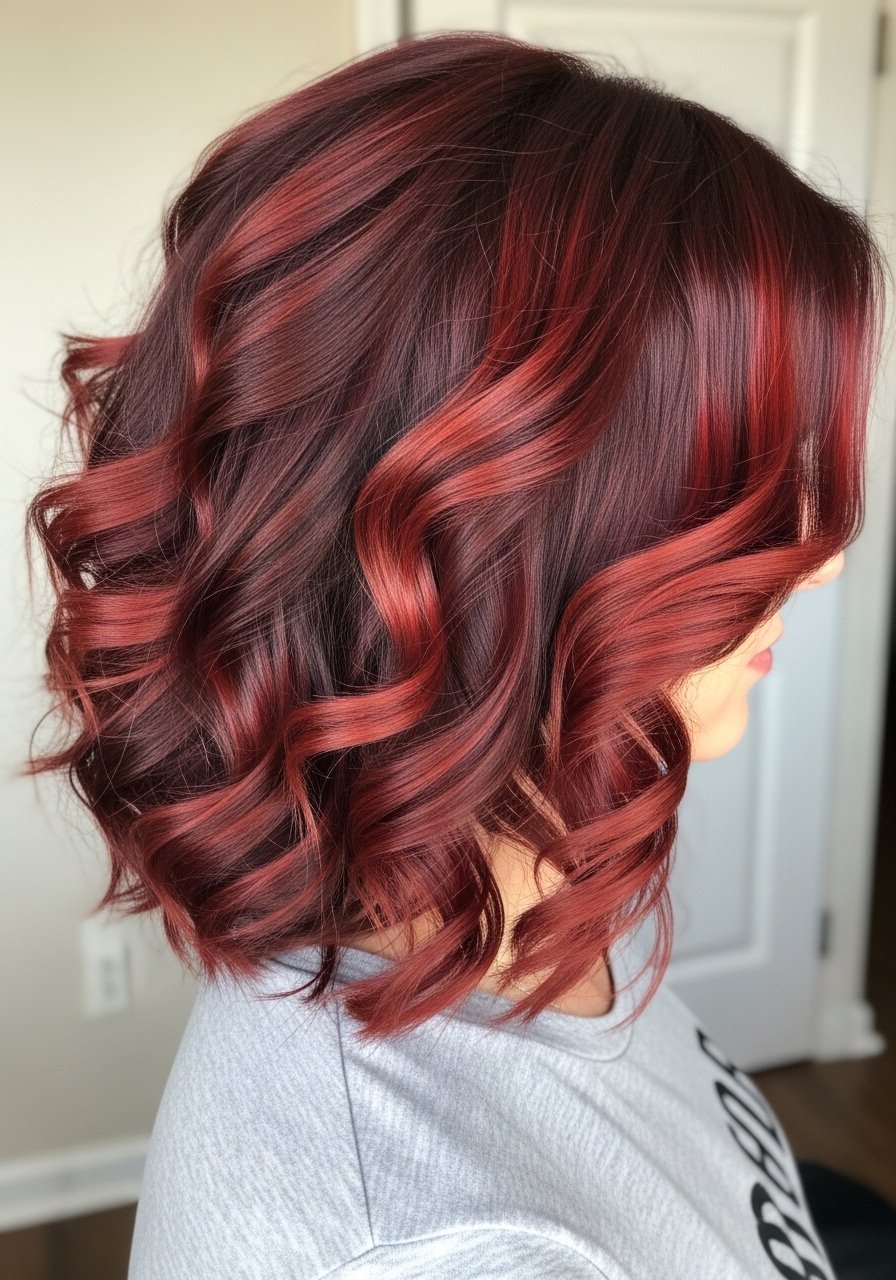
Curly hair loves directional color. For curls, paint balayage onto stretched strands or on dry curls to see where highlights fall on the curl pattern. Use smaller sections, 1/4 to 1/2 inch, and avoid saturating the entire curl which kills bounce. I tell curly clients to expect touch-ups every three months and to add a weekly protein or bond builder if they heat style more than twice a week. My curls looked great on TikTok and like wet noodles by 11am, which taught me to layer products and sleep smarter.
Chunkier Face-Framing For Shorter Lobs
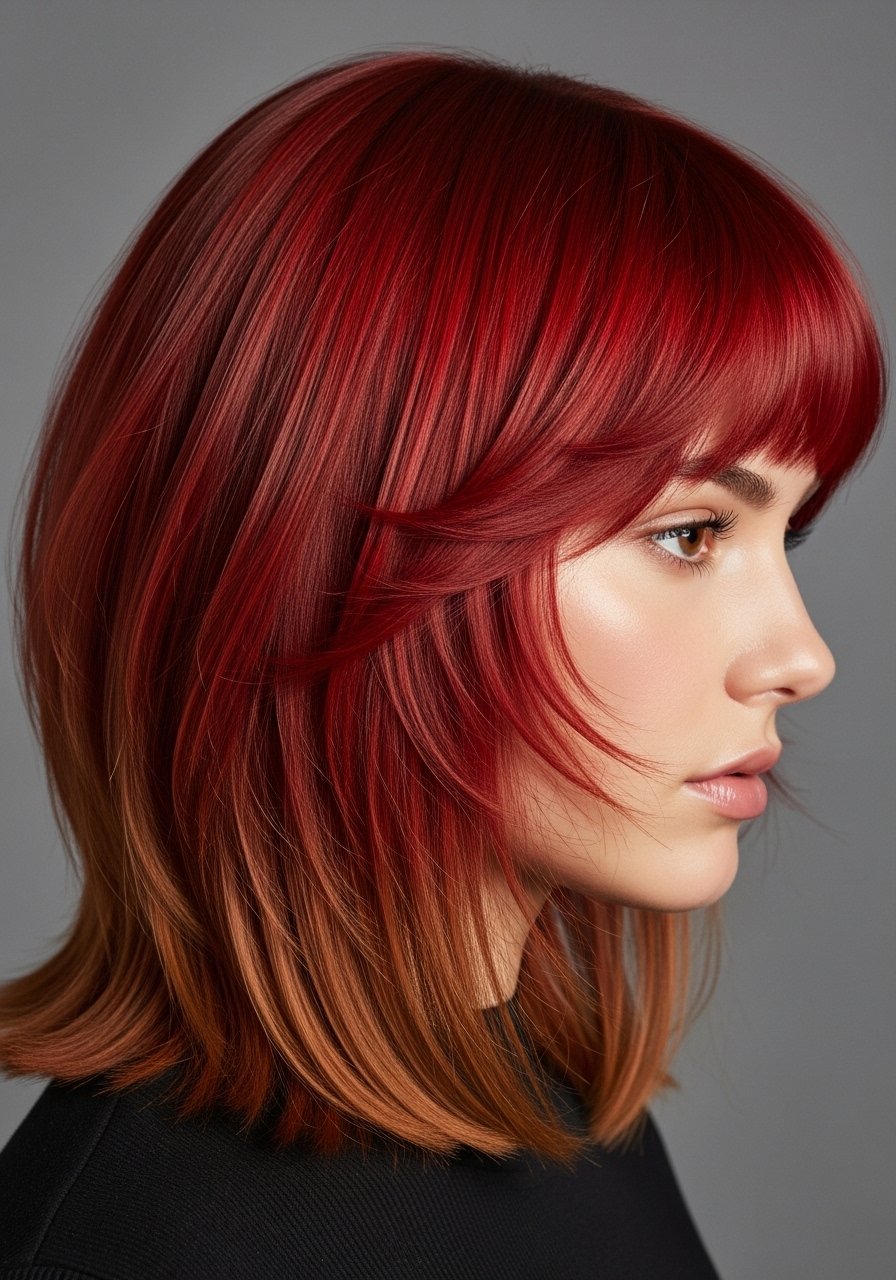
Shorter lobs need bigger placement so the color reads at eye level. Ask for face-framing slices that are 3/4 inch wide and feathered at the ends to avoid a harsh line. On lobs, a single session is usually enough and the upkeep is about two in-salon glazes a year. Common error, going too bright with a single session which leaves the ends brassy. If you are DIYing, keep the developer low and check lift every three minutes.
Natural Copper Veil For Red That Wants To Age Gracefully
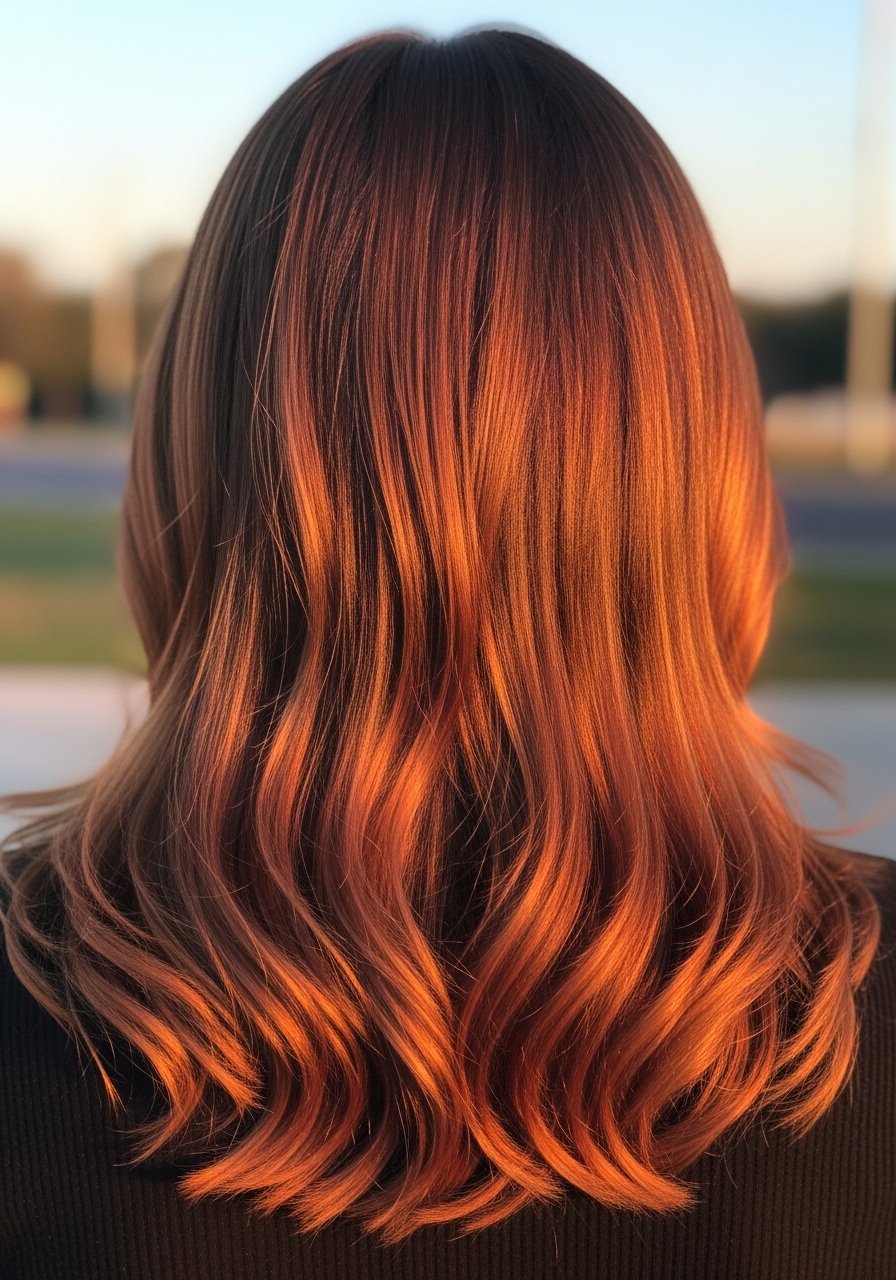
A copper veil is basically a thin overall warm glaze and paint that gives brown hair a glow. It is low compromise and pairs well with clients who cannot commit to bold red. The application is a full-head paint with 1/4 inch strokes and a 10 minute development time. It fades naturally and rarely needs correction. If you have previous box color, expect uneven results and consider a small strand test first.
Heat Styling To Bring Out Red Tones Without Frying
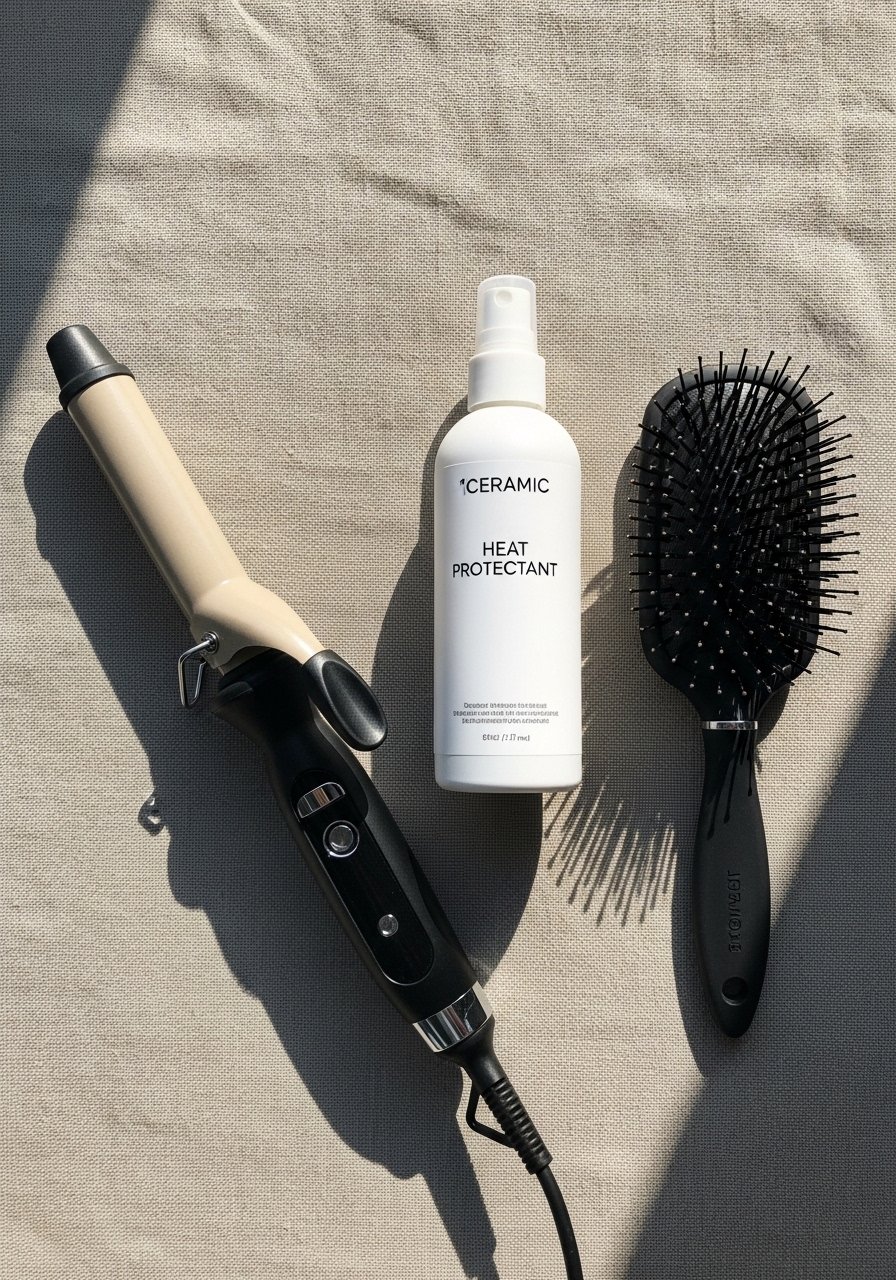
Warm reds show up best when you style with a bit of heat, but heat protection is non-negotiable. Apply a heat protectant to damp hair, blow-dry on medium, then curl at 300 to 350F depending on your hair density. For fine hair, 300F and a 8 to 10 second wrap does the job. For thick hair, 325 to 350F with 12 to 15 seconds gives hold without extra passes. Heat warning, always use protection before any iron over 300F.
At-Home Red Touch Up Routine That Actually Works
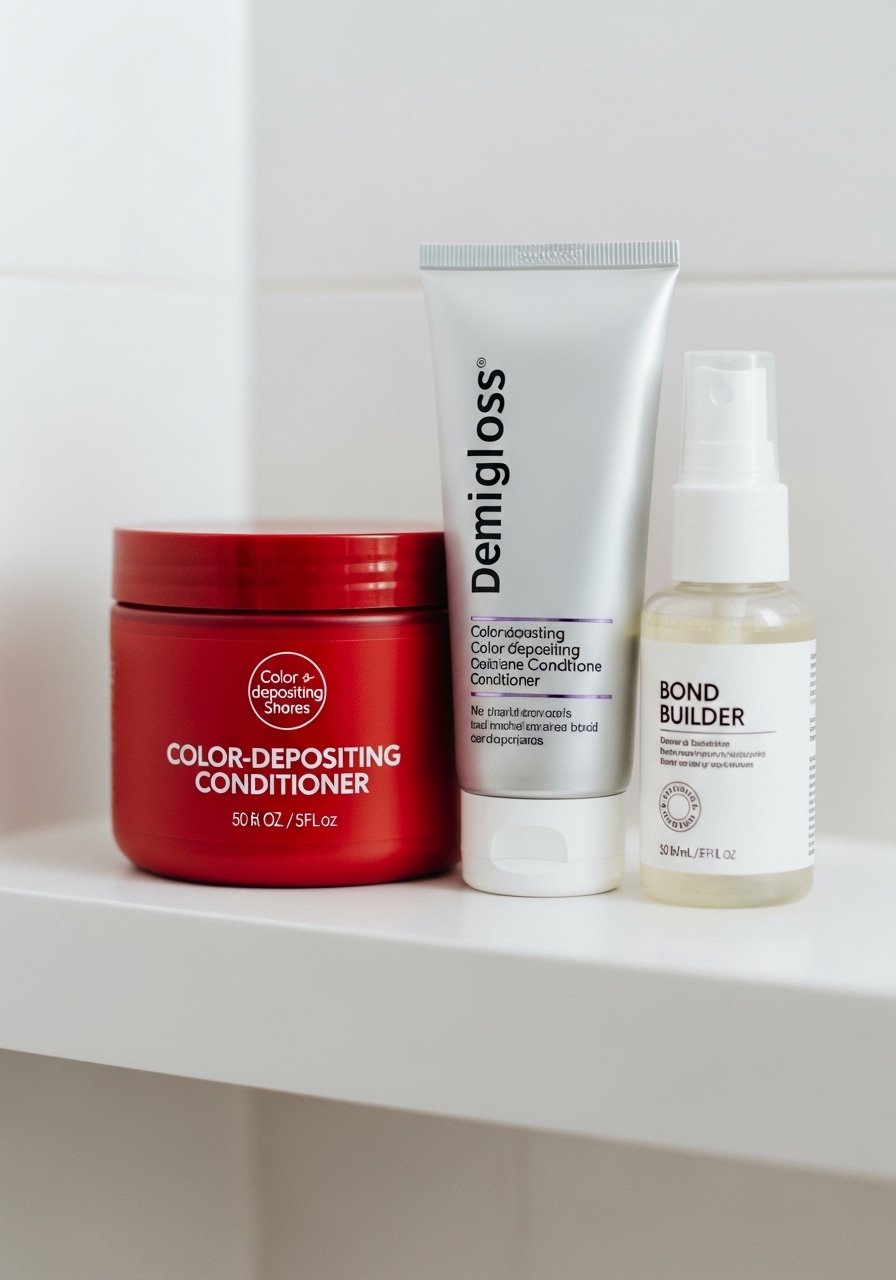
If you are keeping red highlights in brown hair at home, schedule a small refresh every three to four weeks. After shampooing, apply a diluted color depositing conditioner 1:2 with your regular conditioner for five minutes to keep the red warm. Once a week, use a bond builder for three minutes to keep lifted ends from breaking. Hair grows about half an inch a month at most, regardless of what biotin gummies promise you. The typical mistake is daily color depositor use which makes tone muddy.
What I Tell Clients About Red In Brown Hair
- Heat protectant goes on damp hair, not dry. The cuticle is more open and the product actually absorbs. Color Wow heat protectant is the one a lot of stylists recommend
- If your ends are fried, trimming is the real fix. Olaplex No. 3 hair perfector once a week helps prevent further breakage
- Do a 48 hour patch test before any new color product. Scalp sensitivity is real and worth testing
- Swap chunky block highlights for thinner babylights if you want a quieter grow out. Everyone is moving on from chunky slices toward more blended painting
- Buy glosses and demi-colors from official sellers to avoid fakes. For premium brands, also check Sephora or Ulta if Amazon listings look inconsistent
- Use a silk pillowcase the first three nights post-color to cut rub-off. It actually makes a difference with fresh reds
Frequently Asked Questions
Q: Will red highlights turn orange on my brown hair?
A: They can if the hair lifts to an orange base first. That is why many stylists lift to a pale gold then apply a red glaze for five to 10 minutes. If you see bright orange after lift, tone immediately rather than leaving it to oxidize overnight.
Q: Can I bleach over previously colored brown hair at home?
A: Lifting bleach over previous color is the single most common reason hair breaks off. This is a salon job, not a kitchen experiment. If you are committed, book a color correction and plan multiple sessions spaced weeks apart.
Q: How often should I use a red depositing conditioner?
A: Every three to four washes for maintenance, less if you prefer a subtle fade. Daily use tends to muddy the tone. Mixing the depositor half-and-half with your conditioner gives lighter refreshes.
Q: Is Olaplex No. 3 worth it for colored hair?
A: Yes for preventing breakage on color-treated lengths. Use it once a week after shampoo on damp hair for 10 to 30 minutes. Buy from the authorized seller on Amazon or at Sephora to avoid counterfeits.
Q: Can curly hair handle red highlights without drying out?
A: Yes if you use smaller sections, avoid overprocessing, and add a weekly bond builder or deep conditioner. My curls looked great on TikTok and like wet noodles by 11am until I added a leave-in cream under my gel. Layering products changes the outcome.
Q: How long will demi-permanent red gloss last over brown hair?
A: Usually six to eight weeks, depending on wash frequency and heat styling. Glosses fade gracefully and are a good choice if you want minimal lift and lower damage.
Q: What heat setting should I use to style red highlights without accelerating fade?
A: Keep heat between 300 and 350F depending on density. Always apply heat protectant to damp hair first. Frequent styling at higher temps will strip pigments faster.