If your curls look defined when you finish and then puff into a circle by lunchtime, this is for you. I started doing no part styles because my round face felt wider with a strong center line. These looks hide the part, create vertical lines, and give the illusion of length without heat every day. Below are 15 practical no part curly hair options I actually wear, with the things that failed for me and the exact tricks that worked.
These ideas work best for 2A through 4B curl patterns, with notes for fine versus dense hair. Expect beginner-friendly options and two that need a little technique, each style can be done in 5 to 40 minutes. Most looks are under $40 to DIY, a couple use a tool splurge. Reserve the salon for major cuts or color fixes, everything else is doable at home with patience.
No Part Wash-and-Go That Slims A Round Face
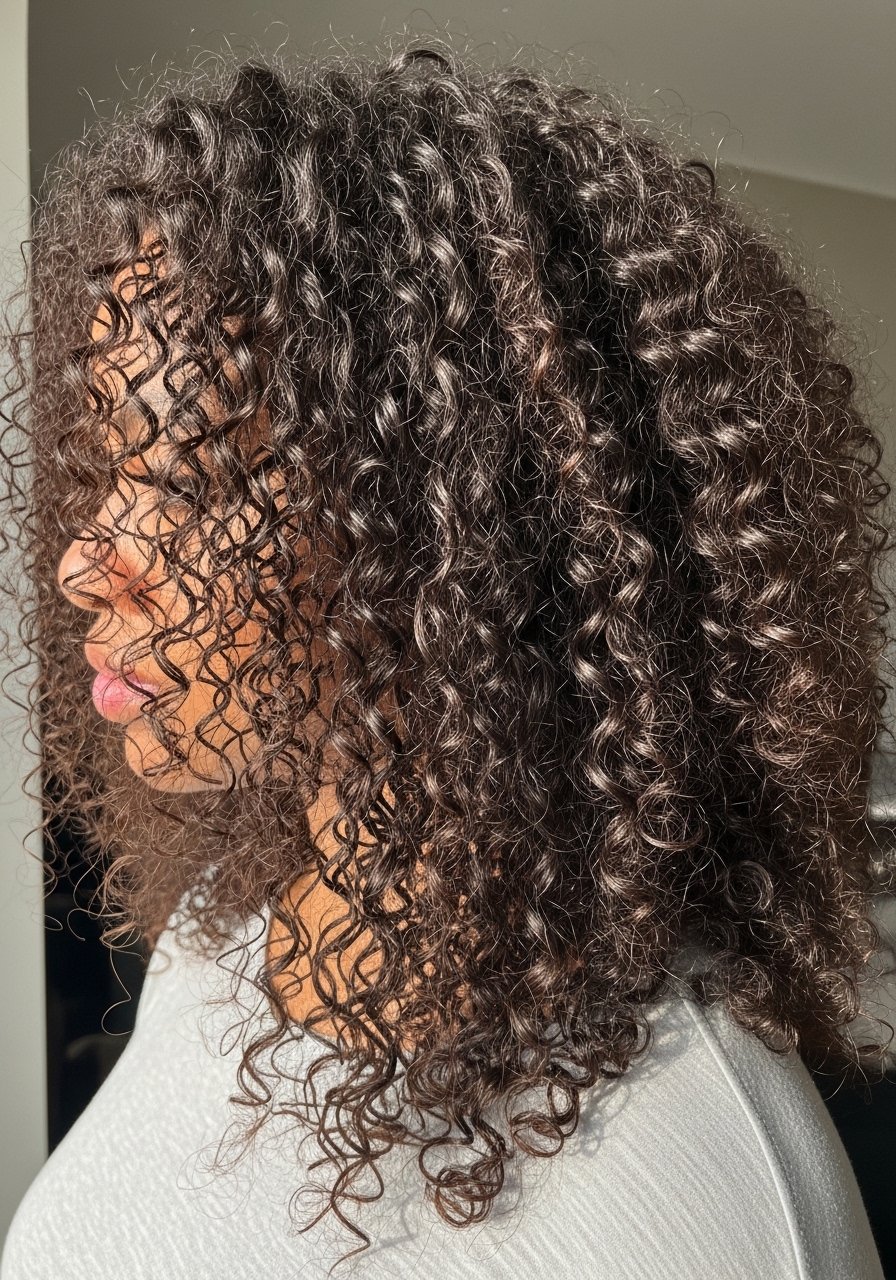
When my roots always puffed out, I stopped forcing a middle or side part. For a no part wash-and-go, I spritz leave-in on soaking wet hair in four sections, use two pea-sized pumps of curl cream per quadrant, then rake through with fingers and scrunch with a microfiber towel. This works best on 2B to 3C hair, fine hair should use half the product. Common mistake is towel rubbing, which creates frizz. For the result I diffuse on low heat and low speed until 70 percent dry, then air dry the rest. If you have colored hair, buy from the official store on Amazon to avoid counterfeits, or pick it up at Sephora.
Pineapple Sleep For Second-Day Shape

My curls looked great on TikTok and like wet noodles by 11am. Pineappling stops that because it preserves curl clumps overnight. Use a silk scrunchie, flip your head forward, gather hair loosely at the very top and secure so the hair sits like a crown. This is great for 3A to 4A textures and saves styling time the next morning. Mistake to avoid is tightening the scrunchie so much it creates a dent. For sleep protection, a silk pillowcase under the pony reduces friction and extends shape into day two.
Finger-Coil Frame To Avoid A Middle Gap
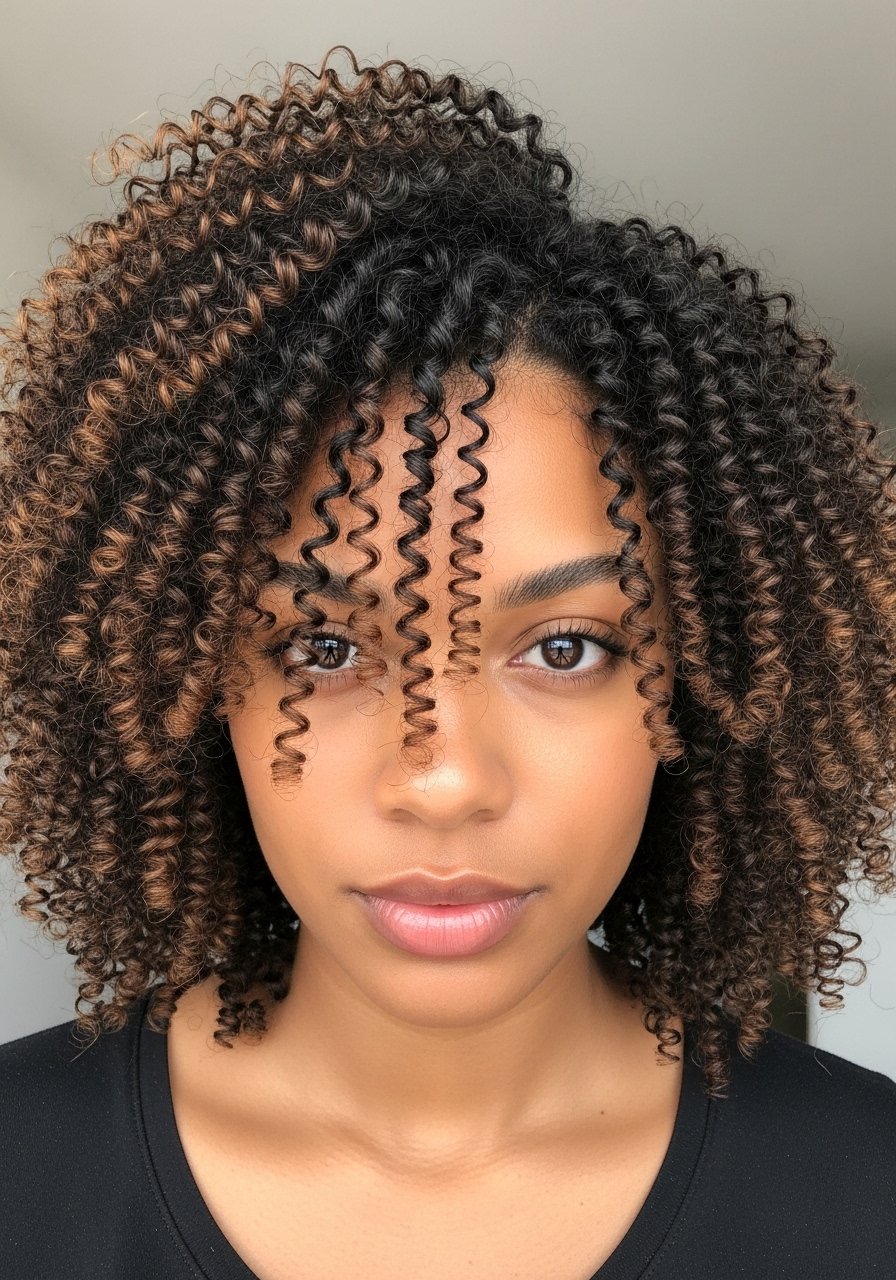
If you want defined framing without a visible part, do small finger coils at the front 6 to 10 pieces only. I twist each section around my finger for three to five seconds, then set with a light hold gel. This suits 3A through 4A hair and takes 10 to 20 minutes depending on how many coils you do. Common mistake is overusing product, which leaves crunchy build up. Use a pea to nickel size amount per coil, and lightly scrunch to soften the cast once dry. Pair this with the bond builder routine later if your ends feel brittle.
Crown Clip Volume That Lifts, Not Widens
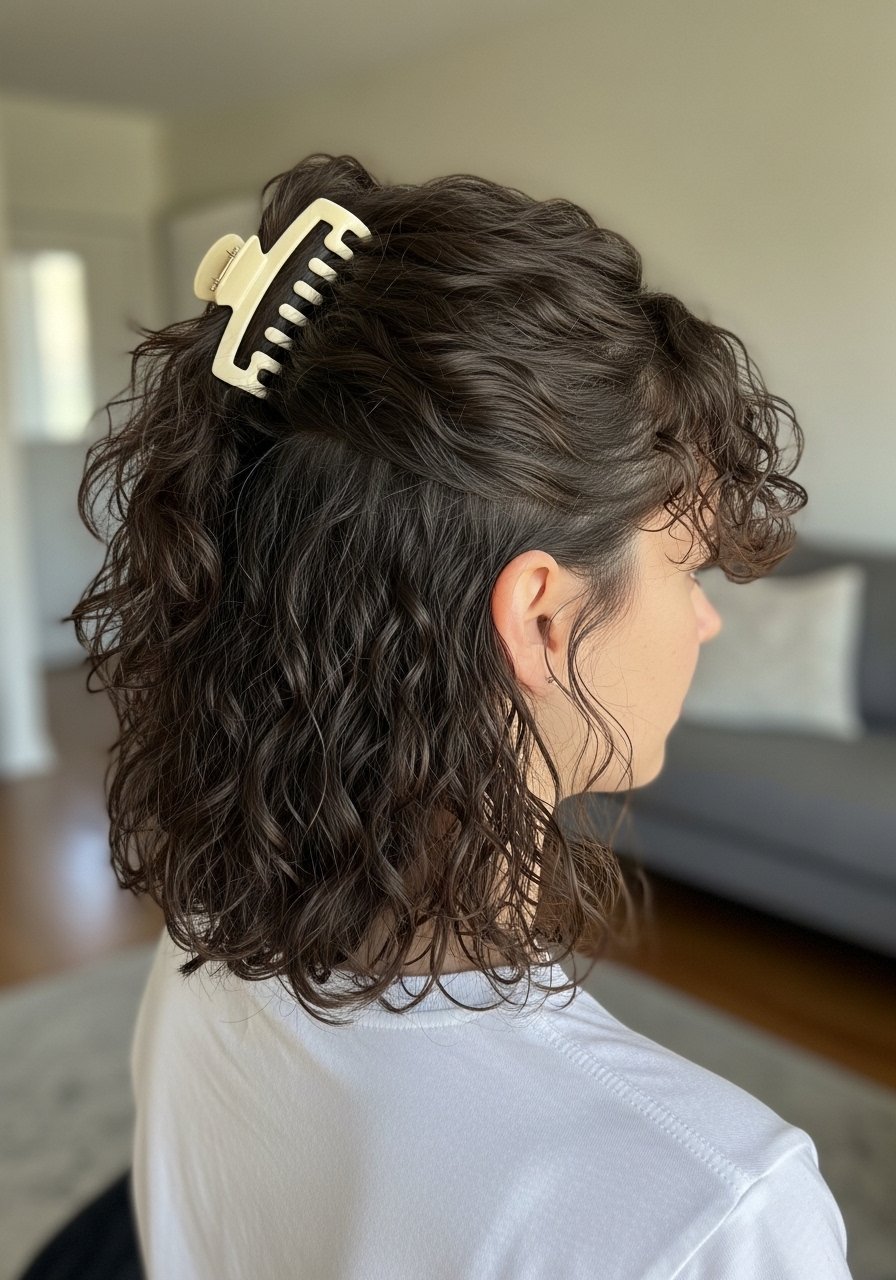
Pinned volume at the crown creates vertical height which lengthens a round face. Clip a 2-inch crown section back using a claw clip or two bobby pins, twist gently, and let the sides remain loose. This method is quick, two to five minutes, and great for 3A to 3C textures. A common mistake is clipping too close to the hairline which makes the top flat. For fine hair, tease one or two small sections at the roots with a wide-tooth comb for grip. This is DIY friendly and pairs perfectly with the headband tuck idea below.
Curly Bob With No Defined Part
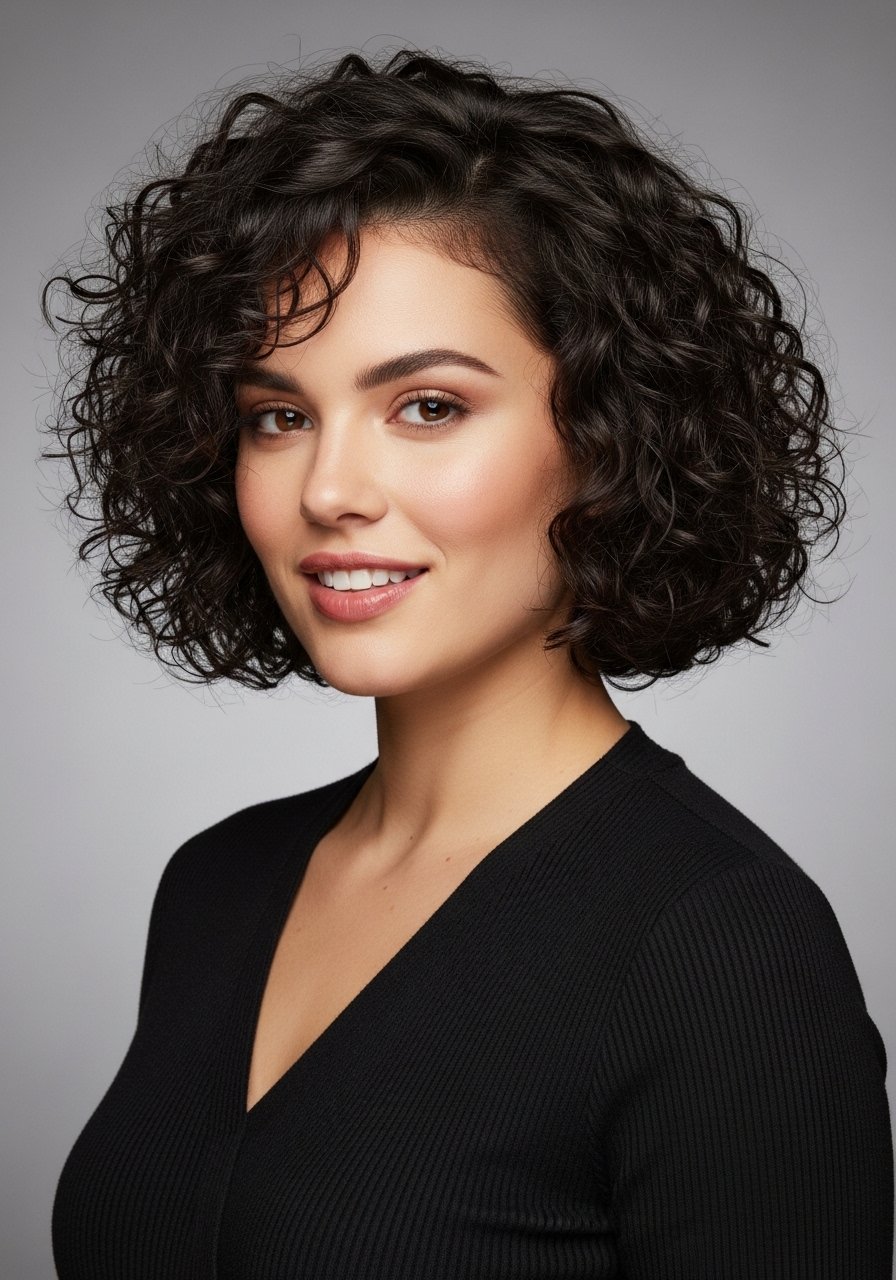
Shorter cuts need careful shaping to avoid rounding the face. Ask your stylist for longer front layers that drop below the chin and for them to avoid a heavy one-length line. At home, use a salt spray through damp hair and encourage the curl to drop forward with fingers while diffusing. This suits 2C to 3B curls and takes under 15 minutes to style. Warning, cutting or heavy reshaping is a salon job. If you buy a texturizing spray on Amazon, check reviews and buy from authorized sellers.
Headband Tuck That Narrows The Cheeks
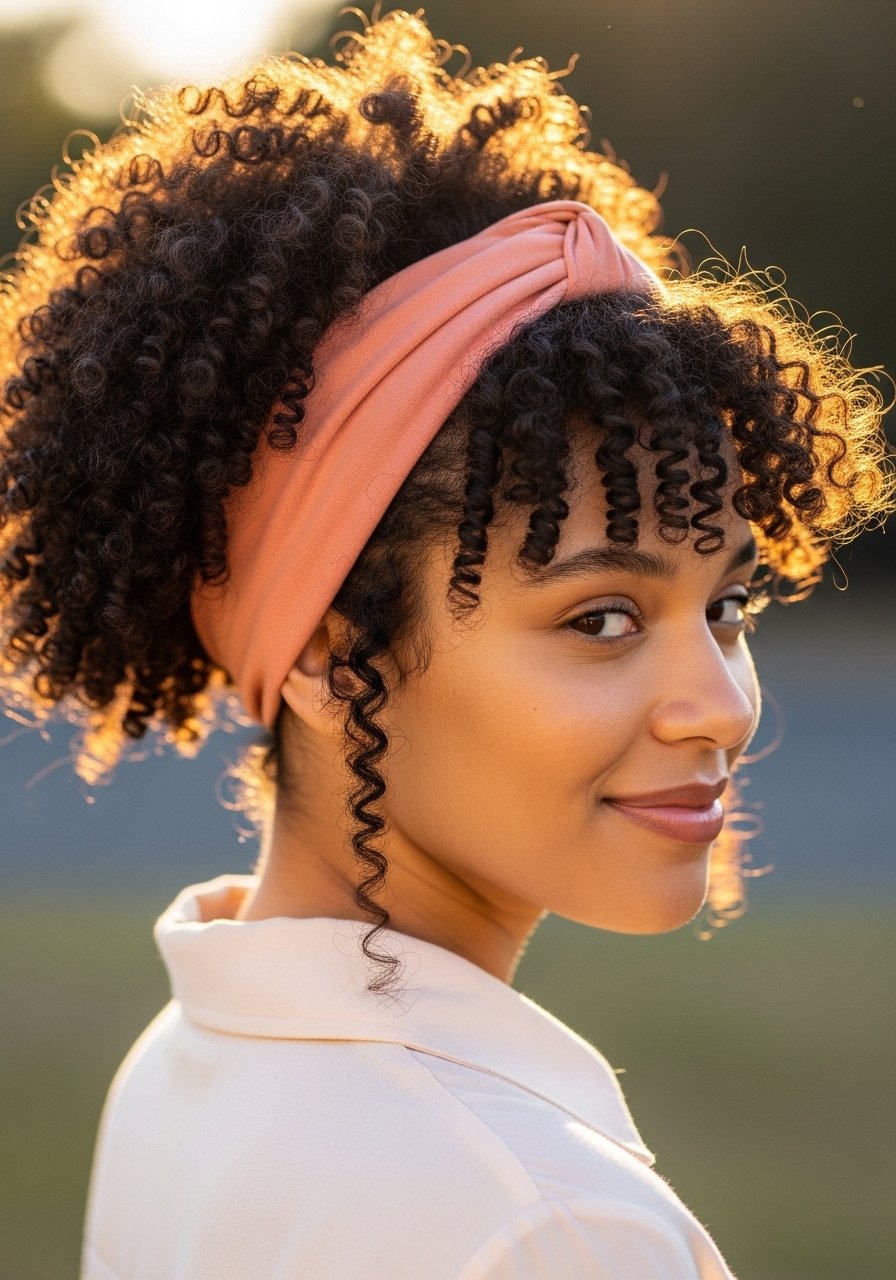
A wide fabric headband pushed back a half inch hides the part and draws the eye upward. Tuck the hair behind the band in two sections, then pull a few face-framing curls out to soften. This is a five minute quick fix, great for 2B to 3C hair. Mistake people make is using a thin elastic that dents the hair. Use a wide, cushioned band and swap it out for a silk one in bed if you plan to nap. This look plays nice with the clip volume trick above.
Robe Tie Heatless Curls For Soft Face-Framing
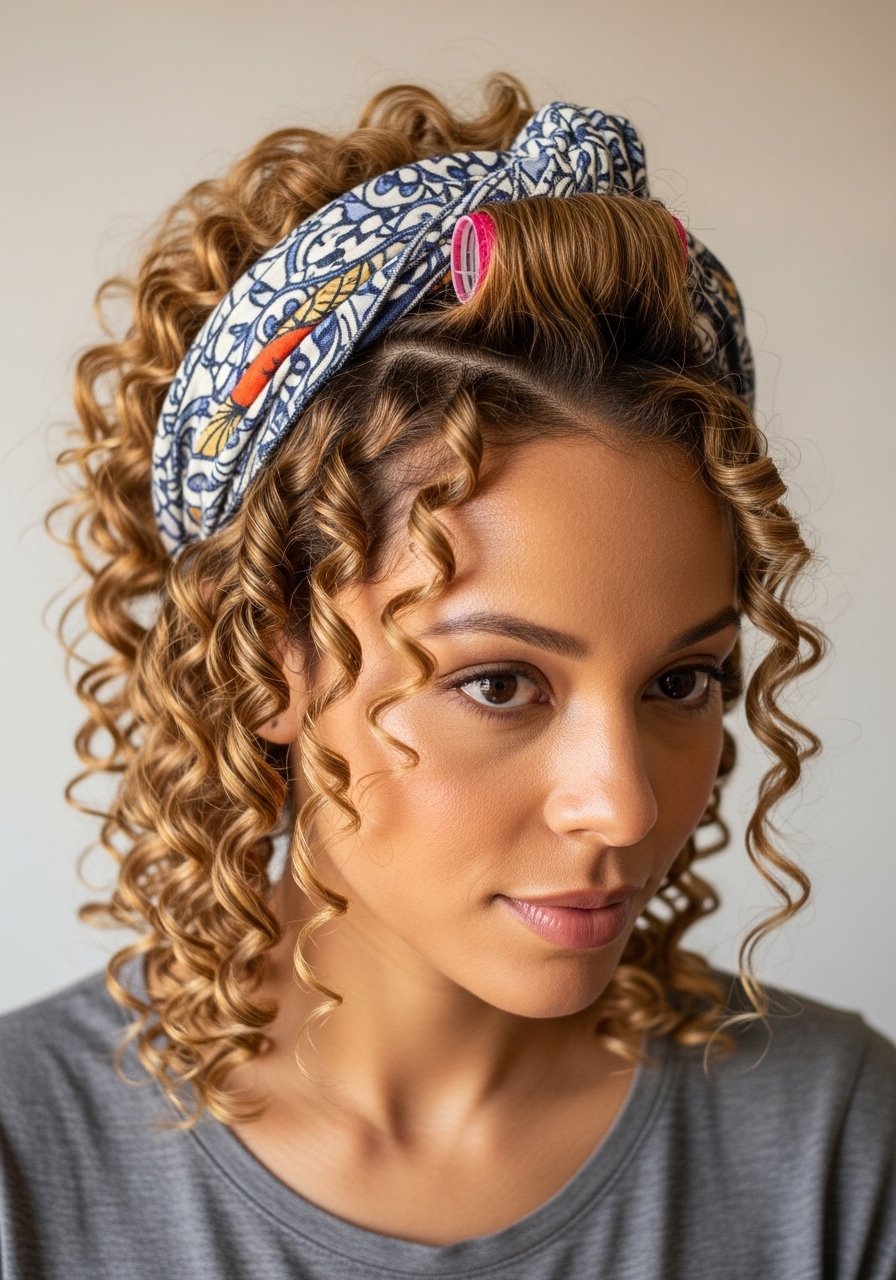
I learned the robe tie method after one too many blown out curls that flattened by noon. Divide hair into six sections, wrap each around the robe sash and secure with a bobby pin. Sleep on it and release in the morning for loose, natural waves that need little product. Works best on 2B to 3C when you want looser shaping around the face. Common mistake is under-wrapping, which gives uneven curls. This is a zero-heat option and a great match with the microfiber towel listed below.
What I Actually Buy For No Part Curly Days
Olaplex No. 3 hair perfector 3.3oz, use weekly to strengthen ends. Buy from the official store on Amazon to avoid counterfeits, or grab it at Sephora.
A silk pillowcase queen under $25, this cuts morning frizz.
A microfiber hair towel for scrunch drying, one of the cheapest game fixes.
A wide claw clip medium for quick crown lifts.
Denman brush classic 7-row for defining coils on thicker curls.
Color Wow heat protect spray spray, use before any iron over 300F.
SheaMoisture curl enhancing smoothie 12oz, a good budget cream for most curl types.
Flexi rods set for heatless defined curls, comes in mixed sizes.
A silk scrunchie pack to pineapple without dents.
A lightweight gel clear hold under $15, good for defining without crunch.
Gel Under Cream Layer For Longer Hold
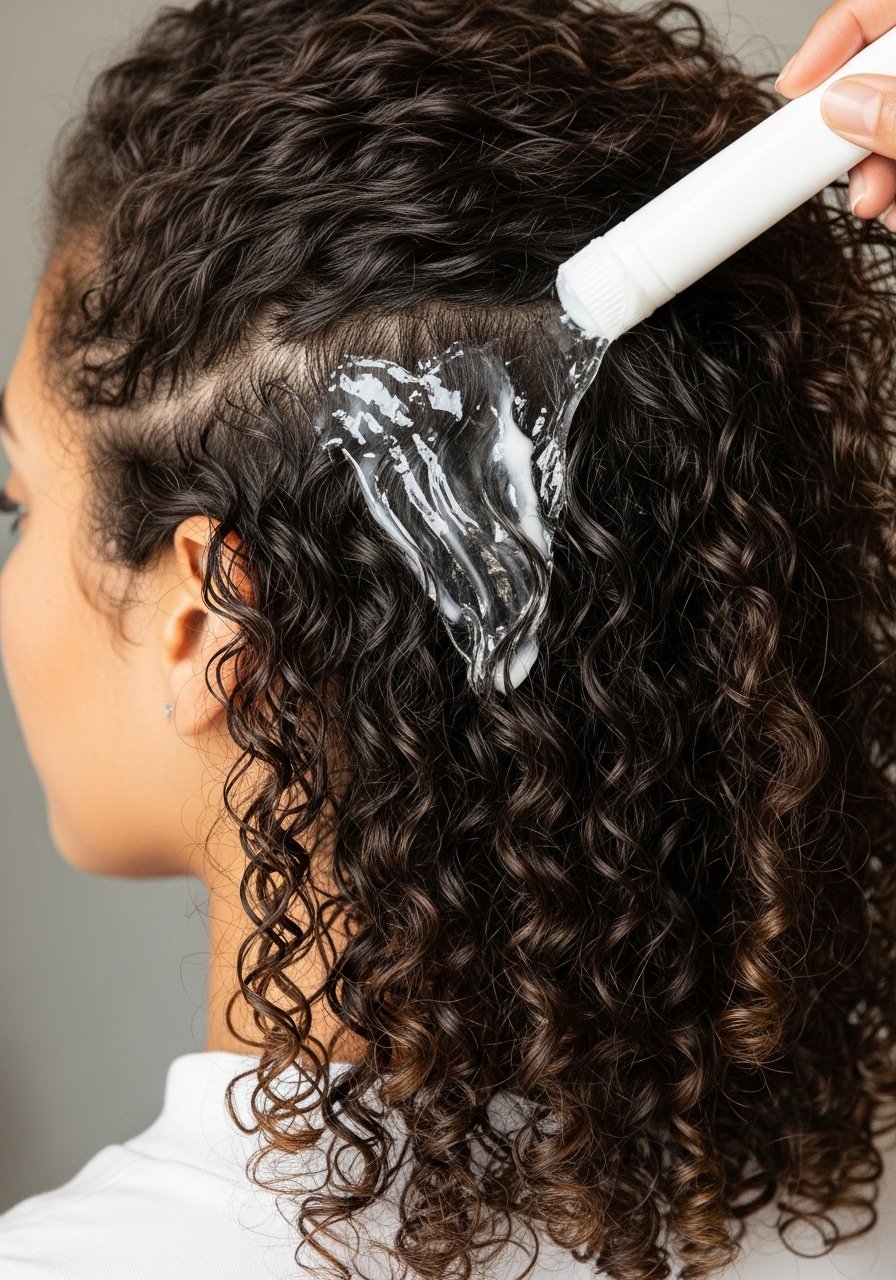
Switching from gel-only to cream under gel stopped my midday frizz. The LOC method applies leave-in, oil, then gel. I tweak it for no part styles, I do leave-in plus a nickel-sized amount of curl cream through damp hair, then two palms of light gel smoothed over the top. This approach suits 3A to 4B, and it cuts the wet noodle look by forming a soft cast that you break gently once dry. Common mistake is using too much oil which weighs fine curls down. Try 80/20 product placement, concentrate heavier creams on mid-lengths and ends, not roots.
Root Stretch With Low Heat Diffuse
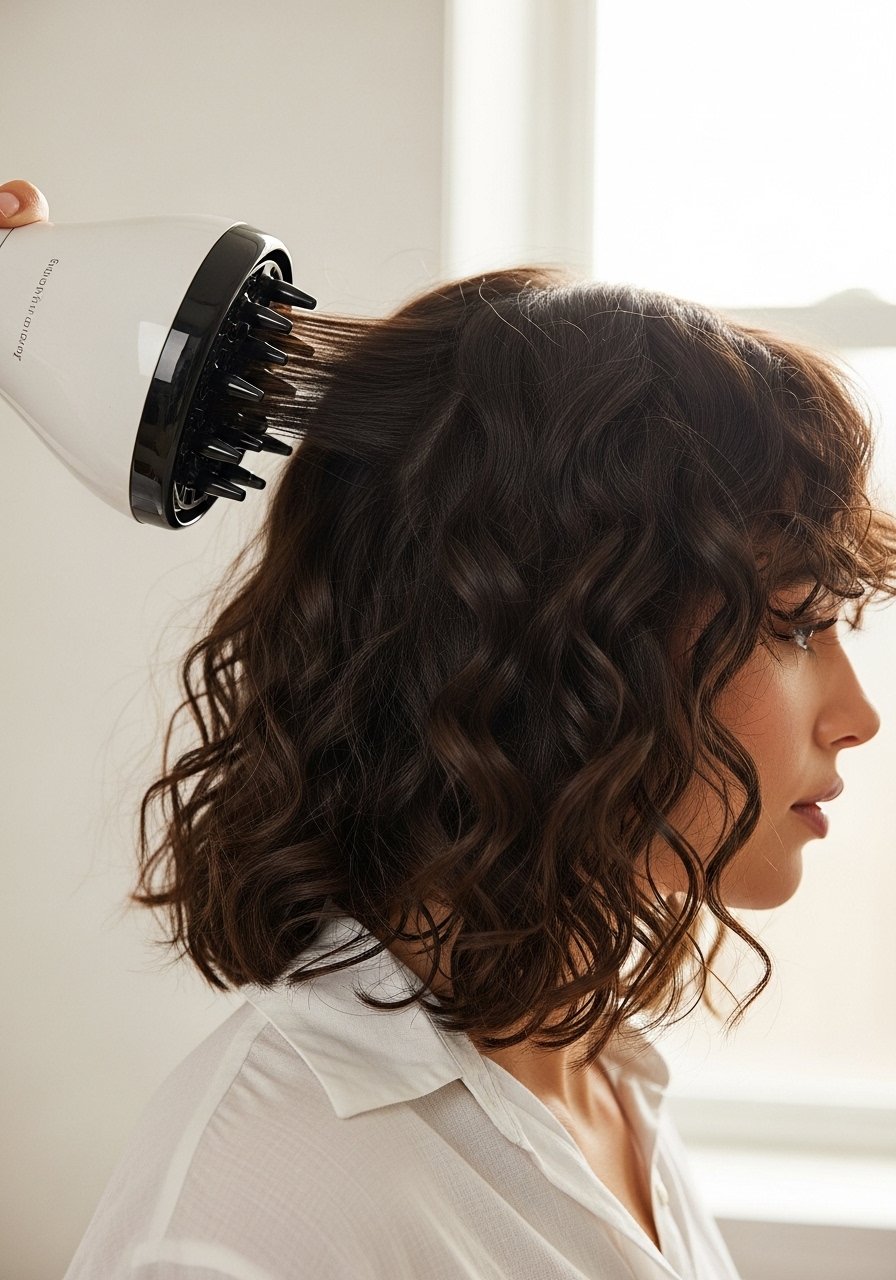
If your curls shrink and make your face look wider, stretch the root area. Flip your head forward, use a diffuser on low heat and low speed focusing at the root for 60 to 90 seconds per section, then finish by cupping curls to set. This works for 3A to 3C hair and takes 10 to 20 minutes. Damage note, always apply a heat protectant before using any heat tool over 300F, and do not keep the dryer in one spot. Too much heat or speed roughens the cuticle and creates frizz.
Slick Back Wet Look Without A Middle Line
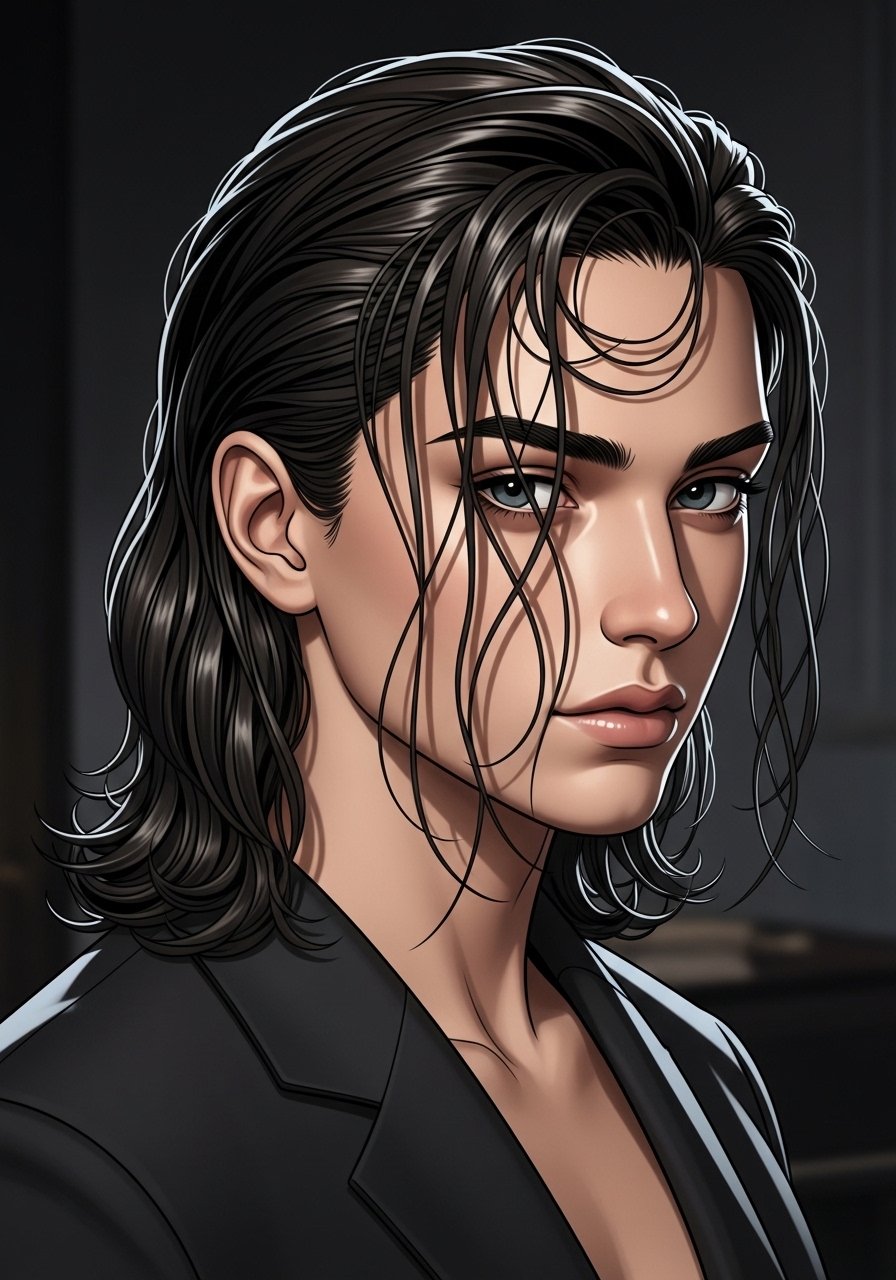
For a sleek no part look that still reads curly, smooth a lightweight gel on damp hair, comb back from the forehead with a wide-tooth comb, and clip the sides briefly to set while drying. This creates vertical lines that slim the face. Best on 2B to 3B hair and takes under 10 minutes. Common mistake is using a heavy pomade which flattens curls. If your hair is fine, mist lightly with water as you work to keep the hold even and avoid flaking later.
Half-Up Twist That Keeps No Visible Seam
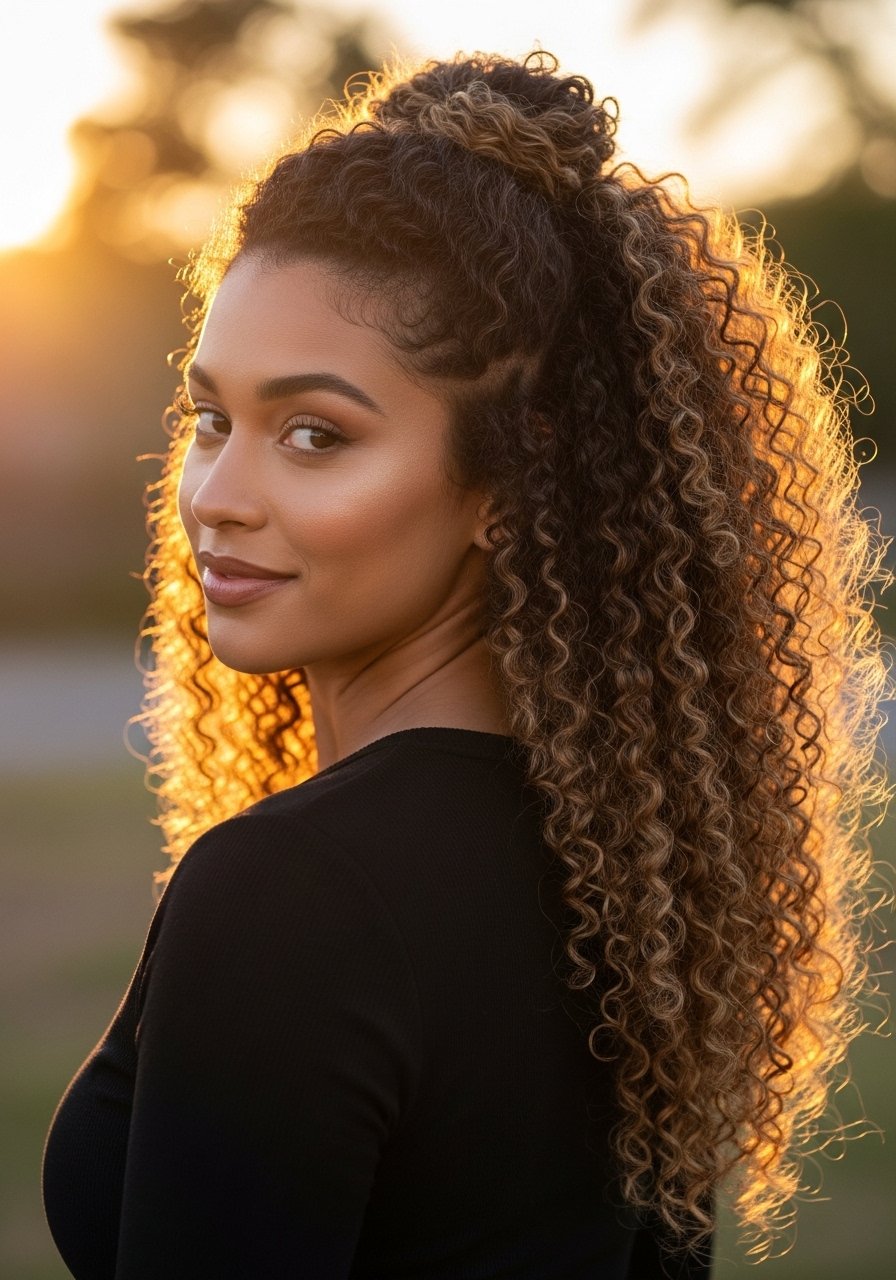
The half-up knot covers the part while keeping shape. Gather the top half in two sections, twist together loosely and pin at the crown. Pull a few face-framing curls forward to avoid a hard line. Works on 2C to 3C and takes five minutes. Mistake to avoid is over-twisting which creates a dent. For thicker hair, use two pins. This method goes well with the crown clip volume from earlier if you want more lift.
Short Pixie Curl No Part Styling
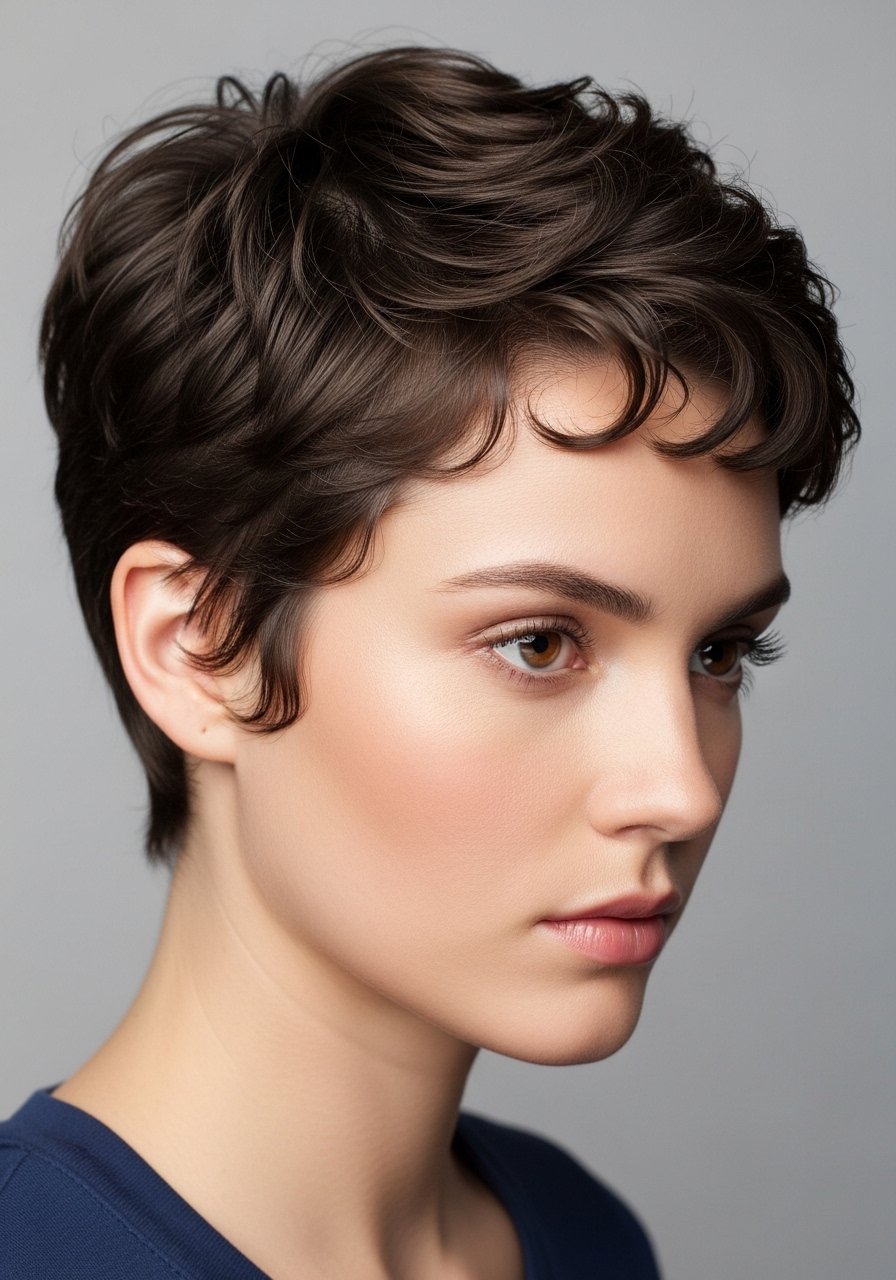
Short curls can still be no part, you just need texture and direction. Use a curl cream dabbed between fingers to style small sections forward and up to create vertical lines. This suits 3A to 3B and is a 5 to 10 minute morning routine. A common mistake is applying product to dry hair, which can look greasy. Apply to damp hair and let air dry or blast briefly with a diffuser on cool. A salon cut with graduated layers helps this style last longer between trims.
Long Twist-Out With Face-Lengthening Layers
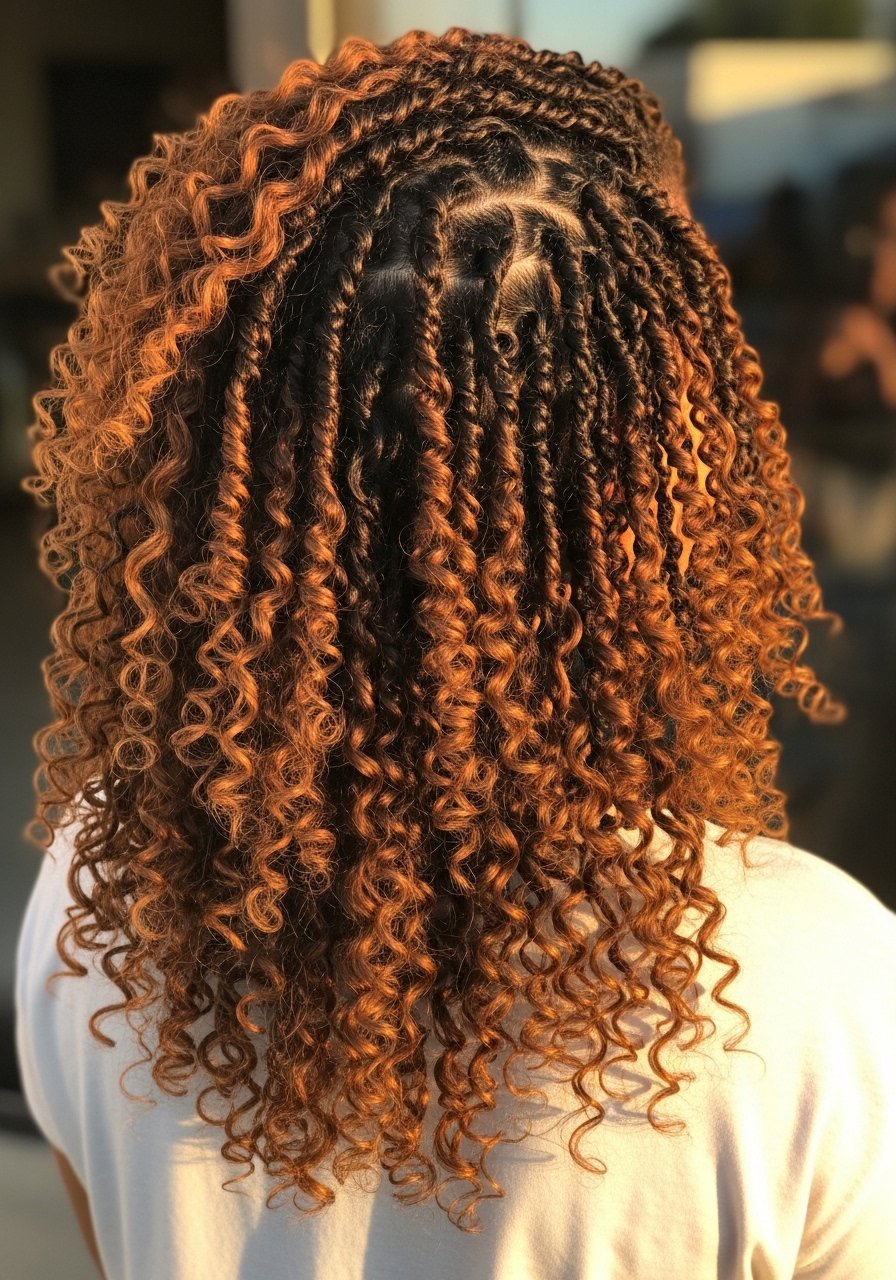
For long hair, twist-outs give controlled volume without a part. I do 12 to 20 medium twists, leave overnight, unravel in the morning and separate with fingers only. This creates elongated panels that slim a round face. Works for 3B to 4A and takes one evening plus a few minutes morning fluff. Mistake to avoid is untwisting too soon, which makes frizz. Use a light oil at the ends if they look dry. Pair with the bond builder routine below if your ends are brittle.
Face-Framing Layers That Drop The Width
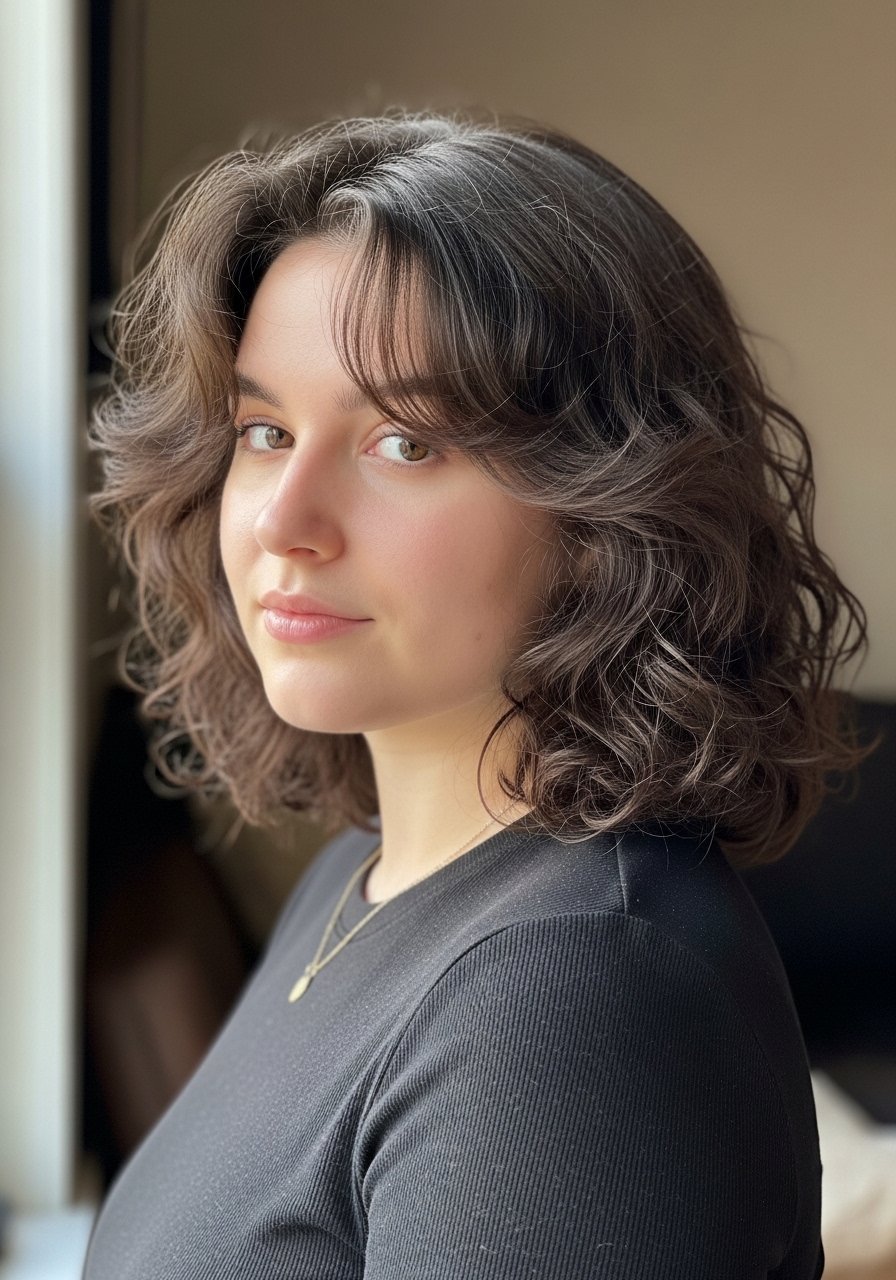
A haircut with longer front layers is the single easiest salon change to make a round face look oval. Ask for face-framing layers that start at or below the cheekbones and avoid heavy blunt front lines. This is a salon job and the cut is worth the cost if you want a permanent fix. After the cut, style with a cream and light gel combo and avoid heavy root products that add width. If you are coloring the front pieces, do an allergy patch test for any high-acid product.
The Weekly Bond Builder That Keeps These Looks Bouncy
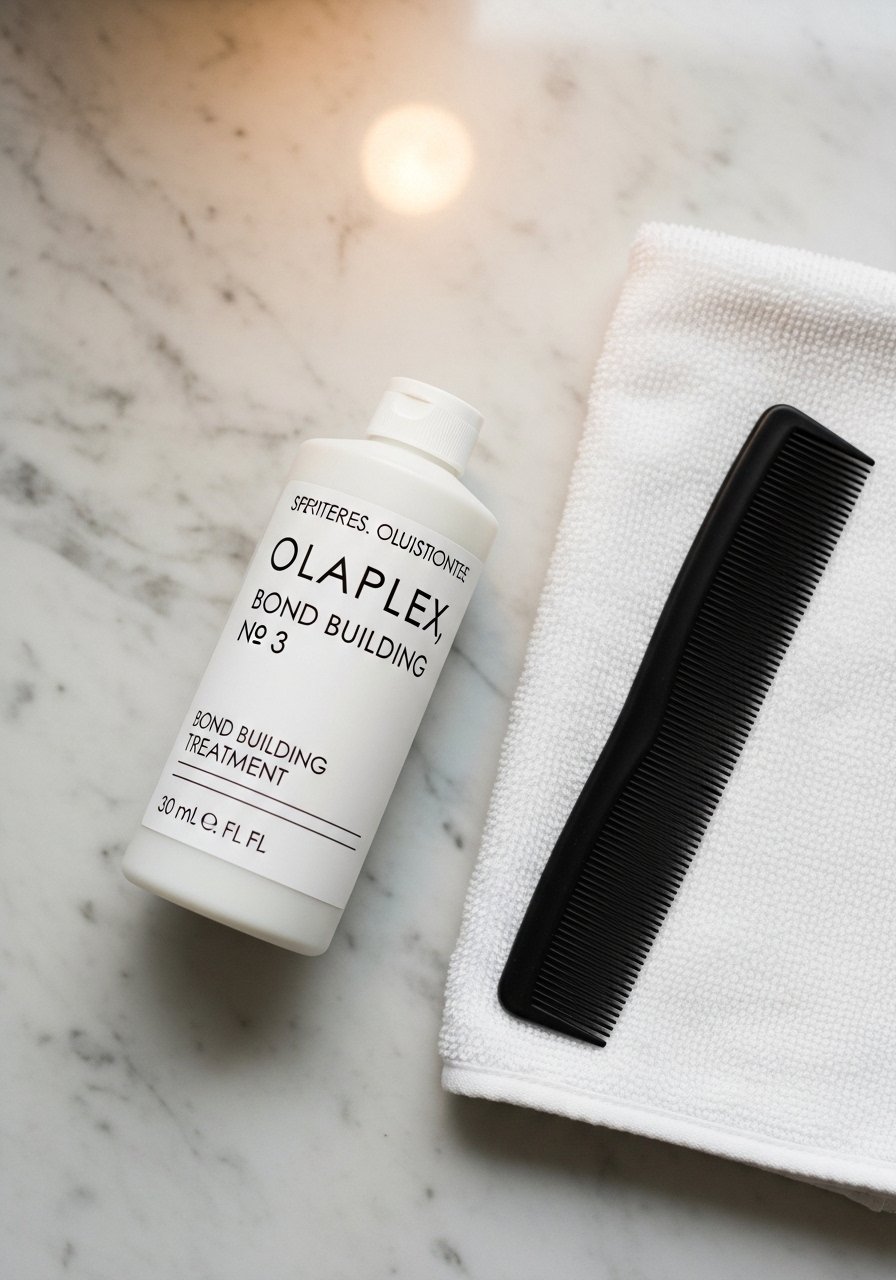
When my ends started splitting after switching routines, using a bond builder weekly stopped the visible damage. Apply to damp hair, comb through, leave on 10 to 20 minutes and rinse before conditioning. Hair grows about half an inch a month at most, regardless of what biotin gummies promise you, so preventing breakage matters more than chasing fast growth. This helps 2B to 4B textures retain length and keeps no part styles looking finished. If you buy Olaplex, get it from the official Amazon store or a salon to avoid counterfeits.
What I Wish I Knew Before I Stopped Parting My Curls
- Heat protectant goes on damp hair, not dry. The cuticle is more open and the product actually absorbs. Color Wow heat protect spray is what I reach for before any heat tool.
- Grab a microfiber hair towel. It cuts your blow dry time and stops the frizz before it starts.
- Drugstore shampoo is fine. Where you should spend is conditioner and the occasional bond builder. Olaplex No. 5 conditioner replaces a $40 salon conditioner for damaged hair.
- Hair grows about half an inch a month at most, regardless of what biotin gummies promise you. To keep length, focus on reducing breakage with a silk pillowcase queen and weekly bond treatments.
- Swap the gel-only routine for a cream plus gel layer if your curls flatten by midday. It fixed my second-day shape.
Frequently Asked Questions
Q: Can no part styles work if I have a round face?
A: Yes, no part styles work well because they remove the horizontal line that emphasizes width. Focus on vertical face-framing pieces, crown lift, and longer front layers. Avoid heavy blunt lines at the jaw. Techniques in this article like crown clip volume and face-framing layers are especially helpful.
Q: How often should I use a bond builder like Olaplex No. 3?
A: Once a week is my sweet spot if you style with heat or color. Leave it on 10 to 20 minutes before shampooing. If hair is severely damaged, consult a trusted salon or a trichologist for a plan, and buy from the official seller on Amazon to avoid counterfeits.
Q: Will skipping a part make my roots look greasy faster?
A: If you concentrate product at the roots, yes. The 80/20 product placement rule helps, put heavier creams on lengths and ends, keep roots minimal. For fine hair, use lighter leave-ins and avoid oil on the scalp.
Q: Can I do these styles with Type 4 hair?
A: Many of these ideas translate to Type 4 with adjustments. The robe tie and flexi rod heatless methods give great definition, and the bond builder routine is helpful. For very tight coils, expect longer dry times and more product to define individual sections.
Q: How do I stop my curls from frizzing midday?
A: Layer a cream under a light gel, avoid towel rubbing, and sleep on a silk pillowcase. Refresh with a water spray and a tiny dab of cream or a few scrunches. For humidity, a finishing anti-humidity spray helps.
Q: Is it safe to lift color to get face-framing pieces at home?
A: Lifting over previous color can cause breakage and uneven tone. This is a salon job, not a kitchen experiment. If you are set on DIY, do a strand test and consider booking a professional for major changes.