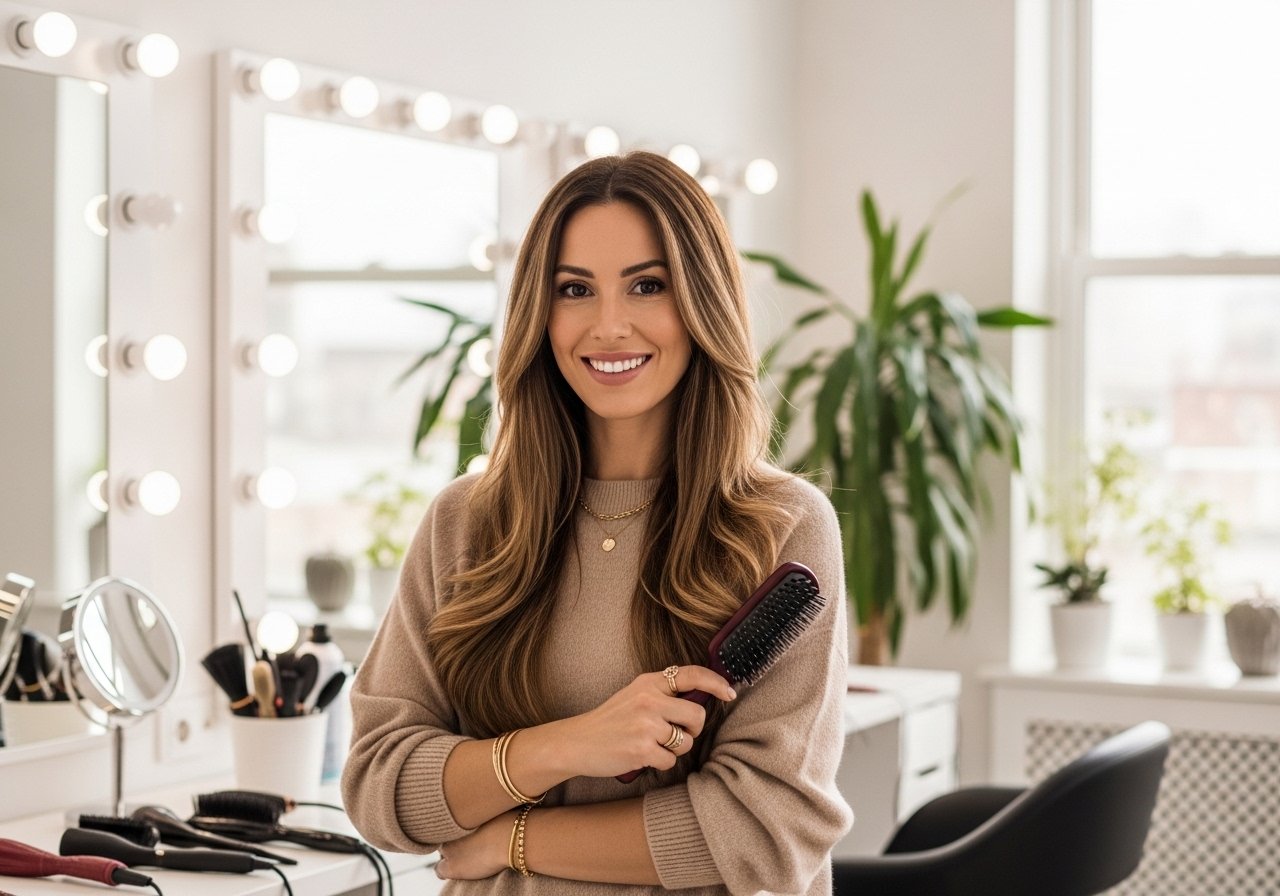
I sat in my bathroom mirror holding a foil packet and thought, I can totally do low lights myself. Two hours later I had stripes that read like a bad 90s dye job. After a real stylist fixed it, I learned how subtle placement and the right demi color make low lights hair cute instead of flat. Below are the looks and fixes I actually tested on friends and my own hair so you do not repeat my mistakes.
These ideas suit mid-length to long hair best, but I flag when a short cut or tight curl benefits. Skill ranges from easy at-home touch-ups to salon-only color corrections, and most looks take 20 to 90 minutes depending on technique. Budget ranges from a $12 demi color for at-home blending to a $150 salon gloss for a long-lasting finish. A few ideas are low-effort DIY. Others I recommend booking if you already have uneven color or previous bleach.
Soft Face-Framing Lowlights For Fine Hair

Fine hair hates heavy color chunks. The trick I learned is 1/8 inch slices, painted behind the front strands so you get depth without pulling weight forward. Use a demi-permanent deposit-only shade about one to two levels darker than your base and leave it on for the brand's minimum time. For me, two tiny foils on each side, placed behind the face, did more to frame than a full head of highlights. Avoid saturating the mid-lengths if your ends are fragile. A common mistake is overlapping color too close to the roots, which can look banded. If you have any scalp sensitivity do an allergy patch test 48 hours before. For weekly upkeep, a gentle color-safe conditioner keeps the lowlights from flattening.
Warm Caramel Lowlights On Medium Brown Waves
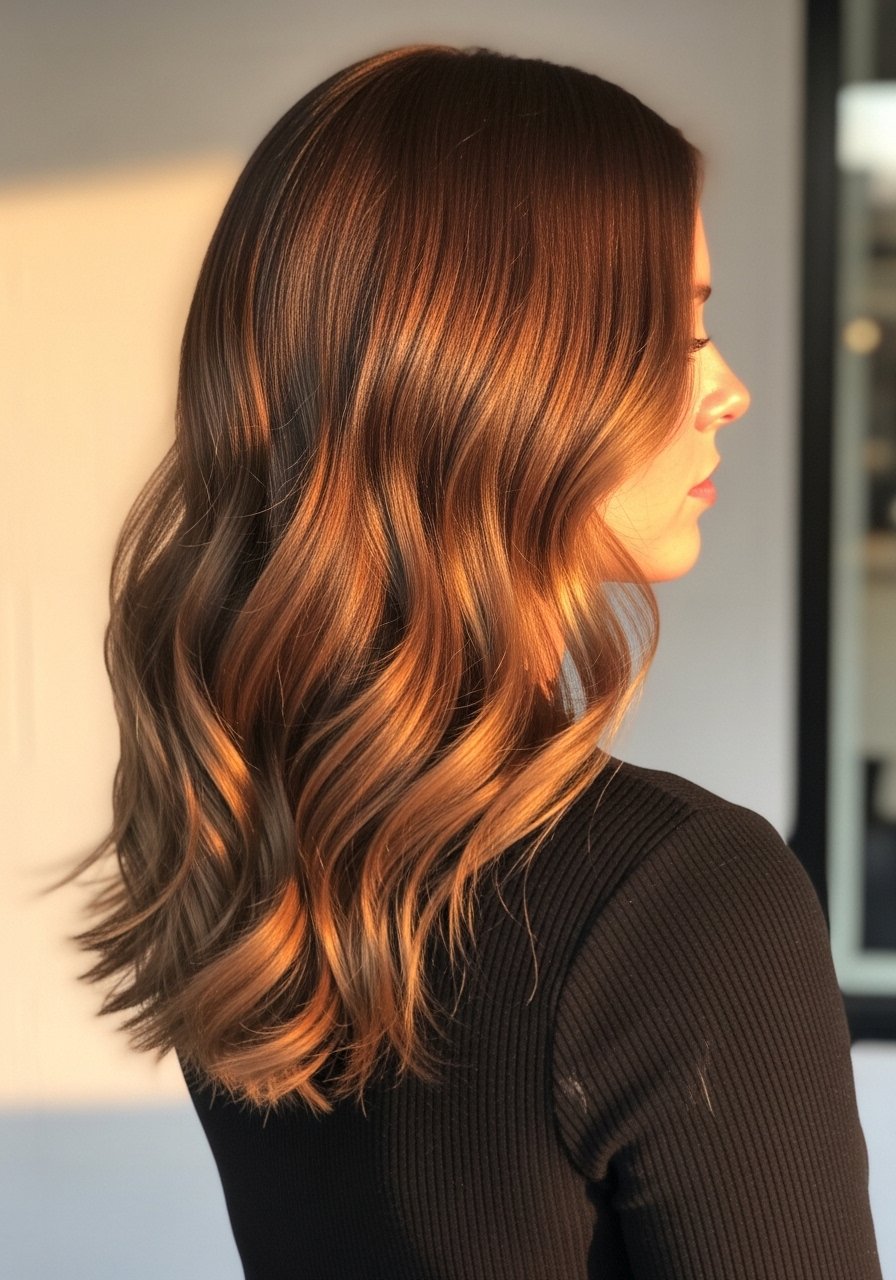
If your waves go flat with an all-over brown, weaving thin caramel lowlights creates a soft 3D effect that keeps movement visible. I alternate placement every third section and use a smaller tail comb to pick up 1/4 inch pieces so the waves read dimensional, not striped. For product, two spritzes of a sea-salt texture spray through damp hair before diffusing really helps the pieces separate. My curls looked great on TikTok and like wet noodles by 11am. To keep the warmth honest, wash with cool water and a sulfate-free color-safe shampoo every three to four washes. Salon glosses last longer, but this is one of the easier DIY options if you stick to demi shades.
Cool Ash Lowlights To Neutralize Brassy Blonde

When blond drifts warm, adding lowlights in cool ash tones can neutralize brassy sections without re-bleaching. This is delicate on porous hair. Test porosity first by dropping a clean strand in a glass of water. If it floats for four-plus minutes you likely have low porosity and need gentle heat to open the cuticle. Most stylists apply a demi ash at the mid-lengths only, leaving root and tip alone, and rinse at 5 to 10 minutes to avoid over-depositing. Olaplex No. 3 helped my brittle mid-lengths after too much correction. Buy Olaplex from the brand or an authorized store to avoid fakes. Do not lift over previous lightenings at home. If you think you need to, book a salon session.
Chunky Lowlights For Thick Curly Hair

Thick curls take color differently. I found that wider pieces, about 3/4 to 1 inch, give more dimension and prevent the lowlights from disappearing. Section hair into four quadrants and work two to three chunky pieces per quadrant, placed deeper in the curl body so the face stays bright. A common mistake is over-saturating tight coils with dark color which can flatten the spring. If your hair is color-treated but strong, use a demi formula and Rinse at 7 minutes. For maintenance, layer a leave-in cream under a light gel using the LOC method to lock in pattern and keep color from frizzing. If your scalp is reactive do a patch test.
Shadow Root Lowlights For Grown-Out Color
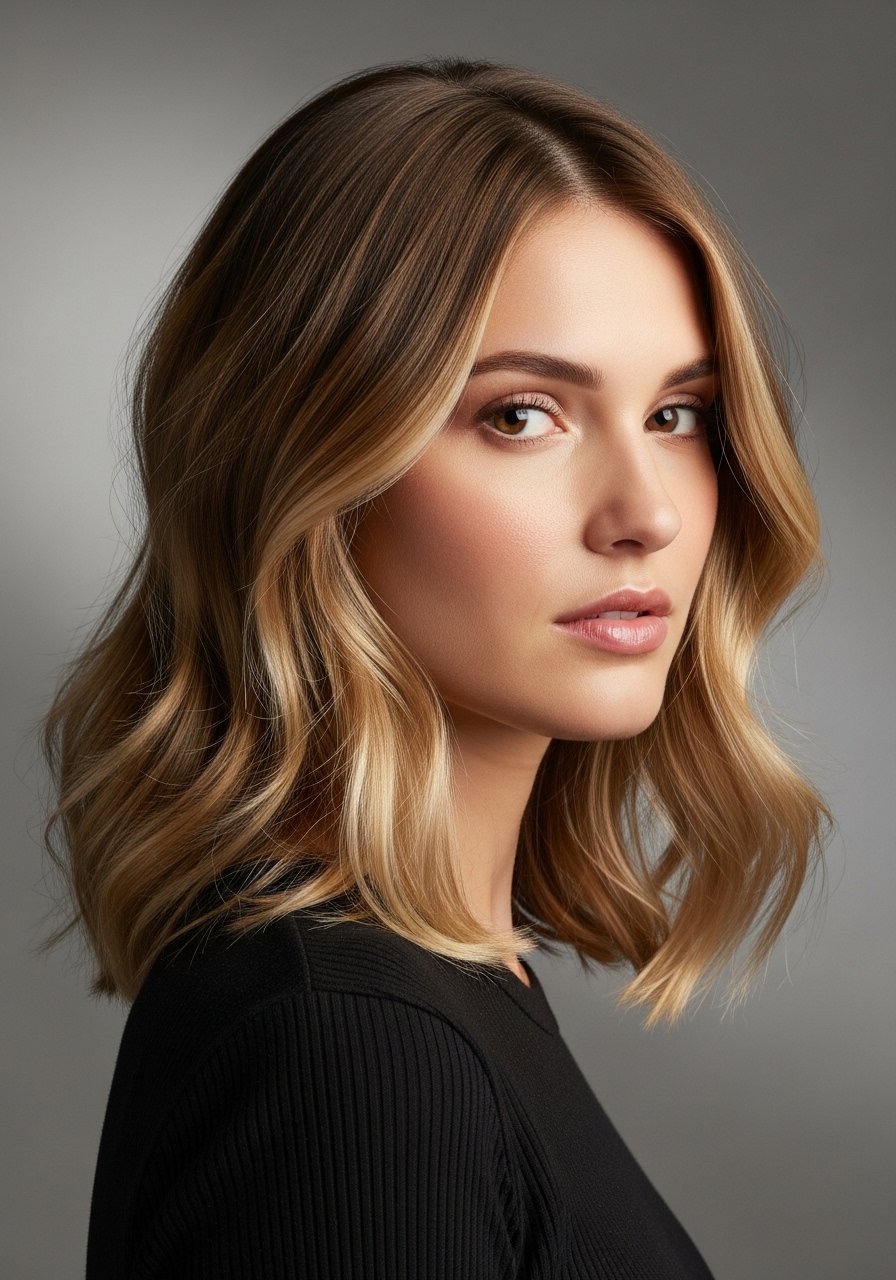
Shadow roots are not just for blondes. Painting a soft lowlight into the root area from the part out about two inches gives the grown-out line a lived-in look. Use a brush to backcomb at the root for 20 to 30 seconds before painting to feather the color. A lot of people mistake a solid root for a shadow and end up with a hard line. Keep the developer low, like 10 volume or a deposit-only dye, and heat is not needed. This is a great salon-level fix for reducing the number of appointments. If you try it at home, work in four sections and blend with a wide-tooth comb to avoid obvious starts and stops.
Front-Frame Lowlights For A Flattering Money Piece

A money piece does not have to be lighter. Darker framing pieces can sharpen cheekbones and add instant contrast. Paint two slim panels about 1/2 inch wide on either side of the face and blend the edges with a micro-brush. The trick is to use a color one to two levels darker and wipe the excess product off the face-framing strands after 3 to 5 minutes so they do not read heavy. People often overdo the width and end up with too much darkness, which can make the face look smaller. If you dye at home, use gloves, patch test, and mirror both sides to stay symmetric.
Dimensional Lowlights For Short Cuts And Lobs
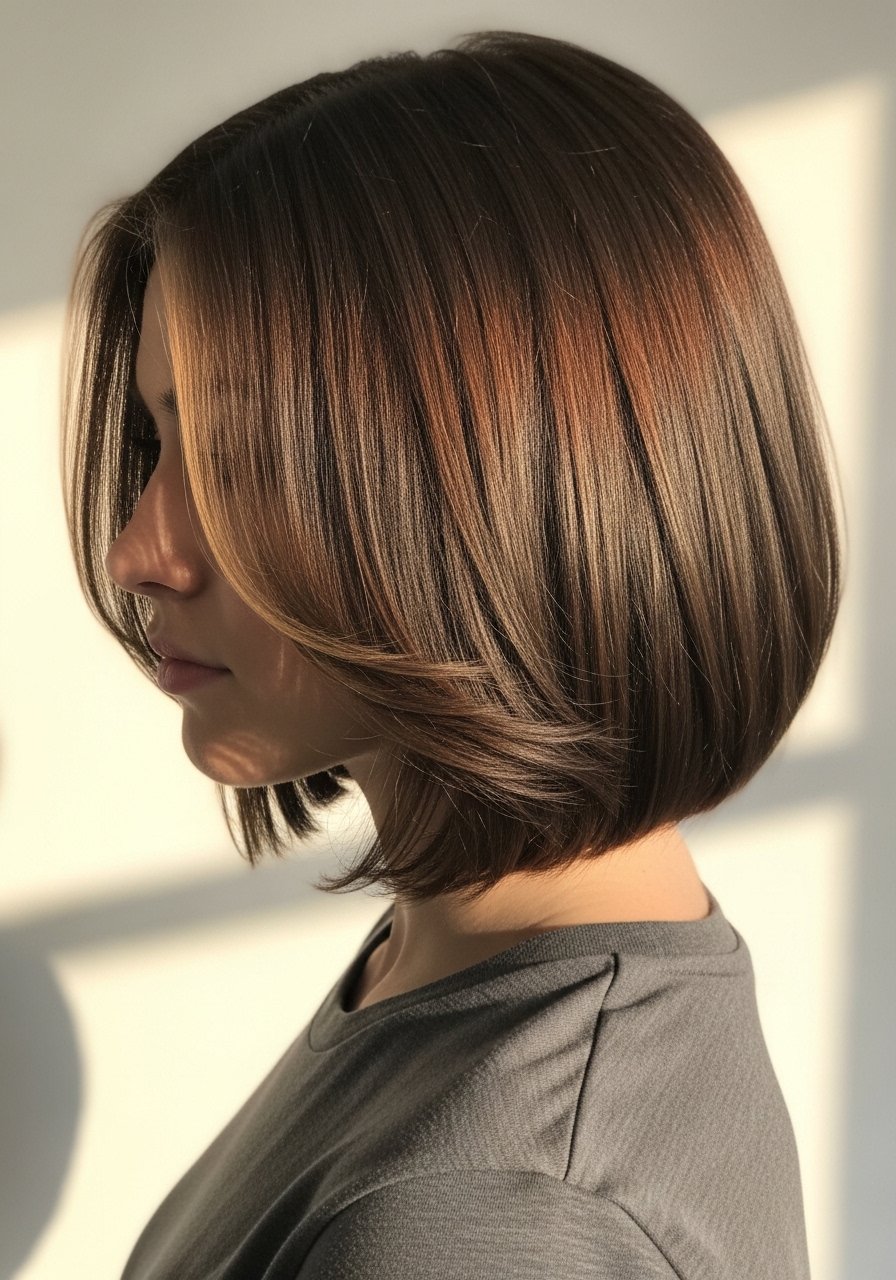
Shorter lengths still benefit from depth. On a lob or pixie, place tiny lowlights at the crown and behind the ears to create volume illusion. Use micro-slices no wider than 1/8 inch and alternate them with untouched hair. A single session can take only 20 to 30 minutes. A common salon versus DIY trap is over-depositing around the crown which reads patchy. If you want to touch this up yourself, mix the demi color with a brush and wipe the inner slice quickly so it blends. Finish with a pea-size of matte paste to separate the pieces and show dimension.
What I Keep In My Low-Light Touch-Up Kit
- Honestly the one thing I always keep is a demi-permanent touch-up dye for lowlights, like Clairol Natural Instincts demi-permanent color for tiny deposits between salon visits.
- A travel pack of Olaplex No. 3 hair perfector, buy from the brand or authorized seller to avoid counterfeits.
- Color-safe sulfate-free shampoo 8oz for gentle washes that do not strip lowlights.
- A microfiber hair towel to cut dry time and stop frizz.
- A wide-tooth comb for detangling wet color-treated hair without breakage.
- A heat protectant spray to use any time you go over 300F with a hot tool.
- For home spacing and blending, a set of small aluminum color foils and a micro brush.
- A silicone brush guard or styling paste for short cut separation.
Lived-In Lowlights For Greying Blends
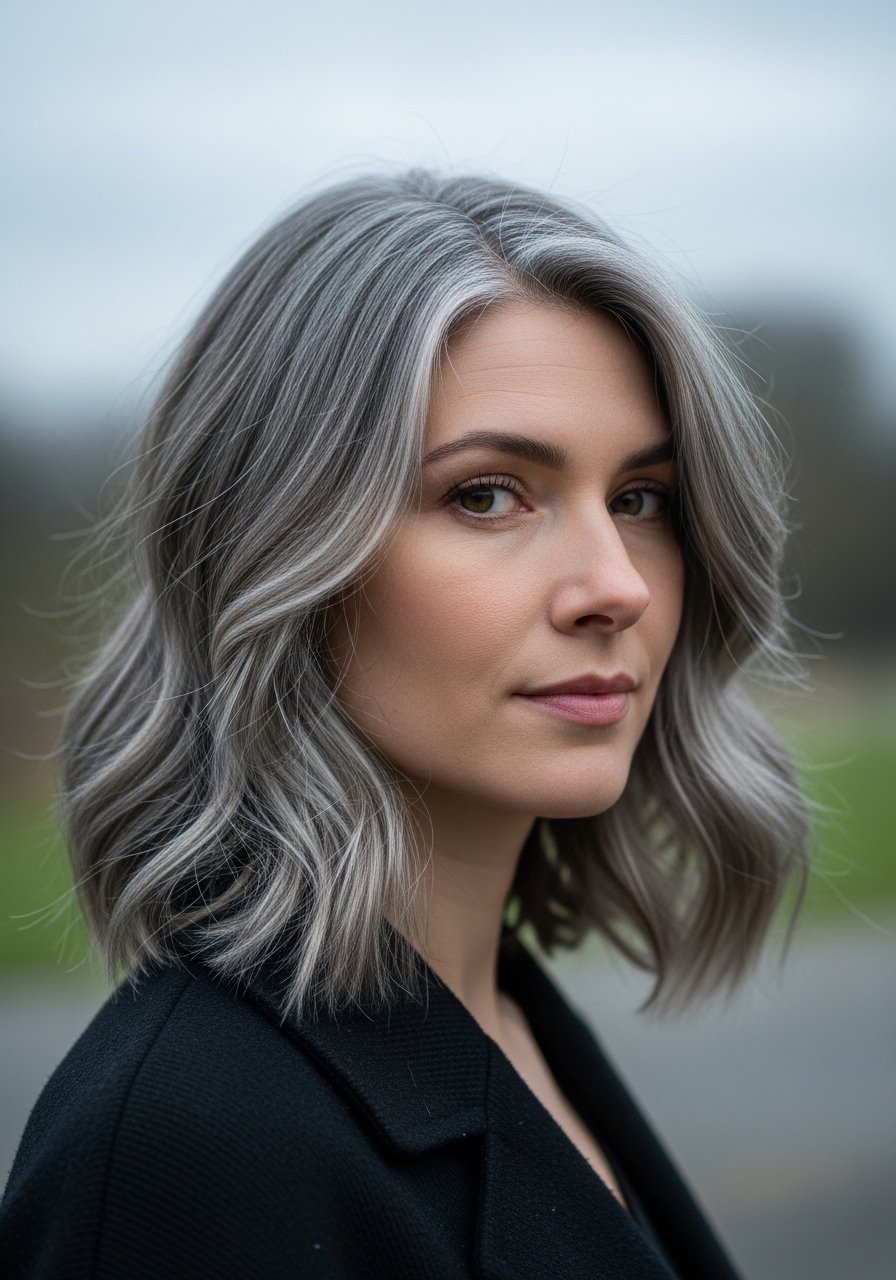
Grey coverage does not always mean full dye. Soft lowlights blended through the part and temples can visually reduce the stark regrowth line while keeping movement. Use a semi-permanent shade close to your natural depth and hand-paint thin pieces into the grey clusters. The real win is stretching salon visits to 10 to 12 weeks. A mistake I see is trying to fully cover grey with a lightweight dye, which looks flat fast. If you have sensitive scalp, do a 48-hour patch test, and if you have large areas of white hair expect the color to take differently. Most stylists will agree a blended approach looks more natural.
Low Lights That Make Fine Straight Hair Look Fuller
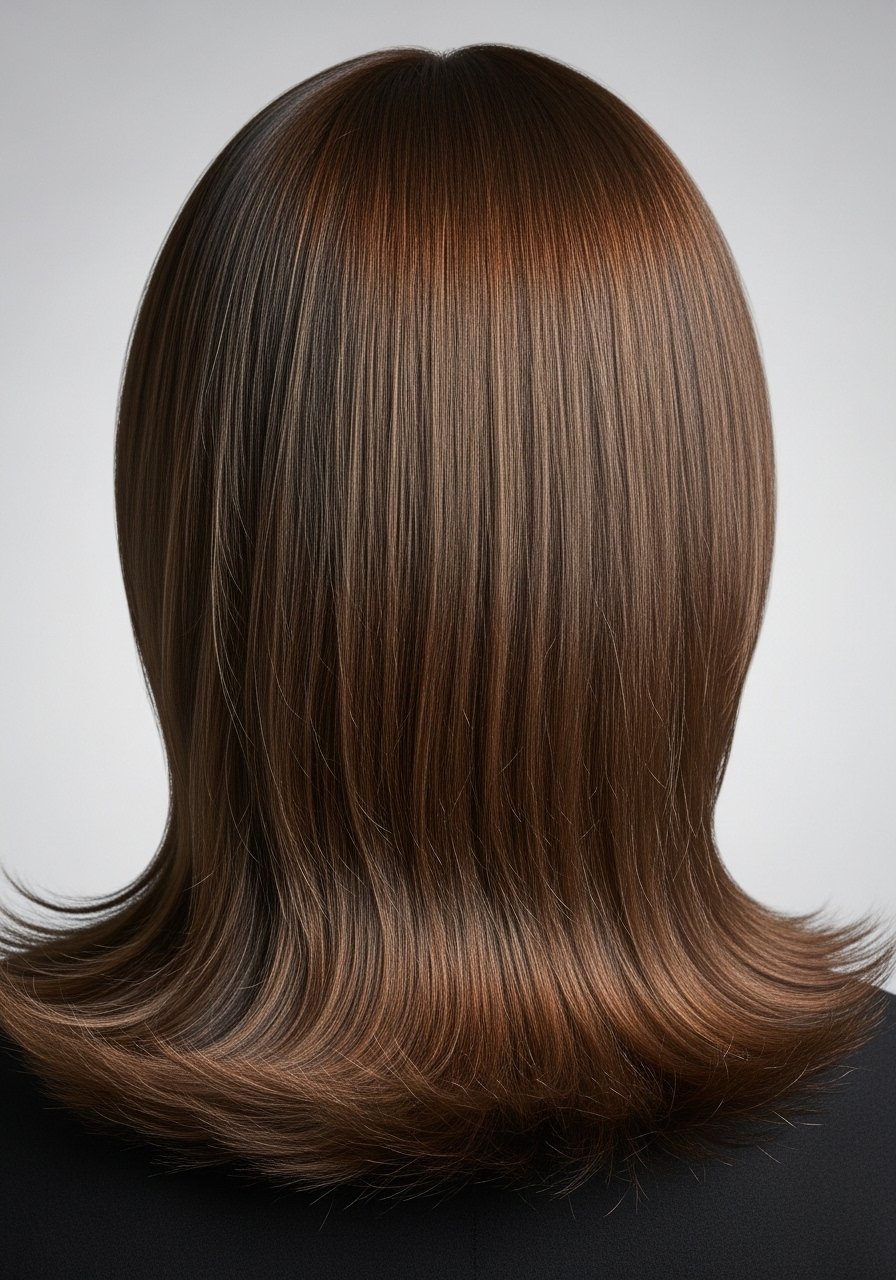
For fine hair the goal is perceived depth, not darker pieces that weigh things down. I place lowlights mainly at the root area in soft V-shaped slices and avoid the ends. Follow 80/20 product placement: 80 percent root focus, 20 percent mid-length and ends. After color, a root lift powder used sparingly at the part keeps the effect for days. Too much darkening at the ends instantly makes the hair look thinner, so avoid heavy deposits there. If you style with heat, remember heat protectant goes on damp hair, not dry. The cuticle is more open and the product actually absorbs.
Copper-Leaning Lowlights For Red Hair Depth
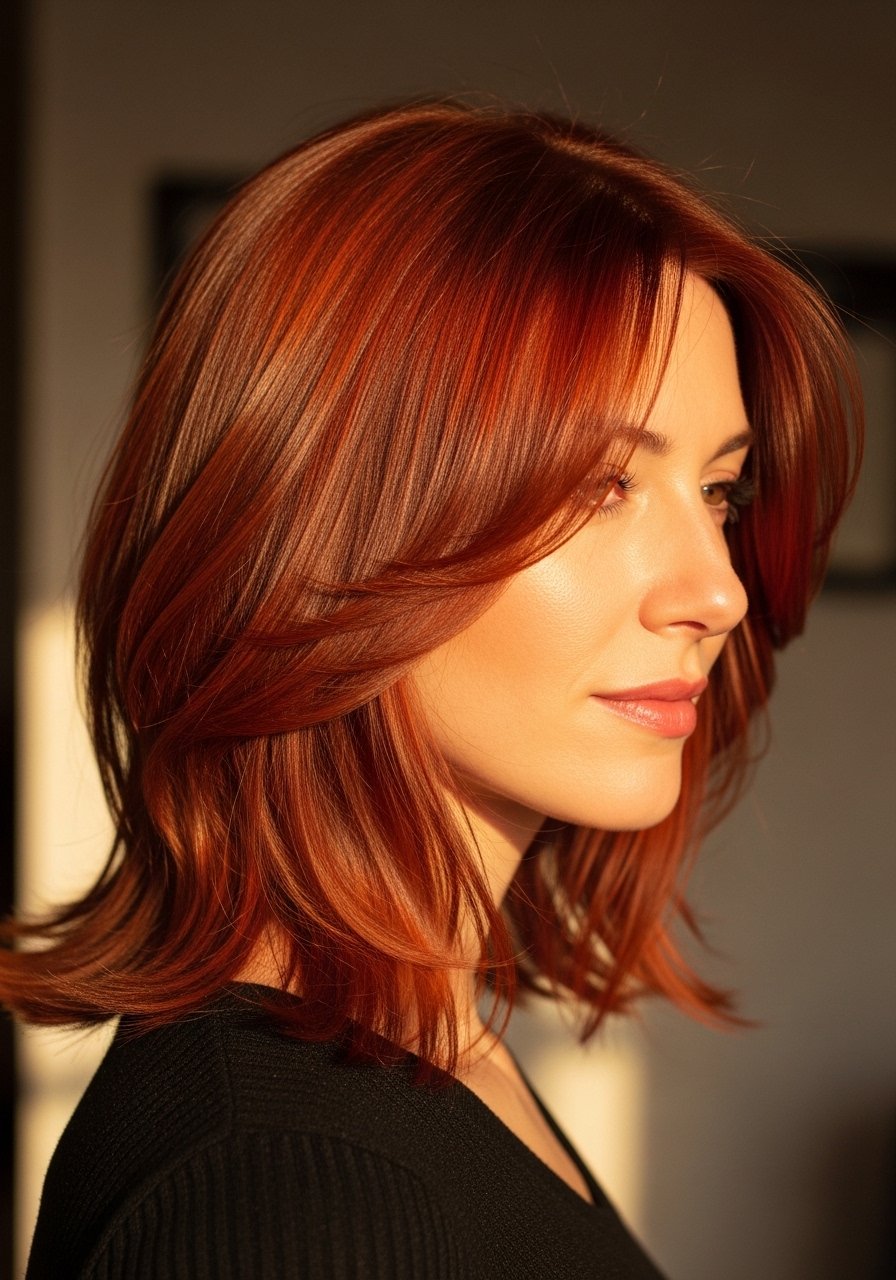
Red fades fast and copper lowlights can add depth that makes the shade read richer between salon visits. Use a direct dye color-depositing conditioner on the lowlighted pieces every three washes to refresh depth. Wash in cool water and limit clarifying shampoo to once every two weeks to avoid stripping the red pigments. A common error is trying to force a permanent dark in one session. If your base is very light, book a salon to avoid muddy undertones. For upkeep, a color-depositing mask once every other wash keeps the copper from becoming dull.
Coily Hair Lowlights To Define Layers And Shape

Coily and kinky textures take color where you place it, so lowlights are a subtle way to emphasize shape. Work in small box sections and take subsections no wider than 1/4 inch. Use a cream demi formula to avoid over-saturation, and rinse gently to keep shrinkage predictable. A damage note here is crucial. Do not lift over previous color on fragile coils. If you have breakage, start with weekly bond-builder treatments and a silk pillowcase. One specific detail I started doing is stretching the hair with a warm towel for five minutes before applying to open the cuticle enough for color deposit on low porosity coils.
My Low-Light Survival Notes I Wish I Knew Sooner
- Heat protectant goes on damp hair, not dry. The cuticle is more open and the product actually absorbs. This Color Wow heat protectant is one most stylists keep mentioning.
- Hair grows about half an inch a month at most, regardless of what biotin gummies promise you. The fastest way to keep lowlights looking deliberate is longer time between trims and cleaner blends at the root.
- If you already bleach and want lowlights, do not lift over previous color at home. This is the single most common reason hair breaks off in the shower. Book a correction or accept multiple sessions.
- A microfiber towel can cut your styling time by a third and stop the frizz before it starts. Grab a microfiber towel for under $15.
- For color-safe maintenance, alternate a color-depositing conditioner with a gentle sulfate-free shampoo to stretch the tone and reduce salon visits.
Frequently Asked Questions
Q: How often should I refresh lowlights at the salon?
A: For most people lowlights can live 10 to 16 weeks before a touch-up, depending on how fast your hair grows and how contrasty the pieces are. If you want to stretch visits, ask your stylist for a softer root blend or a demi-permanent deposit so regrowth looks intentional.
Q: Can I add lowlights over previous highlights at home safely?
A: You can deposit darker shades over highlighted lengths if the hair is healthy. Do not attempt a lift over already lightened hair at home. If your ends are fragile, do a strand test and consider weekly bond-builder treatments for two to three applications before color work.
Q: Will lowlights make thin hair look thinner?
A: Poorly placed lowlights can, yes. The way to avoid that is to place most lowlights around the root and inside layers, not concentrated at the ends. Using micro-slices and keeping the ends lighter helps the hair look fuller.
Q: How do I stop red lowlights from fading too fast?
A: Cool water rinses, color-depositing conditioners every other wash, and avoiding clarifying shampoo more than once every two weeks will help. A color-depositing mask after three washes maintains vibrancy without drying the hair.
Q: Is it okay to DIY a shadow root?
A: You can do a soft shadow root at home if you use a deposit-only demi and paint it on without backcombing hard. Keep the developer low and blend with a wide-tooth comb. If your current color is uneven or you have multiple previous dyes, see a salon.
Q: What is the main mistake people make when trying lowlights themselves?
A: The biggest error is over-saturating large uniform sections which read banded or heavy. Work in varied widths, do a strand test, and always patch test for allergies. If you are unsure, start with an extremely small area and see how it sits in natural light.