I tried a full green head in my kitchen and ended up with patchy mid-lengths that looked like someone hit rewind on their color. After a painful salon fix and a lot of trial and error, I learned which greens fade like watercolor and which ones keep their shape. Below are 13 green hair looks I actually screenshot, with what to expect, how to get them, and the real upkeep so you do not pay my mistakes.
These ideas are aimed at folks with pre-lightened to naturally dark hair, from fine 2A waves to denser 3C curls. Skill ranges from confident DIYs to people who should book a salon appointment. Most looks are doable on a budget under $50 except the salon glosses and bond-builder sessions, which I note. Expect touch-ups every 4 to 10 weeks depending on the shade.
Emerald All Over With Satin Finish
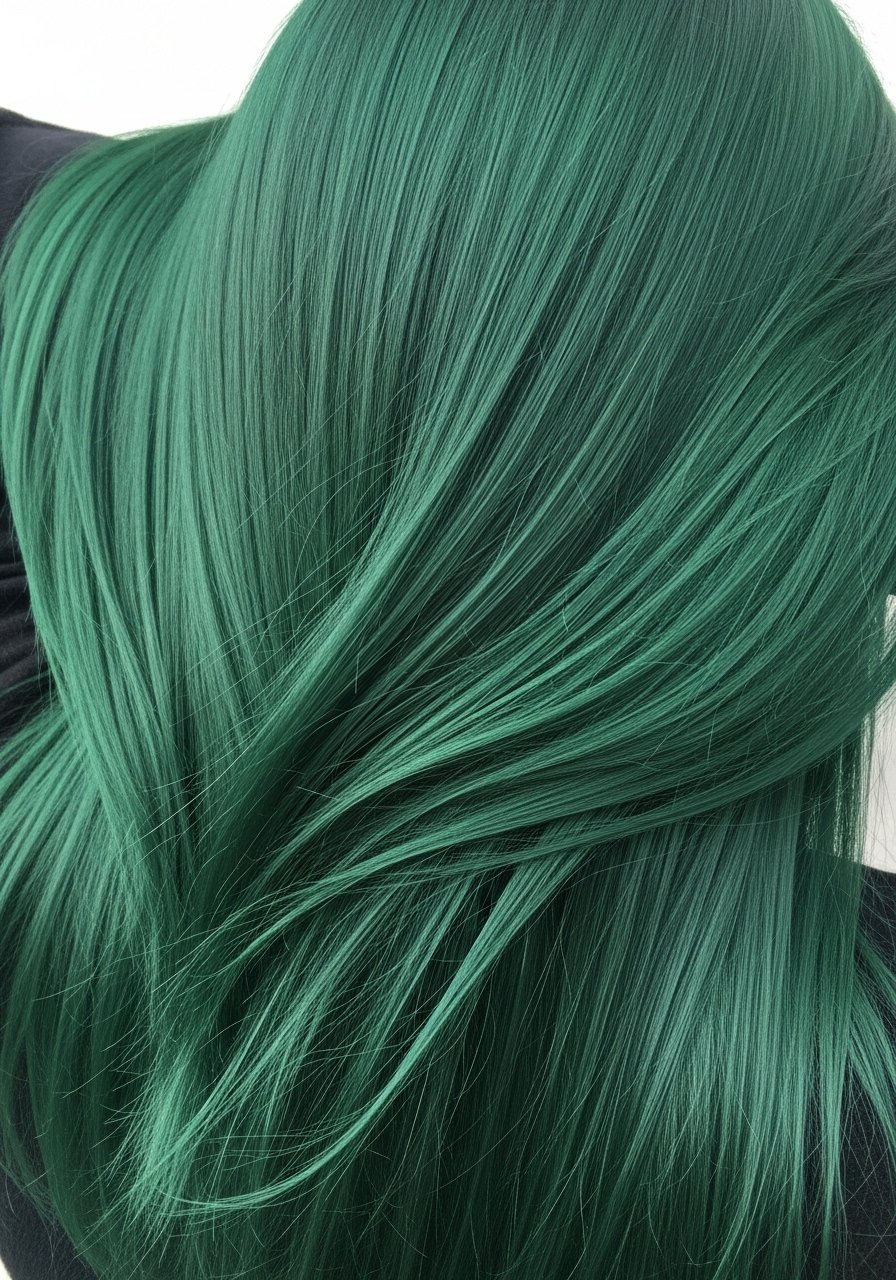
Doing a single-process emerald on pre-bleached hair gives that classic green without banding. It works best on level 9 to 10 lifts, or ask your colorist for an even base if you are starting darker. I usually apply color in four quadrants and process for 20 minutes under a warm towel to encourage even deposit. A demi-permanent like Arctic Fox in Poison or Green Envy is forgiving and fades gracefully. If you try this at home, do an allergy patch test 48 hours before, and never apply fresh bleach over old color in one session. Use a sulfate-free clarifying shampoo 8oz only when you need to strip brass, not every wash.
Sage Shadow Root For Easier Fading
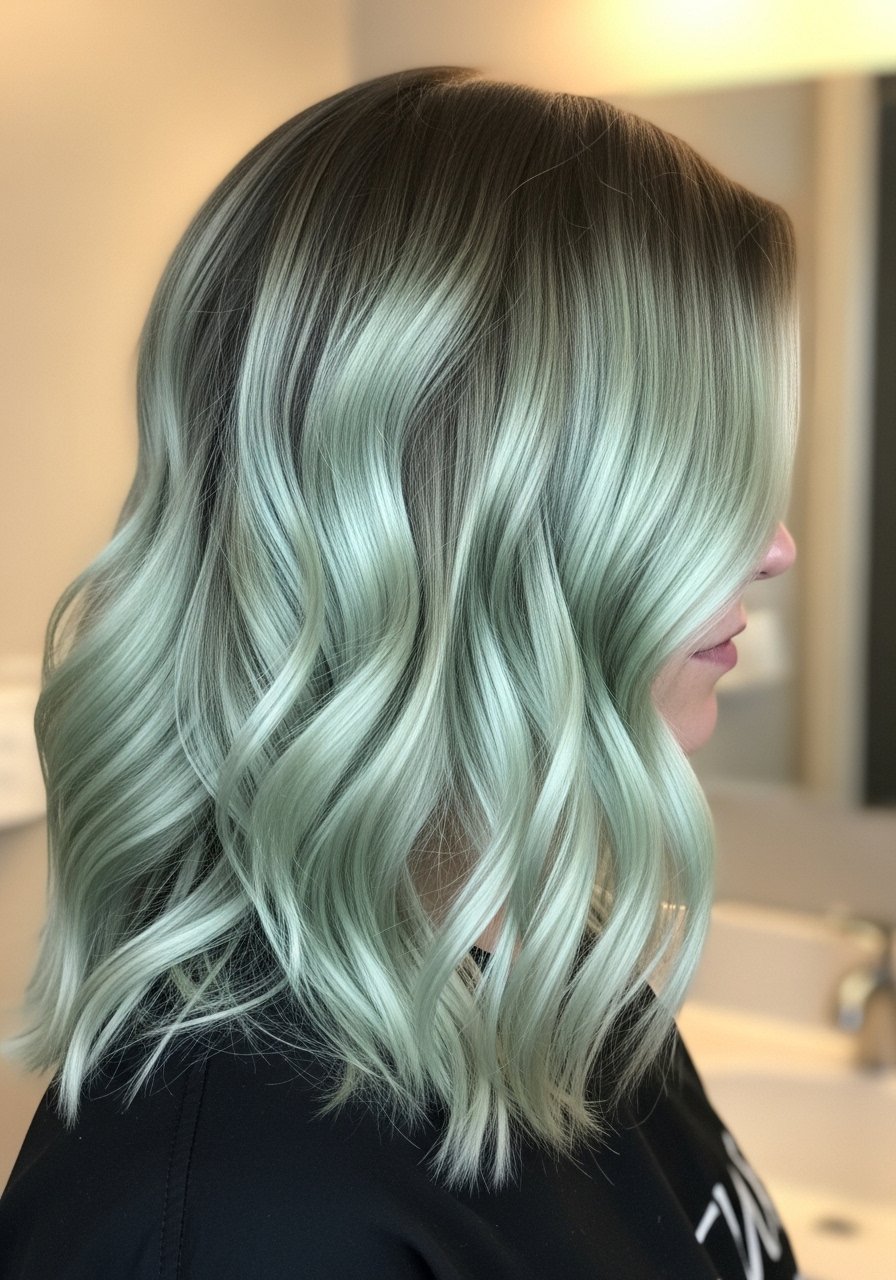
If you want green but not daily touch-ups, try a sage shadow root that melts into lighter green ends. The darker root hides regrowth and keeps the look intentional as it fades. On medium to thick hair the shadow should be applied in 6 to 8 thin slices to avoid harsh lines. I find processing the root 5 to 7 minutes shorter than mid-lengths prevents over-saturation at the scalp. Swap full neon for this if you hate weekly touch-ups. For upkeep, apply a color-depositing conditioner like Overtone Green Conditioner 8oz once a week.
Money Piece Green Face Frame
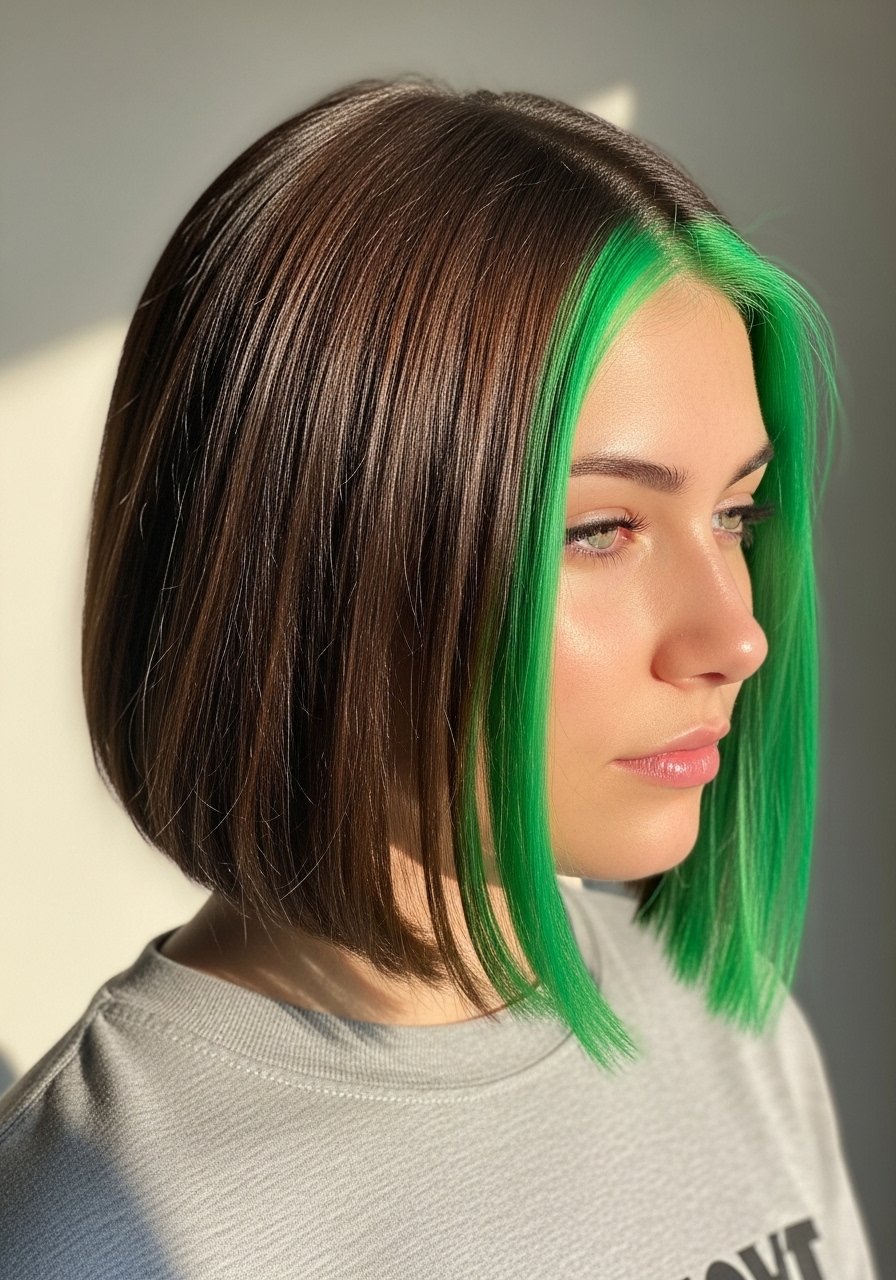
A money piece is like wearing an accessory with your color, and green front pieces are the easiest way to test the trend. It works for any length with face-framing layers. I do two 1-inch sections at the face, pre-lighten to level 9, then deposit a vivid green for 10 to 15 minutes. This is salon-simple and cheap to touch up yourself. Common mistake is over-bleaching those small sections, which can snap the hair. Keep heat below 300F when styling those front pieces and always use a leave-in before ironing.
Sea Glass Balayage For Dimensional Green
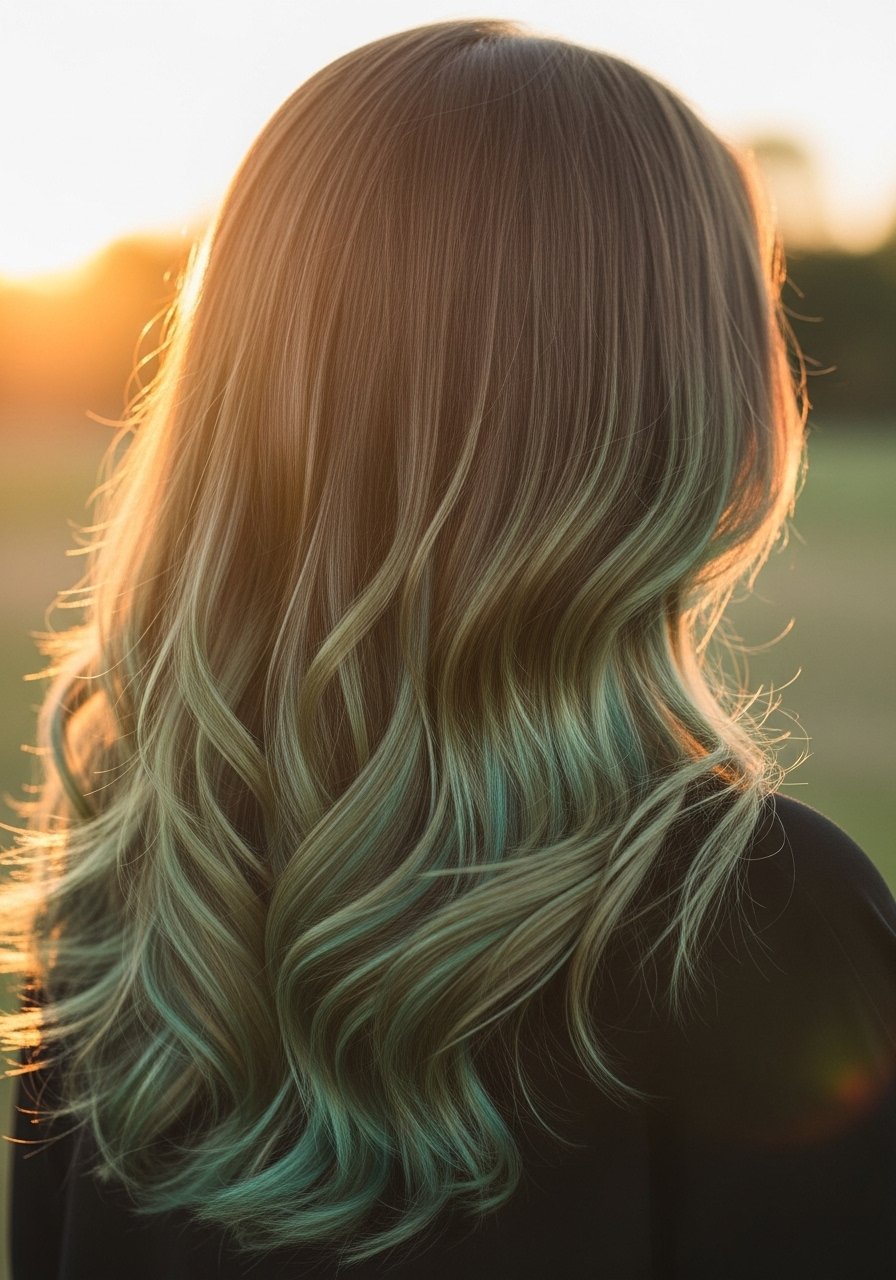
Balayage gives green dimension so it never reads flat. Paint narrow slices, about 1/4 inch each, and feather the ends for a natural melt. For fine hair slice width is smaller, for thicker hair widen the slices. I process the lifted pieces to a pale yellow then tone with a mix of pastel mint and seafoam for 5 minutes to avoid muddy green. This looks expensive but fades softly. If you pick this route, budget for a toner session every 8 to 10 weeks. Use a bond builder treatment weekly if you pre-lighten a lot.
Pastel Mint On Pre-Lightened Hair
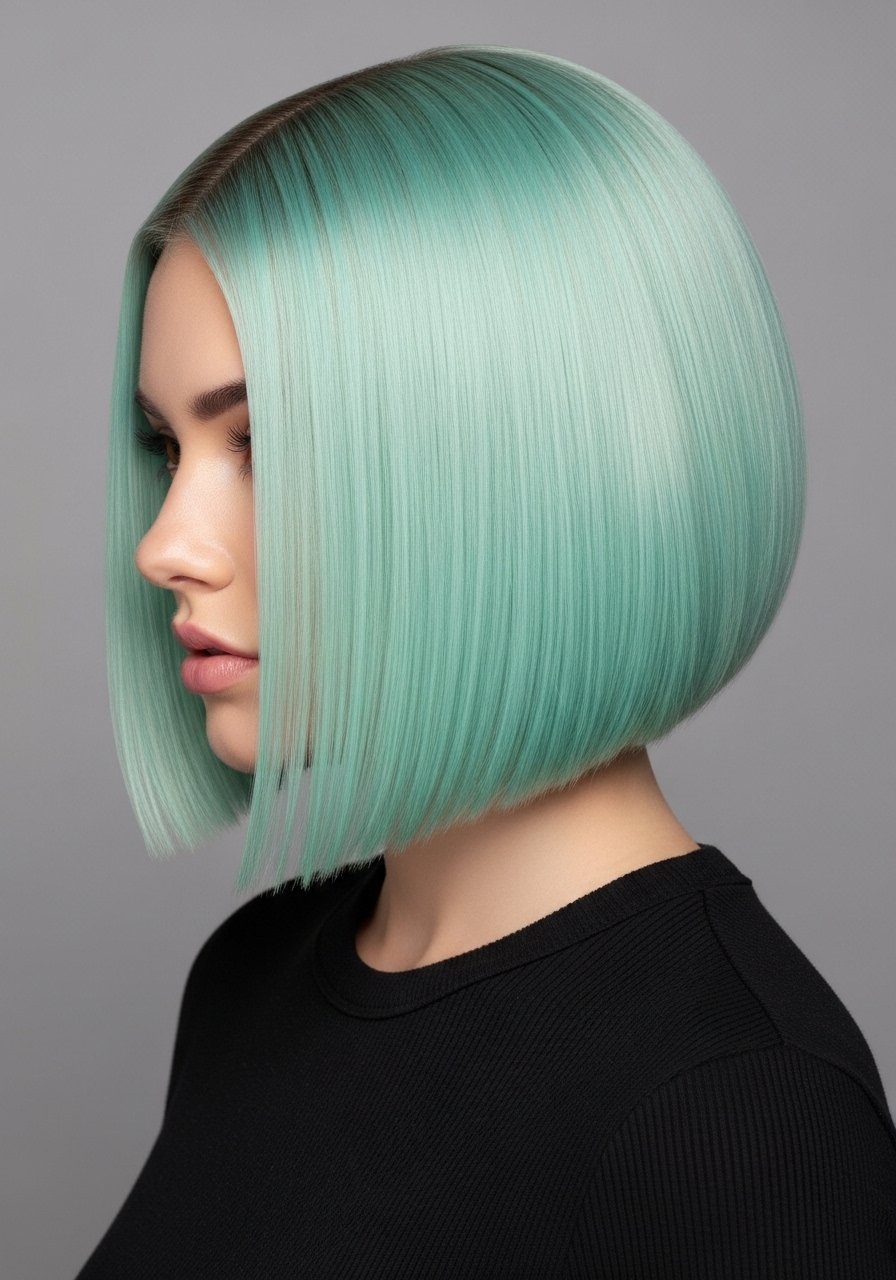
Pastel mint is forgiving for short cuts but needs a pale base. Lift to level 10 and apply a diluted deposit with conditioner, about a 1:2 color to conditioner ratio, to avoid overstaining porosity differences. Process for 5 to 10 minutes and rinse with cool water. A common mistake is hitting pastel with hot water which speeds fading. For home use try diluting a semi like Manic Panic Pastel Green 4oz into 2 tablespoons of conditioner and watch processing time carefully.
Forest Green For Curly 3B Hair
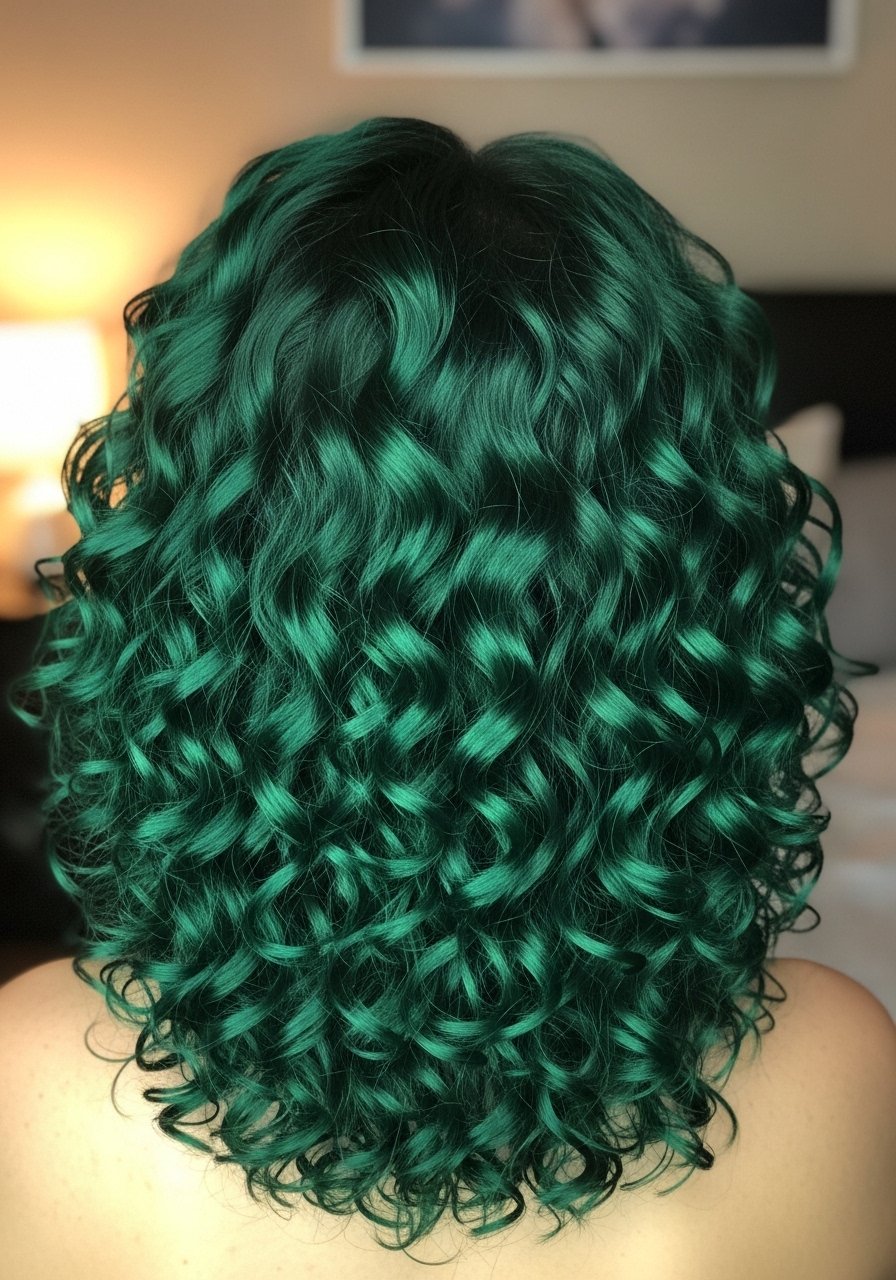
Curly hair takes color differently, often appearing deeper than on straight hair. If you have 3B curls, stretch a small test strand flat when checking the lift level because curl shrinkage hides true tone. Use an acidic color deposit mask in place of heavy cream-based stylers to avoid weighing curls down. I apply color with fingers while hair is in clumps of 6 to 8 curls, ensuring even saturation. Most people apply leave-in then gel only, and their curls collapse by midday. Swap gel-only for layering a lightweight cream under gel to hold shape without crunch. Try a color-depositing hair mask 8oz once a week.
Dark Teal Gloss For Low Maintenance
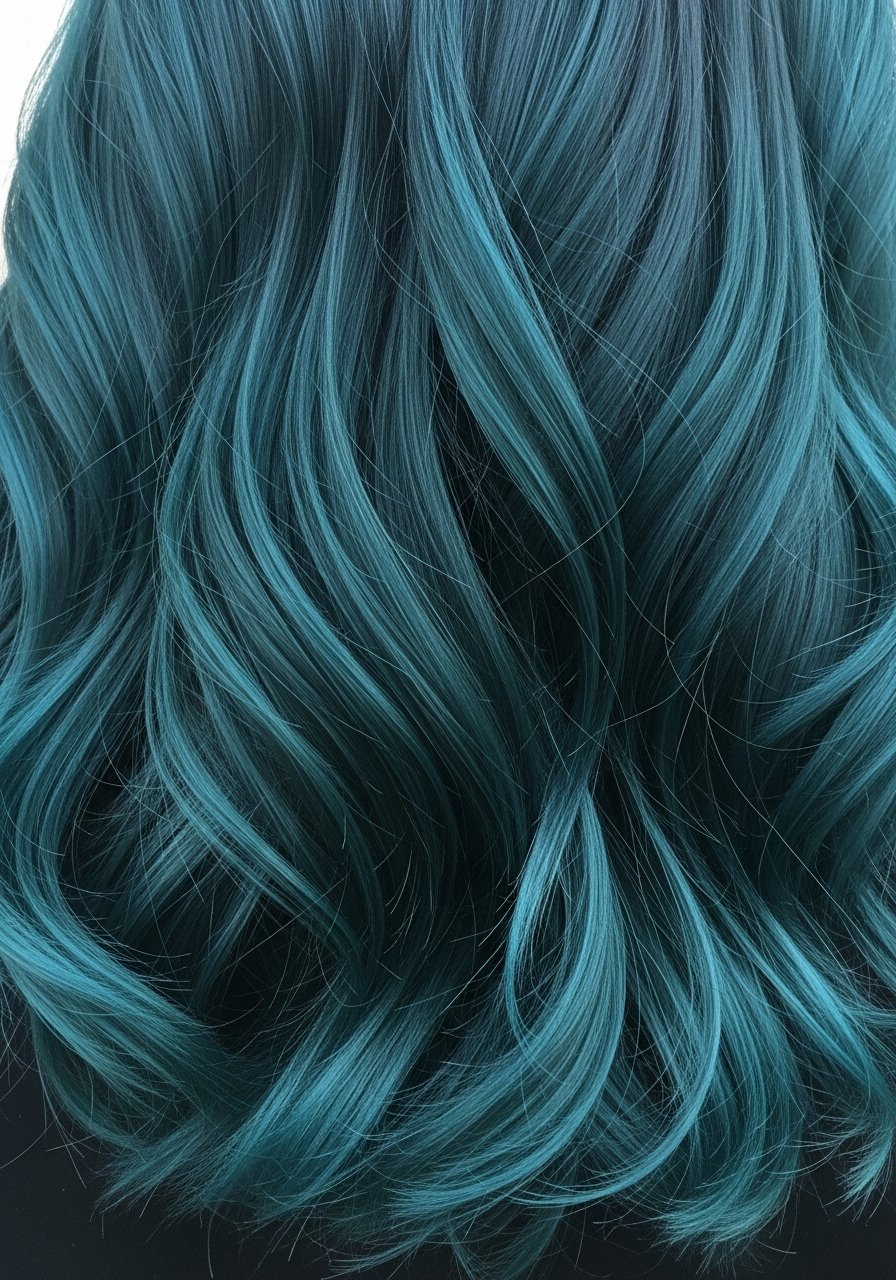
A gloss is the trick if you want green shine that fades evenly. It is lower commitment than a full dye because glosses sit on the cuticle and rinse out gradually. I book a 30-minute gloss for medium hair in salons, or use a clear gloss mixed with a drop of teal at home and process for 10 minutes. This is the look to pick if you are scared of bright maintenance. Remember glosses do not fix over-processed hair. If you lifted heavily, use weekly bond treatments and skip heat styling for a week.
Heat-Styled Green Waves With Ceramic Iron
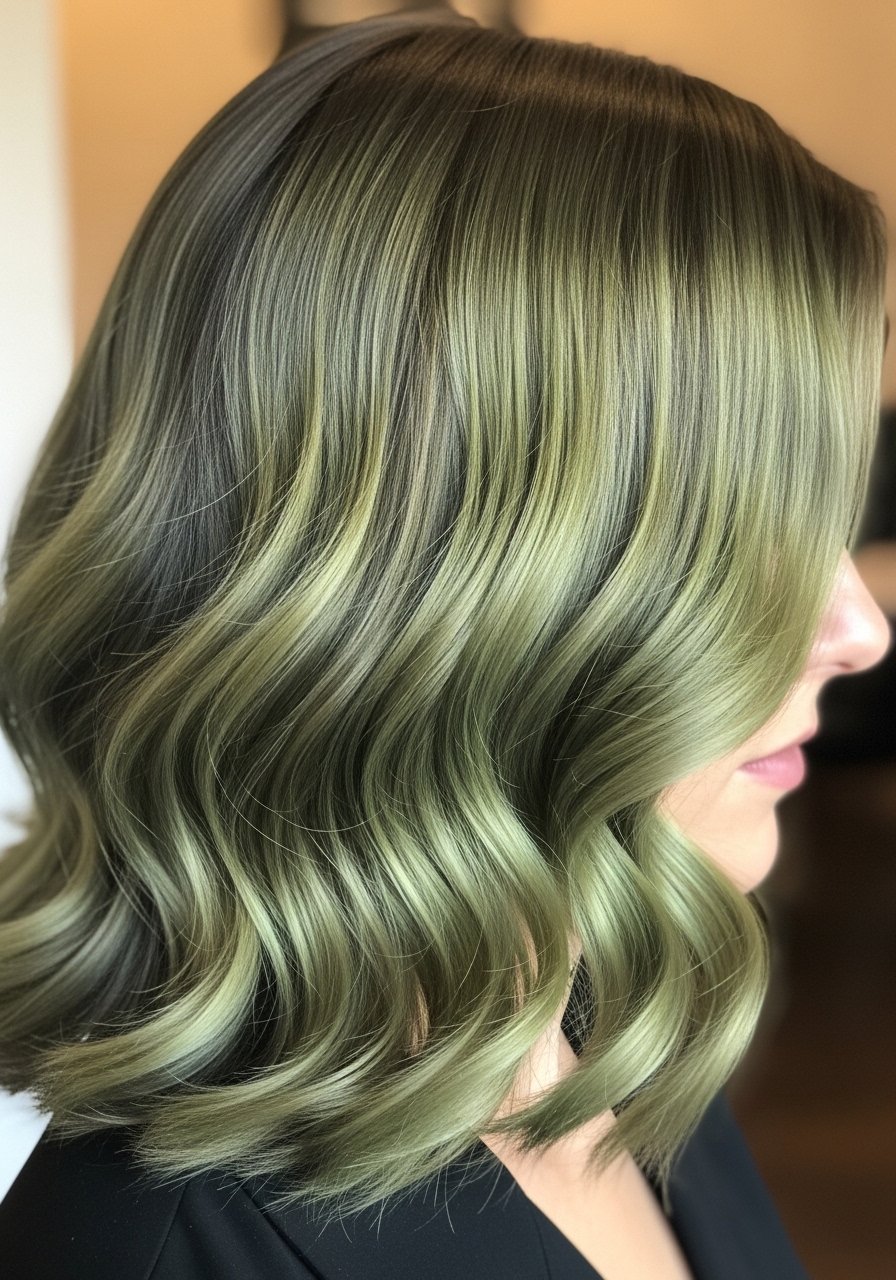
If you plan to use heat on colored green hair, protect it first. Heat protectants must be applied to slightly damp hair to absorb properly, especially before any iron over 300F. I set my ceramic iron to 330F for medium density hair and curl in 1.25-inch sections for consistent waves. Too-high heat burns pigment and accelerates fading. A lightweight serum after styling keeps waves separated without flattening color. Try a Color Wow heat product sprayed on damp hair before styling.
Root Melt Maintenance Hack For Greens
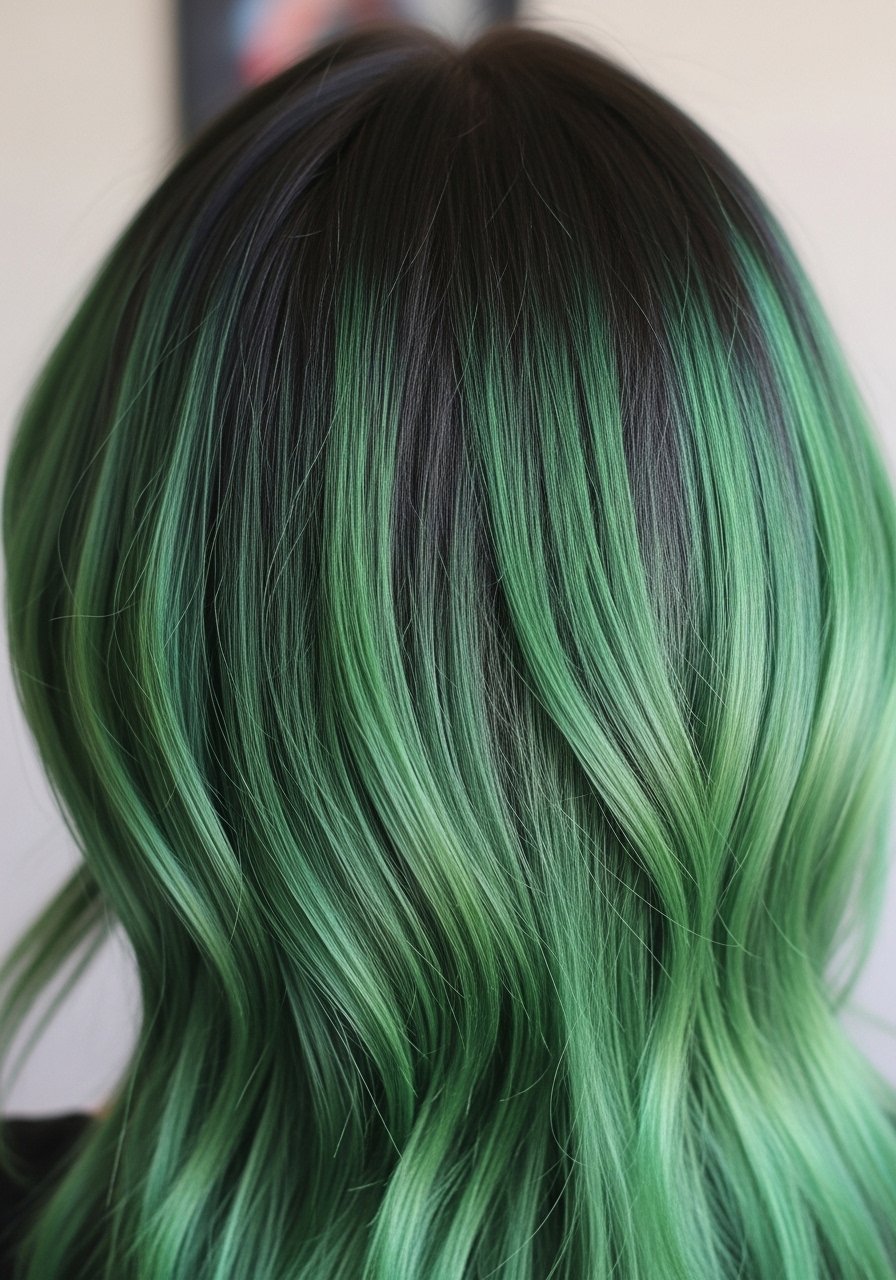
Root melts are the low-drama maintenance plan for any green. Rather than touching the whole head, apply a root-only refresh every 6 to 8 weeks using a mix of temporary dye and a clear gloss to blend. Use a tint brush and paint in tiny horizontal strokes to mimic natural growth patterns. This costs under $30 for a DIY touch-up kit and saves you salon time. Watch out for overlapping fresh dye onto pre-lightened ends. If you must lift roots later, never overlap bleach onto previously lightened hair in a single session.
Backyard DIY Semi Permanent Dip-Dye

I did a dip-dye in my backyard once and learned that even color placement matters. Section hair into three horizontal bands and saturate the bottom 3 to 4 inches to keep a clean edge. Use a semi like Arctic Fox 4oz jar and process for 10 minutes for punchy color. A common mistake is trying to feather with fingers while the dye is too wet. Instead blot excess, then feather with a clean brush before rinsing. Do an allergy patch test first and note that sun exposure will fade ends faster.
Green Gloss Touch-Up Between Appointments
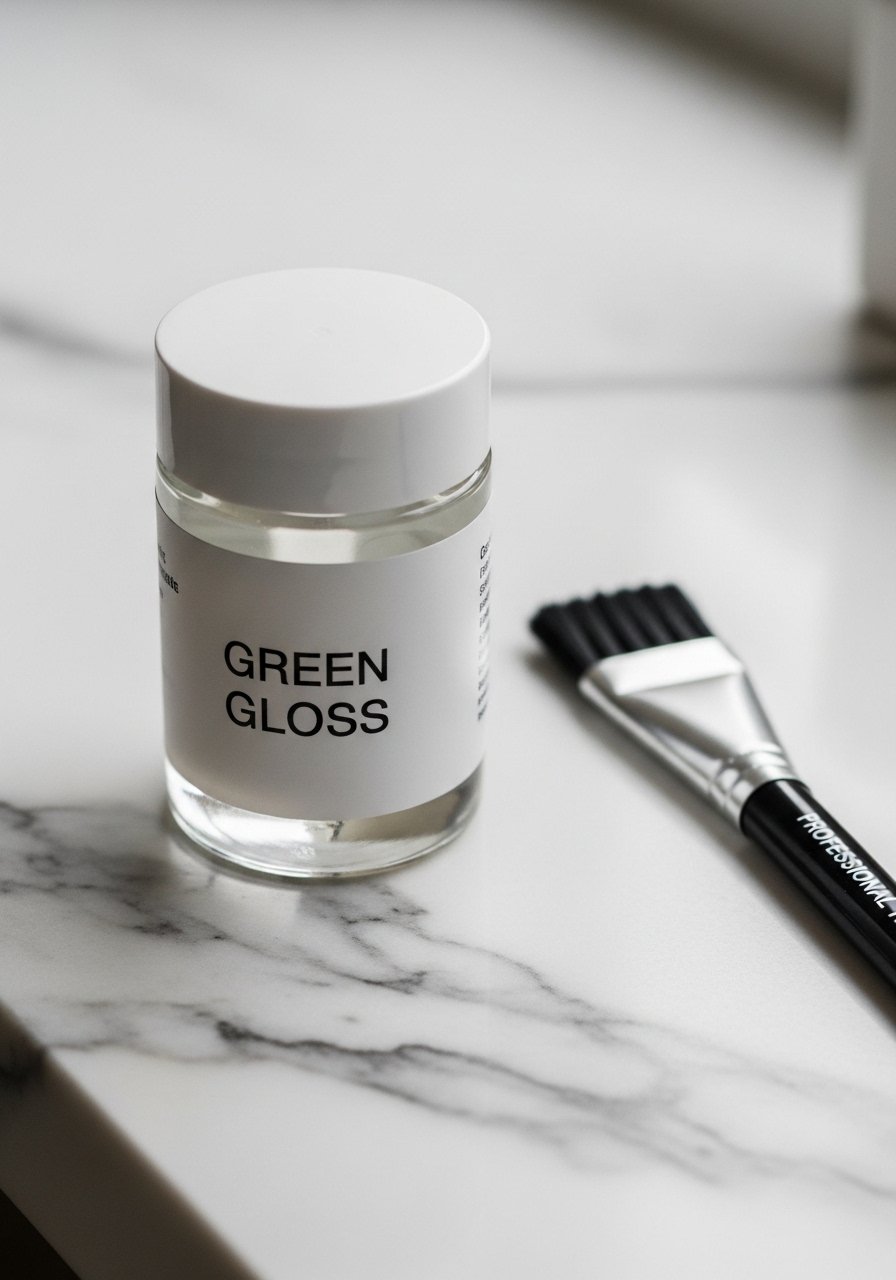
A color-depositing gloss is my cheat to keep greens vibrant without a full appointment. Use a dime-sized amount per 2-inch section, work from mid-lengths to ends, and leave for 5 to 10 minutes. Too long and the gloss can over-deposit on porous ends. This is ideal for curly 3A to 4A textures who want to refresh without heat. I buy small jars so they stay fresh. If you see scalp irritation, rinse immediately and consult a professional.
Green-Toned Underlights For Subtle Pop
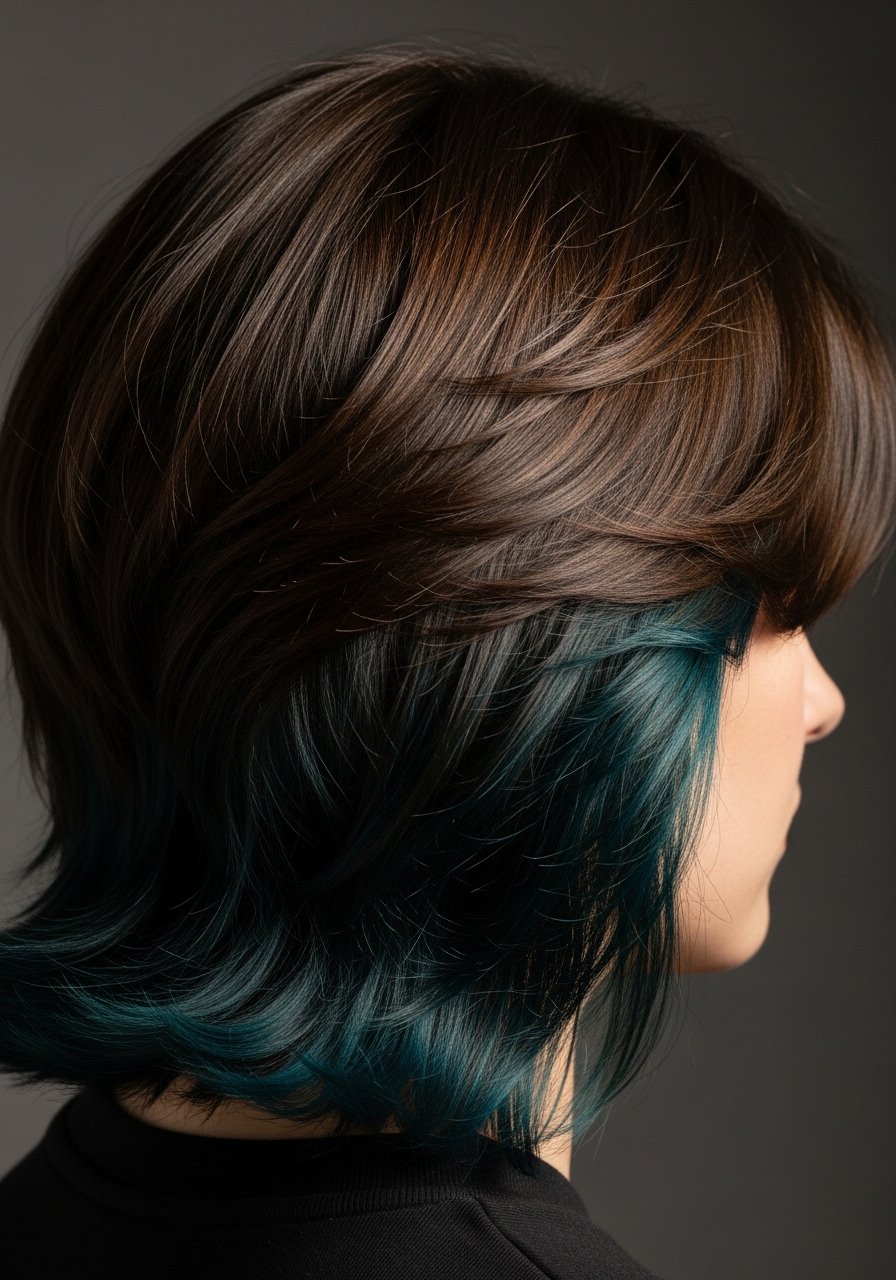
Underlights are discreet and low-maintenance because they are tucked under the top layer. Use panels 1 to 1.5 inches wide for a peek-a-boo effect. This works on most hair types and is great for people with stricter workplaces. Apply color on pre-lightened panels and process 10 to 12 minutes depending on the brand. The mistake I see is using too many panels which then require as much upkeep as a full head. If you want the look with minimal upkeep, pick 2 to 4 panels near the nape.
Matte Olive For Short Haircuts
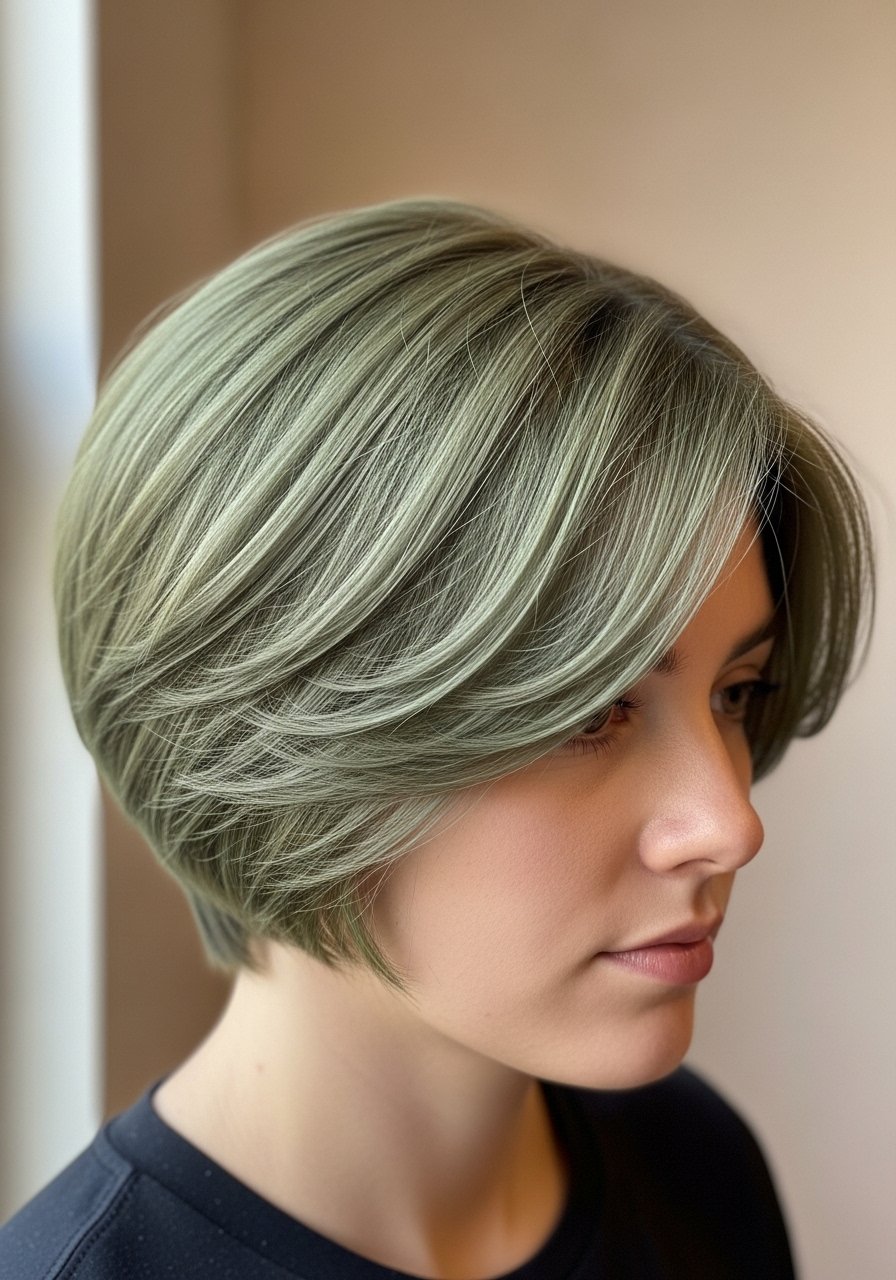
Short cuts like pixies read color differently, often more as tone than saturation. A matte olive on a pixie gives grunge-chic without screaming neon. A demi tint applied for 10 minutes on a level 8 base will give that subtle olive without heavy upkeep. Short hair grows out in weeks, so the root line becomes part of the look. If you are using peroxide lift, be careful at the temples where hair is fragile. Trim every 4 to 6 weeks to keep the shape and avoid over-processing when touching up.
What I Pack For Green Color Days
Honestly I only keep the essentials in my green color kit. Olaplex No. 3 hair perfector used once a week saved my ends after one bad bleach. A microfiber hair towel and a silk pillowcase queen size cut my morning frizz and stretched color vibrancy. For styling I keep a 1-inch ceramic iron under 340F, and a small jar of color-depositing gloss for quick refreshes. Buy Olaplex and K18 from the official Amazon store or Sephora to avoid counterfeits.
Small Things That Changed How My Greens Last
Grab a leave-in cream for porous ends. Heat protectant goes on damp hair, not dry. The cuticle is more open and the product actually absorbs. This Color Wow heat protectant is the one many stylists mention. Use cold rinses the last 30 seconds to seal the cuticle. Hair grows about half an inch a month at most, regardless of supplements. The thing that helps length retention is reducing breakage with a silk pillowcase and weekly bond treatments. Also, my curls looked great on TikTok and like wet noodles by 11am. Finally figured out it was the gel-only routine. Added a leave-in cream underneath and it changed everything.
Frequently Asked Questions
Q: How often will green fade and what makes it fade faster?
A: Greens fade in 2 to 8 weeks depending on pigment depth and wash frequency. Hot water, daily shampooing, and frequent heat styling speed fading. Use cool rinses and a color-safe sulfate-free shampoo, and avoid clarifying washes more than once a month. A weekly color-depositing conditioner helps stretch vibrancy.
Q: Can I go green if I have low porosity hair?
A: Yes, but low porosity hair needs heat to open the cuticle for color to deposit. Apply color on slightly warmed, towel-dried hair or sit under a hooded dryer for 10 minutes while processing. If you are unsure, do a strand test first to see how the pigment takes.
Q: Is bleaching over old color safe at home?
A: Lifting bleach over previous color is the single most common reason hair breaks off in the shower. This is a salon job if you are trying to avoid breakage. If you must attempt at home, accept it may take multiple sessions spaced weeks apart and use weekly bond builders. Never overlap fresh bleach onto previously lightened ends in one session.
Q: Which products actually help with longevity without making hair crunchy?
A: A weekly bond builder and a silicone-free color depositing conditioner are the two things that extend life without crunch. Olaplex No. 3 hair perfector and a small jar of color gloss used as directed keep the tone lively.
Q: Can I mix green with other colors like blue or teal for depth?
A: Absolutely. Mixing teal and green tones adds depth and hides imperfect fading. Use small test mixes to find the shade, and dilute with conditioner for pastels. Keep processing times conservative to prevent over-depositing.
Q: My scalp tingles after dye, what should I do?
A: Mild tingle during processing can be normal, but strong burning, blistering, or persistent irritation is not. Rinse immediately and see a professional. If you have a history of sensitivity, do a patch test 48 hours before any dye session and consider a professional who can use gentler options.