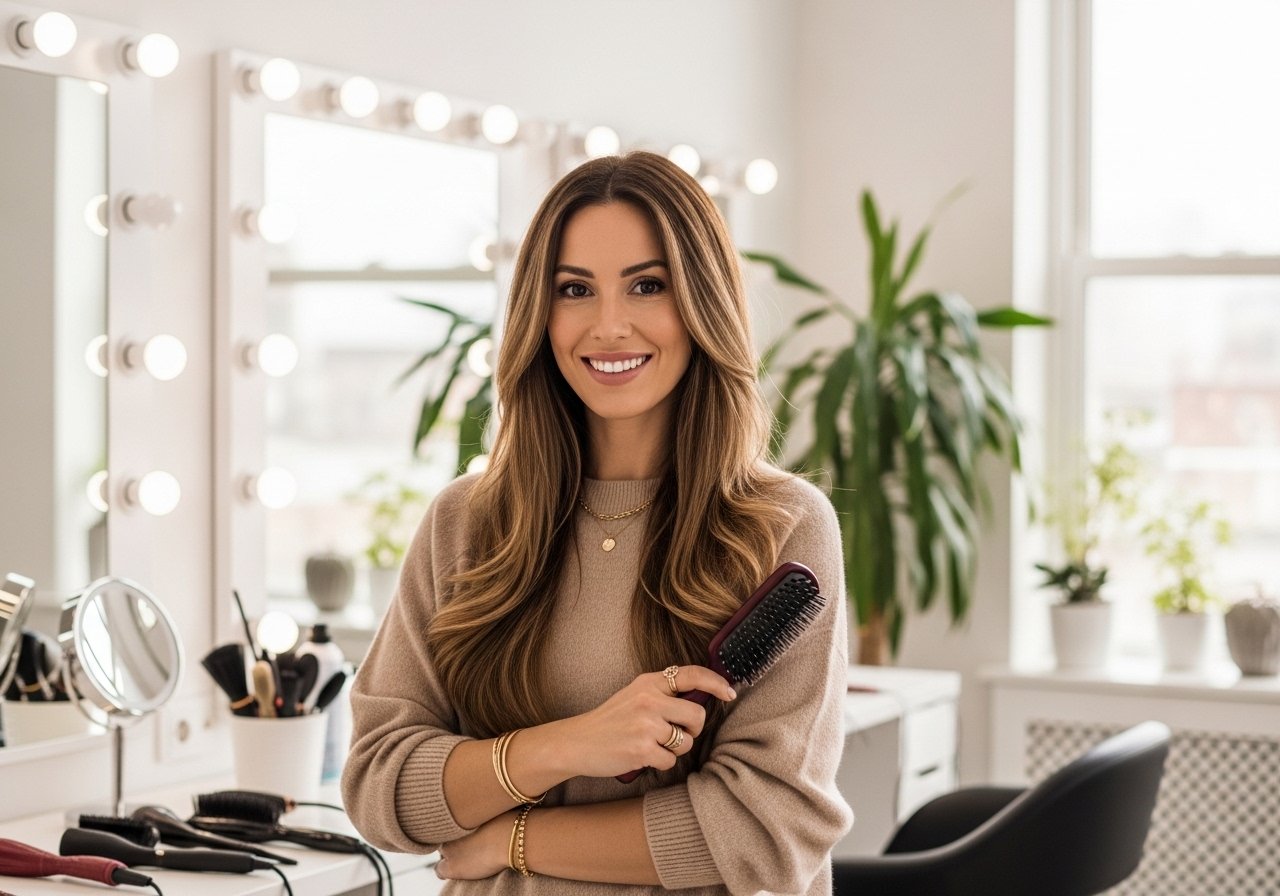
I tried a bright money piece at home last summer and watched it go brassy within a week. After paying to fix it and testing dozens of at-home glosses, I learned what actually holds on dark brown hair and what fades fast. These 13 looks are the ones I screenshot, tried, and would actually wear out to dinner.
These pick-me-up highlight ideas work best on medium density, shoulder-length to mid-back dark brown hair, from straight 1A to loose 3B waves. Skill varies from an easy DIY face-framing touch up to salon-only lifts. Budget ranges from under $30 for a gloss to $300 for a multi-step salon balayage. Where I advise salon, I say why.
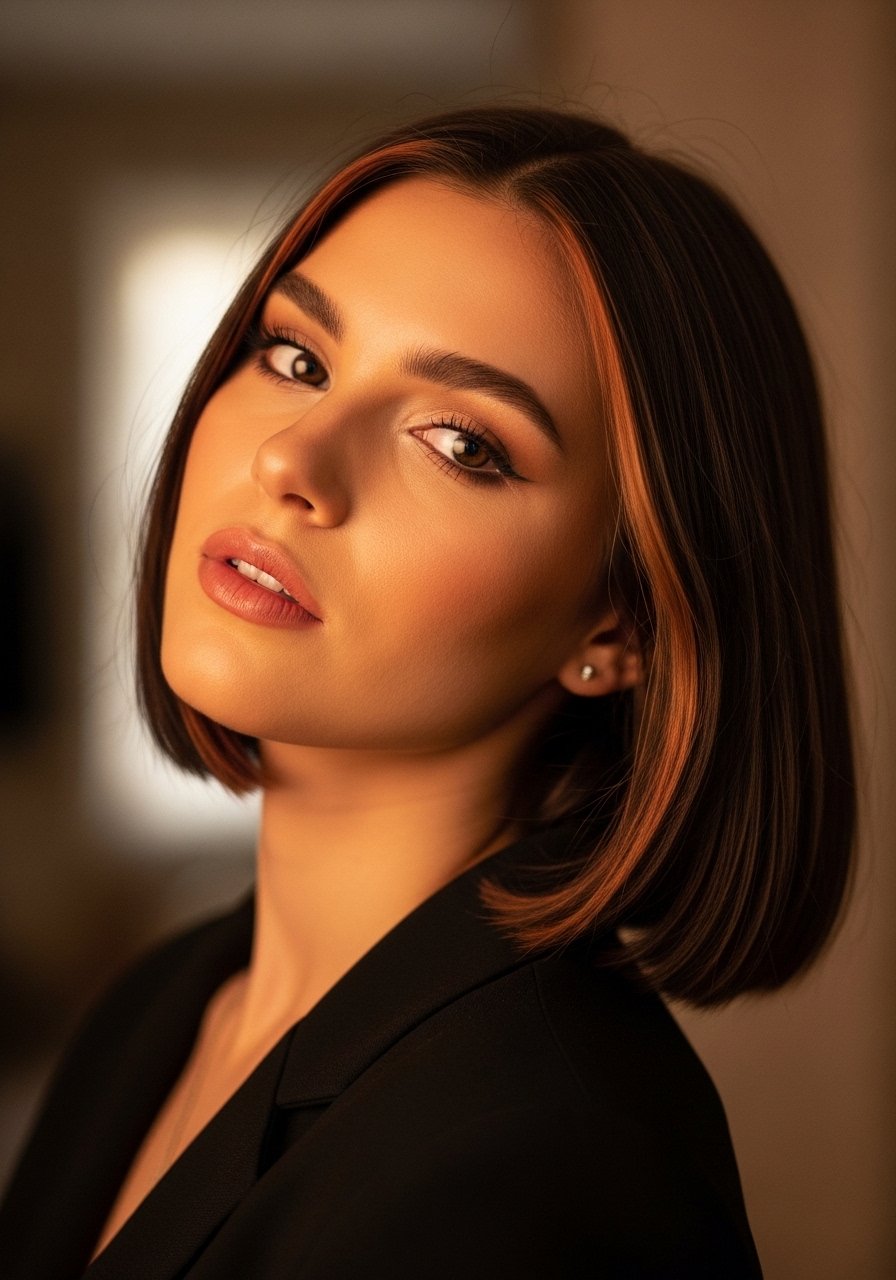
Face-Framing Money Piece for Dark Brown Hair
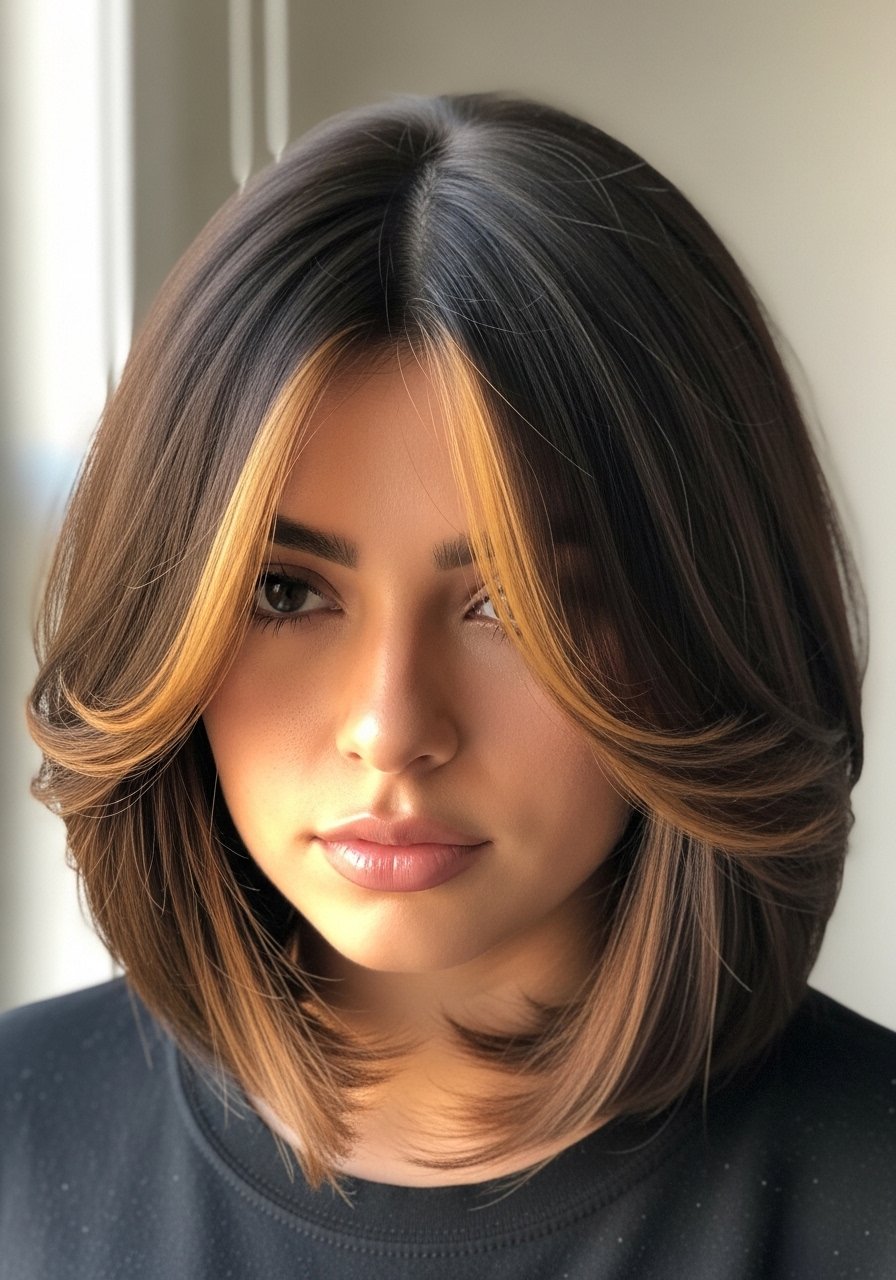
If you want instant brightness around the face without full-head maintenance, a money piece is the most readable trick. On fine to medium straight or wavy hair it uses two to four 1-inch foils per side, lifted only to a level 7 warm caramel on dark brown starting at level 3 to 4. Expect 60 to 90 minutes in a salon or a cautious DIY with a 20 volume cream and 10 to 15 minutes of monitoring. The problem this solves is that perimeter that frames and brightens your face without turning your whole color brassy. Watch for banding by applying the lightener in thin 1/8-inch slices. If you bleach at home over previously colored brown, do a strand test and consider booking a pro. Two spritzes of Color Wow Dream Coat after styling helps the highlight sheen last through week two.
Soft Babylights to Blend Greying or Regrowth
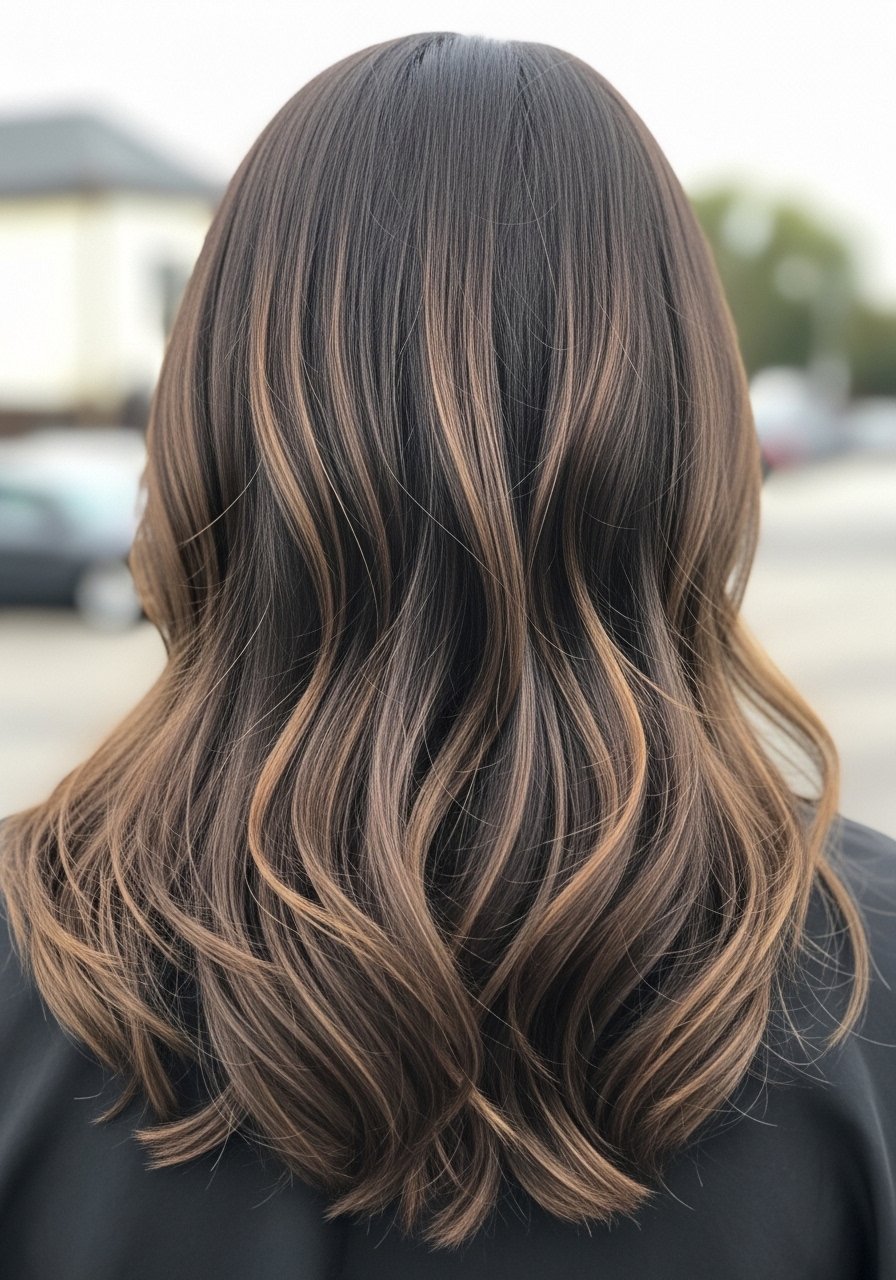
Babylights are the secret for people who want the illusion of sun-kissed dark brown without obvious stripes. They are super fine, think 1mm slices spaced irregularly, and take about 90 to 120 minutes in the chair. Works on medium to thick hair and on 2A to 3B waves. The win here is low upkeep, you can stretch returns to 12 to 16 weeks if the colorist places them deeper at the root. A common mistake is asking for "more contrast" and getting stripey highlights. Ask for feathered application and a translucent toner. If you DIY, use 5 to 10 volume lift and monitor every 5 minutes. For upkeep, Olaplex No.3 Hair Perfector once a week keeps those fine lifts from turning fragile. Buy from the brand store on Amazon to avoid counterfeits.
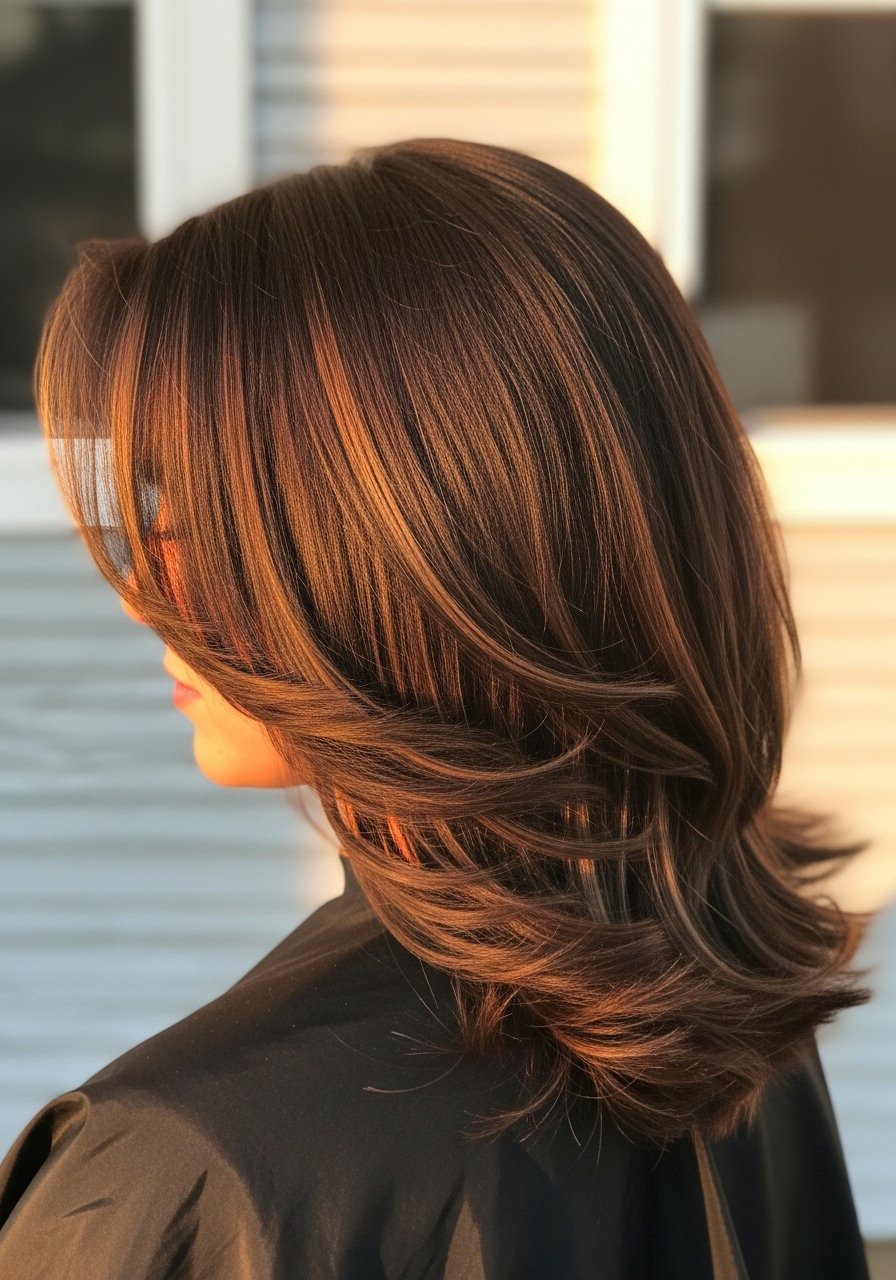
Chunky Face-Framing Ribbons for Thick Hair
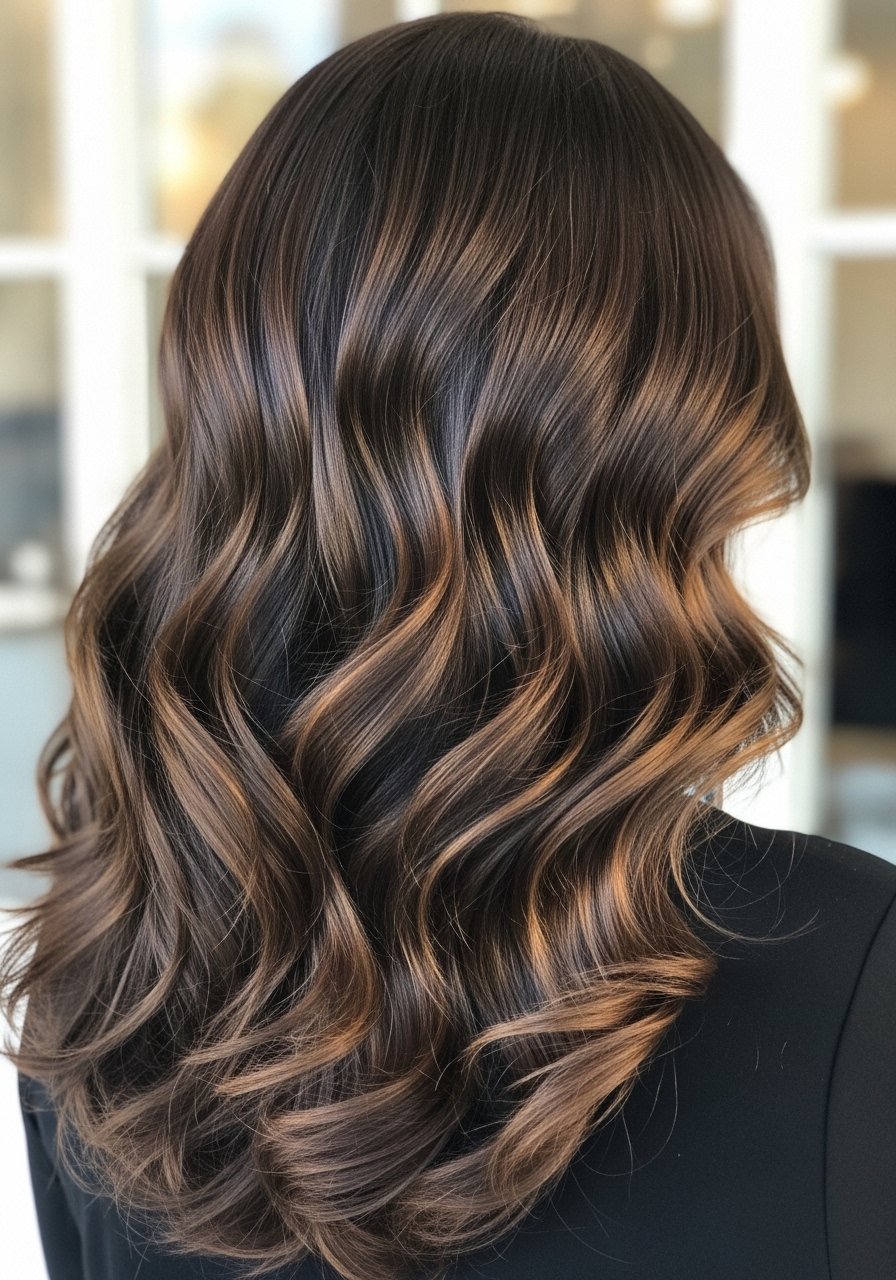
If you have thick 3A to 4A texture, tiny babylights get lost. Chunkier face-framing ribbons work because they read through volume and show when you pull hair back. A stylist will paint wider sections and melt the color down to avoid a harsh line. At-home, a mask of 4 to 6 wider painted slices left for 20 to 25 minutes can work on virgin dark brown hair, but expect warmer tones. The upkeep cost is higher because you see regrowth sooner, so plan trims and glosses every 8 to 10 weeks. A mistake I see a lot is using too-high developer to rush lift and frying the section. If you use heat to style these ribbons, apply a heat protectant and keep irons under 350F.
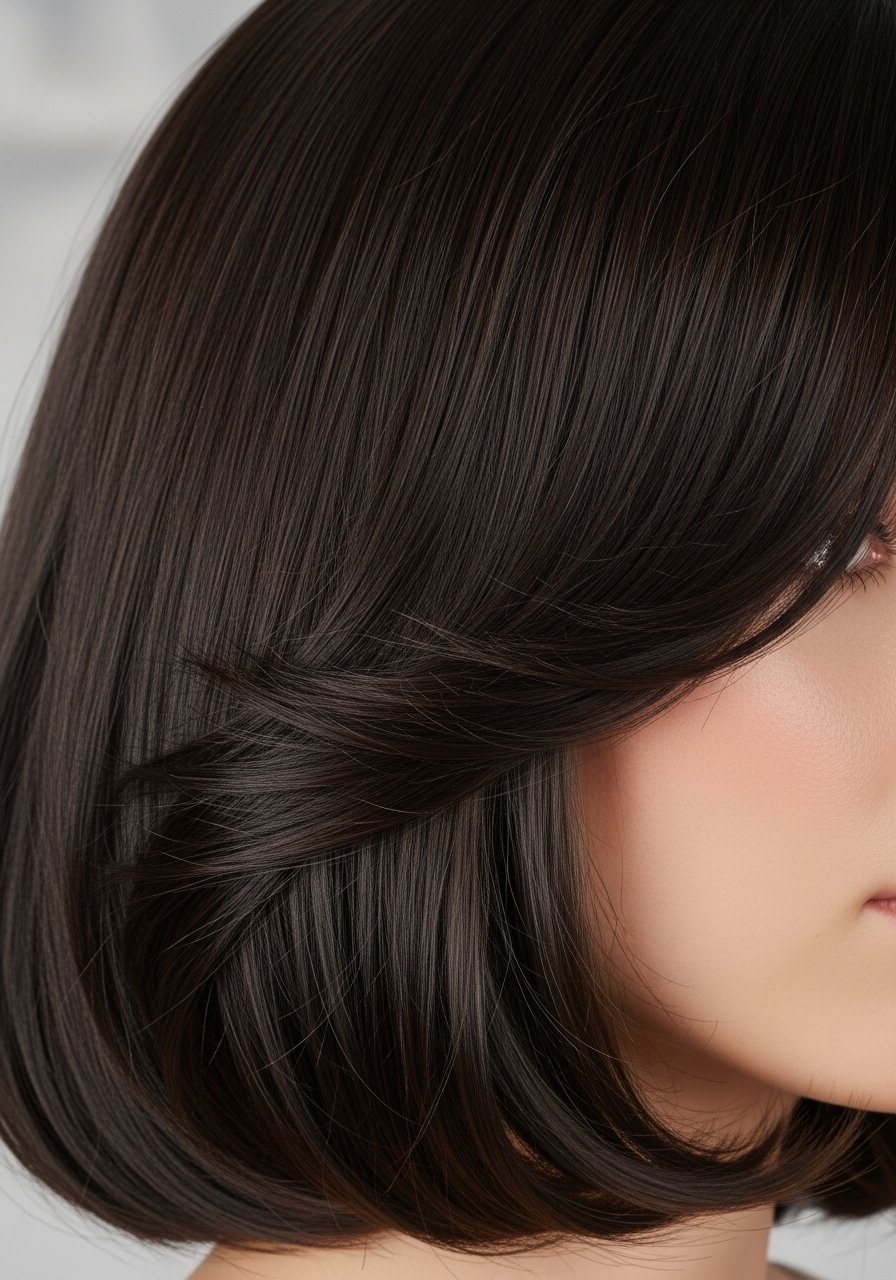
Subtle Espresso Melt for Low-Maintenance Depth
The espresso melt is the opposite of highlights, it adds dimension by melting a few shades darker at the mid lengths while keeping natural roots. It is perfect for anyone who hates regrowth lines and for low-commitment folks with straight or slightly wavy hair. Salon time is usually 60 minutes. It works especially well on medium-thickness 1B to 2B hair. The result reads natural and glossy. A mistake is asking for "all over darker" which can flatten your face. If you are doing this at home, use a demi-permanent gloss and avoid overlapping with existing lift. Keep a glass bottle of sulfate-free clarifying shampoo 8oz on hand for occasional resets when toners start to build up.
Cinnamon Peekaboo Panels for Warm Undertones
Peekaboo panels are for people who want fun color without full-commitment. On dark brown hair the technical trick is lifting just the underlayer to level 6 to accept cinnamon-red tones, then glossing to tone down brass. Great for medium to thick 2A through 3B hair. The benefit is dramatic movement when you toss your hair and zero obvious regrowth at the hairline. A common error is over-bleaching the underlayer and losing shine. Protect the scalp and do a patch test for red dyes, they are common allergy culprits. I slide a tiny amount of argan oil serum through the painted pieces after styling to seal color and reduce friction.
Face-Framing Balayage for Round Faces
For round faces, ask your colorist to paint the face-framing pieces slightly below the cheekbone and taper them into thinner slices toward the jaw. That placement visually lengthens the face. This technique suits straight to wavy textures and medium density hair. It takes about 90 minutes and the upkeep is usually a toner every 8 to 10 weeks. A mistake is placing highlights too close to the hairline which can widen the face. If attempting at home, take fewer and thinner slices at the front and use a low-volume developer to avoid obvious contrast. If your stylist uses a bond builder during lift, your ends will be less brittle afterwards.
Peekaboo Lowlights for Over-Processed Brown Hair
If your ends are fried from previous lifts, adding dark lowlights around mid-lengths can disguise porosity and create cohesion. This is a repair-first approach and works on medium to thick hair. The goal is to reduce the visible striping and save frequent trims. A stylist can deposit a demi-permanent lowlight and then follow with a bond builder to seal. DIYers can tone down harsh uplift with a glazing gloss and Olaplex No.5 conditioner to smooth the appearance until a salon visit. Warning, you cannot safely lift over a new lowlight without risking patchy color.
What I Keep In My Dark Brown Highlights Kit
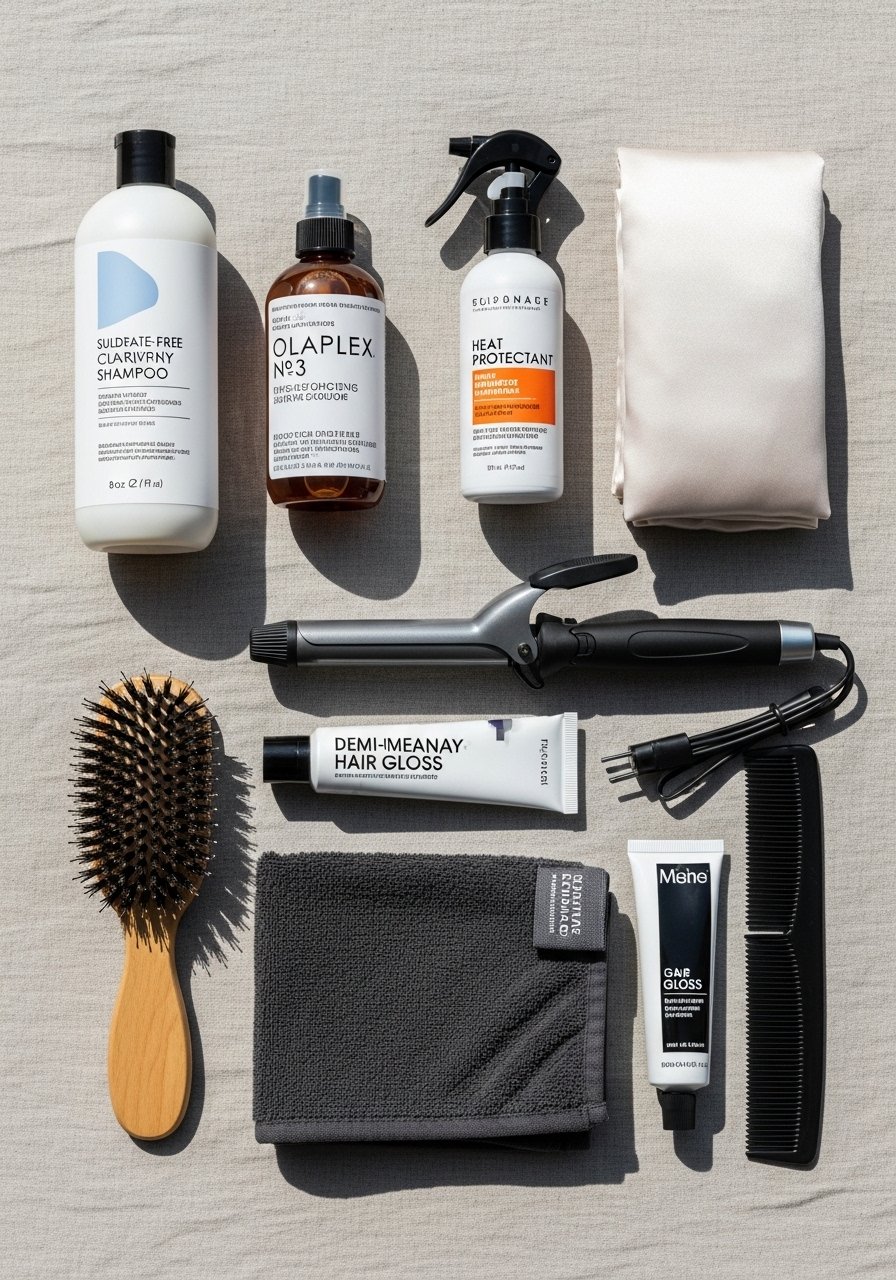
- Olaplex No.3 Hair Perfector 3.3oz, buys time between trims. Buy from the official Olaplex store on Amazon to avoid counterfeits
- Olaplex No.5 Bond Maintenance Conditioner 250ml, for smoother mid-lengths after lightening
- Color Wow Dream Coat anti-humidity spray 5oz, helps highlights hold shine
- One-inch curling iron for soft waves that show highlights
- Microfiber hair towel, cheaper than a $200 dryer for reducing frizz on colored hair
- Silk pillowcase queen under $30, helps color longevity and reduces breakage
- Wide-tooth comb for detangling wet colored hair
- Demi-permanent gloss tube for in-between salon shine boosts, use every 4 to 6 weeks
- Heat protectant spray with thermal protection to 450F, spray on damp hair before styling
Glossy Face-Framing Partial Gloss for Immediate Shine
If highlights feel too high maintenance, a partial gloss over the face-framing areas gives immediate shine and a slight tone shift without lift. It takes 20 to 30 minutes and is salon-safe for colored hair. It works great on fine to medium straight or wavy hair that needs brightness without commitment. Many people mistake gloss for a permanent fix and are disappointed when it fades in 4 to 6 weeks. Schedule gloss touch-ups aligned with your wash routine, and use a sulfate-free shampoo to stretch results. For a at-home option, a clear demi-gloss used every three to four washes keeps the front pieces looking fresh.
Ash-Balanced Money Piece for Cooler Skin Tones

Dark brown can read warm on many people. If you want a cooler money piece, ask for a neutral ash toner pulled through the face-framing slices to level 6 neutral. This approach suits straight to wavy hair and medium density. The technical detail to mention to your colorist is a 1:1 mix of ash toner with a deposit-only gloss so you do not overlift. A mistake is chasing ash with too much violet toner which can go muddy on deeper bases. Keep a purple-neutralizing treatment on hand only if brass appears. Remember, heat protectants absorb better on damp or just-dried hair, so apply before any iron styling.
Halo Highlights for Soft Light Around a Square Jaw
For square jaws, a halo highlight that sits above the face can soften angles. It is a placement trick more than a lift drama. Works on straight to wavy textures, and the stylist paints lighter slices that begin at the crown and fall forward. Time in the chair is about 75 to 100 minutes. Many people ask for full highlights when a halo would get the same softening effect with less maintenance. If you DIY, paint wider, softer strokes and avoid heavy saturation at the root. Use a bond building rinse if your hair has been lightened before.
Peek-Through Caramel Money Piece for Thin Hair

If your hair is thin, a full money piece can look overwhelming. Instead, request a peek-through approach where the colorist adds just two to three thin slices that brighten the face without exposing the scalp. This suits fine 1A to 2A hair and is surprisingly low-risk. The technique saves time and reduces the risk of banding near the part. The common mistake is over-slicing and creating obvious stripes. Keep styling light with a texturizing spray and avoid heavy oils at the root that flatten the peeking highlights.
Copper Edge for Warm Skin Undertones
A thin copper edge along the hairline can make warm complexions pop without heavy maintenance. On dark brown hair it is achieved by lifting small sections to a level 6 and glazing with a warm copper gloss. Best for medium density, straight to wavy hair. Expect 45 to 75 minutes in the salon. Watch for over-processing because red pigments can over-saturate porous ends. If you get it at home, use a deposit-only color and tone after with a neutral gloss to avoid turning too orange. A small note about upkeep, red tones fade fastest, so keep a color-depositing conditioner handy.
The Bond Builder Refresh Between Color Days
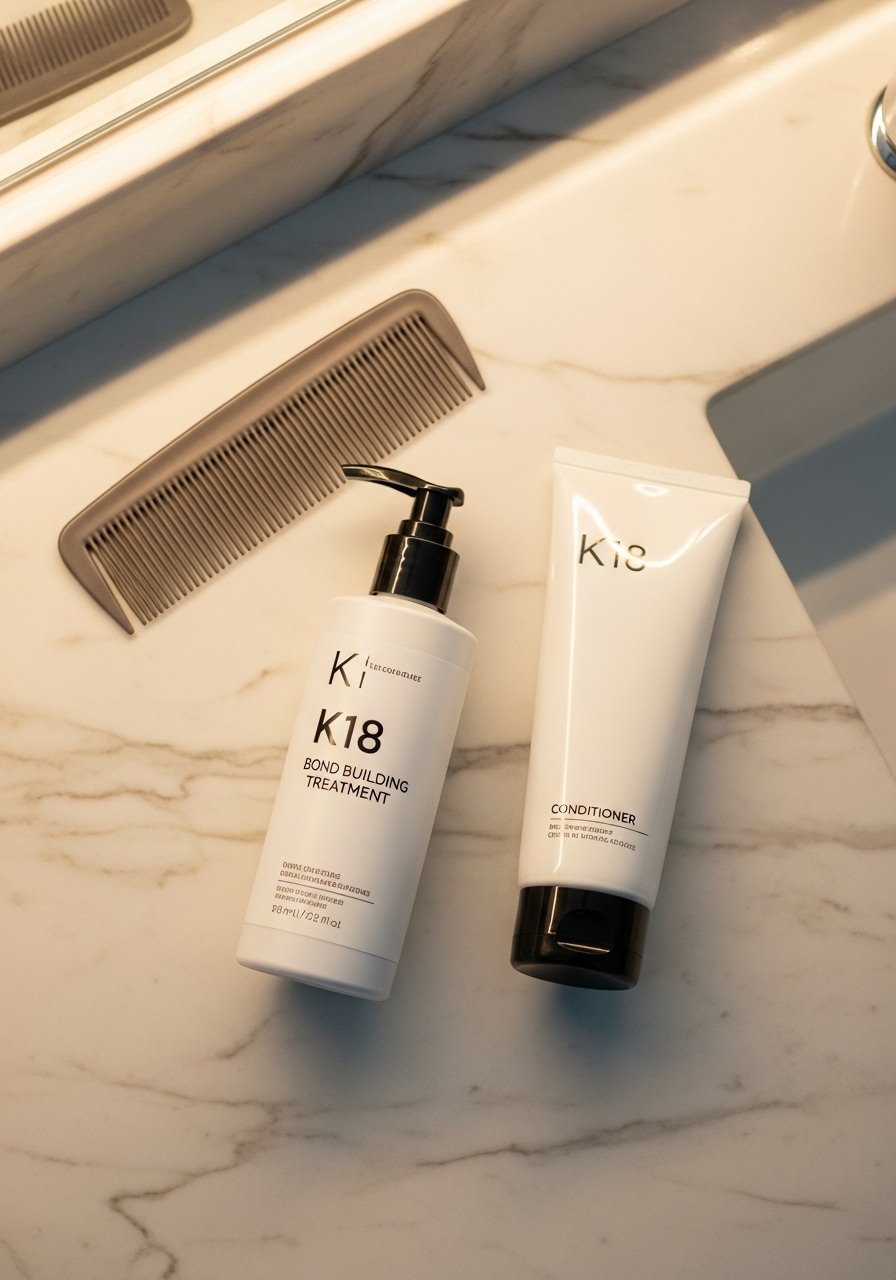
If your highlights are new or fragile, a weekly bond builder keeps the lifted pieces from feeling like straw. A single 4-minute K18 or weekly Olaplex No.3 application can make the front sections easier to style and reduce snap when you brush. The practical detail is leave the treatment in on damp towel-dried hair for 4 minutes, then style. The trade-off is cost, these treatments run $5 to $12 per use depending on product size. Watch for counterfeits on Amazon and buy from the official brand store or Sephora if you are worried. Bond builders do not undo old damage, they reduce breakage and improve resilience until the next trim.
What I Wish I Knew Before Adding Face-Framing Highlights

- Pick placements that flatter your face shape not trends alone. For example, lower face-framing pieces soften a round face, higher slices lift a long face.
- The real cost of bright face-framing highlights is upkeep. Count on a toner or gloss every 6 to 10 weeks and a semiannual color appointment if you want the exact shade maintained.
- Most heat protectants you spray on dry hair before flat ironing barely work. They need to absorb into damp or just-dried hair to actually shield the cuticle. Apply before you finish blow drying.
- Hair grows about half an inch a month at most, regardless of what biotin gummies promise you. The thing that helps length retention is reducing breakage with trims and weekly bond treatments.
- If you are trying a DIY money piece, practice on a hidden slice first to check how your color lifts and how your toners read.
Frequently Asked Questions
Q: How long do dark brown face-framing highlights usually last?
A: Expect 6 to 12 weeks before a noticeable tone shift or brass shows. If you are on a low-maintenance plan like babylights or an espresso melt, you can stretch to 12 to 16 weeks. Glosses last 4 to 6 weeks and help between visits.
Q: Can I bleach face-framing pieces over previously dyed dark brown hair at home?
A: Lifting over previously colored hair is risky and a common reason hair breaks. If the existing color is fresh or the hair is porous, book a salon. If you attempt DIY, do a strand test and use lower volume developers, watching every 5 minutes. When in doubt, see a pro.
Q: Will highlights make my dark brown hair look brassy quickly?
A: Brass appears when the lift is too warm or toner is skipped. Use a neutralizing gloss right after lift and keep a tone-maintaining shampoo in your rotation only if brass appears. Overusing purple shampoo can dry hair if you use it more than once a week.
Q: What is the best way to style face-framing highlights so they look natural?
A: Soft waves with a 1-inch iron and alternating away-from-face curls give the highlights separation and movement. Finish with a light glossing serum on the painted pieces only. Heat protectant should go on damp hair first.
Q: Can bond builders like K18 or Olaplex make highlights look healthier?
A: They improve elasticity and reduce breakage, and can make the lifted face-framing pieces easier to style. They do not reverse historical damage. Use a bond builder weekly on damp hair for maintenance and buy from authorized sellers to avoid counterfeits.
Q: How do I pick the right face-framing placement for my face shape?
A: For round faces choose pieces that begin below the cheekbone to add length. For square jaws ask for softer, tapered pieces that start near the ear and fall past the jaw. For oval faces most placements work, so pick the brightness level that matches your lifestyle and maintenance tolerance.