If your curls look great the minute you finish and are gone by lunchtime, this is for you. These straightener curl techniques are aimed at layered hair, from short bobs to mid-back layers, and work best on fine to medium 2A through 3B textures with tweaks for thicker hair. Most styles take 5 to 25 minutes and cost under $50, with one splurge tool suggested. All are doable at home except the multi-step bond rebuild, which is worth a salon visit if you have major porosity or breakage.
Loose Waves With a 1-Inch Iron For Layered Hair
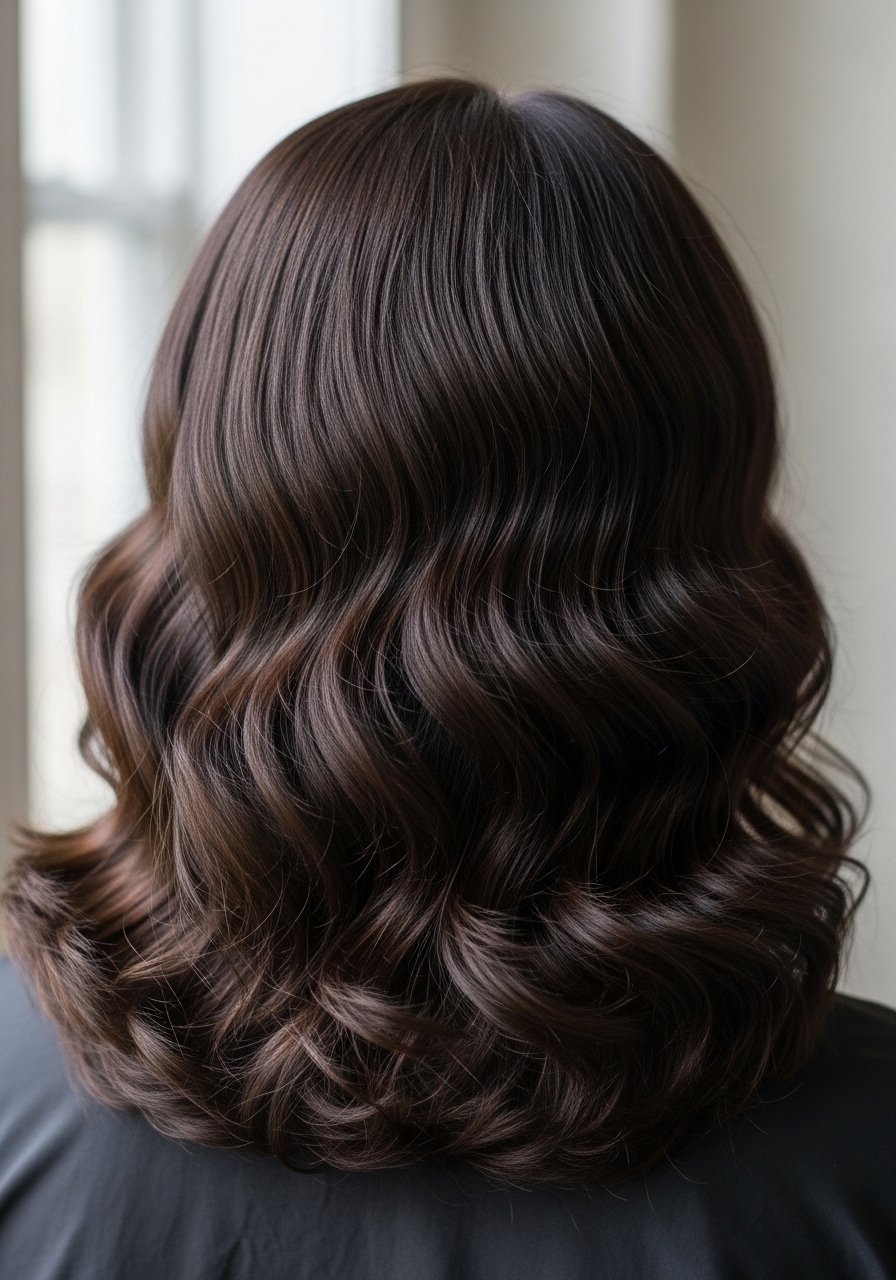
The easiest curl to start with is a loose S-wave made by twisting the iron 180 degrees as you glide down each 1-inch section. Set a 1-inch ceramic iron to 350F for fine hair, 380F for thicker hair. Work in 10 to 12 sections across the crown and 6 to 8 around the face so layers sit correctly. Spray a heat protectant on damp hair and let it dry until just barely warm. Most heat protectants you spray on dry hair before flat ironing barely work. They need to absorb into damp or just-dried hair to actually shield the cuticle. A quick two-spray pass of a silicone-free heat spray keeps the ends from frying. Common mistake, clamp and hold like a curling iron, you will get a kink. Salon pros use this same move on clients with long layers.
Beachy Flicks For Short Layered Bobs

If your layers are short and choppy, stop trying to wrap hair fully around the iron. Instead clamp 2-inch sections at the mid-length, rotate away from the face and flick the ends out for two to three seconds. Use 320F for fine hair and 350F for denser hair. A pea-sized dollop of sea salt paste through the mid-lengths before styling gives texture without weight. I like to mist with a salt spray afterwards so the flicks separate. The mistake people make is using big sections. Smaller sections let the flicks sit on different layers so the cut reads dimensional. This works well as a fast morning fix or for second-day hair.
Vertical Curl Method For Mid-Length Layers
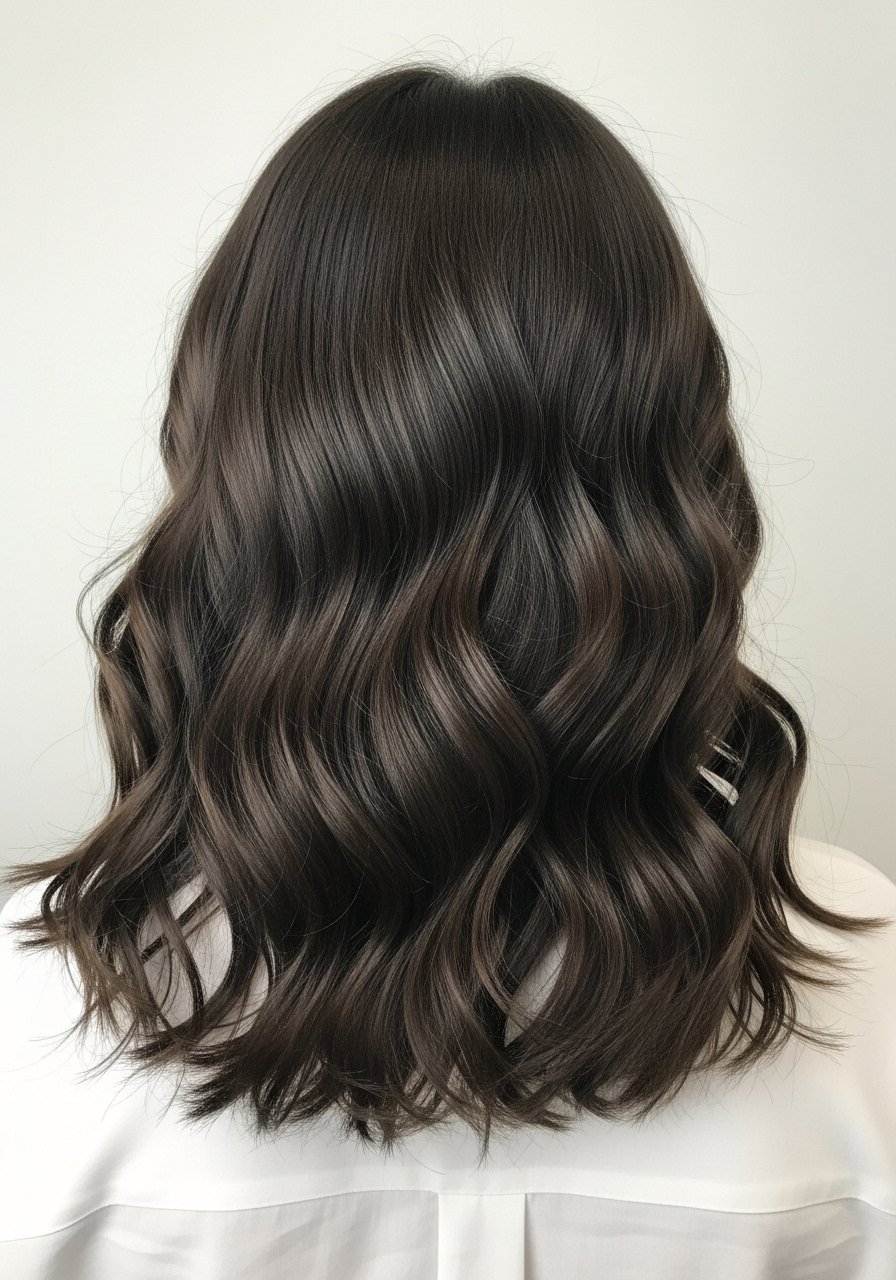
For long layers I rarely curl horizontally. Instead I clamp the iron vertically at the root, twist 90 degrees, and pull down. That creates vertical S-shapes that layer into each other and avoid the stacked poof you get with full barrel curls. Use a 1.25-inch plate at 340F on medium hair. Section into 8 center panels and 4 smaller panels at the sides for even rhythm. If your hair is color-treated, apply a bond builder like Olaplex No. 3 once a week before styling. Salon work will layer the cut to make these shapes sit better, but you can get the effect at home with careful sectioning. Heat safety note, always use a protectant before any iron over 300F.
Ribbon Curls To Add Definition To Layered Ends

When the face-framing layers need more definition, I use the ribbon curl. Take 1/2-inch vertical slices, clamp near the root, twist 270 degrees and glide 1 to 2 inches down then release. Hold each for 3 to 4 seconds at 360F if your hair tolerates it. Finish by pinning each curl to the head for five minutes to cool. I learned the hard way that skipping the cool-down is why curls fall out. For hold without crunch, layer a pea-sized amount of curl cream under a light gel, like an alcohol-free gel, and smooth with your fingers before pinning. This method is a DIY-friendly alternative to salon spiral perms when you want defined ends without volume at the roots.
Root Lift Trick For Fine Layered Hair

Fine layered hair sags fast, so I use a straightener at the root like a sculpting tool. Take a 1-inch section at the root, clamp for one second, tug upward and rotate away from the head, then release. Do this only at the crown in 4 to 6 strategic sections. Use a lower heat like 300F to avoid frying fragile roots. Before styling, blow dry with a volumizing mousse at the roots and smooth the ends with a leave-in. People often overdo product at the lengths and forget the crown. The result is a salon-ish lift without backcombing. Safety note, avoid this if your scalp is sensitive or has chemical irritation. For a quick product add, a travel-size volumizing mousse works well.
Quick Second-Day Refresh With a Straightener

When curls drop by midday, the fastest fix is a light reheat of the perimeter. Spritz the mid-lengths with water mixed 10 to 1 with leave-in, or use a mist from a bottle. Work in 6 to 8 quick sections on the perimeter with the iron at 320F and re-twist as you glide for two seconds. Avoid the roots unless you want volume. Add a dry shampoo to the roots if oil is the culprit. Common frustration, people expect a full re-curl will take the same time as day one. It does not. This method takes under 10 minutes and the end result looks intentional rather than forced. A small travel ceramic iron is perfect for this.
Bond Builder Prep For Heat Styling Damaged Layers

If your layers are porous from dye or heat, heat-styling without a bond builder is a losing battle. Use a weekly bond treatment for 10 to 30 minutes before any thermal work. I do Olaplex No. 3 for 20 minutes once a week and my ends stopped looking shredded. Buy Olaplex from the official store on Amazon or pick it up at Sephora to avoid counterfeits. If your hair is very damaged, a salon bond rebuild session will speed recovery. Common mistake, people pile heat on damaged hair hoping it will look smoother. It makes breakage worse. Safety note, bond builders do not fix split ends. A small trim is still necessary.
What I Keep In My Straightener-Curl Kit
- Honestly the short kit I reach for. A one-inch ceramic flat iron is the baseline tool for layered curls, under $60 for solid models
- For heat protection, I use a lightweight heat protectant spray. Remember to apply to damp or just-dried hair
- For hold without crunch, an alcohol-free gel and a curl cream in tandem works better than gel alone
- If your hair is damaged, Olaplex No. 3 hair perfector. Buy from authorized sellers to avoid counterfeits
- For quick touch-ups, a travel ceramic iron and a mini thermal glove save fingers
- For texture on layers, sea salt spray and a light dry shampoo for second-day hold
- A silk or satin pillowcase under $25, silk pillowcase queen, helps curls last longer overnight
Reverse End Curl For Face-Framing Layers

For a soft, flattering face frame curl I finish the ends by curling them toward the face. Take 1-inch sections, clamp 1.5 inches from the root, twist toward the face and pull through slowly. Use 330F for highlighted or fragile hair. The result reads like a polished salon cut because the front layers fold in instead of flipping out. A common mistake is curling everything toward the face. Alternate toward and away on lower layers so there is movement. This is a DIY move that looks extra good if you pre-dry with a round brush for smoother roots.
Mini Spiral Curls For Short Layered Cuts

Short layered cuts can hold tight spirals if you use tiny sections. Work with 1/4 to 3/8-inch slices, clamp and twist the iron 360 degrees, hold 2 to 3 seconds at 360F. Pin each curl to the scalp with a bobby pin to cool if you need extra staying power. This creates defined curl clusters in short layers and solves the "mush" problem short hair can get when people try big barrel curls. Mist lightly with a flexible hairspray. Damage note, keep heat under control and limit this routine to special occasions if your hair is fragile.
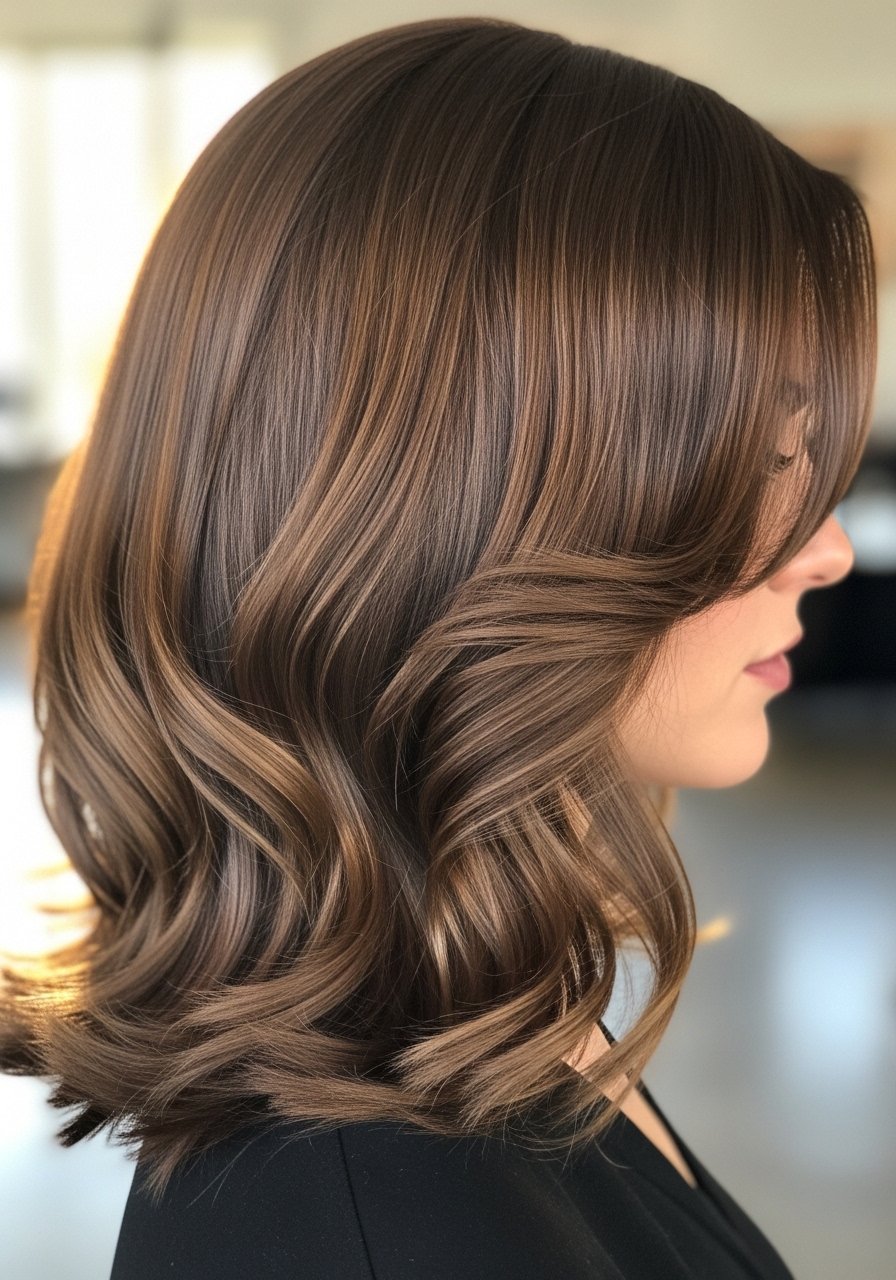
S-Bend Waves For Medium Layers
S-bend waves are my favorite for medium layers because they look polished without being overdone. Clamp the iron horizontally at the mid-length, rotate 90 degrees toward you, then rotate back on the next section so the waves alternate. Use 320F on medium hair. Take 1.25-inch sections for a more modern bend. Finish with a mist of anti-humidity spray to keep frizz at bay. I avoid heavy oils which collapse the S. Pair this style with the bond builder routine above if your hair is color-treated. Salon styling can replicate it faster, but doing it at home with even sections gives excellent results.
Faux Blowout Bounce Using a Straightener

If you do not own a round brush or blow dryer, you can fake the blowout with a straightener. Working on dry hair, clamp at the root, rotate away, and glide down while gently opening the plates at the ends to create a soft bend. Use 330F and work in four crown sections plus two side panels. Finish by sweeping an anti-frizz serum through the ends and a 360-degree mist of anti-humidity spray. This technique shortens styling time when you want smooth roots with a bouncy finish. Be cautious with repeated daily use if your hair is fragile.
Little Rules I Use When Curling Layers With A Straightener
- Heat protectant goes on damp hair, not dry. The cuticle is more open and the product actually absorbs. A lightweight heat protectant spray is a go-to
- Grab a microfiber hair towel for $12. It cuts your blow dry time by a third and stops frizz before styling
- Hair grows about half an inch a month at most, regardless of what biotin gummies promise you. The thing that helps length retention is reducing breakage with a silk pillowcase and weekly bond treatments
- Drugstore shampoo is fine. Where you actually need to spend money is the conditioner and bond builder. Olaplex No. 5 conditioner does more for damaged hair than a pricier shampoo
- Most heat protectants you spray on dry hair before flat ironing barely work. They need to absorb into damp or just-dried hair to actually shield the cuticle. Let it sit for a minute before you apply heat
Frequently Asked Questions
Q: How do I curl hair with layers so the top does not look flat and the bottom is curly?
A: Section deliberately. Do the crown first in smaller sections for lift, then curl mid-lengths and ends with slightly larger sections. Use a lower heat at the root, around 300F, and 340F to 380F at the lengths depending on thickness. Targeted root lifts and alternating curl directions prevent the top from going flat.
Q: Can I curl color-treated layered hair with a straightener safely?
A: Yes if you use a proper heat protectant, lower heat, and limit frequency. Weekly bond treatments like Olaplex No. 3 help. Buy premium bond products from authorized sellers on Amazon or at Sephora to avoid counterfeits.
Q: My curls fall by 11am. What am I doing wrong?
A: Two likely causes, product and cooling. Either you used heavy oils that weighed hair down or you did not let curls cool pinned in place. Try lighter styling products and pin curls to cool for five minutes. Also check that you did not use too large sections for your hair density.
Q: What heat setting should I use for layered hair with a straightener?
A: For fine hair start around 300F, for medium hair 320F to 350F, and for thick hair 360F to 380F. Always use heat protectant if you go above 300F. Adjust by testing one small section first.
Q: Can I use Olaplex No. 3 if my hair is not damaged, or will it make it worse?
A: You can use it. It will not harm healthy hair, but it makes the most visible difference on porous or chemically treated hair. Use it weekly if you style with heat often. If your hair is healthy, less frequent use is fine.
Q: How do I curl very short layers without ending up with a helmet?
A: Use micro sections and try flicks or mini spirals instead of full barrel shapes. Work at a lower heat and pin curls to cool for extra hold. Keep the crown looser so the shape reads airy rather than compact.