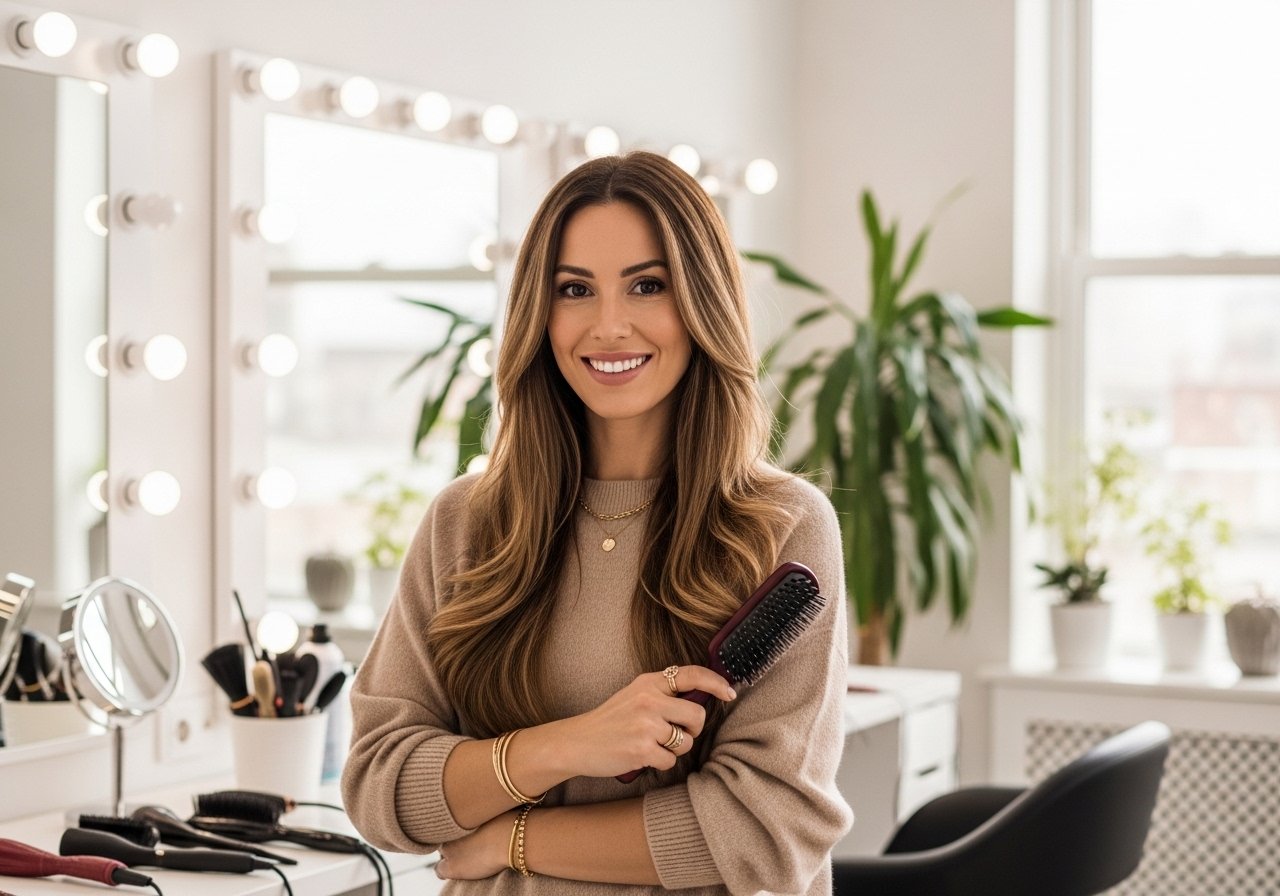
"I bleached my own hair in my kitchen last January and watched a chunk break off in the shower three days later. Here is what I learned about curling hair with a straightener without making it look fake or fried, and the one heat rule I never break."
These tips are aimed at people with naturally wavy to curly hair, roughly 2A through 3C, plus adjustments for thicker 4A textures. Expect beginner to intermediate skill, most styles take 5 to 25 minutes, and the budget runs from under $20 for a good clip to a splurge straightener around $150. Everything here can be done at home except the bond builder salon session mentioned later.
Loose Beach Waves With a One Inch Flat Iron
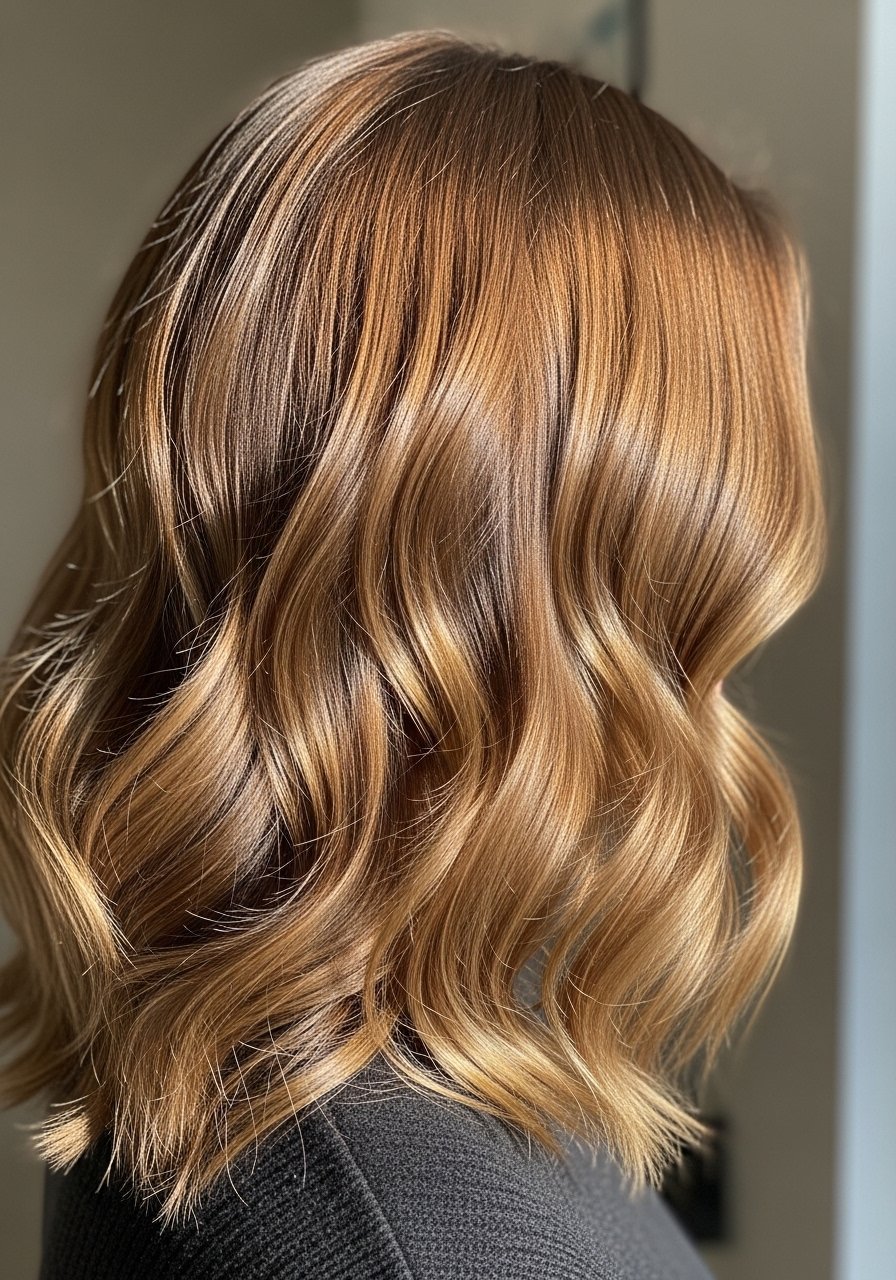
Start with damp hair dried until just barely towel-damp. Most heat protectants you spray on dry hair before flat ironing barely work. They need to absorb into damp or just-dried hair to actually shield the cuticle. For loose waves use 1 inch sections, clamp the straightener near the roots for one second at 320F, twist the tool 180 degrees away from your face, then glide slowly to the mid lengths and release before the ends to avoid a uniform curl ring. I use two spritzes of Moroccanoil heat protectant on damp hair and finish with a light mist of a sea salt spray for separation. Common mistake: using too large sections, which gives a flattened bend instead of a wave.
Corkscrew Spirals For Defined Ringlets
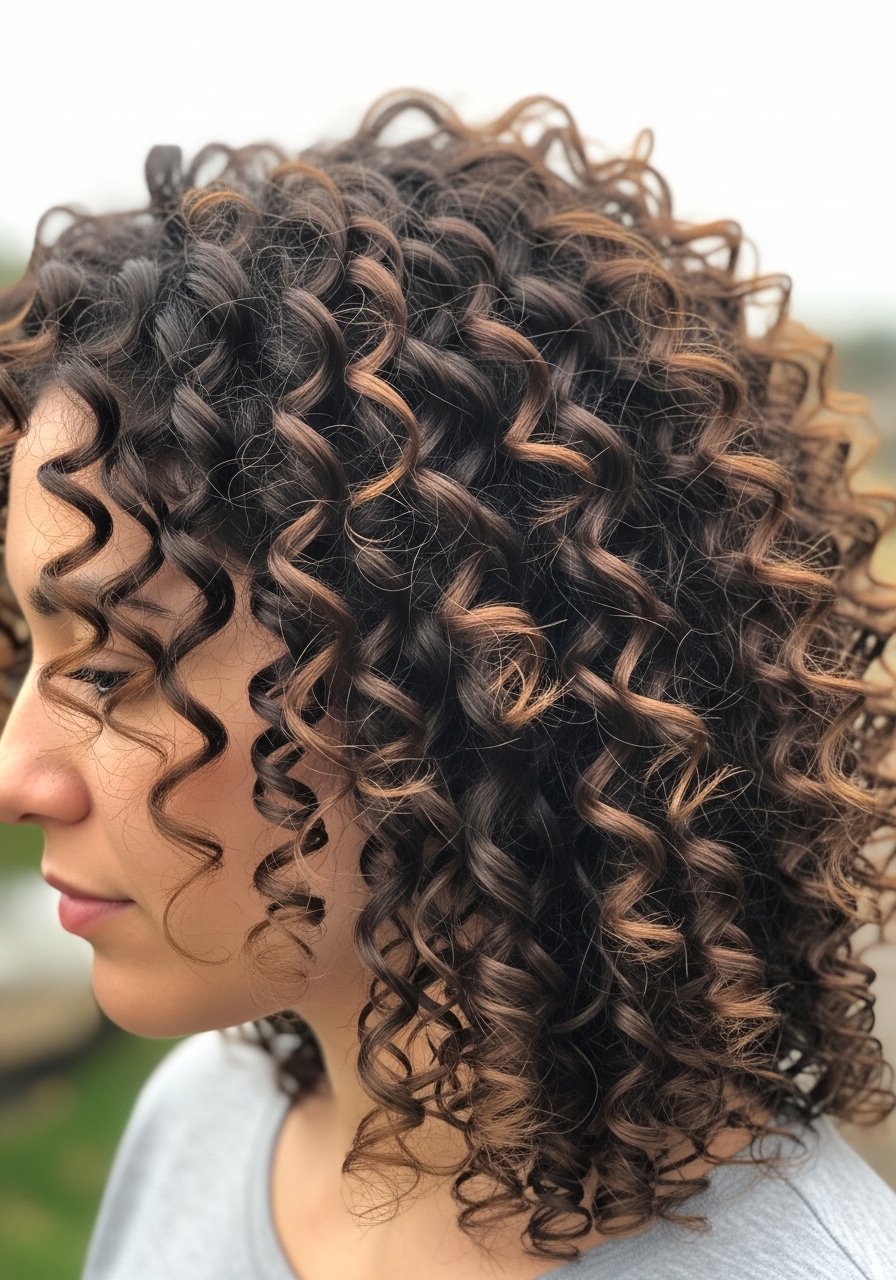
If you want corkscrew spirals, switch to 1/2 inch sections and a narrow 3/4 inch iron if you have it. Work on dry, detangled hair. Set the iron to 370F for resistant, coarse hair and to 320F for colored or fine hair. Clamp the hair about an inch from the root, twist the iron 360 degrees and slowly glide to the ends in one smooth movement. After every two sections I clamp the curl in my fingers and hold for five seconds to set the shape while it cools. I add Aussie Instant Freeze hairspray sparingly to keep definition without crunch. Too tight sections or rushing the glide makes the curl look spiraled at the root and limp at the tip.
S-Shaped Vintage Waves With a Flat Iron
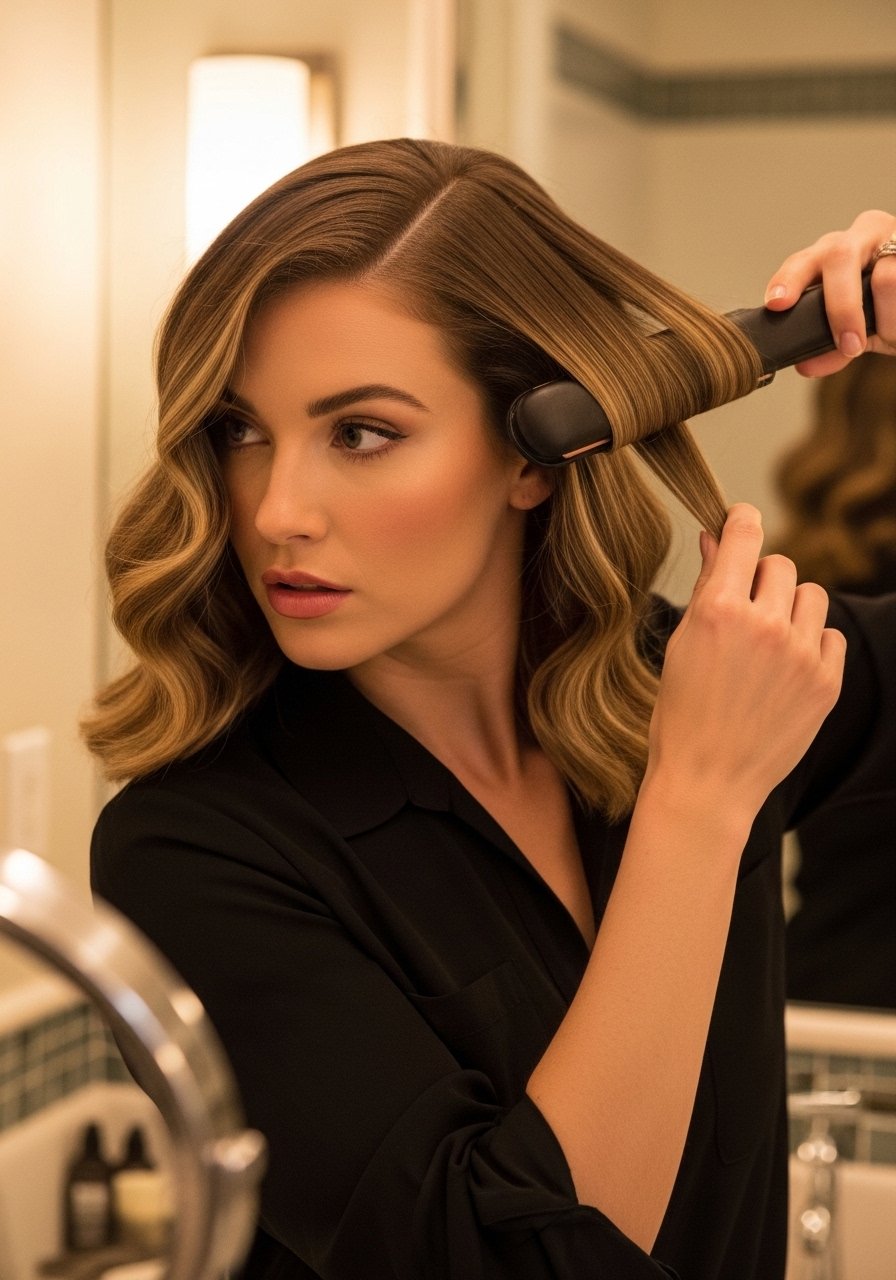
For an S-wave, use a 1 inch iron and take wider 1.5 inch sections. Clamp near the root, bend the iron inward to create an S curve through the midshaft, then bend outward closer to the ends for that old Hollywood ripple. Work a 320F setting for most hair, bump to 350F for thick hair, and always apply a thin layer of heat protectant first. I use two passes if my hair is stubborn, but quick passes are better than one slow, hot pass. Finish by running your fingers through the waves rather than brushing. People often make the mistake of over-spraying and getting crunchy waves instead of soft S-shapes.
Soft Root Lift And Bend For Fine Hair
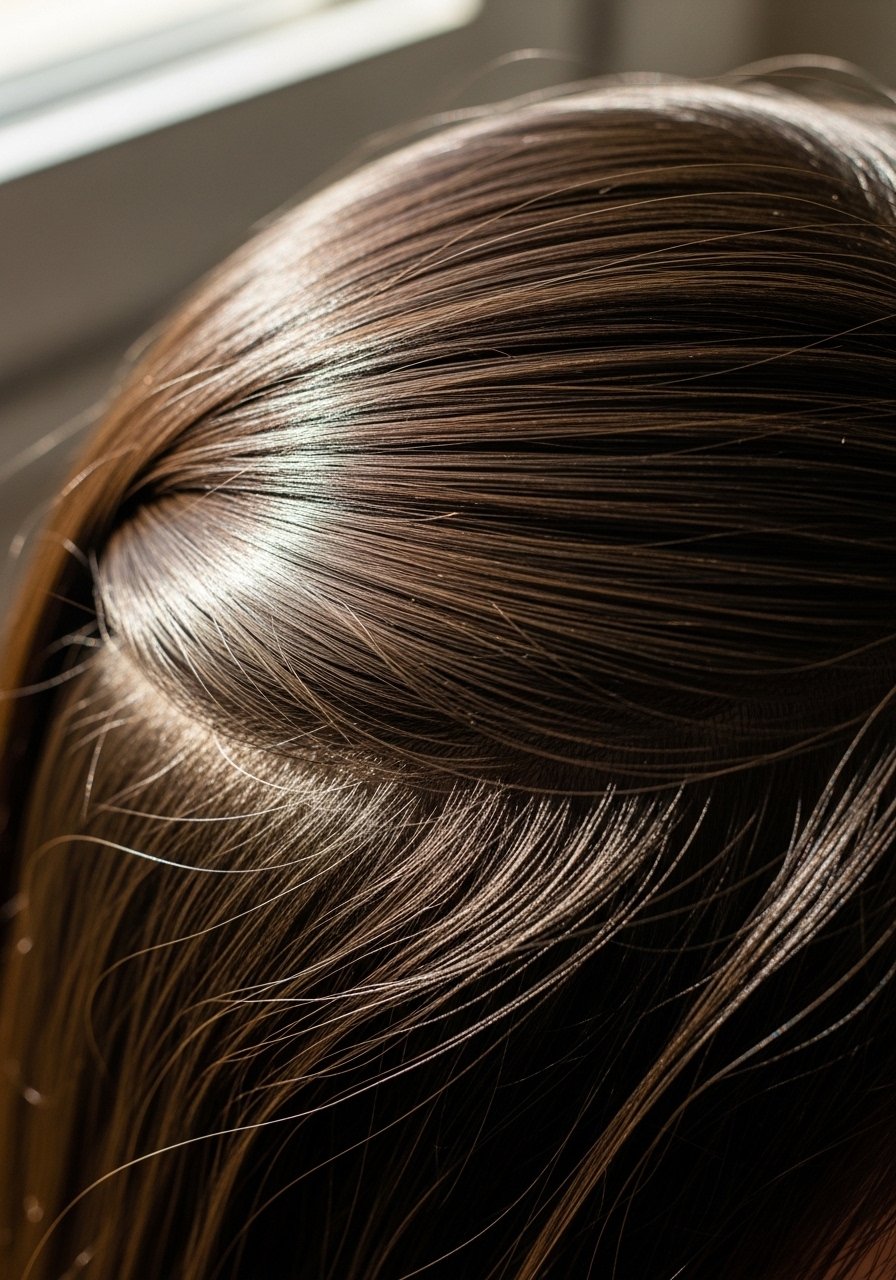
Fine hair needs less heat and more technique. Use a 300F setting and work with very small sections at the root only. Clamp vertically at the base, pull upward and rotate the iron 90 degrees away from the scalp, then release. That creates root lift and a subtle bend without frying the ends. I like a nozzle to concentrate warm air while I pre-dry with a round brush. Apply a pea-sized amount of a lightweight mousse before drying, such as Tresemme Extra Hold mousse, and reserve heavier creams for lengths. A common mistake is blasting fine hair with high heat thinking it will hold better. It does not. Also avoid straightening wet hair to skip damage.
Heat-Controlled Curls For Thick Coarse Hair
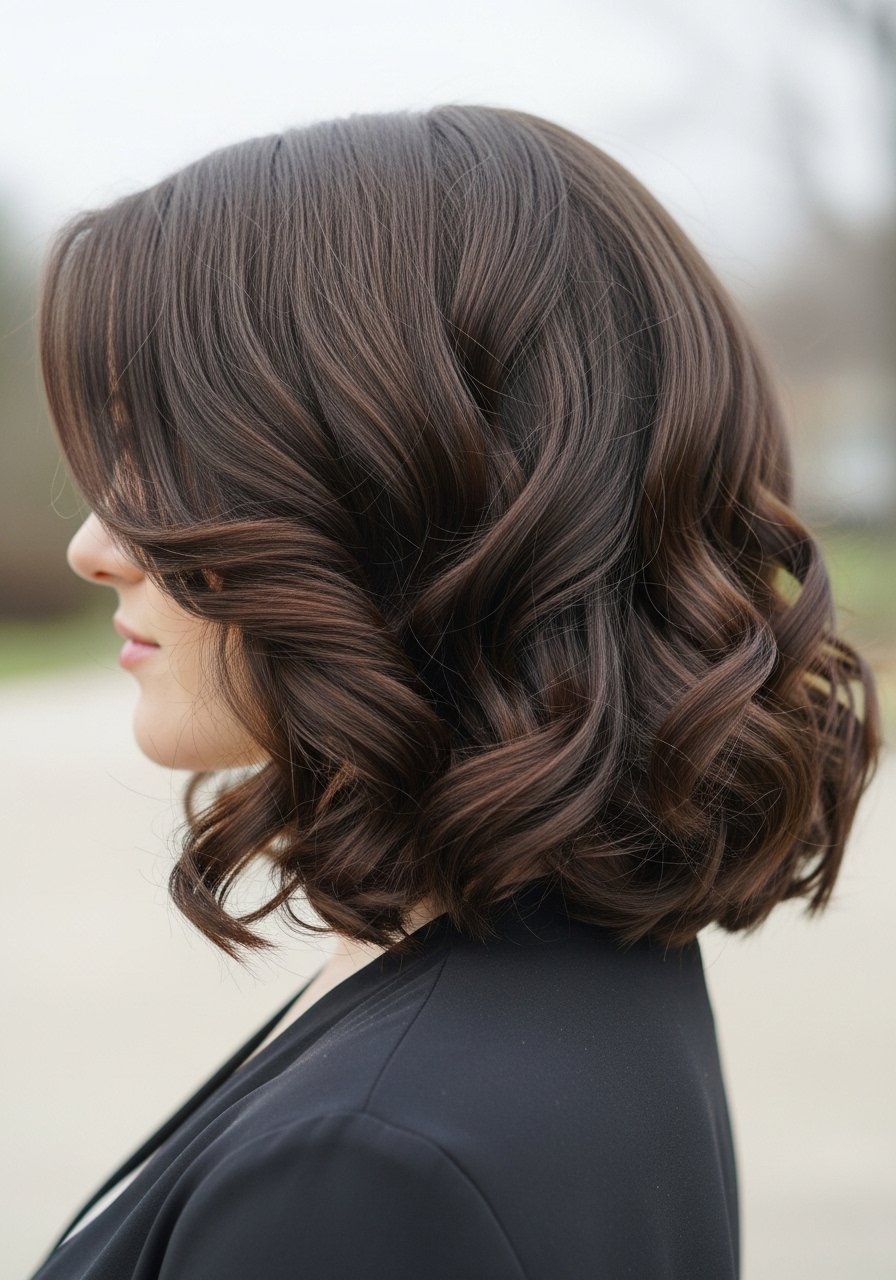
Thick coarse hair responds to higher heat but needs extra protection. I prep with a hydrating leave-in, then a bond builder once every one to two weeks if the hair has color or previous chemical work. Use 360 to 380F, 1 inch sections, clamp at the root for 2 seconds to warm the section, twist 180 degrees and glide slowly. For this texture I coat ends with a tiny amount of oil after styling to reduce frizz. If your hair is color-treated, buy the bond builder from an official seller and be cautious on Amazon. One mistake I see is skipping the leave-in because the hair feels heavy. That actually protects and yields a smoother curl.
Second-Day Refresh With Quick Iron Touches
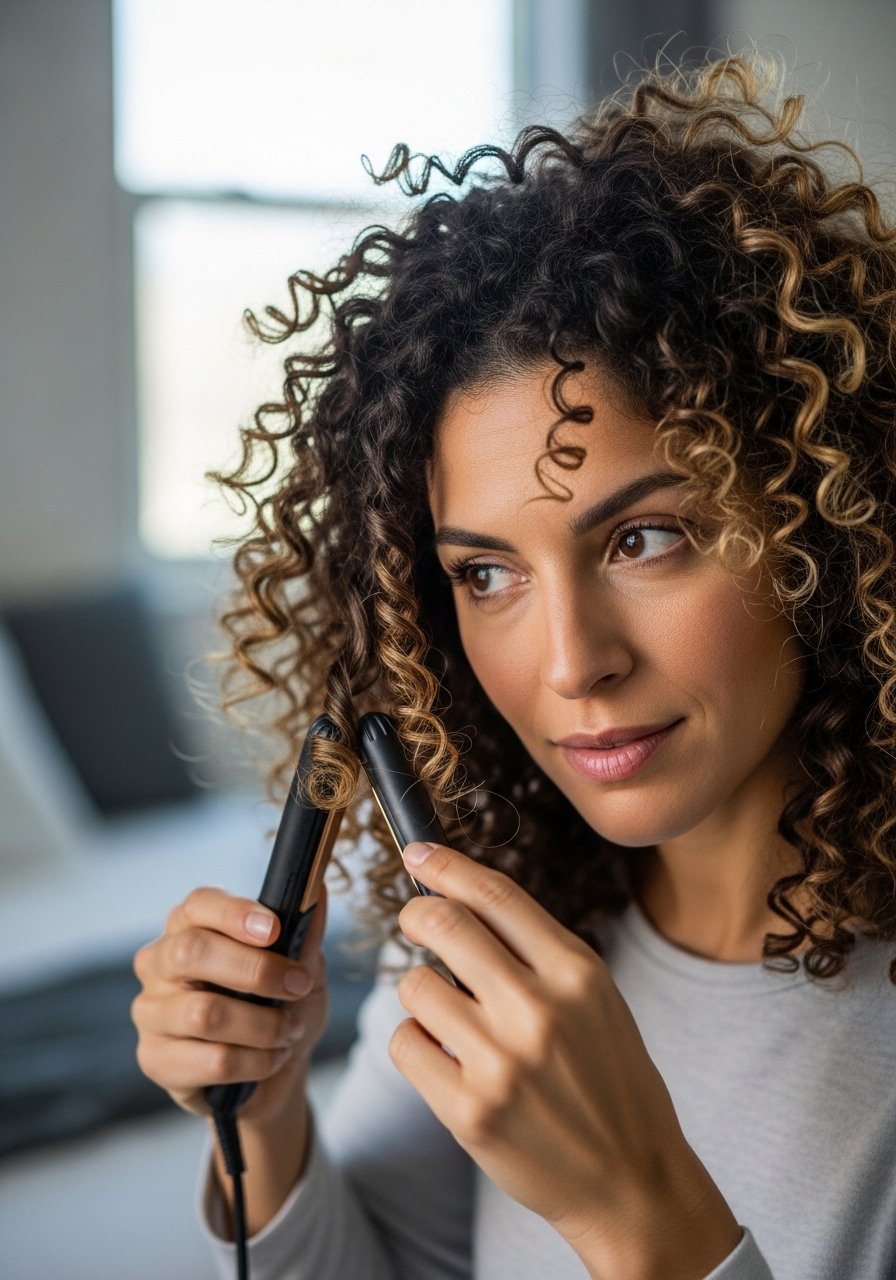
There is something specific about second-day curls that look better than fresh ones, and it comes down to sleep compression and product settling. To refresh, spritz the problematic sections with water mixed with two drops of leave-in in a spray bottle, then clamp the iron briefly and twist to revive the curl for two to three seconds at 300F. I use a microfiber towel at night and sleep with curls in a loose pineapple if I want longer hold. Avoid reapplying heavy creams every day. The common error is re-icing the whole head with product. Target the pieces that fell flat.
Tight Spiral Curls That Hold All Day
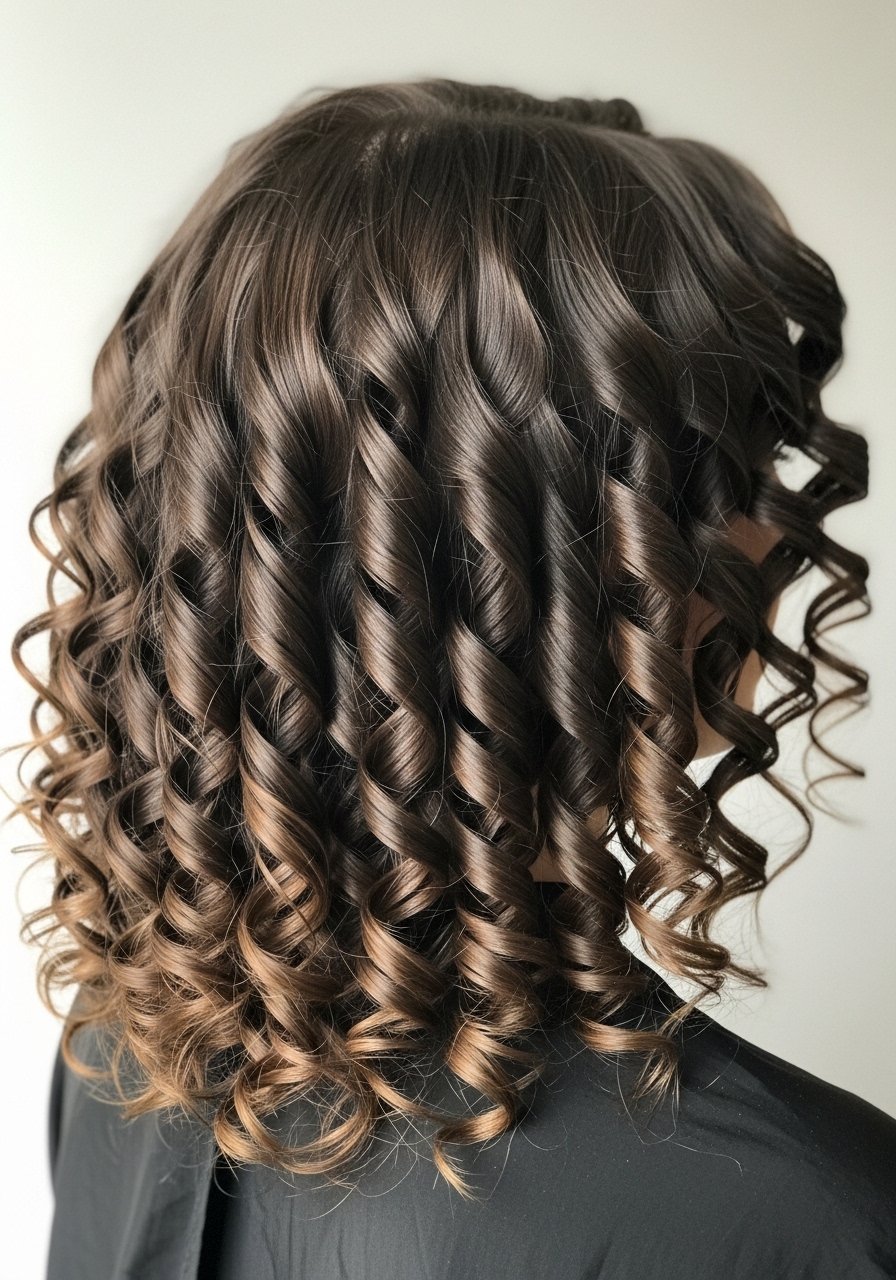
If you want a long-lasting spiral, set hair with a light layer of gel under a cream. Start on dry, fully detangled hair. Use 1/2 inch sections, 340 to 370F depending on porosity, and twist the iron 360 degrees while pulling slowly to the ends. Immediately pin each spiral to the head with a bobby pin and let cool for 10 minutes. Then remove pins and finger-separate. I often pair this with a one-week bond treatment before attack week if hair feels brittle. The mistake is skipping the cool-down pin step; without cooling, spirals relax and lose the spring.
What I Keep in My Flat Iron Curl Kit
- A one inch ceramic flat iron. Good all-round tool under $60.
- A narrow 3/4 inch flat iron for spirals for tighter ringlets.
- A heat protectant spray sized 6 to 8 oz. I spray lightly on damp hair then brush through.
- Microfiber hair towel under $15, cuts dry time and stops frizz.
- Olaplex No. 3 hair perfector 3.3 oz. Buy from the official seller on Amazon or grab it at Sephora to avoid counterfeits.
- A light holding spray for a flexible finish.
- Small metal clips for clean sections.
- A small bottle for mixing water and leave-in.
- Boar bristle brush for distributing oils, useful on mid-lengths.
- Travel size bond builder treatment if your hair is chemically processed. Use weekly.
- Silk scrunchies and a silk pillowcase to protect styled curls overnight.
Face-Framing Money Piece Curls For Softness
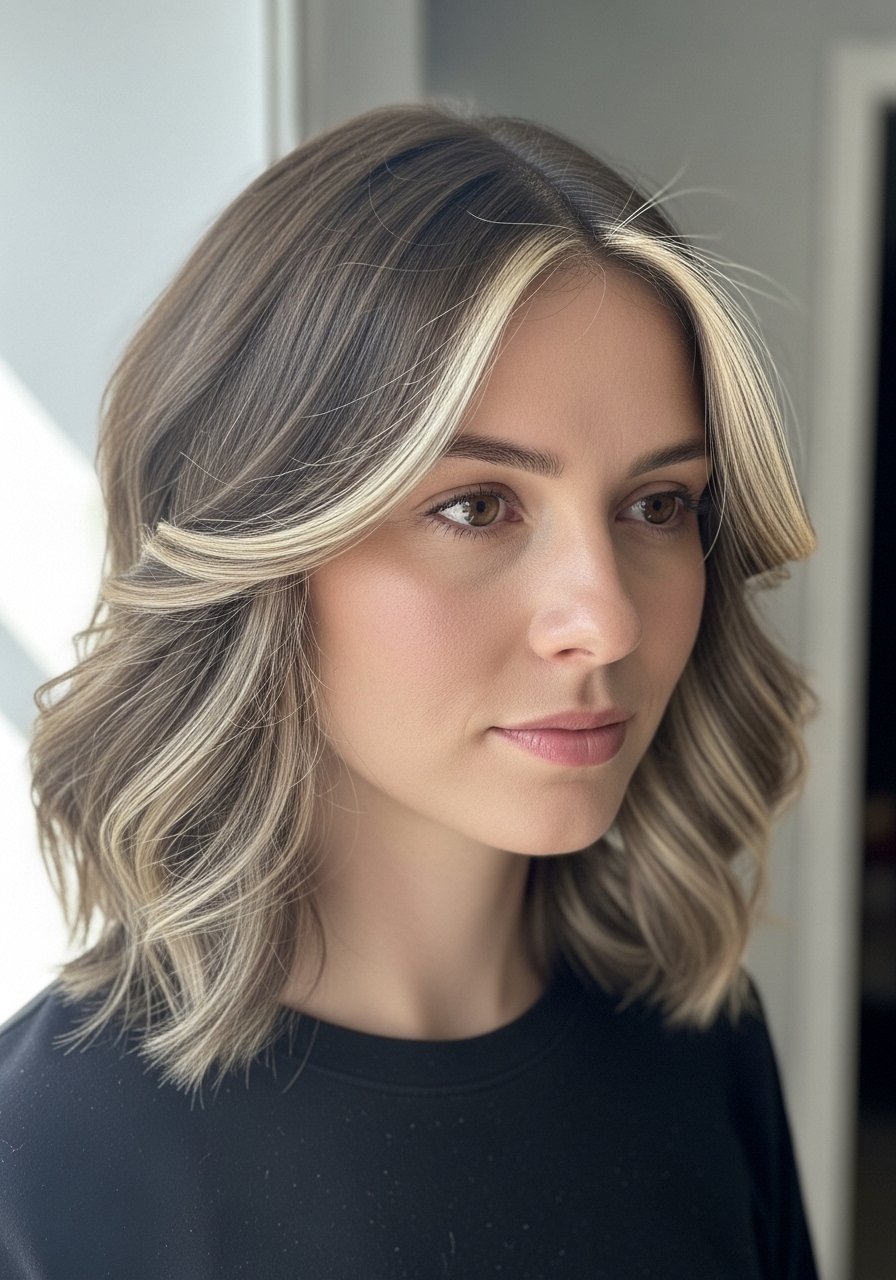
Those lighter front pieces need softer bending so they do not look fake. Take the smaller face-framing slices, set the iron to 300 to 320F if they are color-lifted, and bend inward with a gentle 90 to 180 degree twist. One pass is usually enough. I find layering a tiny dab of leave-in cream under a drop of gel changes the second-day appearance from flat to lived-in. A mistake is curling all sections the same direction. Alternate direction around the face for a natural frame. If your highlights are fragile, skip heat and use foam rollers overnight.
Pineapple Prep For Natural Curls Before Ironing
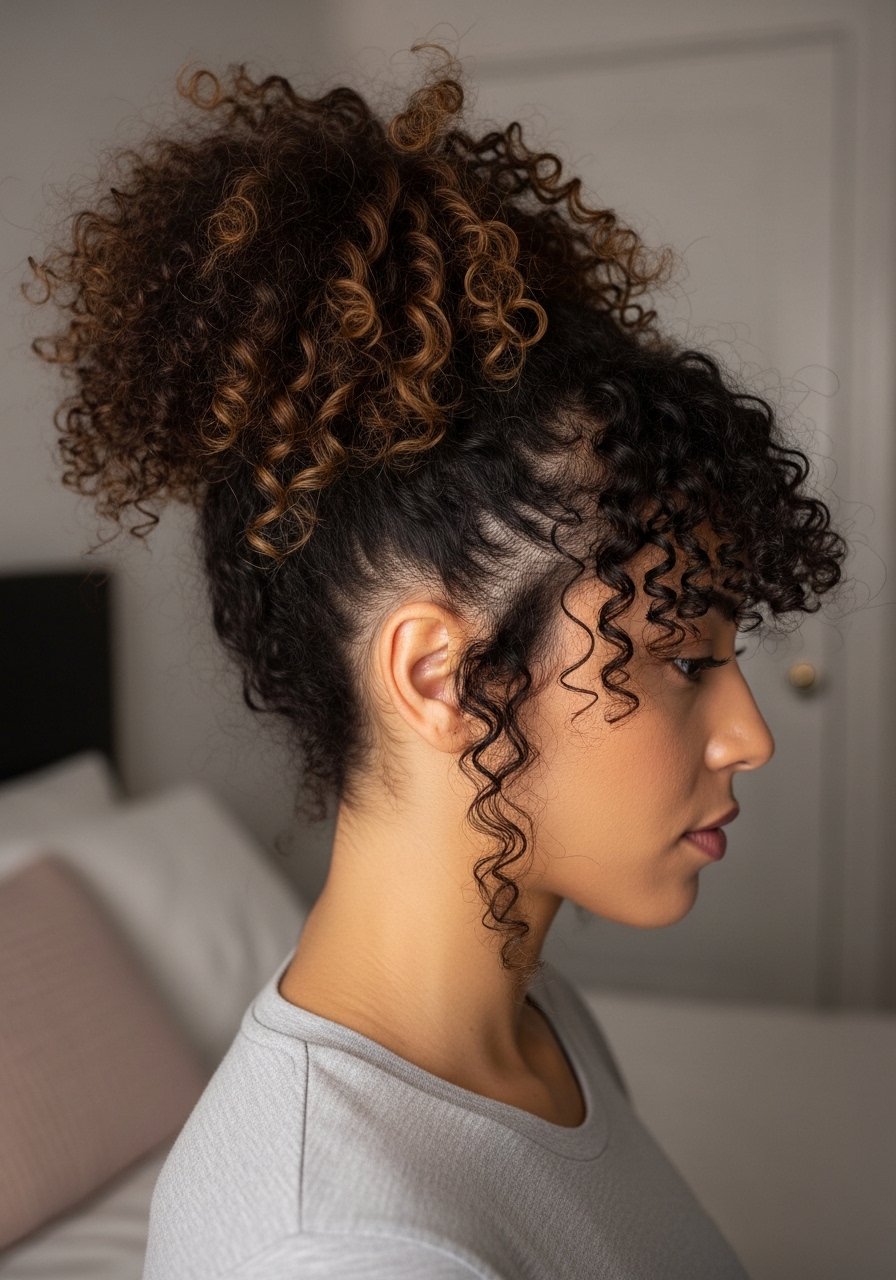
If you have natural curls and want selective definition with an iron, start with the pineapple method overnight to preserve overall shape. In the morning, release and only touch up the front and a few halo pieces with a small iron at 320F. This keeps the natural texture intact while giving direction to the look. I often use a light oil only on the ends to smooth and avoid the stiff result. The reader frustration this solves is overdoing heat and losing natural curl pattern by reworking every strand.
Ribbon Twist Curls For Soft, Natural Movement
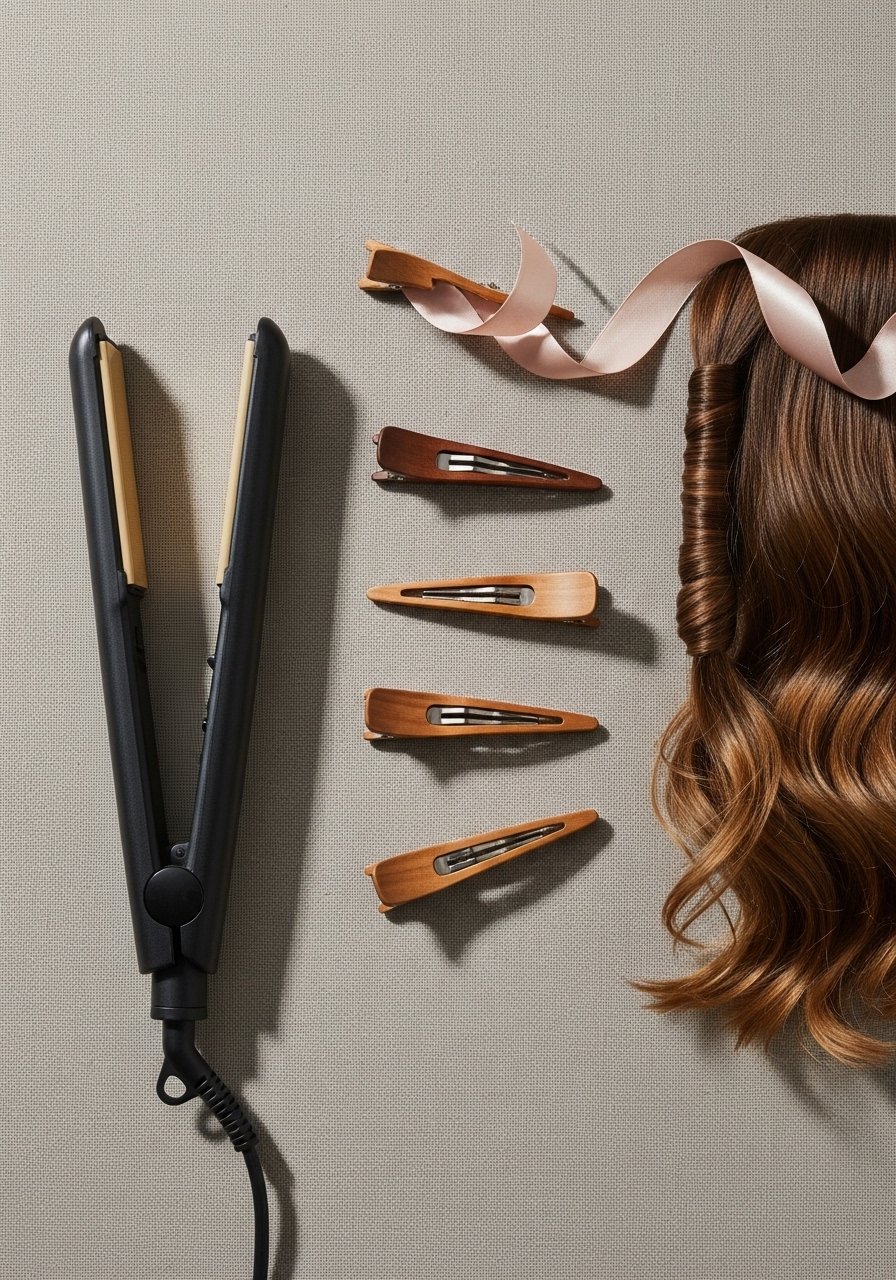
Ribbon twist curls are made by wrapping a thin length of hair around a silk ribbon and heating it briefly with a flat iron. The ribbon protects the ends and leaves a blunted, natural tip. Use 1/2 inch sections, clamp over the ribbon at 320 to 350F depending on porosity, and glide two to three times. Remove ribbon after cooling for soft, bouncy tips. This method is ideal for medium to long hair that frizzes at the ends. Mistakes include using cotton ribbons that snag hair. Silk is worth it.
Reverse Curl For Volume At The Root
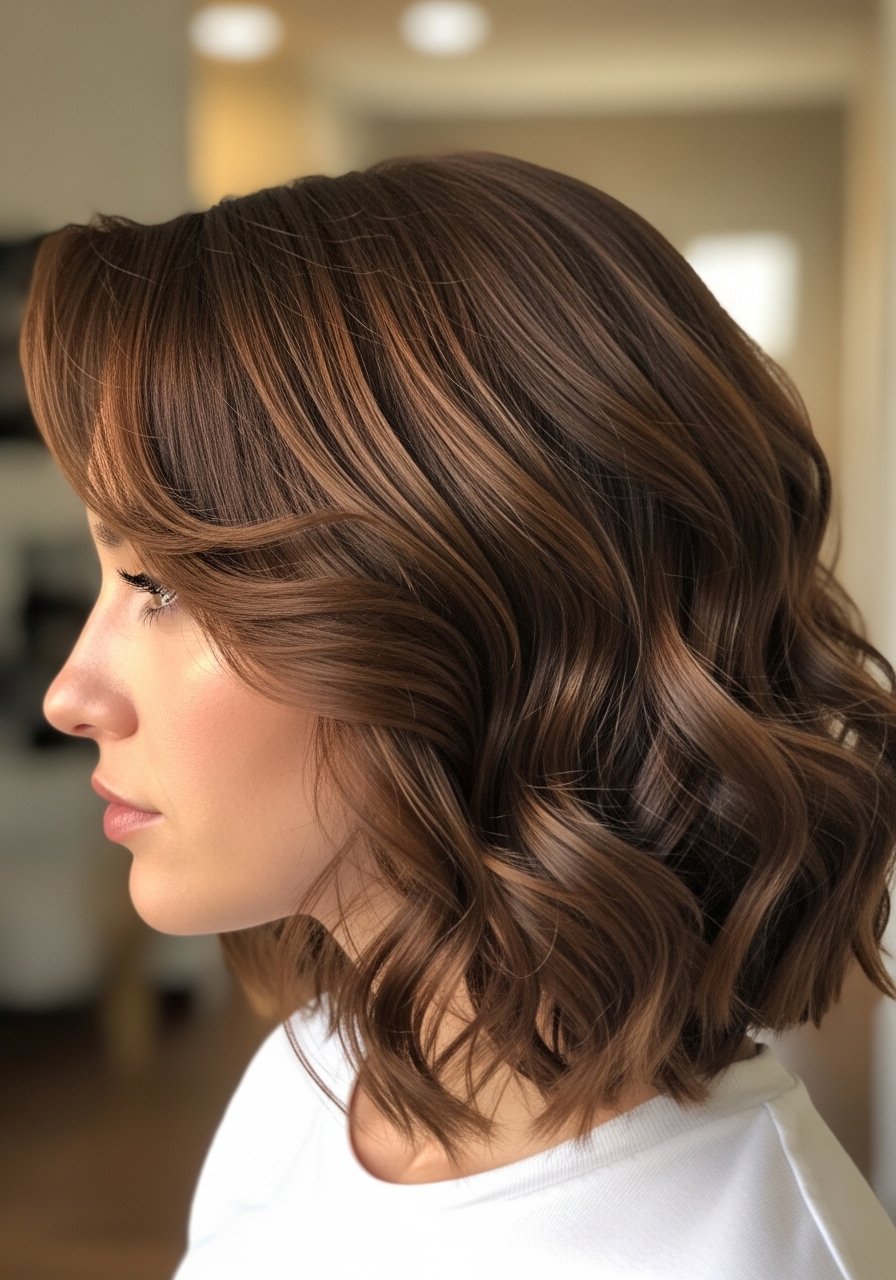
To get lift without backcombing, use a reverse curl at the root. Clamp a small section at the root, tilt the iron toward the scalp so the plates face upward, and pull the iron forward and away while rotating 90 degrees. This creates an inward bend and instant lift. For fine hair use 300F, for thicker hair 350F. I like to set the root with a pinch of dry texture spray before curling. Avoid pulling hair taut when you clamp so you do not overstretch the root and lose body.
Wrapped-End Curls For Blended, Natural Tips
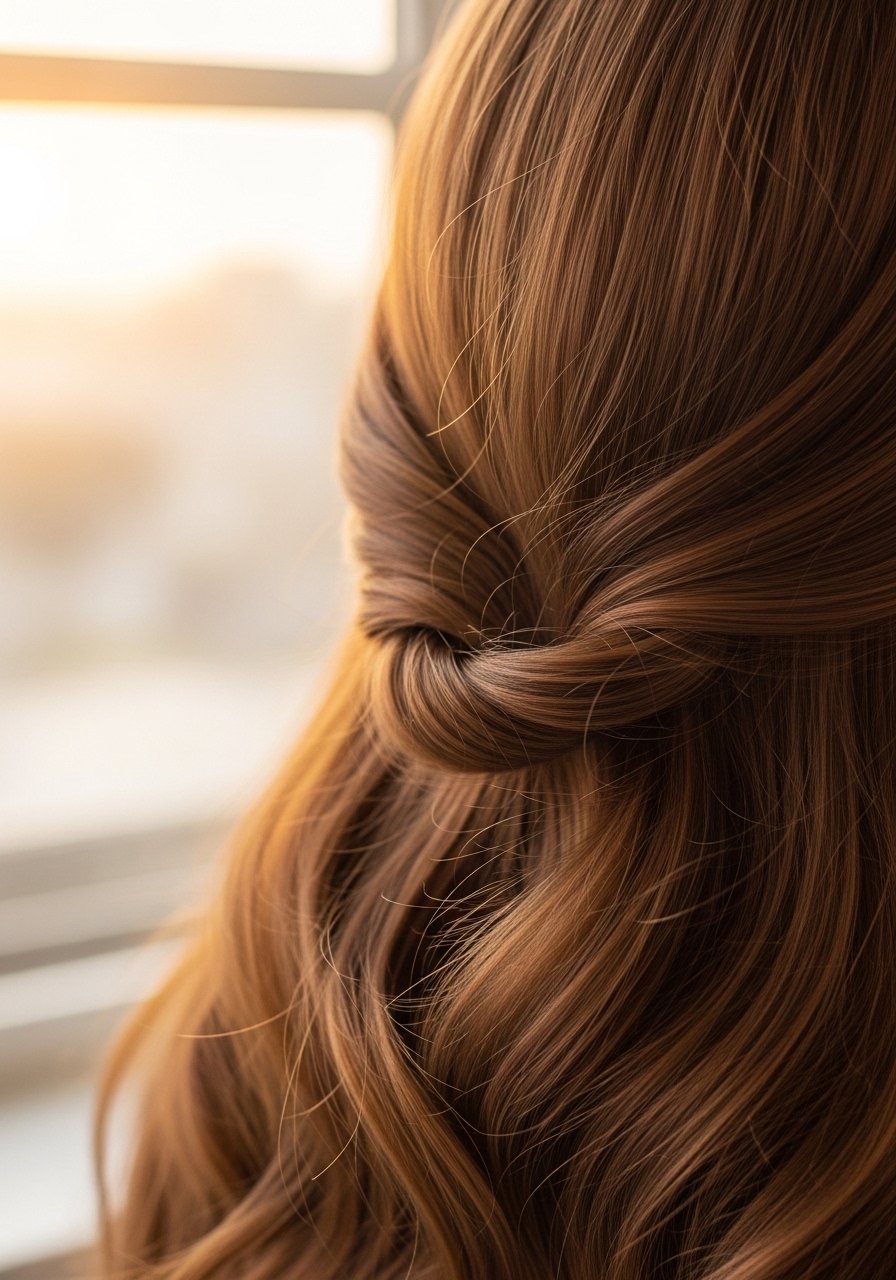
If your ends always look like fried spaghetti, try wrapped-end curls. After curling, wrap the last inch of hair around the iron without twisting, hold briefly, then release. That gives a softer, blunted tip that blends with natural texture. Use a lightweight oil on ends beforehand to prevent puffing. This works well for medium to long hair and for clients who already have some layering. A common error is overheating the tips by holding the iron there too long; ten to twelve seconds is the max on colored ends.
Low Heat Long-Lasting Curls With Setting Spray
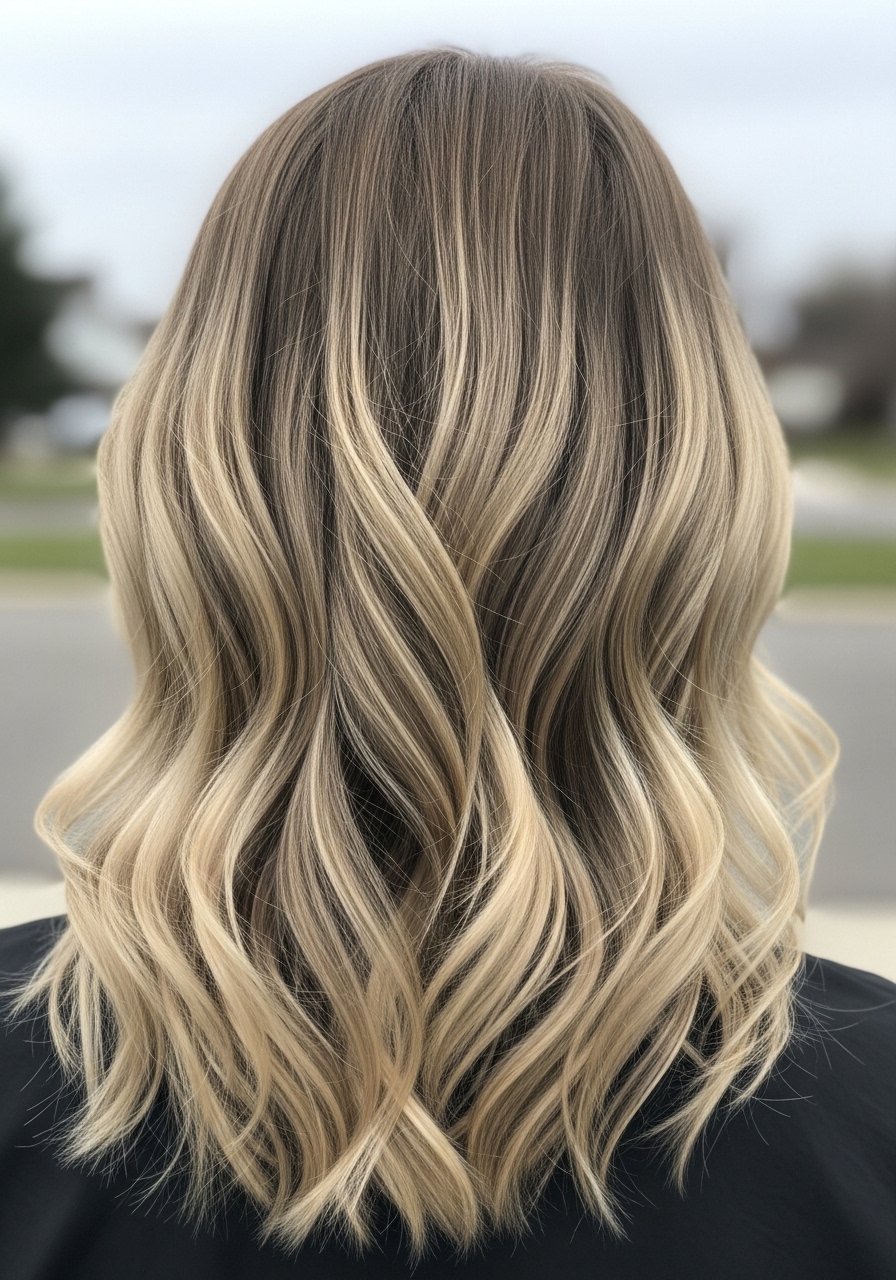
If you want long-lasting curl without constant heat, mix a low-heat approach with a setting spray. Spritz sections lightly with a thermal setting spray, curl at 300F, pin the curl and let cool. Set for ten to fifteen minutes. The combination of lower heat and mechanical cooling locks shape better than a single hot pass. Use this when you know you need the style to last multiple days or for events. People often skip the cool-down pin and then wonder why the curl drops fast.
Quick Half-Up Curled Ponytail For Busy Mornings
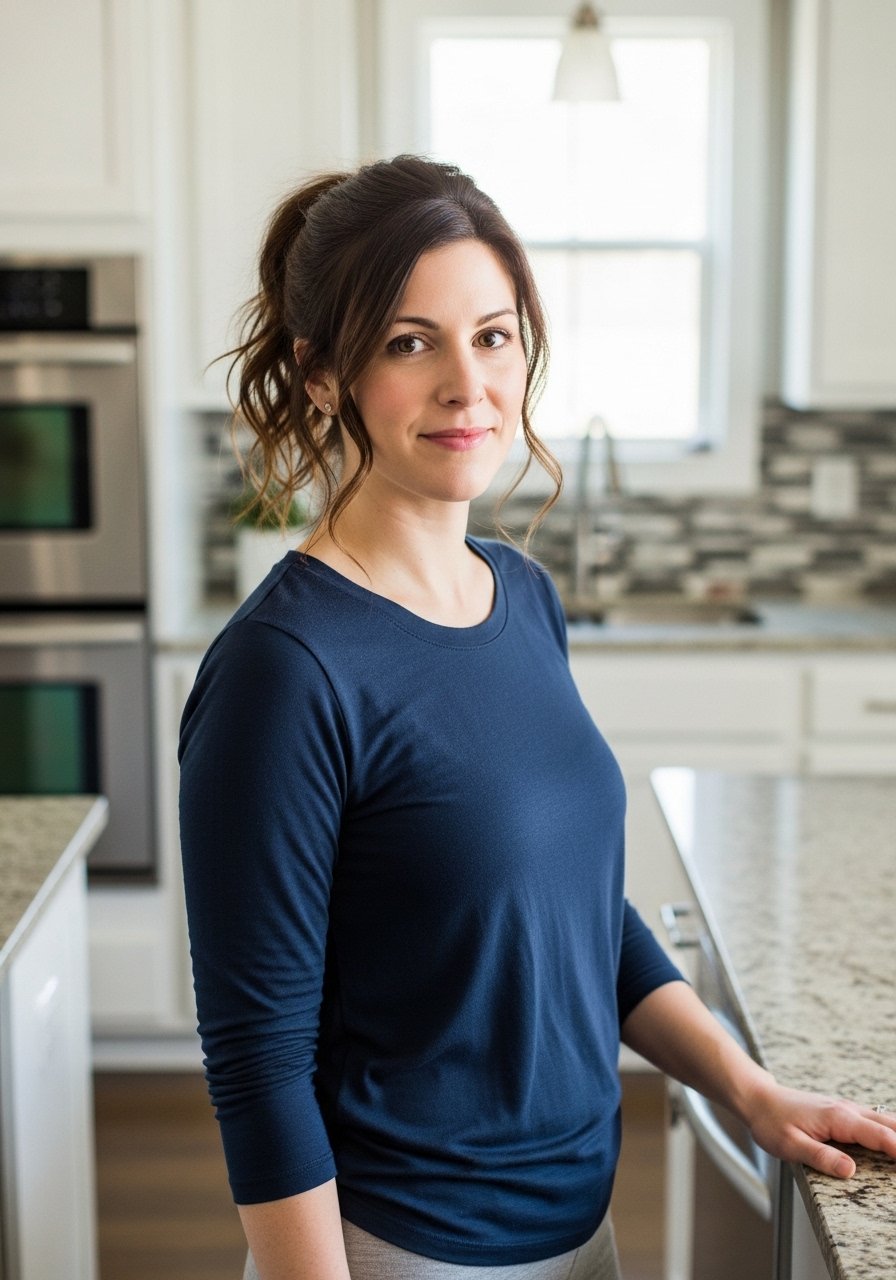
I keep a five-minute half-up curled ponytail move for rushed mornings. Gather the top half, clamp small sections at the mid-length, twist 180 degrees and run through to tips at 340F for thicker hair or 310F for finer hair. Release and smooth with a tiny amount of cream around the hairline. This is a great way to get a polished look without redoing your whole head. Avoid using heavy hairspray at the base which makes the half-up look stiff and fake.
Bond Builder Routine Before Any Iron Work

If your hair has been colored or chemically treated, use a bond builder the week before you plan serious iron work. I do a weekly application for three weeks pre-styling. It does not undo past damage but strengthens links enough to make iron styling safer and more reliable. Apply on damp hair following package timing, rinse, and follow with a deep conditioner. Buy from official sellers on Amazon or get it at the salon to avoid counterfeits. The mistake is treating bond builders as instant fixes; they are a maintenance tool and take time to show benefit.
What I Wish I'd Known Before Flat Iron Curling
- Heat protectant goes on damp hair, not dry. The cuticle is more open and the product actually absorbs. This Color Wow heat protectant spray works well.
- Use the right temperature for your hair. 300 to 320F for fine or color-treated hair, 340 to 370F for most textured and coarse hair.
- Section width matters more than time under the iron. One inch for waves, half inch for spirals. Use metal clips for clean sections.
- Hair grows about half an inch a month at most, regardless of supplements. The thing that helps length retention is reducing breakage with a silk pillowcase and weekly bond treatments.
- Swap gel-only routines for a leave-in cream under a light gel for better second-day curls. I layer a small amount of cream under a soft-hold gel when I want shape that lasts.
Frequently Asked Questions
Q: Can I curl natural 4A hair with a flat iron safely?
A: Yes, but use lower heat and work in very small sections. Pre-treat with a hydrating leave-in and do a bond builder routine if the hair has prior chemical work. Start at 320F and test a hidden section first.
Q: Will curling with a straightener damage my colored hair more than a curling iron?
A: The tool does not inherently cause more damage. Using the wrong temperature and skipping protection will. Heat protectant before any iron over 300F is non-negotiable. If your color is lifted or fragile, use lower heat and a bond builder.
Q: How do I stop curls made with a flat iron from falling out by midday?
A: Let curls cool completely pinned for ten minutes, use a light setting spray, and avoid heavy oils on the root area. Also resist brushing; finger separation gives longer hold.
Q: Can I use Olaplex No. 3 if my hair is not damaged, or will it make it worse?
A: It will not make undamaged hair worse. It helps strengthen hair links over time. Buy from the official seller on Amazon or from Sephora to avoid counterfeits.
Q: How often should I deep condition when I use heat styling weekly?
A: Once a week if you style with heat regularly. If you have color or chemical processing, consider twice monthly. Over-conditioning can make hair feel limp, so adjust for your porosity.
Q: Is the Dyson Airwrap worth it compared with a good flat iron for curls?
A: The Dyson is more versatile and faster but expensive. A quality flat iron plus technique will get you natural-looking curls for a fraction of the price. If you style daily and have the budget, the Dyson pays off. If you style a few times a week, a good iron is smarter.
Q: How often should I use purple shampoo to avoid brassiness without drying hair?
A: For most people once a week is enough. Using purple shampoo every wash often causes dryness. If your hair is very brassy, alternate weekly use with a moisturizing purple conditioner.