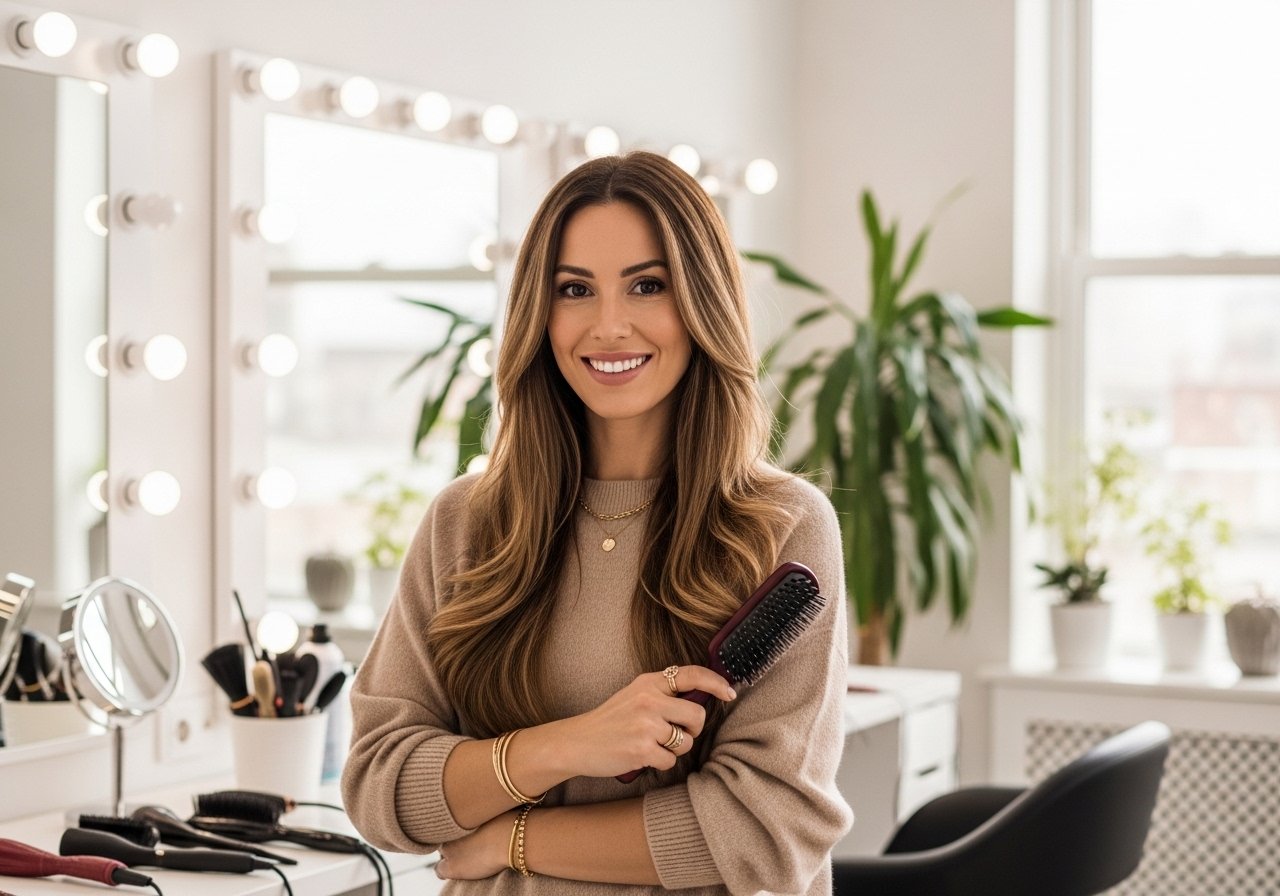
I tried a butterfly cut because my usual blunt ends made my face look boxy. These long layers with face framing work best for 2A through 3B textures and straight hair if you soften the ends. Most of these looks are salon cuts with simple monthly upkeep, a few can be maintained at home with a $15 pair of blending shears. Budget range runs from bargain styling products to one or two splurges like a bond builder. Skill level is mostly beginner for styling, but cutting the face-framing pieces is salon work unless you are steady handed.
Soft Butterfly Layers For Fine Shoulder-Length Hair
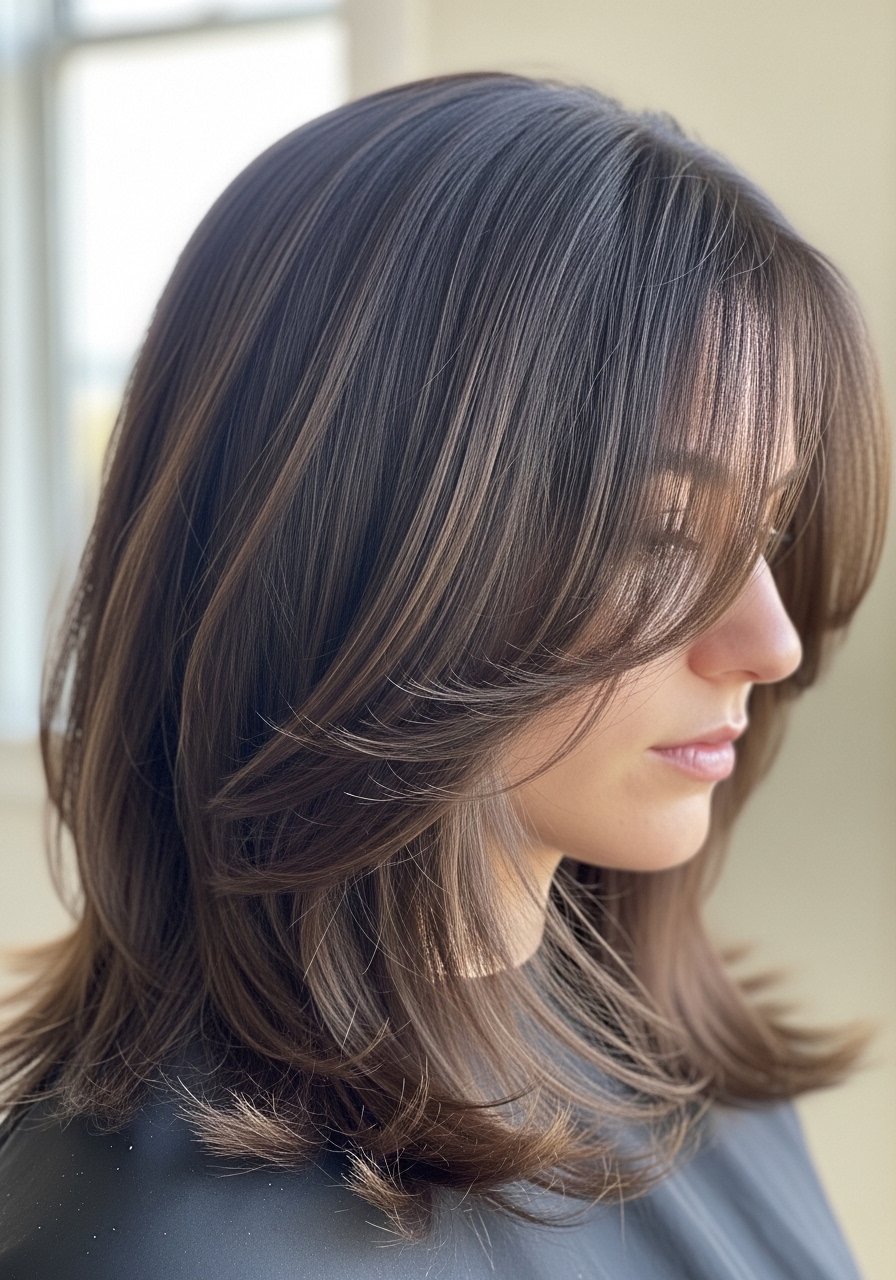
If your hair is fine and goes flat at the crown, long butterfly layers add movement without removing weight where you need it most. For 1B straight hair, ask your stylist to keep a 3 to 4 inch longest layer and feather the perimeter with a 45 degree angle to avoid choppy steps. I massage two drops of lightweight oil into mid-lengths only, then rough dry with the dryer on medium with a round brush to keep volume for about 10 minutes. A common mistake is over-texturizing the crown, which kills body. DIY trims on the face-framing pieces are possible but only cut 0.25 inch at a time.
Long Butterfly Layers With Curtain Face Framing For Oval Faces
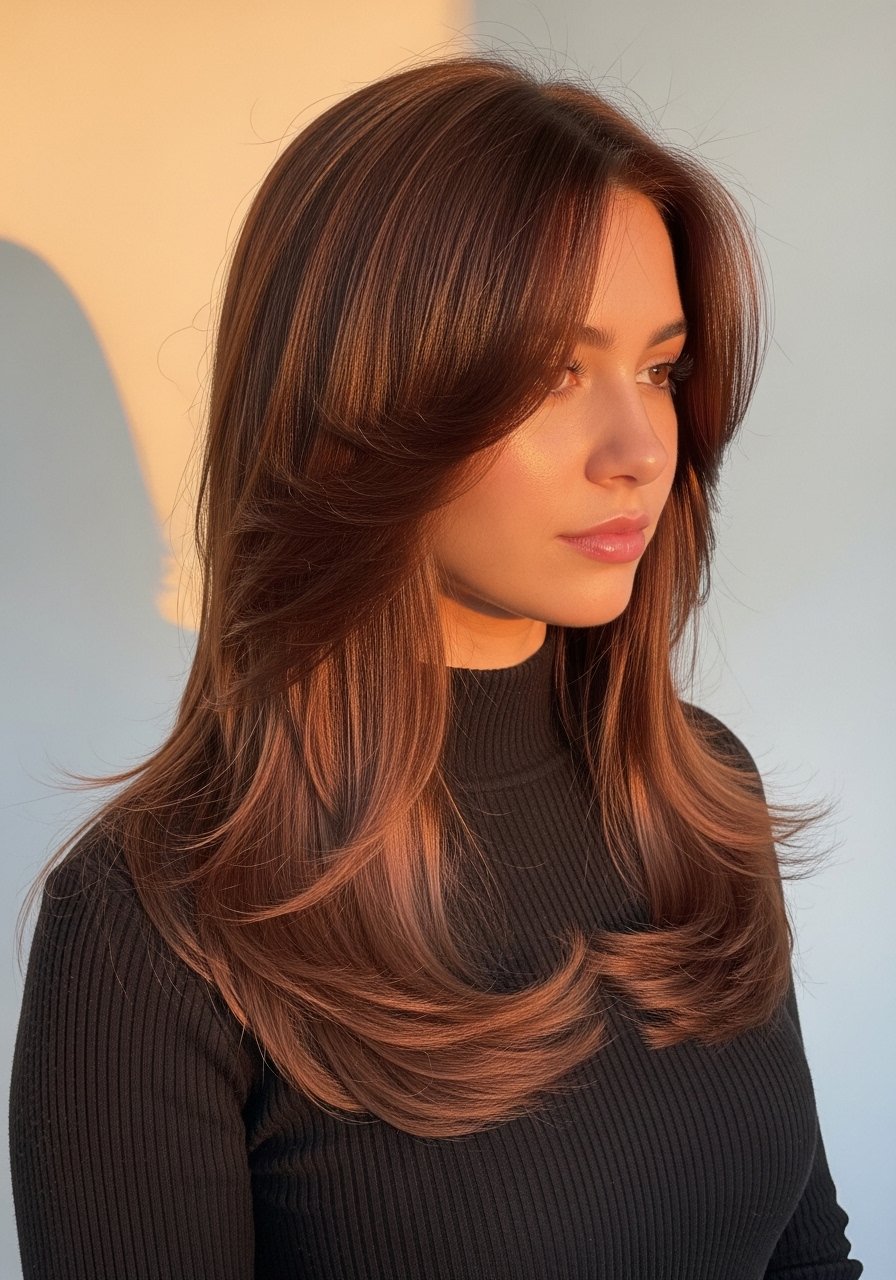
Oval faces get away with visibly longer face-framing pieces. Ask for pieces that start at cheekbone level and blend back into the longest layer at a 2:1 length ratio so the front reads softer. This works well on 2B to 3A hair because the waves fill the frame without needing heavy bangs. A styling trick I use is two spritzes of sea salt spray on damp hair, scrunch, then diffuse on low for about 12 minutes. The problem this solves is hair that looks heavy in front and flat behind. If you color the face-framing pieces, patch test first to rule out scalp sensitivity.
Butterfly Cut With Face-Framing For Thick Wavy Hair
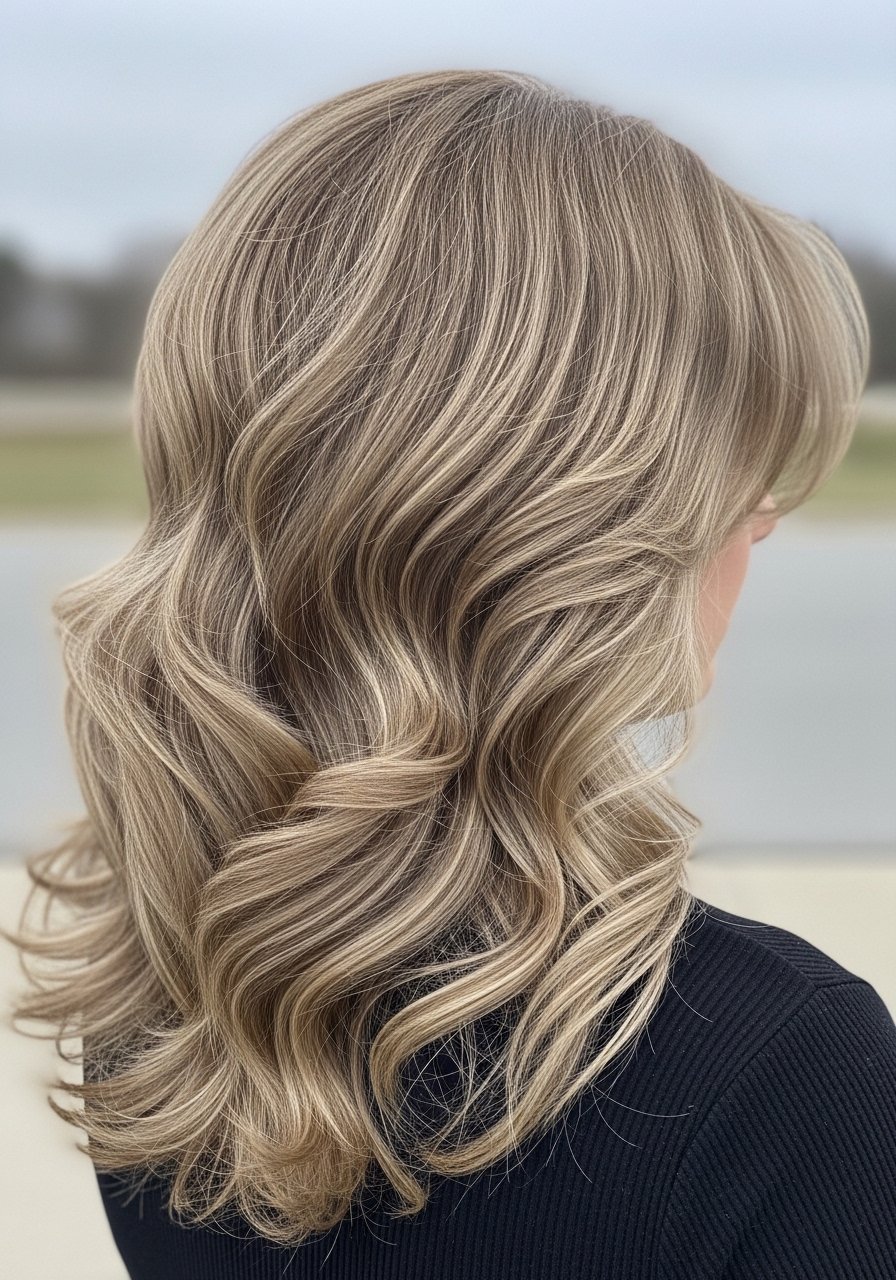
Thick hair can end up pyramid shaped if the layers are blunt. For type 3A thick waves, ask for long interior layers, cut vertically with point cutting to remove bulk without shortening overall length. I tell my stylist to cut no more than 40 percent of bulk in one session, because too much will make washing a tangled mess. At home, I use a wide-tooth comb while hair is wet and a leave-in about the size of a quarter distributed with the 80/20 product placement rule, roots to mid-lengths lighter than ends. Avoid razor texturizing near the face if your hair is coarse, it can frizz.
Sleek Long Layers For Straight Hair To Sculpt The Face
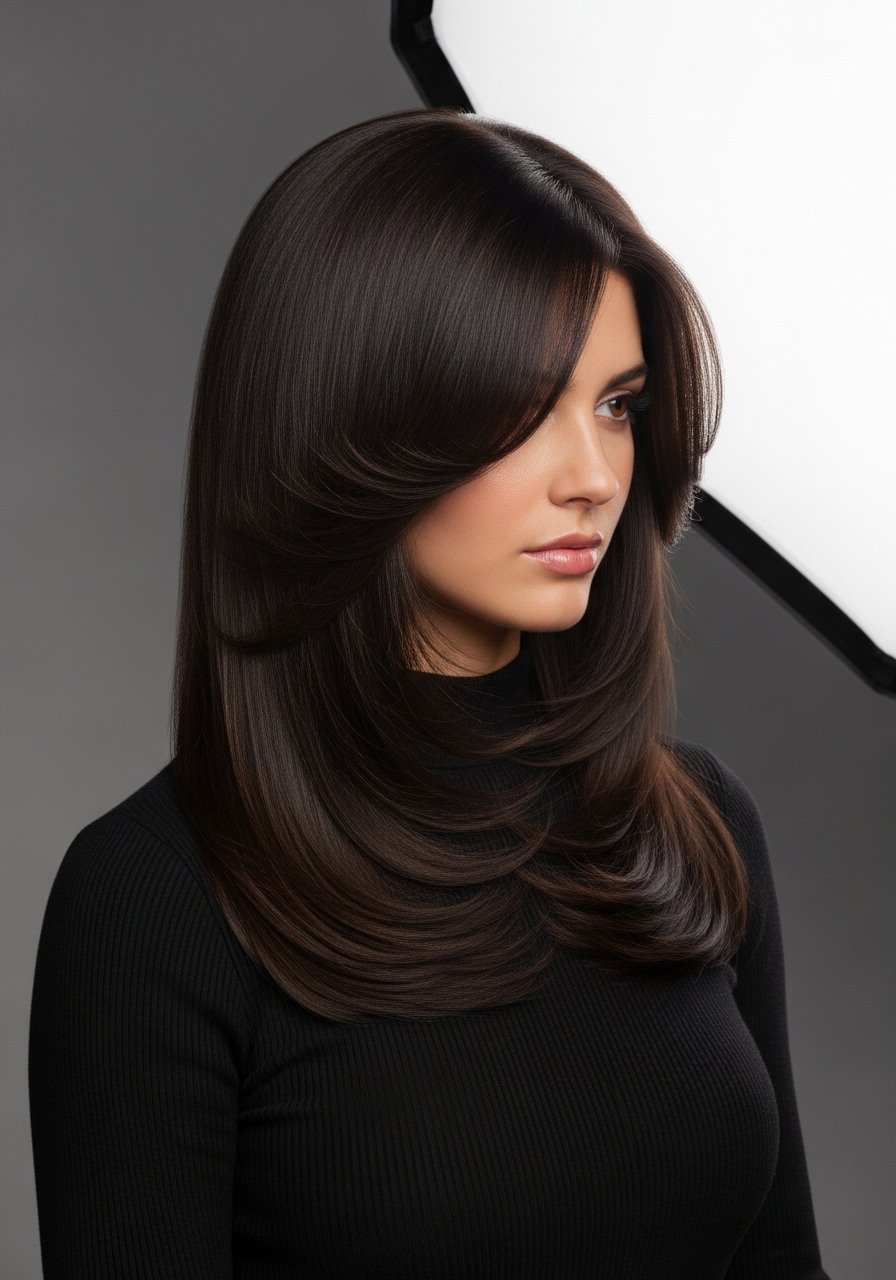
If you want a sculpted look with straight hair, the trick is blunt length with soft internal layers to create winged ends. For 1B straight hair, I smooth strands with a flat iron at 320 degrees Fahrenheit after applying heat protectant to damp hair. Most heat protectants you spray on dry hair before flat ironing barely work. They need to absorb into damp or just-dried hair to actually shield the cuticle. A common mistake is going to 450 degrees and expecting smooth results. Keep sections at 1 inch wide and run the iron once, slow and steady. Finish with a pea sized smoothing balm on the ends.
Piecey Face-Framing Layers For Round Faces
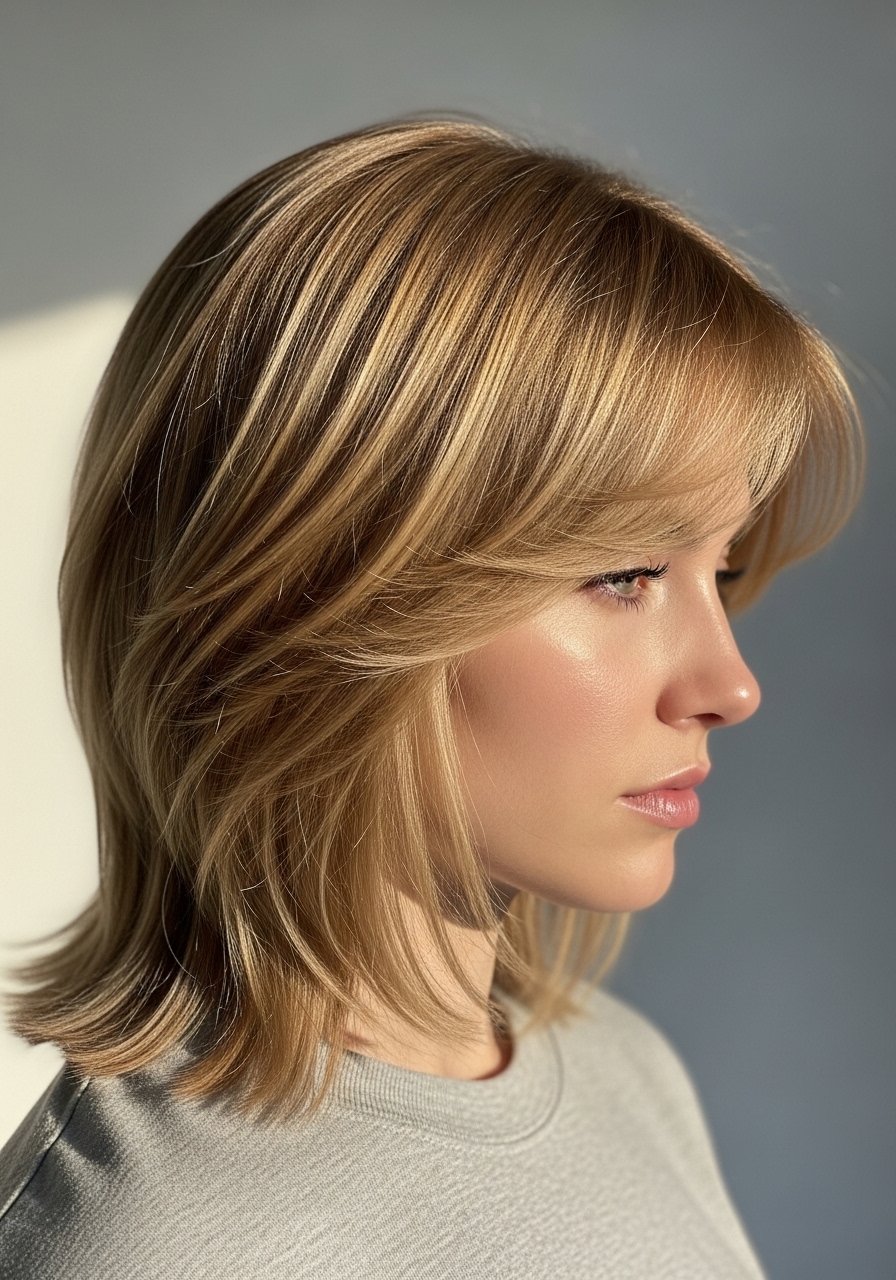
Round faces benefit from longer face-framing pieces that hit below the chin, creating vertical lines. For 2A to 3A textures I ask for choppy, piecey cuts at the cheekbone that are then thinned by a stylist with blending shears. I learned the hard way that too many micro-layers around the face just puff out. Styling is simple, run a dime sized amount of cream through the pieces and use a small round brush to turn them slightly away from the face for 20 seconds per side with a blow dryer. If you have color, mention low porosity to your colorist so they use heat to open the cuticle for better uptake.
Curtain-Adjacent Fringe Without the Bang Commitment
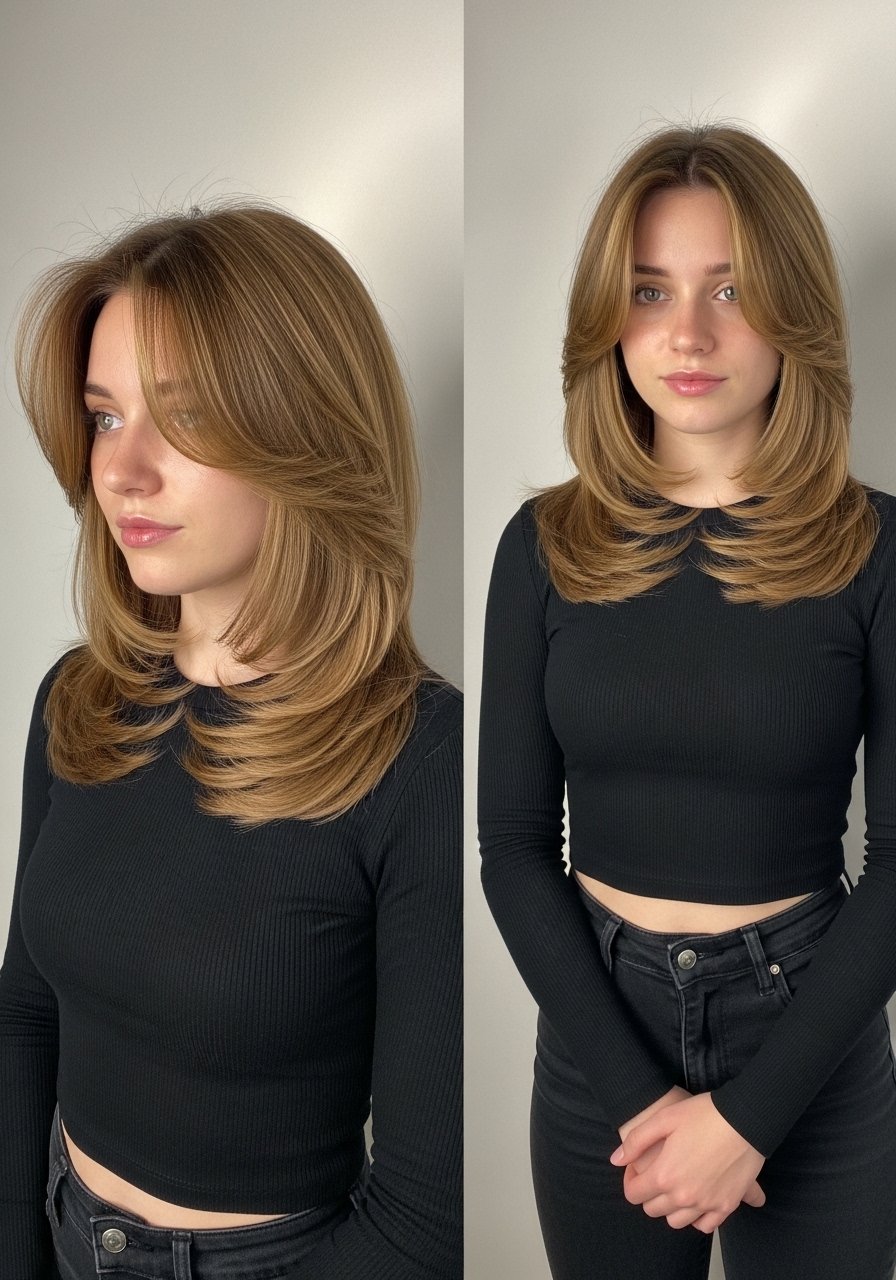
I wanted curtain bangs but not the maintenance. The solution was longer face-framing pieces that can be pinned back or styled as a soft fringe. For 1B to 2B hair, keep the face-framing length at eyebrow-to-cheekbone so you can sweep it. It saves money because trims are needed every 8 to 12 weeks, not every four. One mistake people make is cutting the pieces too short then hiding them with clips. If you color these pieces brighter, expect more upkeep. If you attempt this at home, only trim in 0.25 inch increments and test the look pulled straight, not in your natural wave.
Long Layers That Keep Volume For Thin, Flat Hair
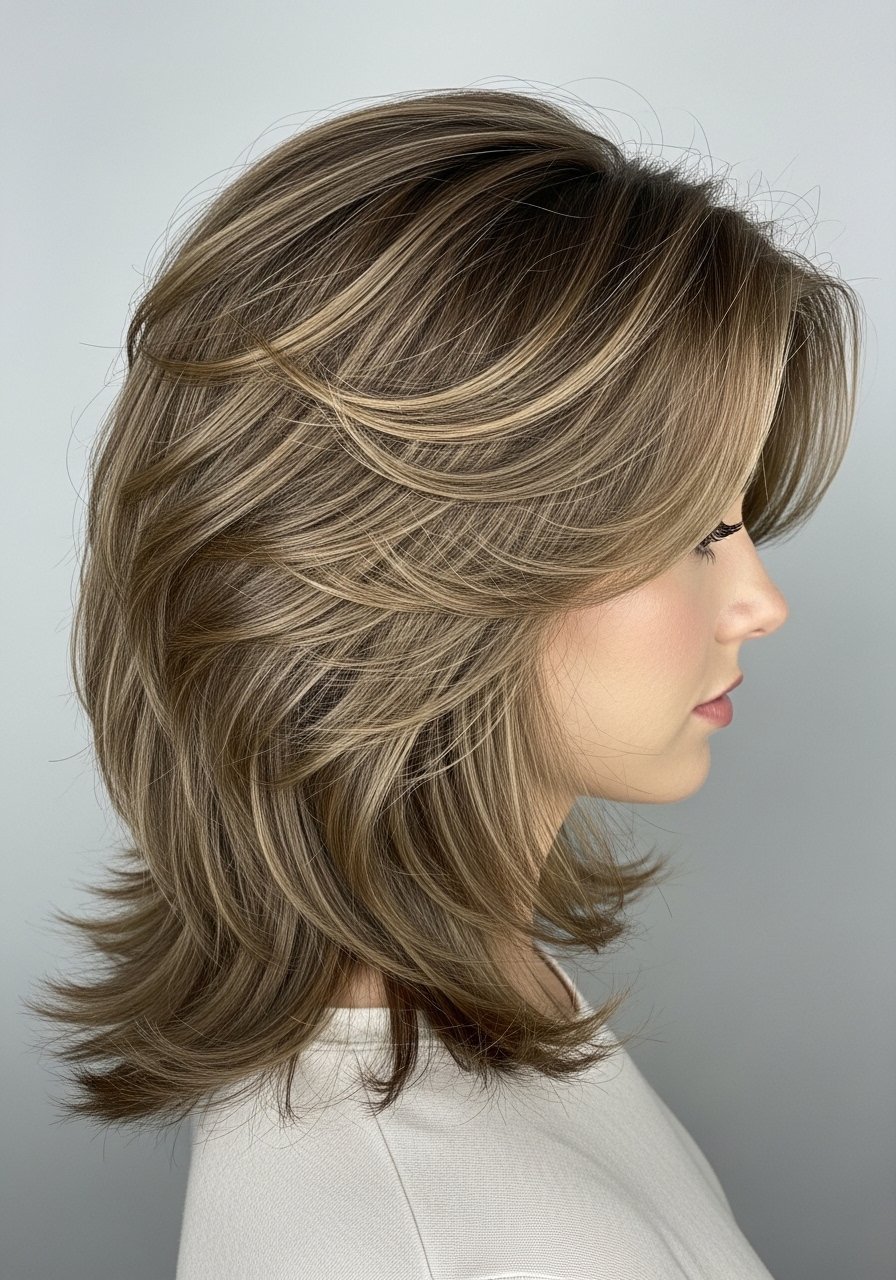
Thin hair often loses shape the second it gets wet. For 1A to 1B textures, long layers that start higher at the crown and are blended toward the ends create the illusion of fullness. My technique is to blow dry with the head flipped upside down for five minutes, then smooth the top layer with a round brush for three strokes at 300 degrees. Heat protectant goes on damp hair, not dry. The cut buys you styling time and you avoid the common mistake of removing too much weight at the perimeter which makes hair look stringy. Use a boar bristle brush to distribute natural oils and you may skip a second conditioner.
The Small Kit Behind My Butterfly Layer Looks
- Honestly the few things I actually use on layered cuts. Olaplex No. 3 Hair Perfector 3.3 oz, once weekly saved my ends after a bad DIY bleach. Buy from the official Olaplex Amazon store or Sephora to avoid counterfeits
- For smoothing, Color Wow Dream Coat anti-humidity spray (~4 oz). One spray before blow drying keeps winged ends flat for days
- A silk pillowcase under $20 really helps face-framing pieces stay in place. Silk pillowcase queen size
- For waves, a microfiber towel cuts dry time and frizz. Microfiber hair towel wrap
- A boar bristle mixed paddle for distributing oil. Boar bristle paddle brush (~$18)
- If you plan to heat style, grab a reliable flat iron that goes to 350 to 400 degrees and use a heat protectant. Ceramic flat iron 1 inch
- Bond-building treatment for colored or bleached layers. Olaplex No. 5 conditioner and Olaplex No. 0 intensive bond builder. Again, buy from the brand store on Amazon or Sephora
DIY Trim Tips To Maintain Butterfly Layers At Home
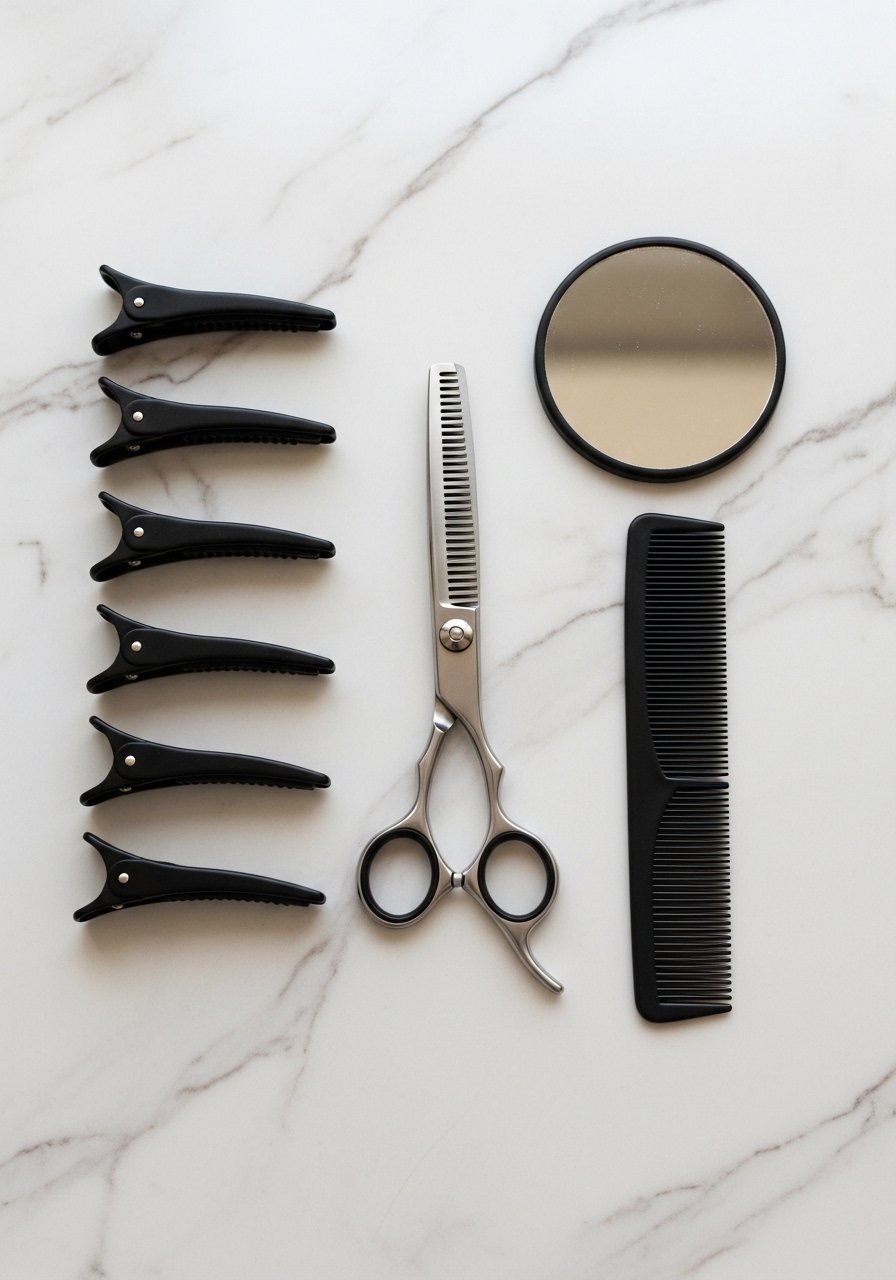
If you are keeping the cut longer than your wallet allows, small at-home trims every 8 to 10 weeks stop split ends from traveling up the layer. Work in 1 inch horizontal sections and point cut the ends at a 45 degree angle with blending shears. Take off a quarter inch at a time when trimming face-framing pieces. A common DIY mistake is cutting on dry hair that has natural wave, which will read shorter. For any chemical services, never bleach over previous color at home. If you must, book a salon correction. Hair grows about half an inch a month at most, regardless of what biotin gummies promise you.
Color Placement To Accentuate Face-Framing Long Layers
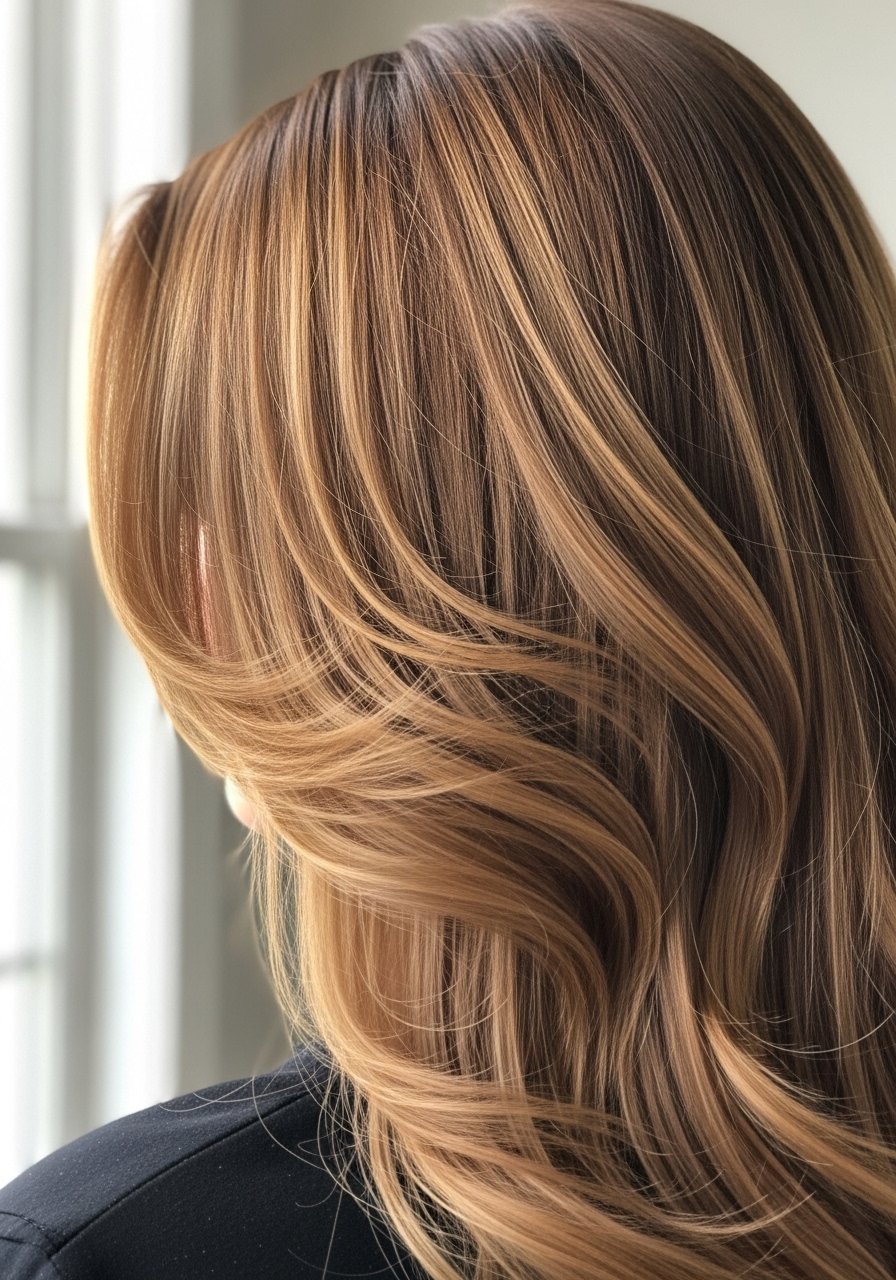
Tiny strategic highlights in the face-framing pieces make the butterfly layers read brighter and more dimensional. For 2A to 3B hair, I ask for baby-lighting in 3 to 5 fine slices, starting 1 inch away from the hairline and feathering out. If you have low porosity hair, ask your colorist to warm up the section with a dryer for 30 seconds to help lift. A mistake is bleaching too much of the front which creates a maintenance nightmare. Always patch test new color products and expect the pieces to need touch-ups every 8 to 10 weeks if they are lighter than the base.
Heat Style Formula For Soft Winged Ends
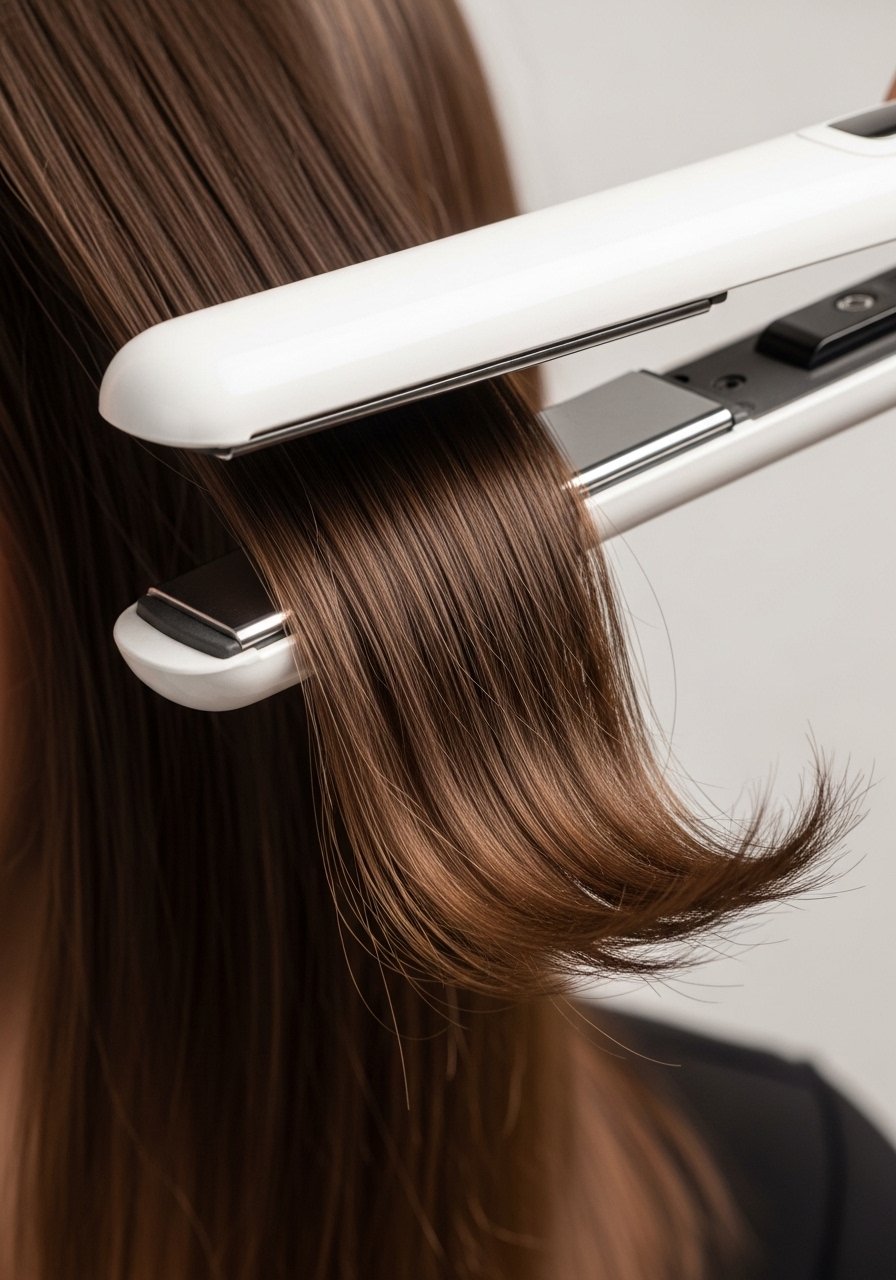
For that winged butterfly tip, iron settings matter. On mid-length 1B straight hair set to 320 degrees, clamp a 1 inch section at midshaft and twist the iron away from your face for one slow pass. For 2A waves, dry until 85 percent, then use a barrel brush and blow dryer at medium heat, finishing with one quick iron pass at 300 degrees to shape the ends. Heat protectant before any iron over 300F is essential and go light on product at the roots, the 80/20 placement rule keeps the scalp from getting weighed down. Overheating is the fastest way to dull and frizz layered ends.
Air-Dry Method For Butterfly Layers On Wavy Hair
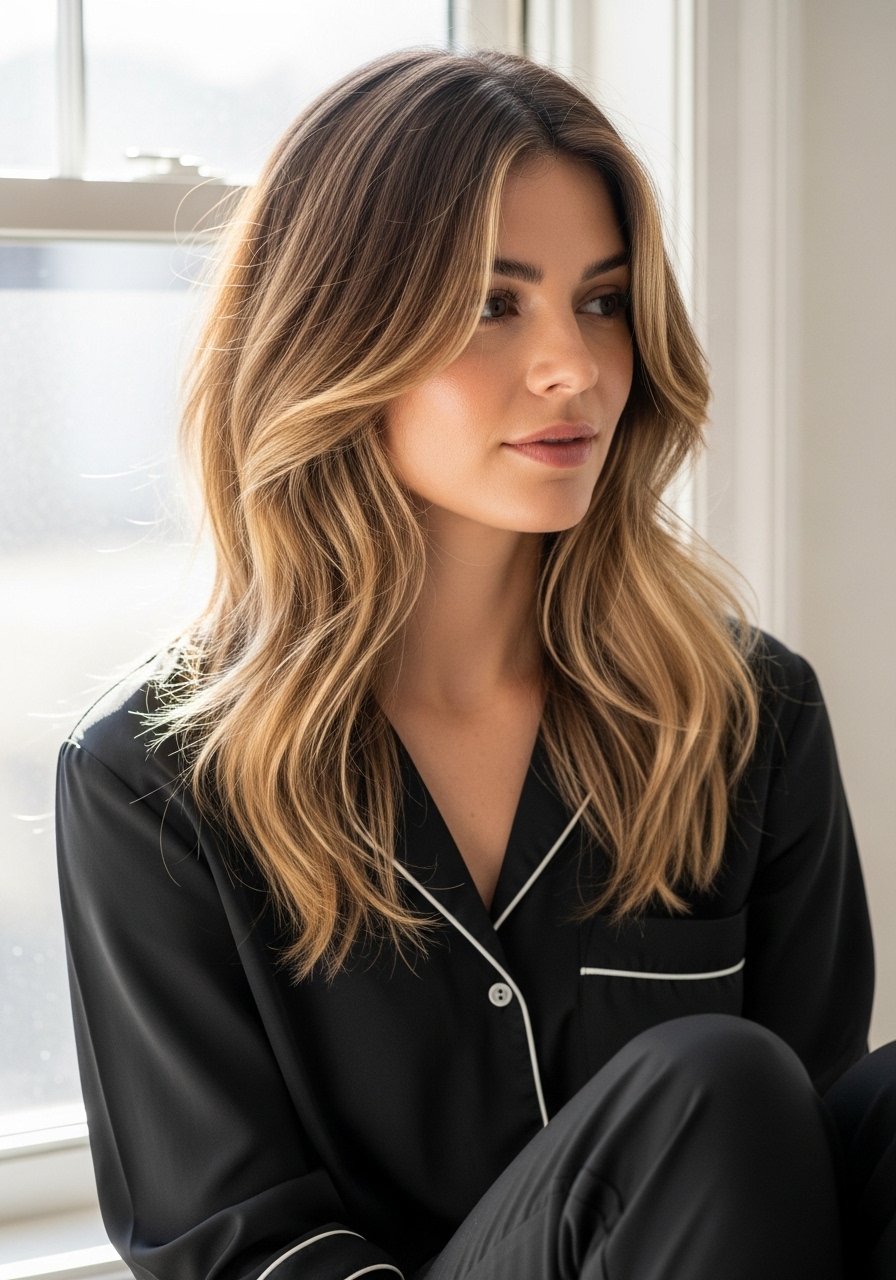
If you prefer no heat, you can coax butterfly layers into shape when air-drying. Start with a lightweight leave-in the size of a nickel for shoulder-length 2B hair, use the LOC method, apply leave-in, then oil, then a light cream gel. Most people apply leave-in to towel-dried hair, then wonder why it does nothing. The cuticle has already started to seal. Give products 60 to 90 seconds to absorb before scrunching. Pin any front pieces to the side for 20 minutes while drying to set the sweep without committing to a permanent bang.
The Bond Builder Routine That Keeps Layered Ends Intact
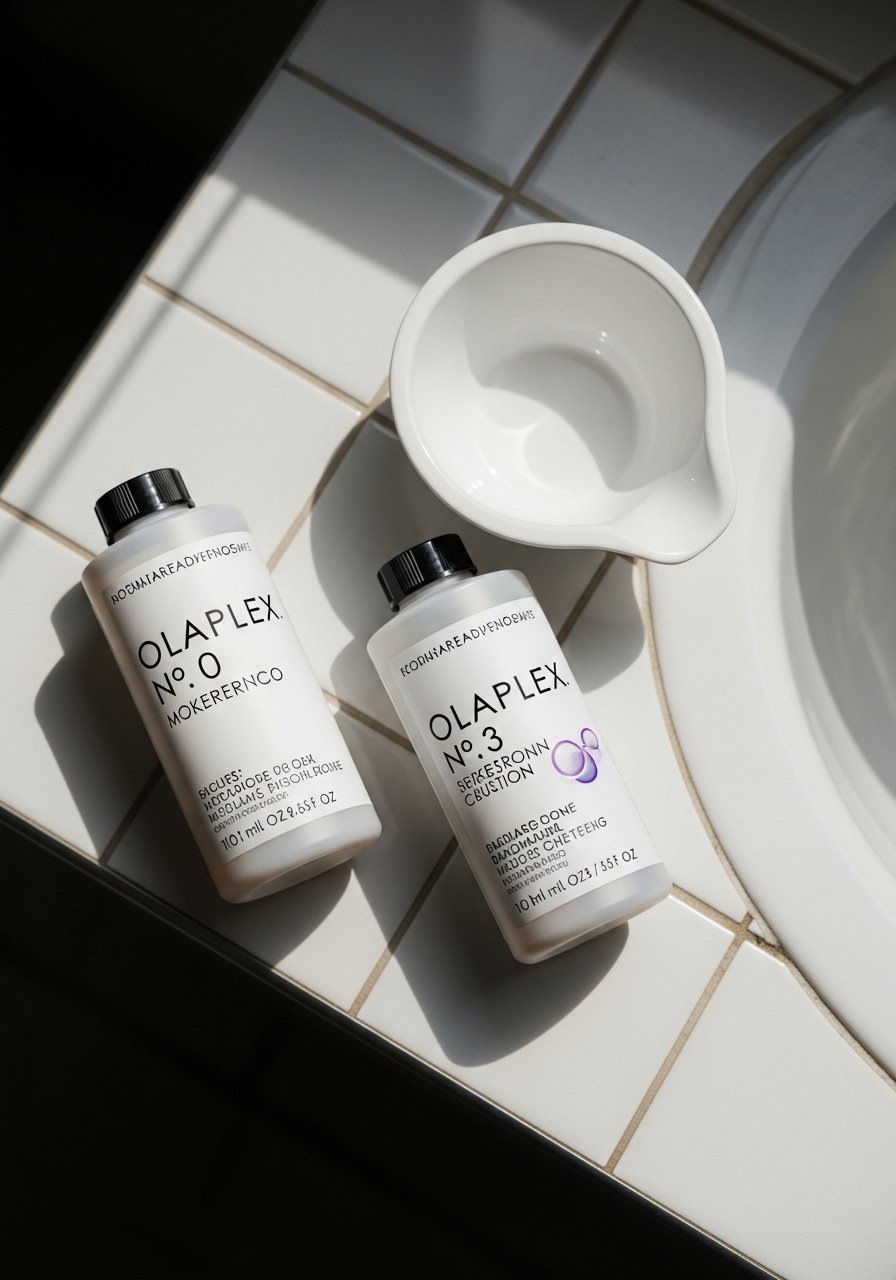
If you have bleached or over-processed layers, a weekly bond builder routine actually strengthens the fibers enough to avoid regular breakage, it is not magic but it works. I use an at-home protocol of No. 0 as a primer, 10 minutes, then No. 3 for 10 minutes before shampooing. For colored face-framing pieces this keeps ends pliable and reduces the look of frizz. Beware of counterfeits, buy from the official store on Amazon or Sephora. Bond builders cannot undo a break, they just reduce future breakage and smooth the appearance until your next trim.
Sleep Styling To Preserve Face-Framing Shape Overnight
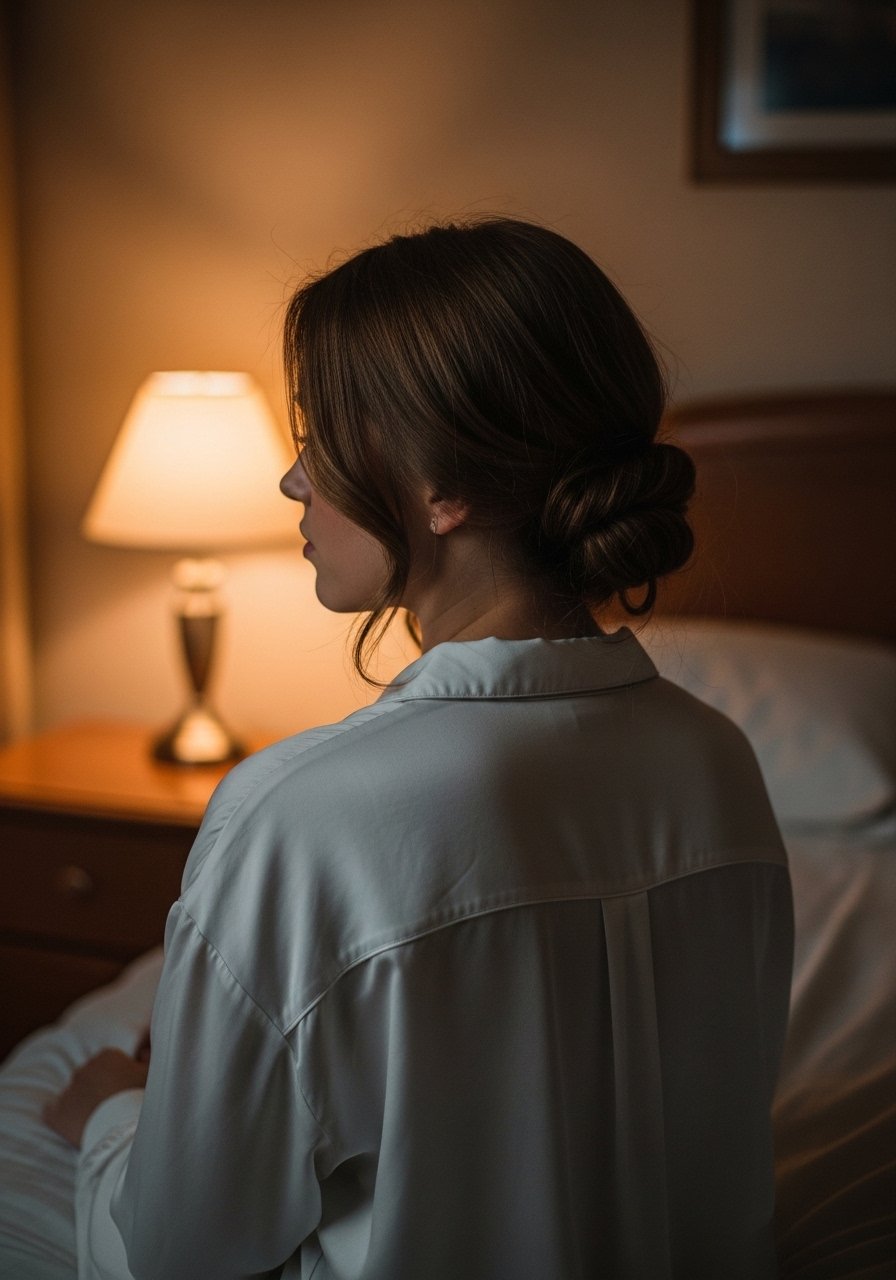
Second-day shape often looks better than fresh-cut if you sleep the right way. For layered cuts, I loosely braid or roll hair into a flat twist and sleep on a silk pillowcase to reduce friction. If you have 3A curls, try the pineapple method with the front pieces pinned loosely forward so they do not flatten. A common mistake is using a tight elastic which creates dents. Replace cotton pillowcases and use either a silk pillowcase or a silk scarf tied loosely. The result is less frizz and face-framing pieces that need one quick swoop with a round brush in the morning.
Texturizing Techniques That Keep Face-Framing Soft
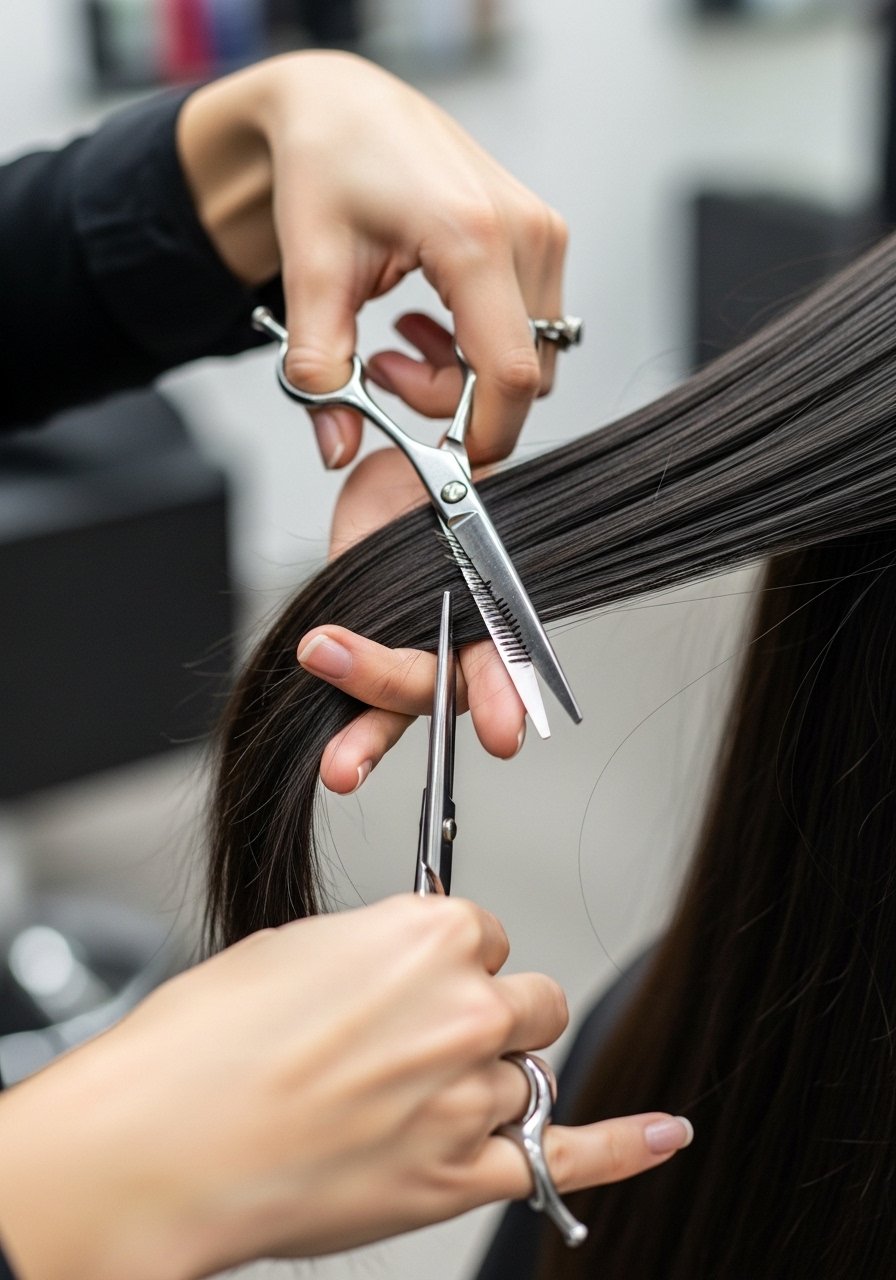
Texturizing can be the difference between soft wings and choppy spikes. I prefer point cutting with scissors at a 30 degree angle for thinner hair and vertical slicing with thinning shears sparingly on thick hair. For 3A to 4A textures, avoid razor texturizing near the face to prevent frizz. Salon pros usually recommend doing no more than two texturizing passes per session to avoid a layered mess. If you try this at home, practice on a small, hidden section first. Safety note, always sanitize tools and never use a razor on brittle or chemically damaged hair.
Post-Cut Styling For Second-Day Face-Framing Hold
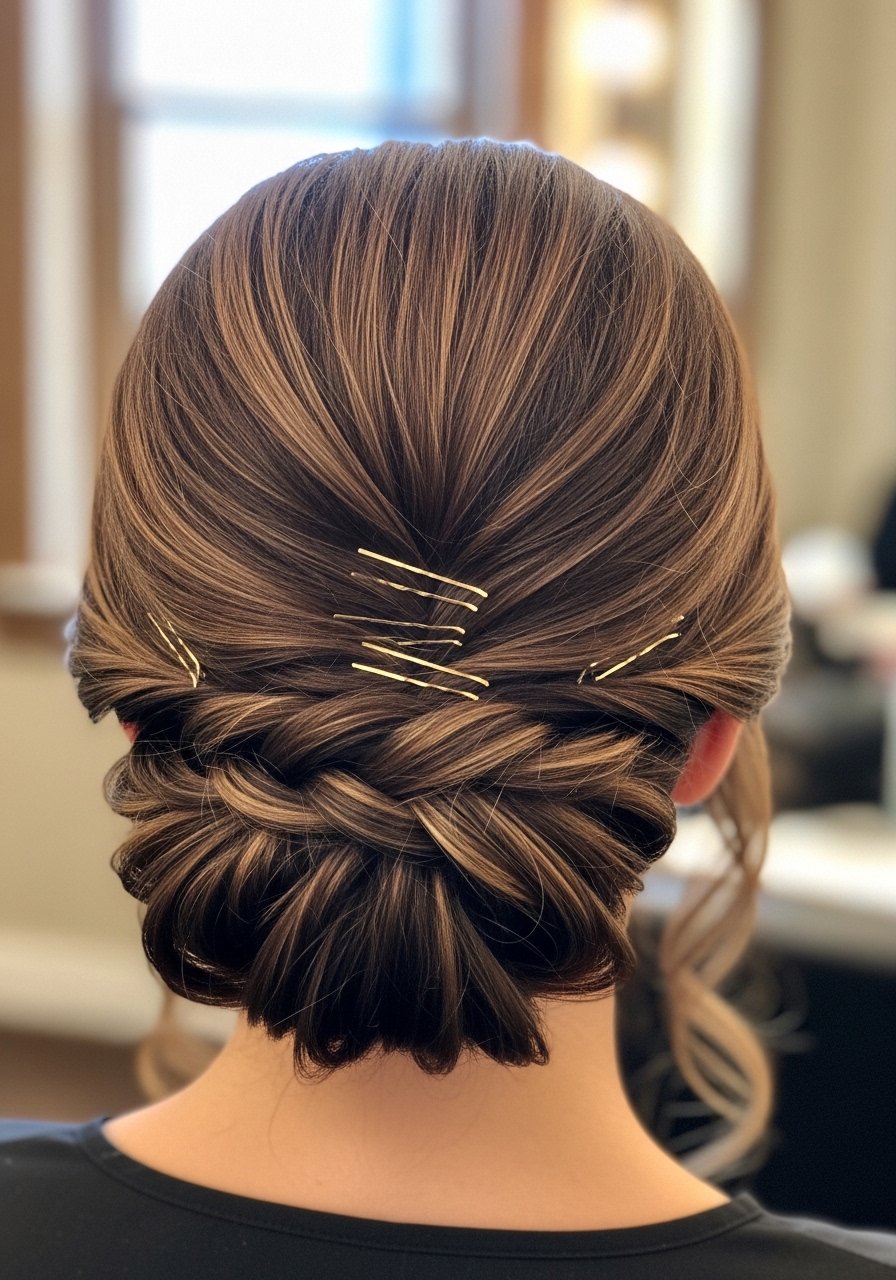
On day two, my trick is dry shampoo at the roots and a light mist of flexible hairspray only on the face-framing pieces, then reshape with fingers or a 1 inch barrel for five to eight seconds. For fine hair I use a powder dry shampoo massaged gently into the crown for instant lift. If your layers fall flat mid-day, avoid over-brushing which smashes the shape. Instead, use a 1 inch curling iron at 300 degrees and curl the pieces away from the face once, then cool for 30 seconds. This keeps the frame soft without a helmet of product.
What I Wish Someone Had Told Me Before Cutting Butterfly Layers
- Heat protectant goes on damp hair, not dry. The cuticle is more open and the product actually absorbs. Color Wow heat protectant is lightweight and spreads well
- If you want to keep face-framing pieces light, plan on trims every 8 to 12 weeks. Hair grows about half an inch a month at most, regardless of what biotin gummies promise you
- Swap a gel-only routine for a leave-in cream under a light gel if you want second-day texture that lasts. I used to do gel-only and my curls fell apart by noon. Layering a curl cream like SheaMoisture Curl Enhancing Smoothie under gel changed that
- When booking a cut for heavy or textured hair, tell your stylist you want face framing but not to remove length. Most stylists agree asking for "long layers that open the face" avoids the classic chopped look
- If you have processed hair, buy bond kits from authorized sellers. Olaplex and K18 have counterfeit issues on large marketplaces, check seller reviews and packaging
Frequently Asked Questions
Q: Can I get a butterfly haircut if my hair is very curly 4A?
A: Yes, but the technique changes. Stylists will cut the shape with hair dry or in its natural curl to see where the face-framing pieces will fall. Ask for long internal layers rather than many short ones to avoid a triangular silhouette. Avoid razor texturizing near the face for high shrinkage curls.
Q: How often should I trim the face-framing pieces to keep the shape?
A: Every 8 to 12 weeks is a practical cadence for most people. If you wear your pieces pinned back a lot, you can stretch to 12 weeks. If you color them lighter, expect touch-ups or trims closer to eight weeks to keep the shape crisp.
Q: Is air-drying okay for butterfly layers or will they go limp?
A: Air-drying works if you use the LOC method and a lightweight cream, and you give products time to absorb. For 2A to 3A hair set with scrunch and a diffuser on low for a few minutes if you need faster hold. Avoid heavy products at the roots, they weigh layers down.
Q: Can I safely bleach just the face-framing pieces at home?
A: Bleaching any pieces is higher risk, especially if you have previous color. Lifting bleach over previous dye is a salon job. If you try at home test a small hidden section and do a strand test for timing and porosity. If unsure, book a salon appointment.
Q: What is the easiest way to make the face-framing pieces sit right after sleep?
A: A loose twist or flat roll pinned with bobby pins, silk pillowcase, and a quick one-pass with a 1 inch barrel at 300 degrees on the pieces in the morning usually fixes it. Avoid tight bands and rough towels.
Q: Can Olaplex No. 3 damage my hair if I use it every week and my hair is not heavily damaged?
A: No, using Olaplex No. 3 weekly on normal hair will not damage it. It is safe for routine use to strengthen and reduce breakage. That said, if you have very fine hair, use smaller amounts and focus on mid-lengths to ends so you do not weigh hair down.