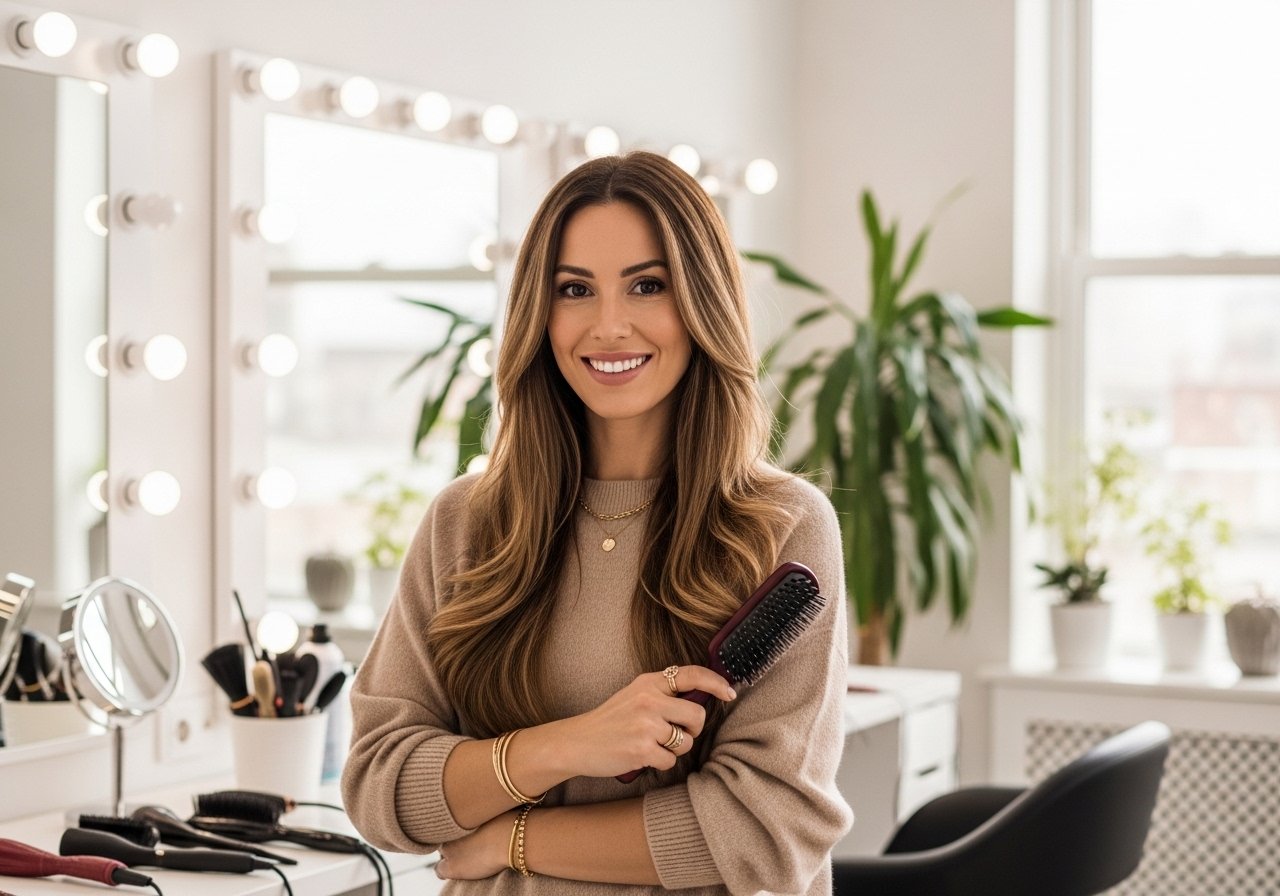
If your braid out looks like a nice photo for five minutes and then collapses by commute time, this is for you. I have a drawer of gels that lied and one salon job that left my ends fried. These 13 braid out ideas are what actually hold, what to skip, and the small product swaps that make a braid out look intentional instead of tired.
These styles work best on 2C through 4A textures, with notes when something only fits tighter coils or looser waves. Most styles take 20 to 60 minutes to set, the budget ranges from under $10 to a single tool splurge, and almost everything here is DIY friendly unless I say otherwise.
Fluffy Three-Strand Braid Out For 3B To 4A Coils

Start with clean, detangled hair and a lightweight leave-in, then section into 10 to 12 even vertical parts for mid-back length. I use the LOC method, so I apply two pumps of leave-in, a nickel-sized amount of curl cream, and finish with two finger-snatched drops of gel per section. For me SheaMoisture Curl Enhancing Smoothie plus a light gel keeps the braid out soft and not crunchy. Braid three strands fairly loose, sleep with a satin bonnet, and unbraid after 8 to 12 hours. Common mistake, braiding too tight. That gives stretch not curl. This is DIY friendly and works best on medium to dense coils.
Small Box Braid Out For Defined 4A Texture

If your hair tends to shrink into an egg shape, do smaller parts. I split hair into 20 to 30 small square sections and use a light protein leave-in so the hair can hold the pattern without feeling crunchy. For fragile ends, I use Olaplex No. 3 hair perfector once a week during wash day to avoid breakage from constant manipulation. Time wise this takes longer, plan 45 to 75 minutes to braid. Salon note, a stylist can do perfectly even boxes faster, but it is absolutely DIY if you have patience. Avoid overloading with oil right after unbraiding, it flattens definition.
Loose Chunky Braid Out For 2C And 3A Waves

Chunky braids are the go-to when you want wave with body rather than tight curls. Work on damp hair, use two spritzes of a sea salt texture spray and a quarter teaspoon of styling cream through the lengths. I braid into three sections and sleep on a satin pillowcase. This holds best on looser curl patterns, 20 to 30 minutes of air dry then a quick diffuse on low for 8 to 10 minutes seals the set. If your waves go limp by noon, you are using too heavy an oil beforehand. Swap heavy oils for a spray texture product. This is the fastest braid out to do before a low-effort day.
Lived-In Knotless Braid Out Into Wash-And-Go Finish
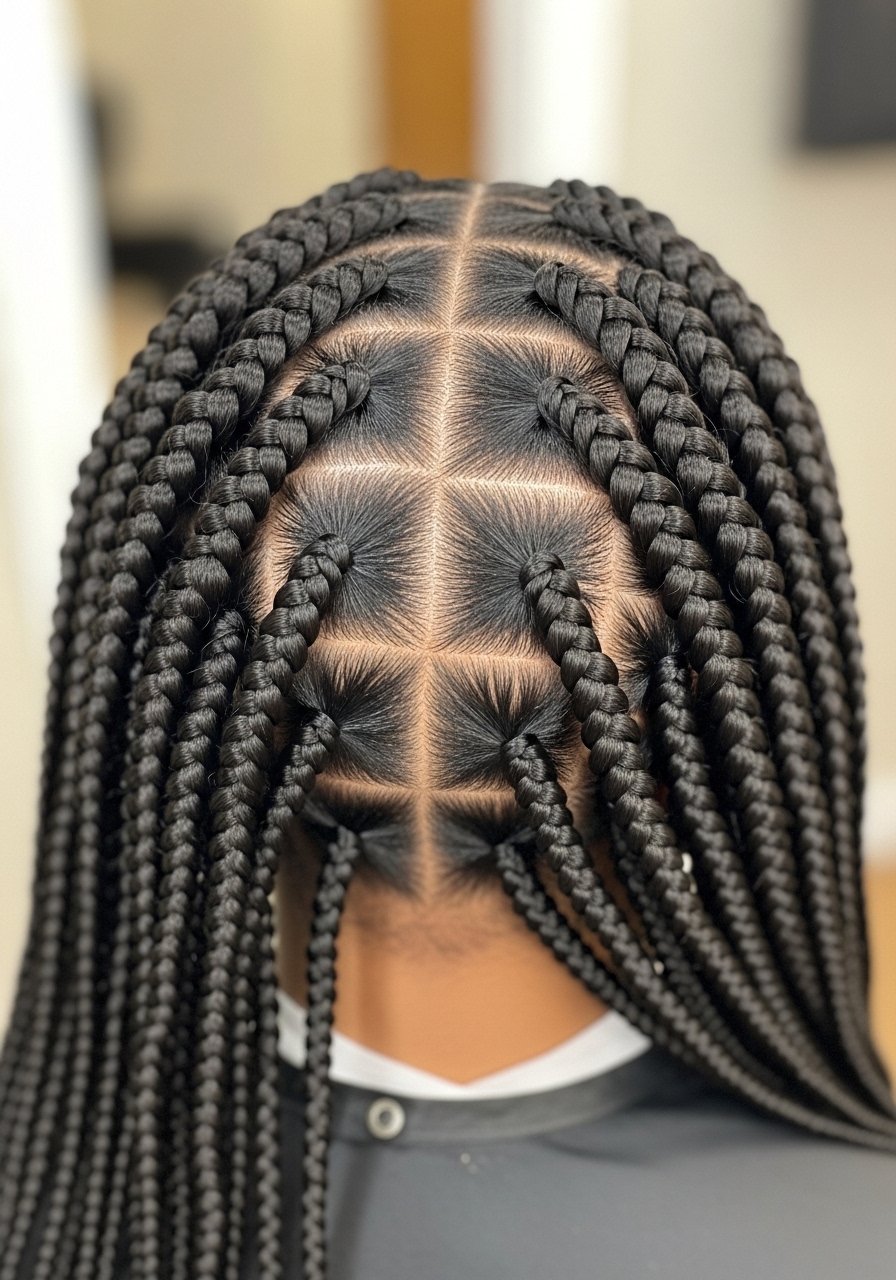
Knotless braids as a prep step cut frizz. Braid hair knotless into 8 to 12 sections, let it air dry fully if you used a mousse, then unravel. The result looks like a stretched wash-and-go but with more hold. I use a pea-sized amount of lightweight mousse per section before braiding and detangle twice with a wide-tooth comb. This is excellent for medium porosity hair that wants shape without density. Salon note, a pro braid install is faster and neater if you need even tension across the scalp. Watch for scalp tension, knotless is gentler but still check the pull.
Crown Braid Out For Shorter 3A To 3C Hair
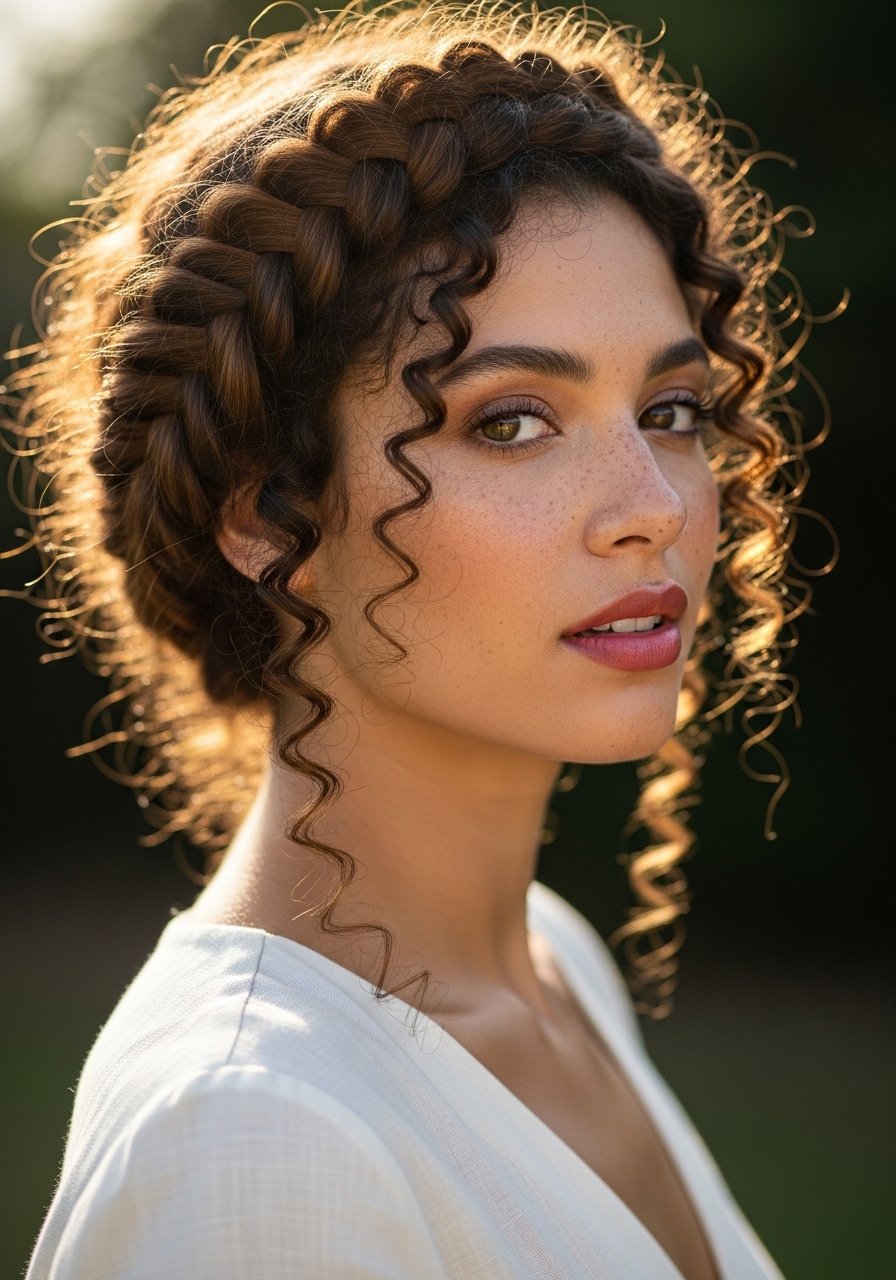
For shorter hair, work with three to five narrow braids placed around the crown. I use a curl custard applied with a raking motion so the pieces interlock instead of clumping. Keep braids loose so the ends sit where you want them once released. This one takes 20 to 40 minutes and looks great on shoulder-length to collarbone hair. Common mistake, braiding too many tiny braids on short hair, which makes frizz around the hairline. DIY friendly and fast, and it reads polished without a lot of product.
Braid Out With Twist Prep For High Porosity Hair
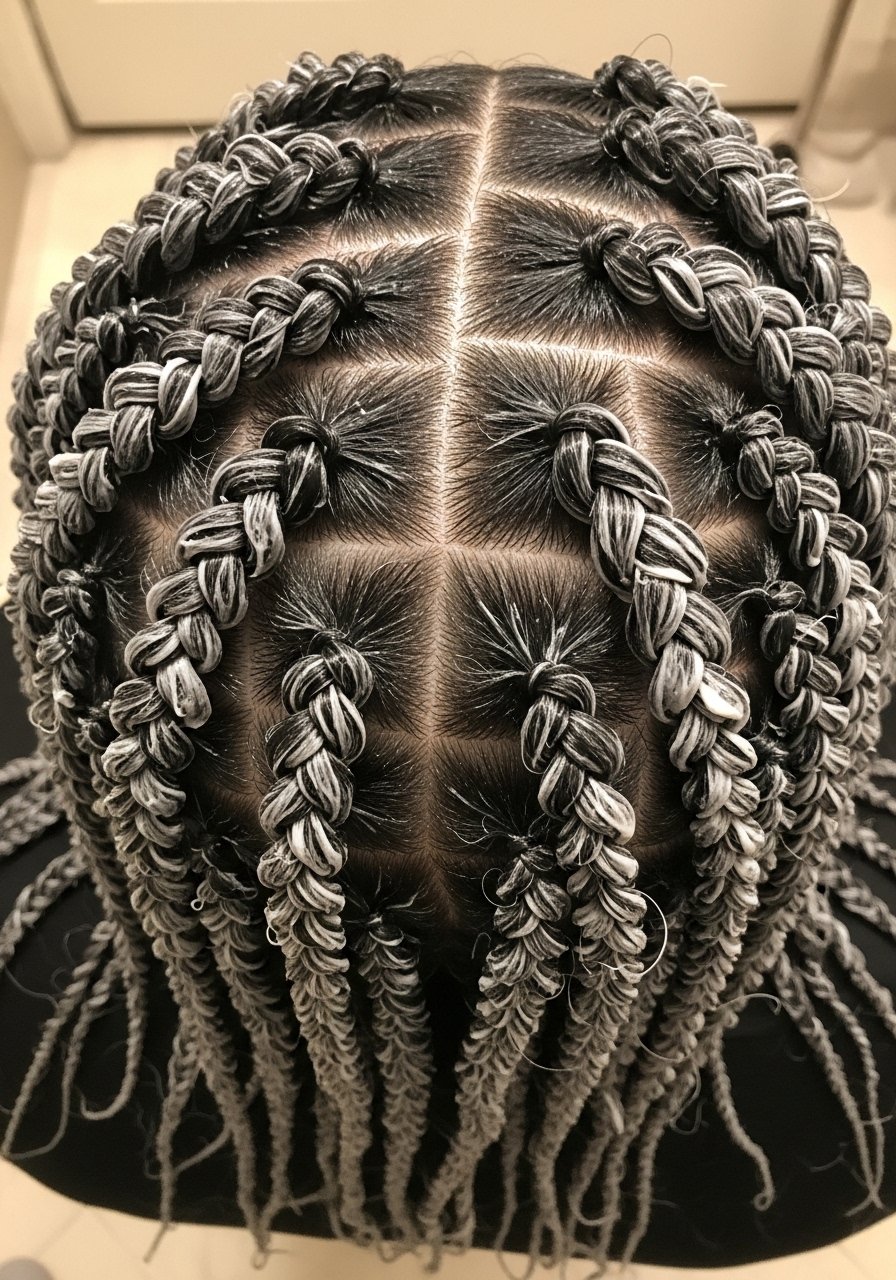
High porosity hair can gulp product and still feel dry. My trick is a short protein-rich twist session first. Do two-strand twists in 12 sections with a small dab of protein conditioner, leave for 15 minutes under a warm towel, rinse lightly, then braid for the actual set. Use less gel but lock with a lightweight oil. If your braid out falls apart, moisture is escaping. This hybrid routine gives shape and stops frizz from the first hour. Damage note, skip this if your hair is fine and already brittle, protein can stiffen fragile strands.
Overnight Robe-Tie Braid Out For Long 3B To 4A Hair
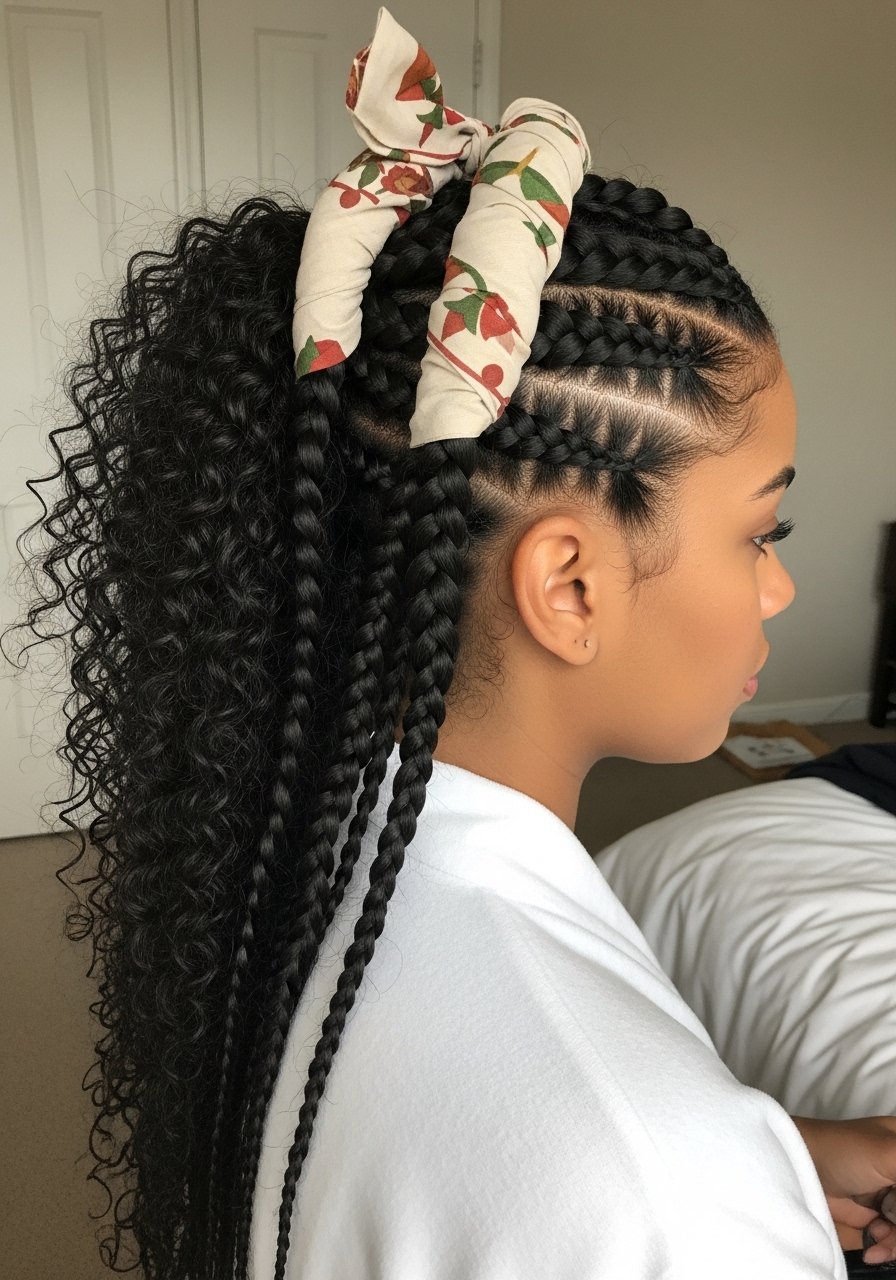
I swear by the robe-tie trick for long hair. Fold a satin robe sash across your head, braid sections around it and sleep. It reduces morning frizz and keeps length without tension. Use a light cream before braiding and sleep with a satin scarf on top if you toss a lot. Unbraid in the morning and separate with your fingers. Plan on 8 hours for best hold. This is low-cost, takes less than 20 minutes to set if your parts are even, and works for dense long hair. Tool note, avoid cotton ties, they absorb moisture.
The Small Kit I Use For Every Braid Out
Olaplex No. 3 hair perfector 3.3oz, buy from the brand store on Amazon or Sephora to avoid counterfeits, I use it weekly for breakage control
A silk pillowcase queen size under $30. Cuts morning frizz before you touch a single product
Wide tooth detangling comb inexpensive and essential for sectioning without snap
SheaMoisture Curl Enhancing Smoothie 12oz, budget friendly and creamy enough for medium coils
Light-hold styling gel under $10, avoid the heavy alcohol gels that flake
Satin bonnet set two pack, I sleep in one and stash one in my bag
Spray bottle for dampening $5. Useful for rewetting sections without soaking the scalp
Microfiber towel wrap cuts dry time and limits frizz when prepping braids
Denman style brush, 7-row if you prefer smoother sections before braiding, this helps distribute product evenly
Boar bristle paddle brush for distributing natural oils on low manipulation days
Two-Strand Twist To Braid Out Hybrid For Fragile Ends
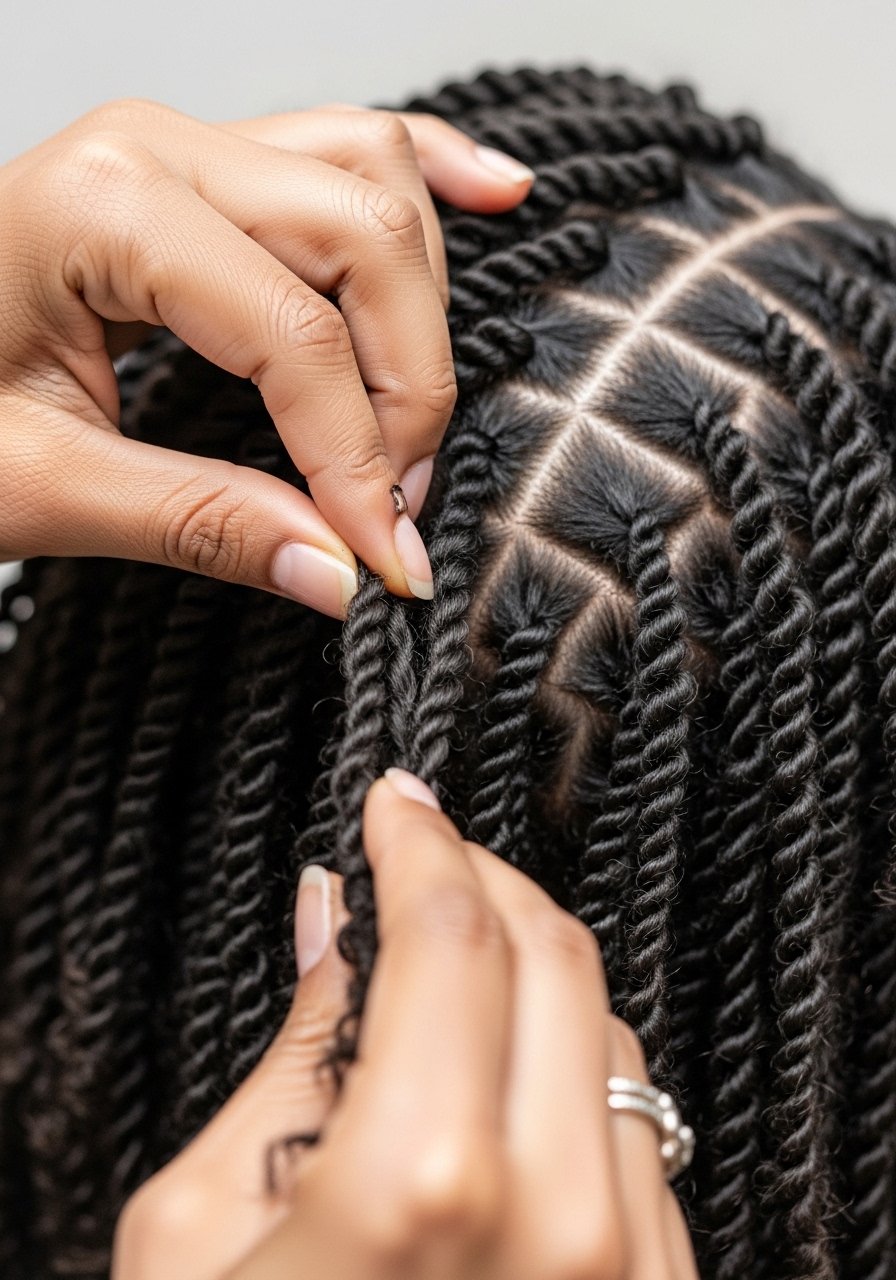
If your ends keep breaking from small braids, start with two-strand twists to protect them, then braid the twist into a larger three-strand braid. This gives the illusion of smaller definition but keeps tension off the tip. I prep with a nourishing leave-in and a pea-sized amount of butter on the ends only. Let everything dry fully, eight to twelve hours. Common mistake, undoing when slightly damp. That creates frizz and fuzz. This hybrid is great for 3B to 4A hair that needs extra shielding at the ends.
Wet-Set Gel Braid Out For Humid Weather Hold
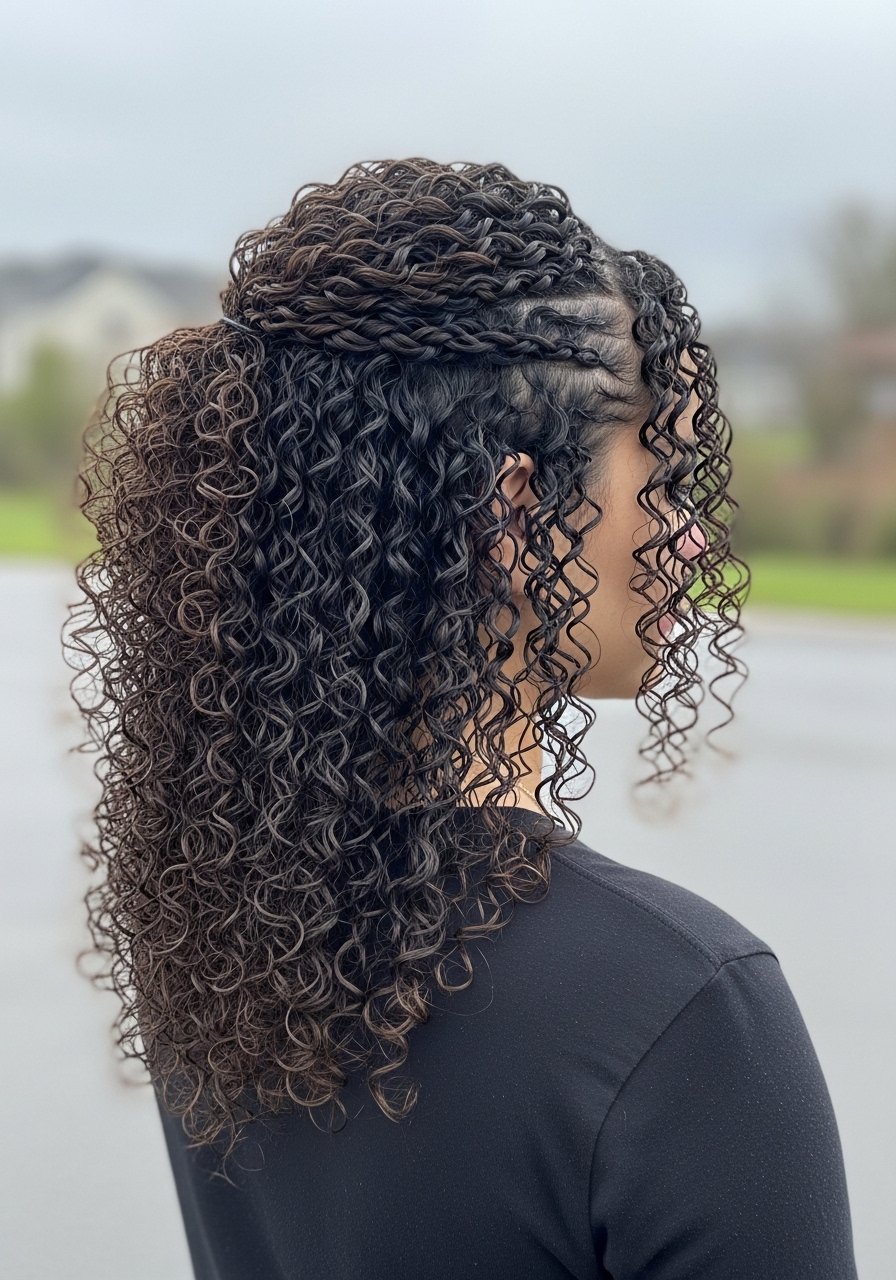
Humidity kills braid outs if your product choice is wrong. Use a wet-set method, apply gel to soaking damp hair, braid, and let air dry fully. A good anti-humidity finish after drying helps. I use a pea-sized layer of a humidity-resistant gel and seal roots lightly with an anti-frizz spray. If your braid out frizzes the second day, you probably used a curl cream that absorbs moisture. This method takes longer to dry but gives much better day-two control. For very high humidity, consider a light anti-humidity spray at the roots.
Color-Enhancing Braid Out For Warm And Red Tones
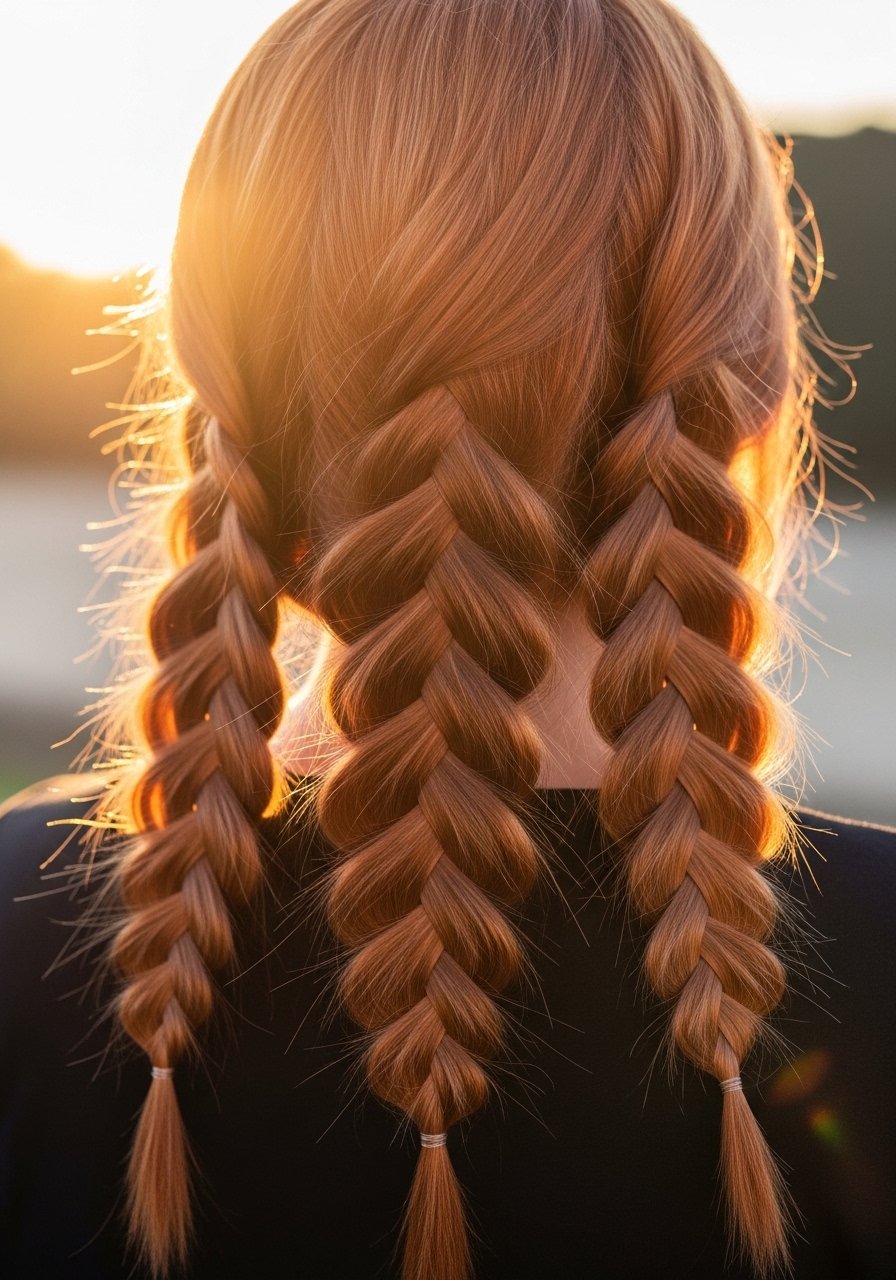
If you color your hair warm or red, a braid out shows dimension beautifully. Use a color-safe leave-in and lower-heat styling if you touch an iron. If you are thinking of lifting color first, do not bleach over previous color at home. That is the fastest route to breakage. For the braid out itself, I use a small dab of color-safe cream and a light hold gel so the color reflects in the waves. Expect shorter stretches between washes to keep the tone fresh. Salon note, a toner appointment before doing many manipulation sessions keeps the color even.
Accessorized Braid Out With Beads And Clips For Kids

For kids, smaller sections and fun accessories are the win. Use gentle, residue-free gels and avoid metal clips that tug. I braid into small sections and slide on beads that have rounded edges to prevent scalp irritation. Keep sessions short, 20 to 30 minutes, and make removal a joint activity so hair does not get yanked. If the child has a sensitive scalp, skip tight braids and use fewer sections. This is a low-cost, high-smile option that keeps hair styled between washes.
Half-Up Braid Out Pony For Workout Friendly Styling
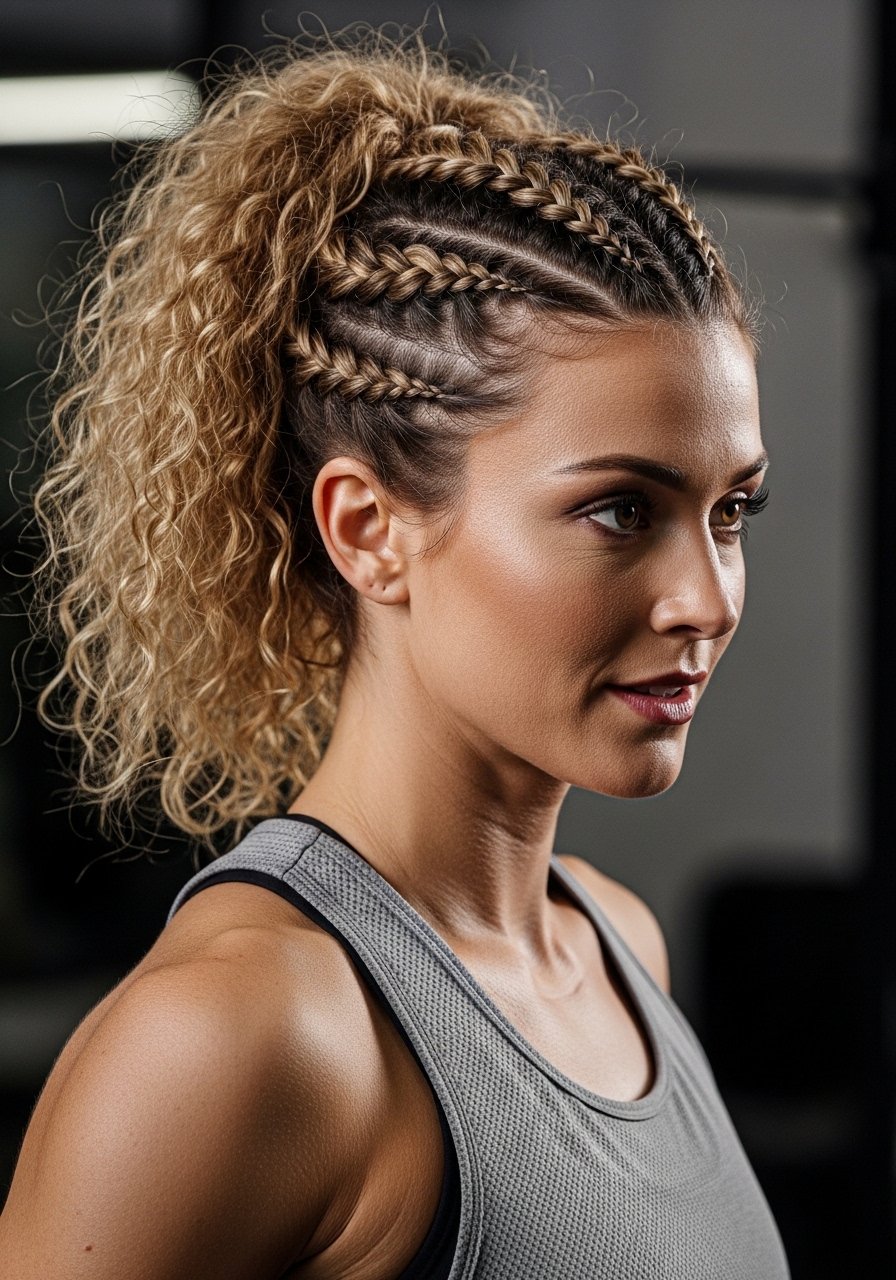
When you need your braid out to survive a sweat session, do a half-up with a secure braid on top and loose braids below. I anchor the top section with a low-tension braid and secure with a snag-free band. Apply a light gel on the top section only so the scalp holds without stiffness elsewhere. This keeps hair off the face and reduces rubbing during workouts. Post-workout tip, pat down roots with a damp cloth instead of rewetting everything, which ruins the pattern.
Accessory-Free No-Tug Braid Out For Sensitive Scalps
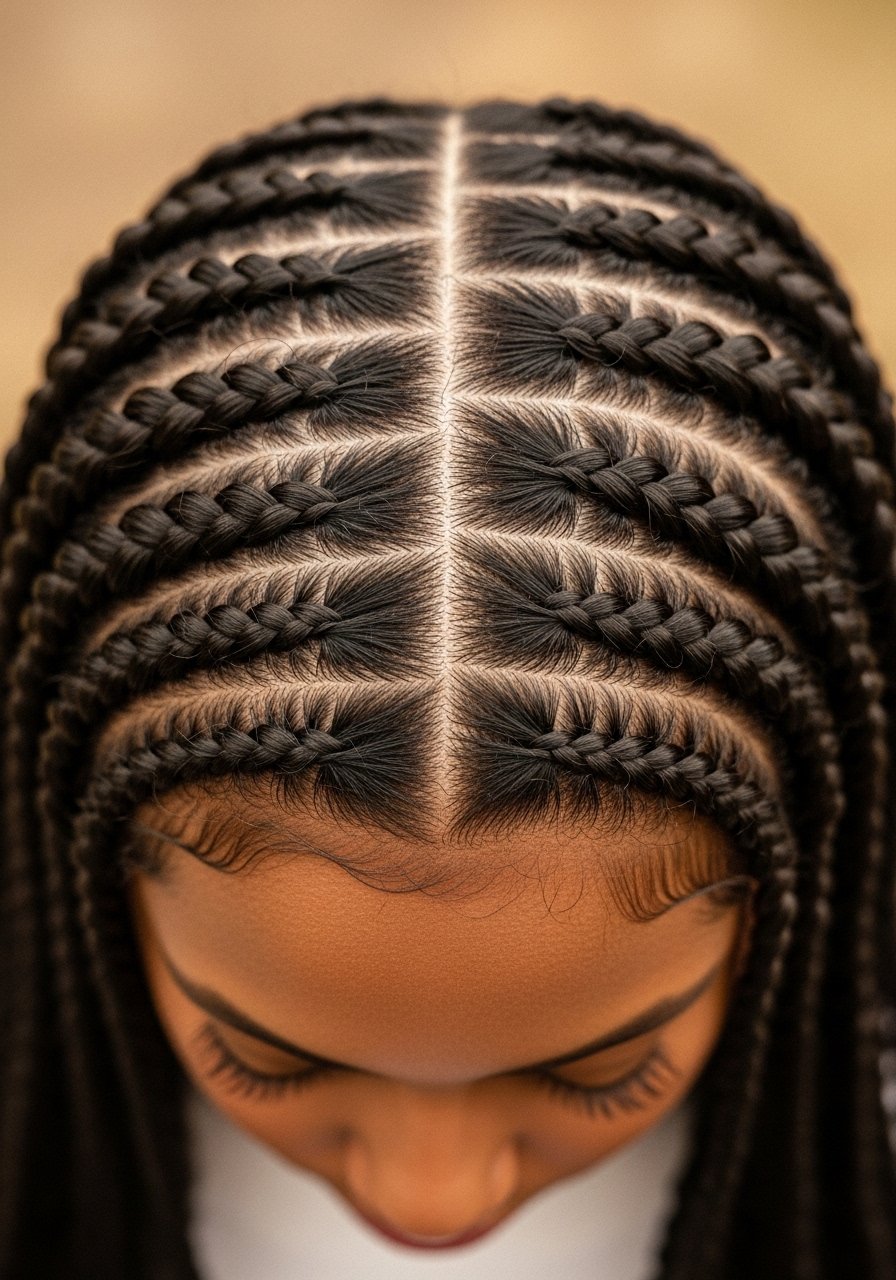
If your scalp protests at the first tug, the answer is fewer, larger braids and softer bands. I split hair into 6 to 8 sections, use satin-covered elastics, and avoid pulling at the hairline. A tiny amount of scalp oil applied before braiding soothes the skin. This method sacrifices some definition for comfort but is great for low-manipulation weeks. If you have active irritation, see a dermatologist or trichologist rather than pushing with tension styles. Safety note, always stop if braiding causes pain.
Heat-Set Braid Out For Sleek Frizz Control Finish
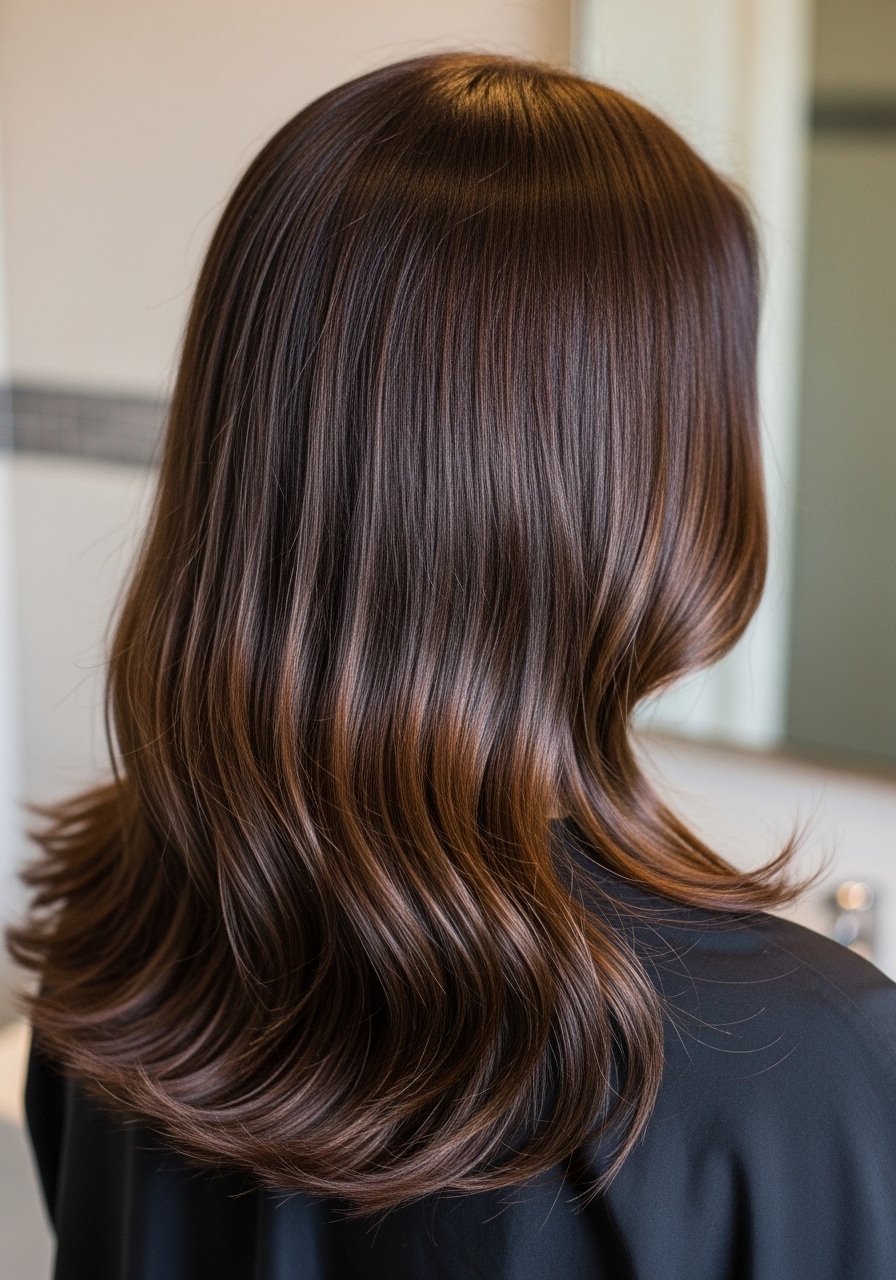
If you are impatient and want a sleeker result, set the braids briefly with low heat. Apply a heat protectant before styling because a heat protectant before any iron over 300F is essential. Use a blow dryer on warm for 6 to 8 minutes per braid, or a flat iron at 300F if you must, but only on partially dried hair. Damage note, repeated heat defeats the point of protective styling. I reserve this for going out and not weekly. The result is less volume but much more polish.
Little Tricks That Make Braid Outs Actually Hold
- Start braids on damp hair, not soaking and not towel dried. A fine mist spray bottle makes this repeatable. It cuts overnight frizz and gives more consistent sets
- Use a satin barrier when sleeping. I keep a silk pillowcase queen size and a bonnet. It preserves the braid shape and reduces morning fluff
- Heat protectant goes on damp hair before any heat tool. This Color Wow heat protectant is a lightweight option that most stylists mention
- Reduce product at the roots. Heavy product at the scalp flattens the set, light oil on ends only is enough to fight frizz
- If day two is your problem, lightly mist with water and a tiny dollop of cream, then palm smooth. Avoid rebraiding, repeated manipulation is why braid outs fail
Frequently Asked Questions
Q: How long should I leave a braid out in before undoing it?
A: Overnight is ideal, eight to twelve hours for most textures. Shorter times give a looser result. If hair is still damp when you undo it, you will get frizz instead of shape.
Q: Can I use Olaplex No. 3 if my hair is not damaged, or will it make it worse?
A: You can use it sparingly. Once a week for maintenance is fine, and it will not harm healthy hair. Buy from the official brand store on Amazon or Sephora to avoid counterfeits.
Q: How do I stop my braid out from going limp by midday?
A: You are probably using too heavy an oil or not setting on damp hair. Try a light gel in the braid and a texture spray at the roots after unbraiding. Also, avoid dense product at the scalp.
Q: Is it bad to braid over previous color or bleach at home?
A: Bleaching over existing color at home often causes breakage. If you want to lift significantly, book a salon session for a color correction. If you must DIY, do it in stages and be ready for multiple sessions and a costly fix if something goes wrong.
Q: How often should I wash my hair if I do braid outs regularly?
A: Every 5 to 10 days is common, depending on scalp oiliness and activity level. Overwashing strips natural hold. Use a clarifying shampoo once every few weeks if you use a lot of styling product.
Q: My braid out looks great in photos but flat in real life. What am I missing?
A: Photos often capture one angle and one moment. In real life, the culprit is usually product placement or tension. Apply product evenly through the length, avoid heavy root products, and sleep on satin. Also, shake and separate with your fingers rather than a comb to keep the texture alive.