
If your braid out looks great the minute you step out and goes flat or fuzzes by lunch, this is for you. I used to do gel-only braid outs and wonder why definition didn’t last. The fixes are practical, not dramatic. Below are real styles I do on my own hair, with the exact product amounts, section counts, and sleep tricks that actually hold through two or three days.
These styles work best for 3A through 4C textures, shoulder length to mid-back, with tweaks noted for fine or low-porosity hair. Skill level ranges from beginner to intermediate. Most are DIY, under $40 for products, with one small tool splurge if you want extra polish.
Classic Three-Strand Braid Out for 3A-4A Curls
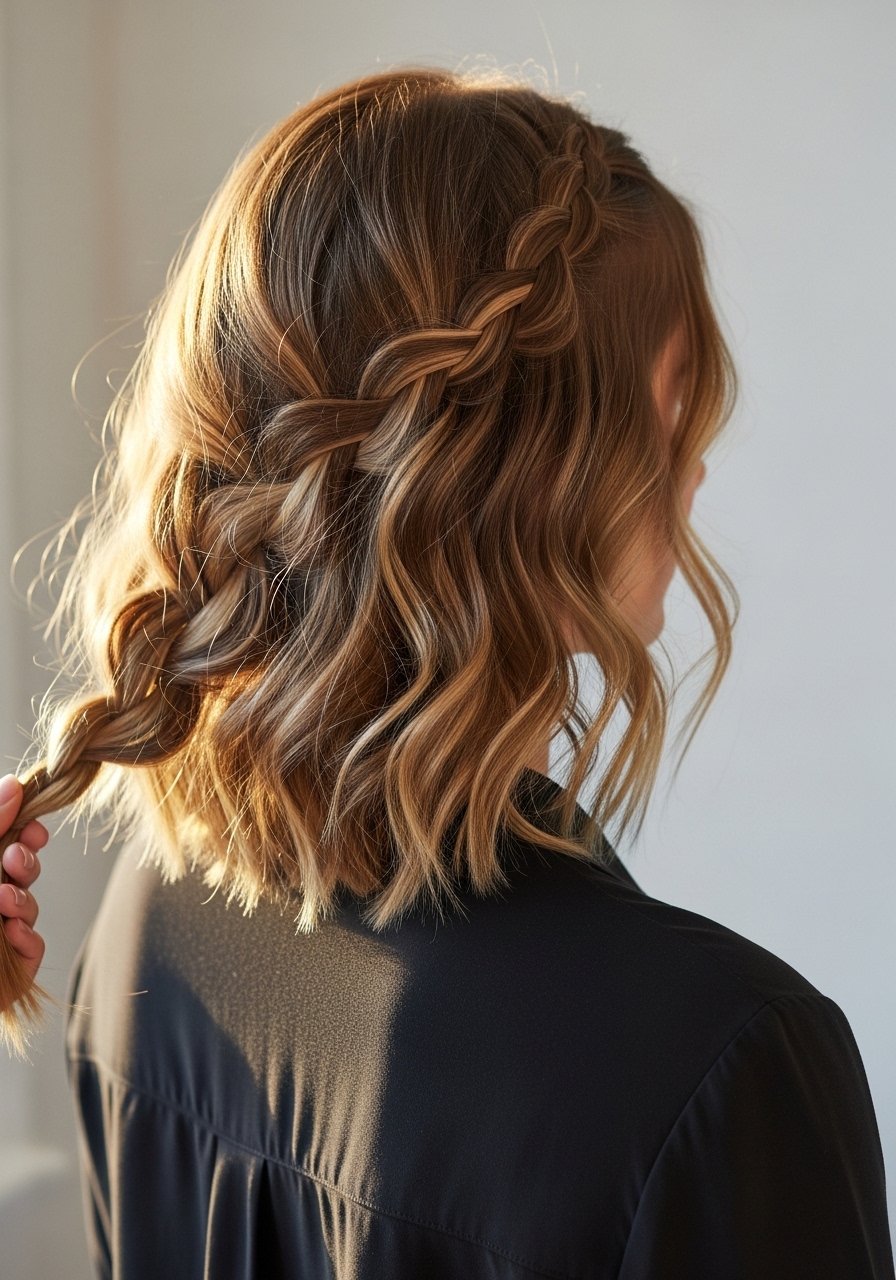
The classic three-strand braid out is where I learned patience matters more than product. Work on damp, detangled hair split into 8 medium sections for shoulder-length or 12 for mid-back. Use a nickel-sized amount of leave-in per section, then a pea-sized amount of light curl cream to smooth ends before braiding. I braid down to the last two inches to avoid a bulky end when you unravel. Let air-dry overnight or sit under a hooded dryer for 30 minutes at 200F if you need speed. Most people overuse gel and end up crunchy or sticky. Two smaller amounts beat one big glop every time. For me that looks best with As I Am Leave-In Conditioner and a light gel on the crown. If you blow-dry first, always use a heat protectant before any iron over 300F.
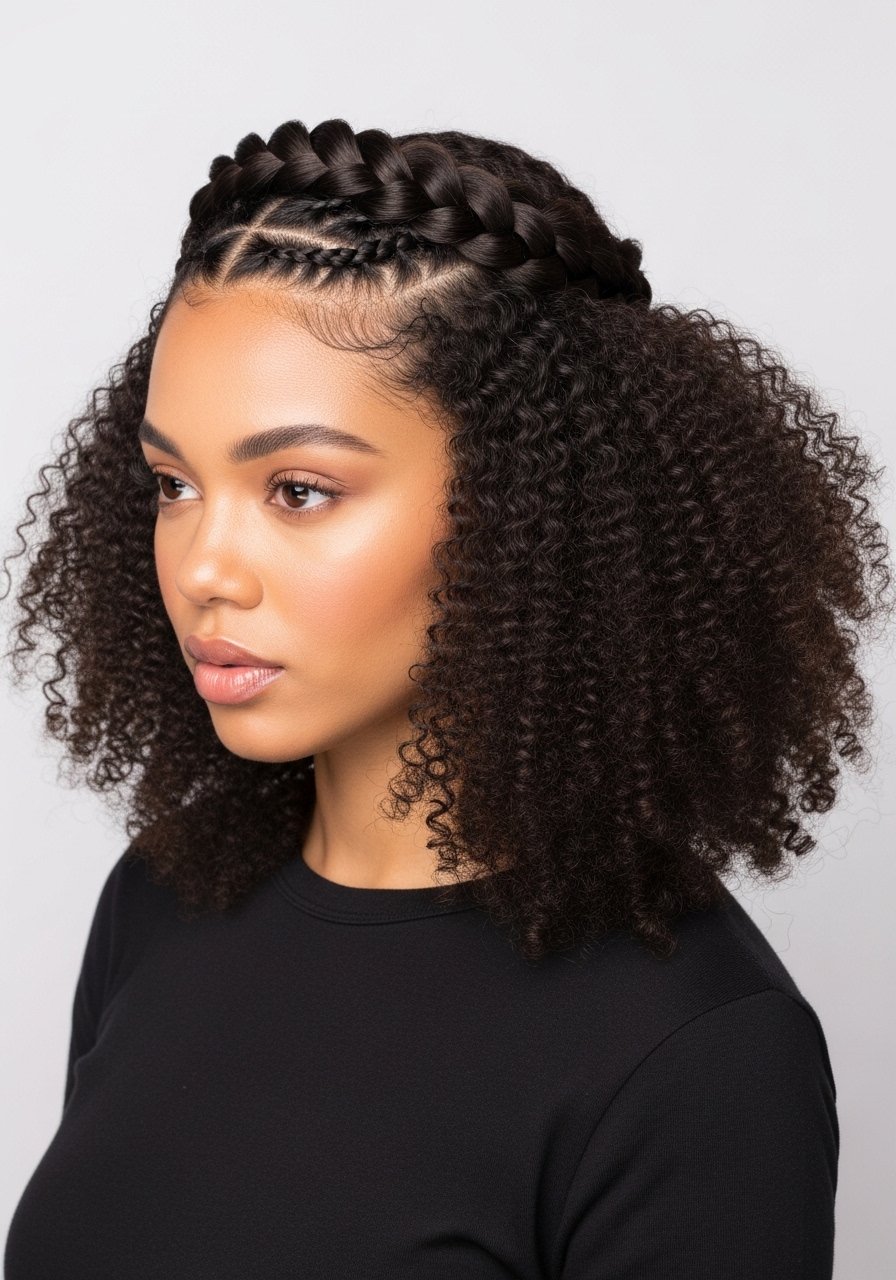
Two-Strand Twist Braid Out for 4B-4C Defined Texture

This is my go-to when I want maximum shrinkage control and definition. Start with clean hair, split into 12 to 16 sections depending on density. Apply one pump of a creamy leave-in and then two pea-sized drops of a lightweight oil along the length to lock moisture. Twist each piece tightly, twisting in the same direction for the whole head to keep curl pattern consistent. Sleep with a satin bonnet or a silk pillowcase. A common frustration I hear is frizz by day two. The problem is rubbing the roots at night. I plop a silk scarf over the twists to cut friction. If your scalp is sensitive to heavy oils, test a small patch first.
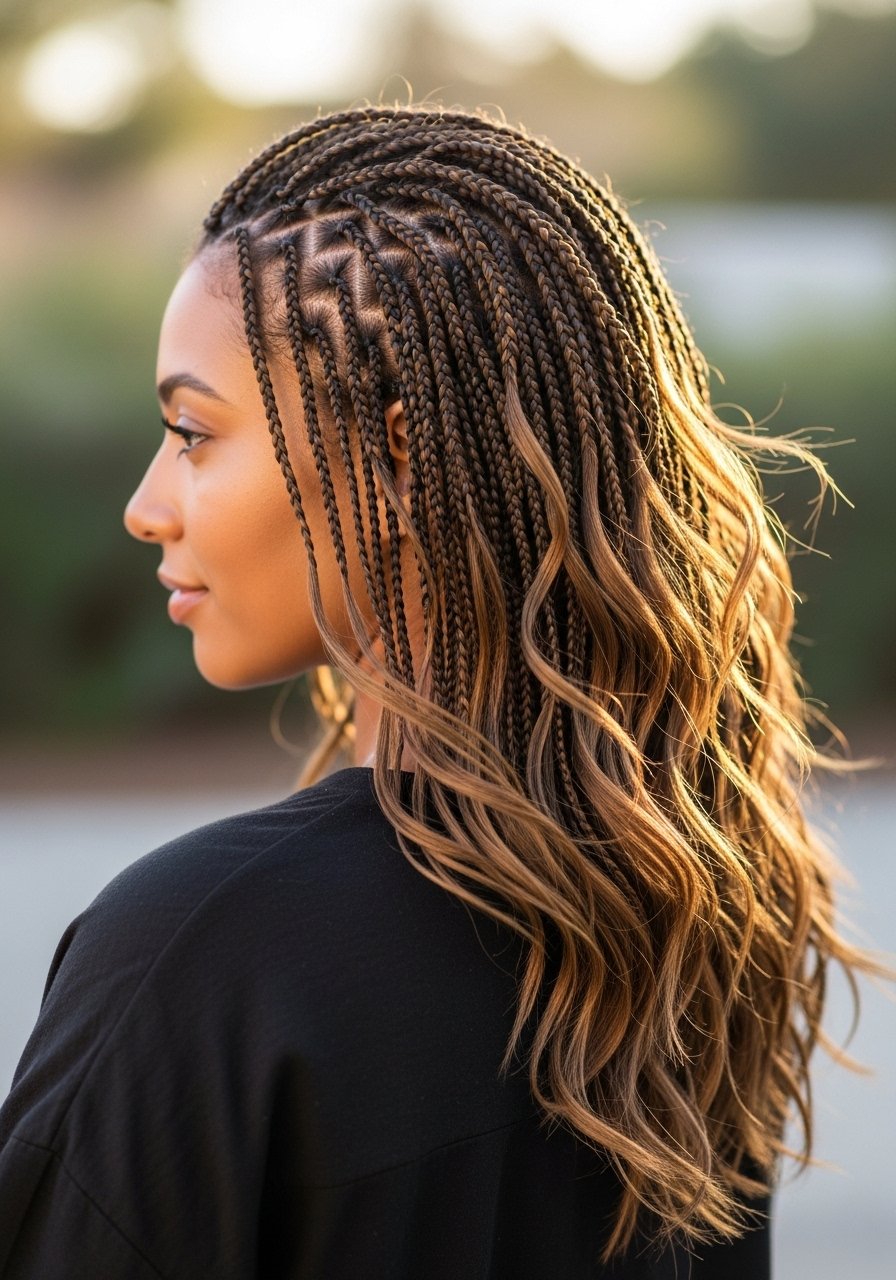
Feed-In Braid Out for Thinner Edges and Fuller Roots
Feed-in braids mimic natural growth at the hairline so you do not lose edges when you unravel. Work on damp hair and section the top into 6 small triangular parts. Add a tiny bit of edge control along the part, then feed in thin added pieces of your own hair, not synthetic, so the tension stays gentle. Use 1/8 teaspoon of product per mini-section to avoid buildup. When you unravel after 24 hours, the root has lift and separation without pulling on fragile hairlines. DIY is fine for this, but if you have major traction history, book a stylist for a gentle install. Watch pressure at the hairline, and never sleep with tight feed-ins.
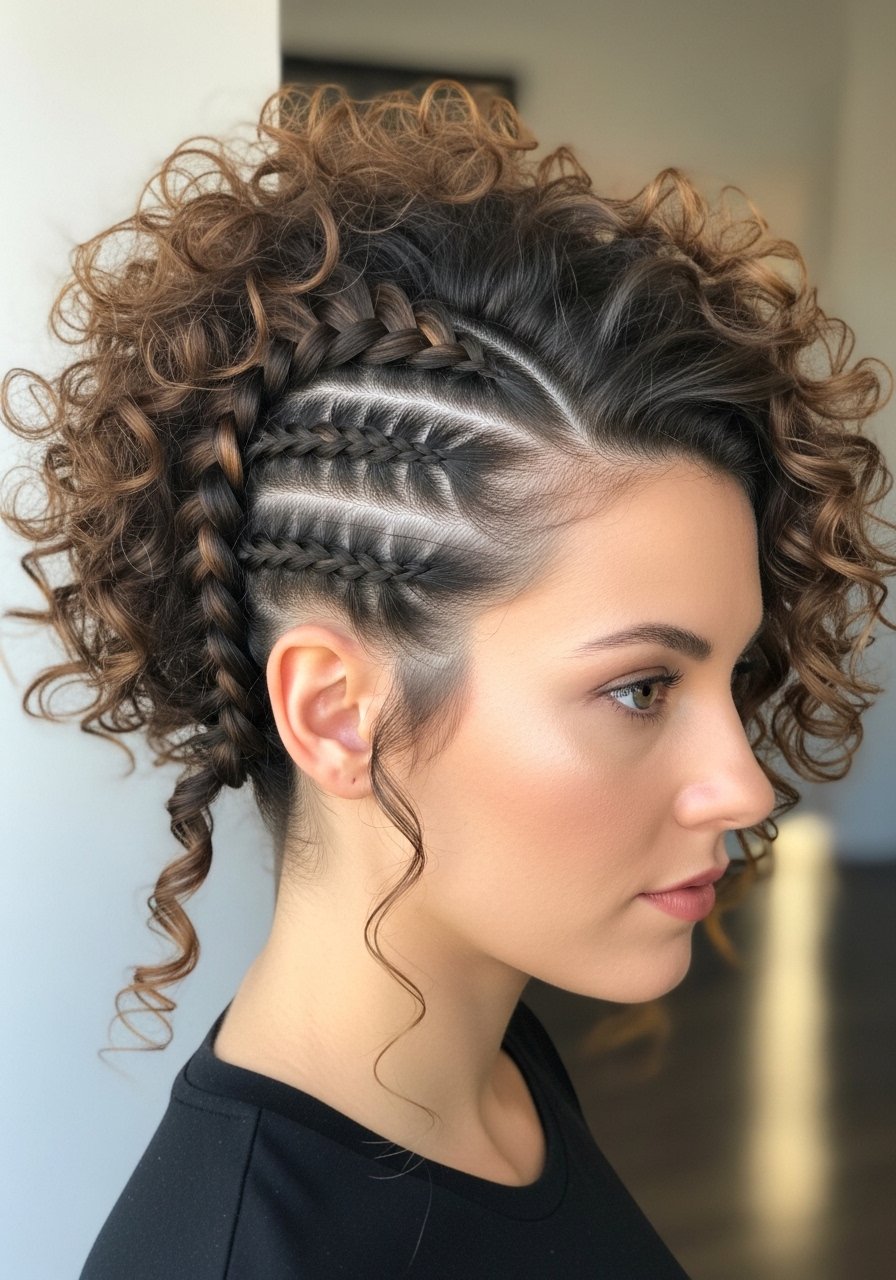
Crown Braid Out Wrap for Shoulder-Length Hair
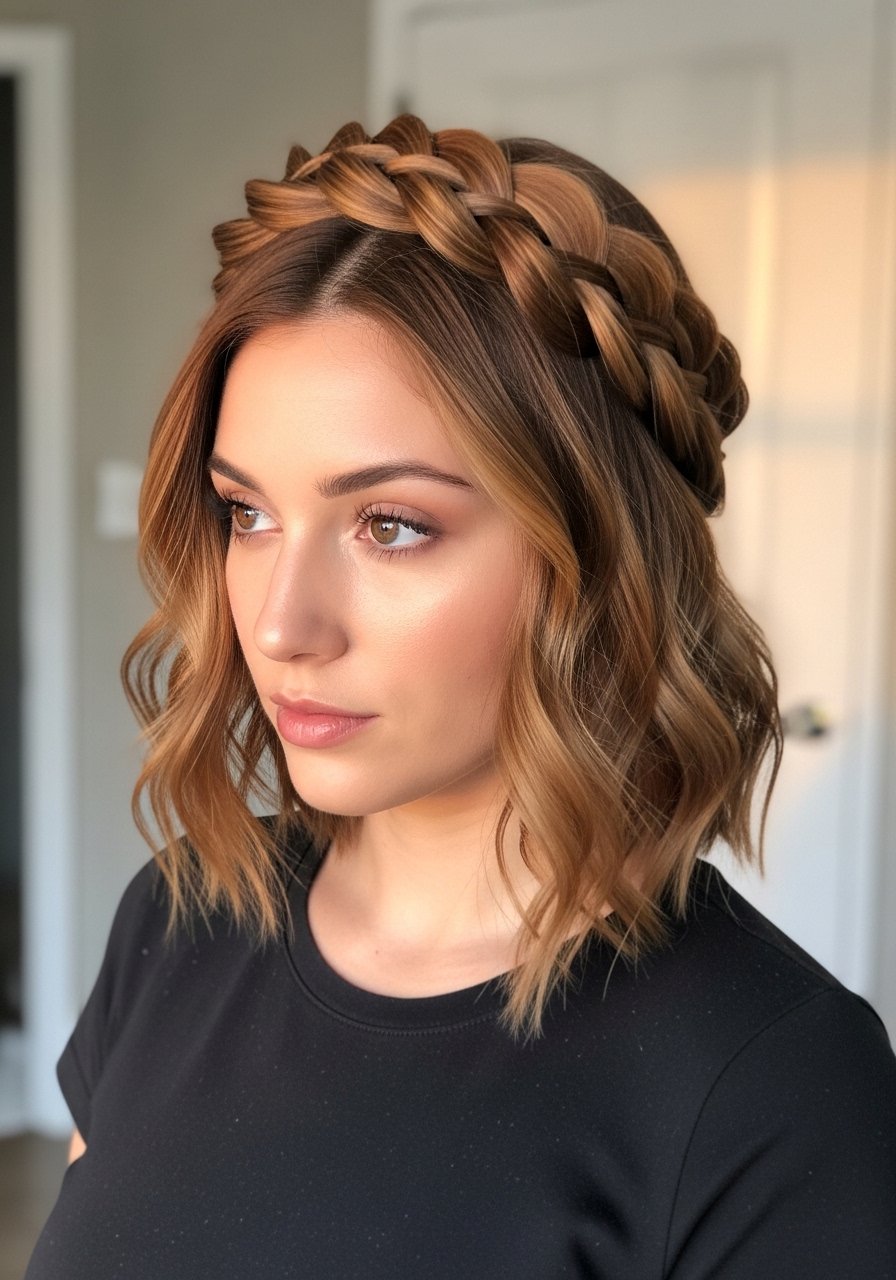
The crown braid out reads intentional and polished while staying low maintenance. Divide the top into 4 sections, French-braid each toward the back and then wrap the tails around, pinning with U-pins. I leave the lower hair in two loose braids overnight so the ends match the crown texture when unraveled. A common mistake is over-saturation with heavy creams which flattens the braid. Use a whipped cream no heavier than a small walnut for the whole crown. This style is great for fine to medium density hair and works for 3B to 4A textures with a few added pins for security. If you want smoother edges, smooth with a lightweight edge control just on the hairline.
Chunky Box Braid Out for Long, Low-Porosity Hair
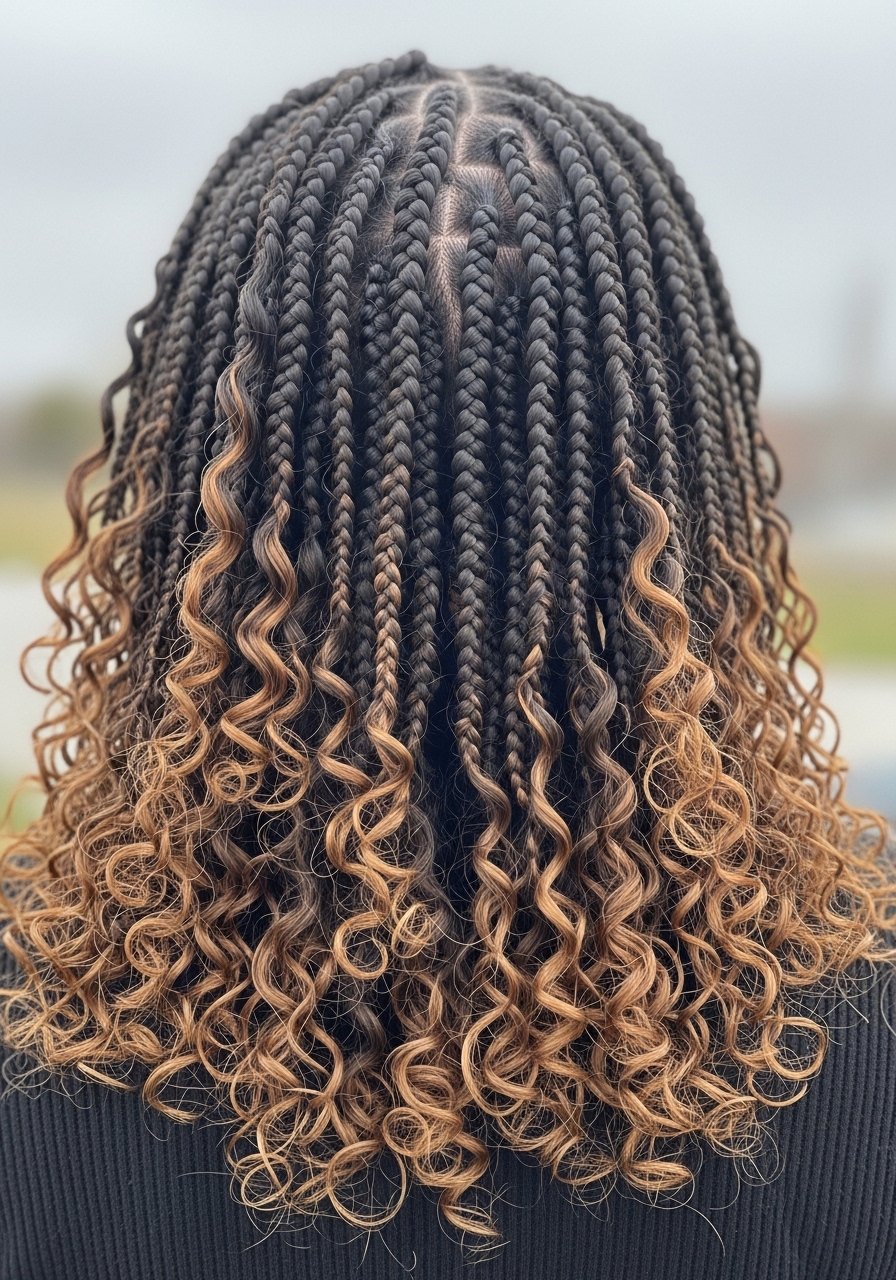
Chunky box braids are my weekend go-to when I want big volume without heat. Make 6 to 8 large sections, smooth a small dime-sized amount of moisturizing cream onto each section, then make three-strand braids down the length. Low-porosity hair resists product absorption. For that hair, warm the leave-in briefly between palms or use a warm towel wrap for 10 minutes before braiding so the product sinks in. Unravel after hair is fully dry, usually 8 to 12 hours. People often blame their products when the braid out falls; the real issue is incomplete drying. If you must speed-dry, sit under a hooded dryer on low for 20 to 30 minutes and check frequently to avoid heat stress.
Micro-Braid Out for Fine 3B-4A Hair with Volume
Micro braids create long-lasting texture on fine hair without much product. I do 20 to 30 micro sections for lob length. Use a lightweight leave-in and skip heavy oils that will weigh down fine strands. Instead of gel, I use a light cream and two spritzes of a setting spray to keep the braids crisp. Leave overnight and pick carefully at the roots with a raking motion to create volume. A trap I fell into was using too much product to chase longevity. Less product often yields more life and better volume on fine hair. If you have scalp sensitivity, avoid heavy sprays at the roots and test a small area first.
Fishtail Braid Out Waves for 2C-3B Hair
Fishtail braids give a more intricate wave than a three-strand braid, and they are surprisingly easy on medium waves. Split hair into 6 sections, each fishtailed tightly with 12 to 16 small crossovers per braid for cleaner patterning. If you want a softer result, loosen the braid by pulling the outer edges after unbraiding. I found that two spritzes of a salt spray before braiding helps hold separation and gives a lived-in finish. My TikTok curls looked great on camera and like wet noodles by 11am, until I mixed a leave-in cream under the salt spray to add slip. That fixed the midday flop.
Bantu Knot Braid Out Hybrid for Springy 4A Coils
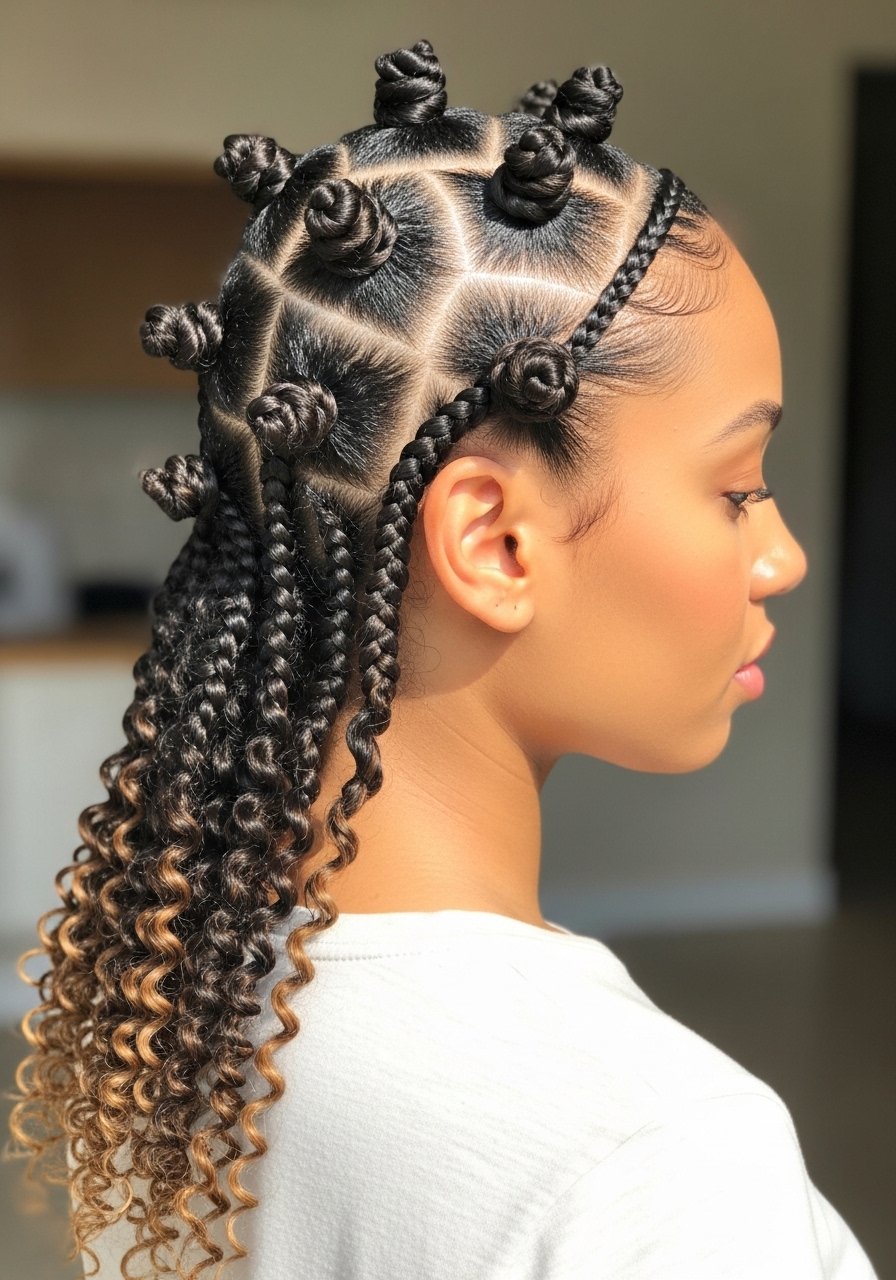
This hybrid gives tight coil definition without the stiffness of a full bantu knot routine. I section hair into 16 parts for mid-back length. At the crown, do small bantu knots to keep spring. At the nape, use two-strand braids for elongated coils so the shape is balanced. Apply a cream leave-in using the LOC method, but use an oil light enough to not weigh the knots down. A practical detail I use is a 10-minute air-dry period before twisting to avoid trapping excess water which leads to mildew smell in storage. If you wear these for multiple days, refresh with a light spritz and finger separation only.
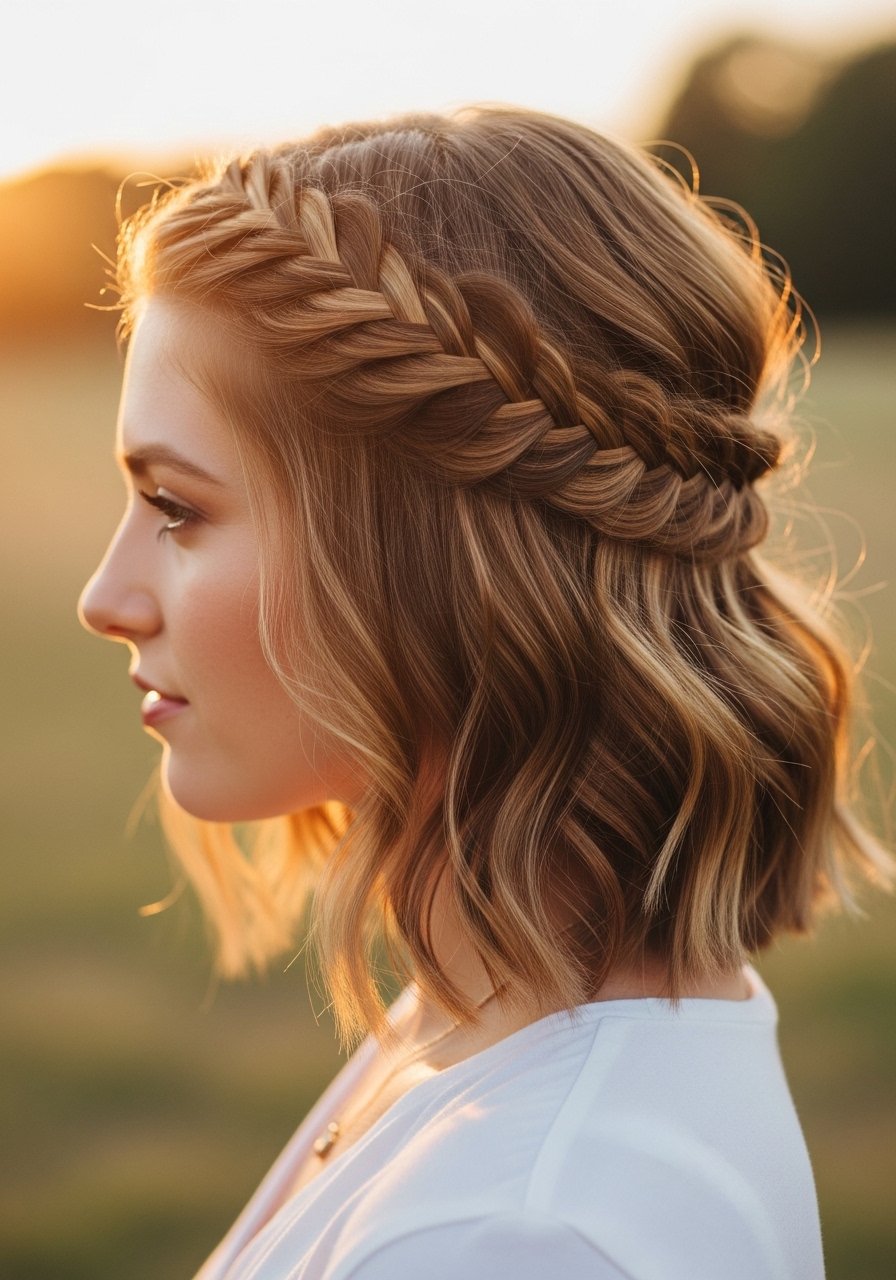
Halo Braid Out Half-Up for Mid-Back Curls
The halo braid half-up keeps hair off the face and looks intentional while letting curls do the work. Do a single continuous braid around the hairline, leaving the lower half in loose braids for consistent texture. Use 8 sections for medium density. A mistake is making the halo too tight. Aim for gentle tension and pin with 4 to 6 U-pins. This is an easy DIY for most curl patterns from 3B to 4A. If you want a sleeker finish, smooth with a pea-sized amount of edge control along the front only. If you plan to add heat to the lower sections later, remember to use a heat protectant and never exceed 300F without caution.
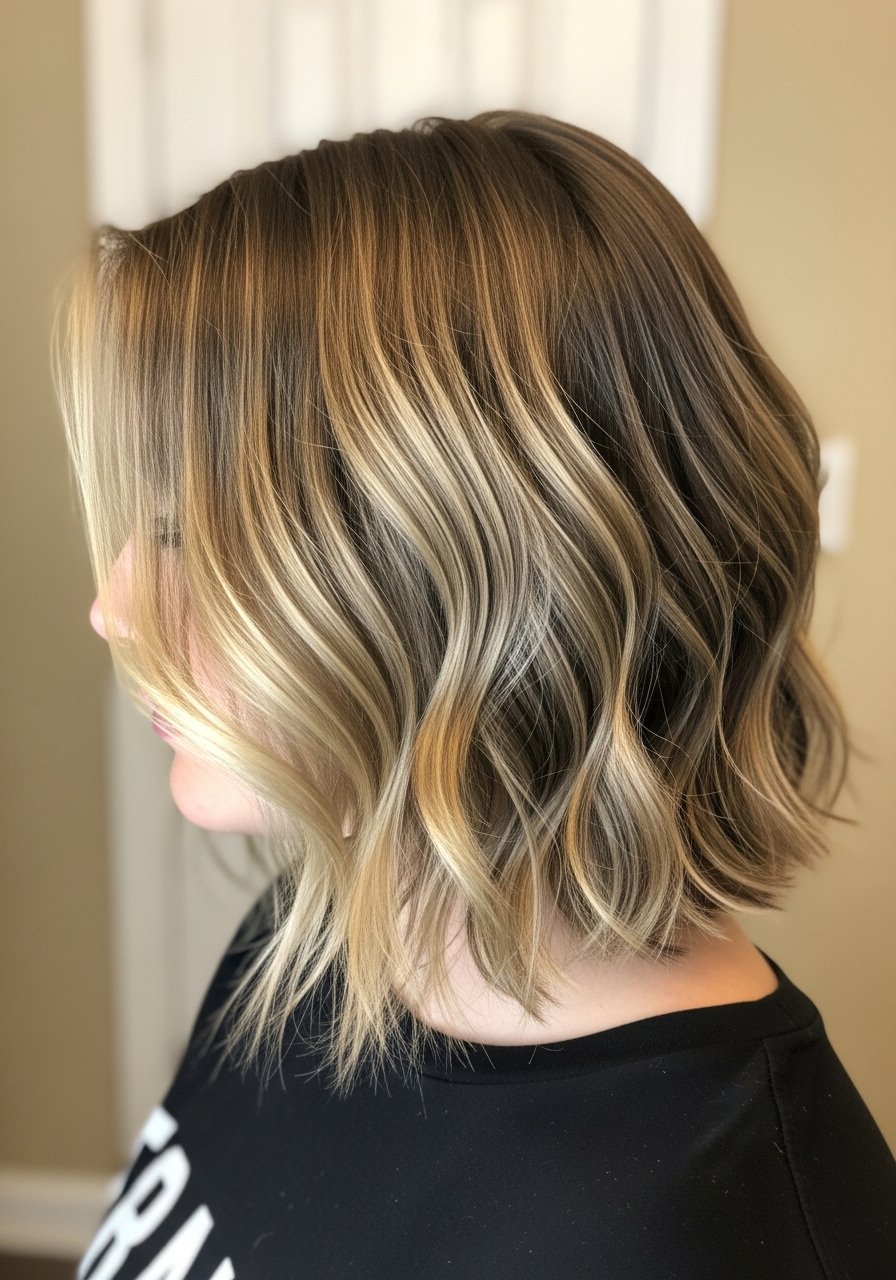
Rope Braid Out Beach Waves for Medium-Density Hair
Rope braids give a more glossy, stretched wave that lasts. For medium-density hair, divide into 10 sections for mid-back length. Apply a dime-sized leave-in and split the section in two, then twist each half in the same direction and wrap them together in the opposite direction. That counter-twist keeps the pattern tight. Unravel after 12 hours or once totally dry. If you like a softer wave, run fingers through with a tiny bit of lightweight oil. I learned the hard way that heat before unraveling ruins the twist pattern. If you must accelerate drying, use a diffuser on low and check every 10 minutes.
Side-Swept French Braid Out for Face-Framing Definition

This one adds intentional framing without heavy styling. Start with a deep side part and French-braid along the hairline, feeding in only the top layers so the lower hair remains bigger. I use a small pea of curl-defining cream along the front sections and more product toward the ends. Unravel in the morning and fluff the roots with a pick for lift. People often tug too hard when braiding around the face which causes tension and sore follicles. Be gentle and use smaller sections near the hairline if you have thin edges. This pairs well with the feed-in technique above if you want extra softness at the front.
The Braided-Out Kit I Actually Keep on My Shelf
- Honestly the best $20 I spend every few months, Olaplex No. 3 Hair Perfector used weekly helps battered ends hold a braid without frizz. Buy from the official Olaplex store on Amazon or at Sephora to avoid counterfeits.
- For detangling, a wide-tooth comb (~$8) is non-negotiable. Use it in the shower after conditioner.
- If you sleep on a twist or braid, a silk pillowcase queen cut my morning friction instantly.
- A light gel holds middle-phase definition without crunch, try Uncle Funky’s Daughter Curly Magic (~$16).
- For sectioning, snag stainless steel hair clips in packs of 6. They grip wet hair and do not slip.
- A small bottle of rosewater setting spray keeps humidity at bay for braid outs without weight.
- If you want a tool splurge, a microfiber hair towel speeds drying and reduces frizz. Under $20 and worth it.
What I Wish Someone Had Told Me Before My First Braid Out
- Heat protectant timing matters. Heat protectant goes on damp hair, not dry. The cuticle is more open and the product actually absorbs. Color Wow heat protectant is one I use before any blow-dry or iron.
- Grab a silk pillowcase. It keeps braid outs from rubbing into frizz overnight. This is a small cost for longer-lasting style.
- Hair grows about half an inch a month at most, regardless of what biotin gummies promise you. The braid out that looks most impressive is the one that minimizes breakage while you grow length.
- The gel-only method rarely lasts on its own. Swap gel-only for a leave-in cream underneath and you will see more second-day life. I learned that after too many crunchy results.
- If your scalp is sensitive, patch test any new edge control or holding spray on a small area behind the ear before applying to the hairline.
Frequently Asked Questions
Q: How long should I leave braids in before unraveling for a braid out?
A: I usually leave them until they are fully dry, which is often 8 to 12 hours for most textures. Overnight is easiest. Unraveling while slightly damp gives a limp result and unravelling while wet can cause frizz. If you need to speed-dry, use a hooded dryer on low in short intervals.
Q: Can I use Olaplex No. 3 if my hair is not damaged, or will it make it worse?
A: Olaplex No. 3 is safe on undamaged hair. It does not create harm, but it is most noticeable on hair that has mechanical or chemical stress. If you buy it on Amazon, buy from the official Olaplex store or Sephora to avoid counterfeits.
Q: My braid outs always go flat by afternoon. What am I doing wrong?
A: The usual culprits are overloading product at the roots and sleeping without silk protection. Also, many people apply leave-in after towel-drying when the cuticle has already started to seal. Try applying a leave-in to damp hair, use a small product amount at the roots, and sleep on silk.
Q: How often should I wash my hair if I wear braid outs regularly?
A: Every 5 to 10 days is common depending on scalp oil and product buildup. If you use heavier creams or gels, aim closer to once a week and co-wash a couple of times between shampoo days. Over-washing strips natural oils and increases frizz.
Q: Can I heat-style after I do a braid out?
A: You can, but be careful. Always use a heat protectant and keep any iron below 300F when possible. Heat can relax the pattern you created and may shorten the life of the braid out. If you want a looser look, try picking at the roots or stretching the hair with a low-heat blowout for a few minutes instead.