I bleached my own hair last winter trying to save $200. Three months later I paid $400 to fix it. Olaplex No. 3 saved what was left. If you want practical blow dry ideas for 2025 that do not demand a Dyson or a salon appointment every week, this list is for you. These ideas cover fine, medium, and thick hair, plus tips for coils and loose waves. Most take 10 to 35 minutes, cost between free and one tool splurge, and are doable at home with a couple of small product purchases.
Round Brush Blowout For Natural Volume
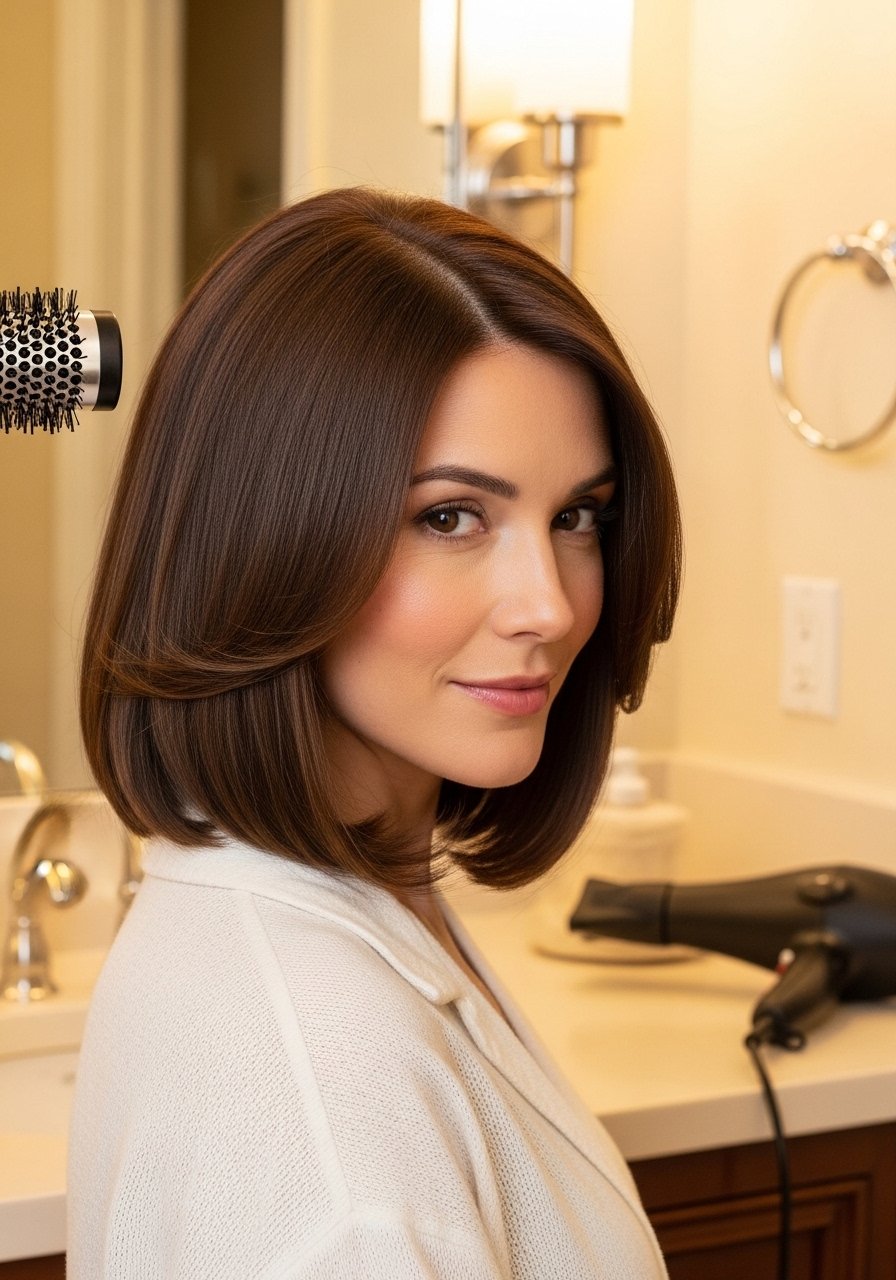
If your roots go flat an hour after styling, try sectioning hair into four horizontal layers and working each layer with a medium 2-inch boar-nylon mixed round brush while using medium heat. Start at the back, wrap a 1-inch subsection around the brush, point the dryer nozzle down and follow the brush for 10 to 12 seconds, then hit the cool shot for two seconds. The result is natural volume that sits without the crunchy feeling heavy mousses give. I keep heat under 375F when I finish with a straight iron, and I always use a heat protectant before any iron over 300F. For a lightweight lift at the roots, two spritzes of Oribe Royal Blowout Heat Styling Spray before drying makes a noticeable difference. Big mistake people make is skipping sectioning and trying to speed through it. Salon note, this is the kind of blowout your stylist charges for because of time, but you can get 80 percent of the look at home with patience.
Diffused Low-Heat Waves For Frizz-Prone Hair
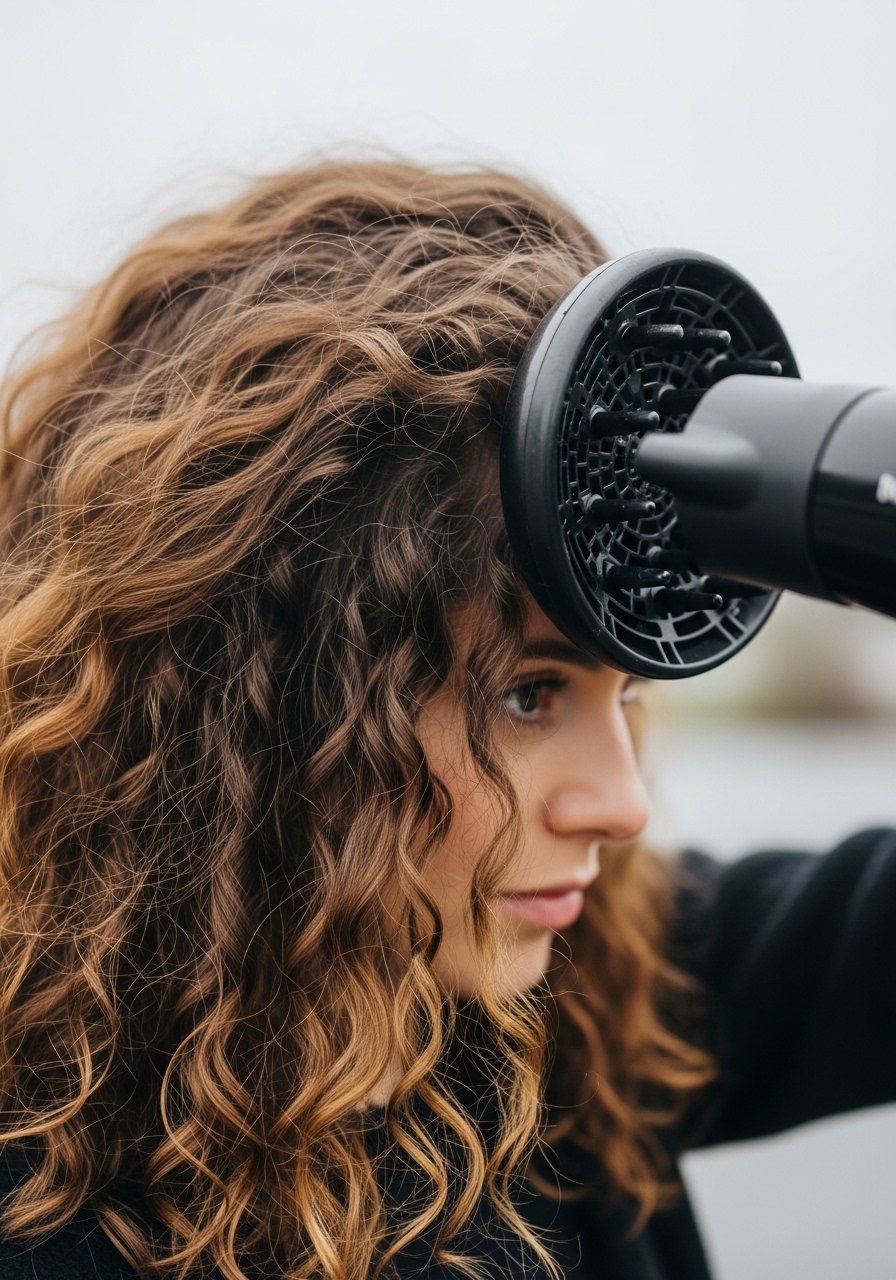
My curls looked great on TikTok and like wet noodles by 11am. Finally figured out it was the gel-only routine. Added a leave-in cream underneath and it changed everything. For naturally wavy and curly hair, swap the high heat scramble for a diffuser on low heat and medium airflow. Work in the LOC method, leave-in first, then oil, then a small amount of gel. I use a coin sized amount of leave-in for shoulder length 3A hair, and I plop for 20 minutes before diffusing on low so the cuticle sets slowly. If your diffuser has a speed dial try the low setting and 20 to 30 second bursts per section. A common error is blasting with high heat and misting between bursts. That seals in frizz. A lightweight leave-in like SheaMoisture Curl Enhancing Smoothie under a small squirt of gel keeps definition without crunch.
Root Lift With Velcro Rollers For Fine Hair
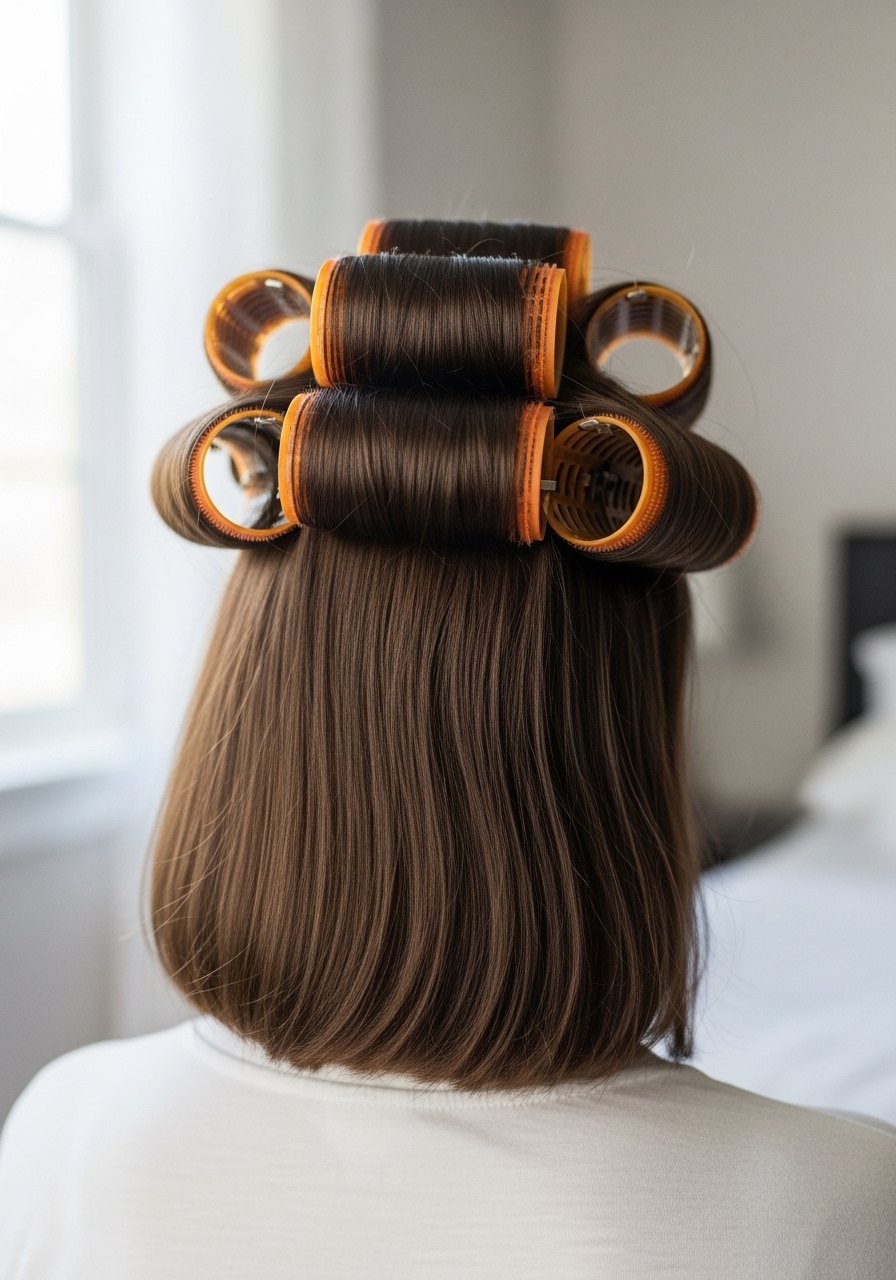
Fine hair hates heavy products. Give it tension instead of paste. After blow drying hair mostly dry, set three big velcro rollers at the crown and two at the sides while the hair is still warm. Leave them in for 12 to 15 minutes and cool completely before removing. That heat-plus-cooling set gives lift that lasts through a humid commute, without the weight of root-boosting powders. I use two spritzes of a lightweight salt spray at mid-length for texture only. The mistake I used to make was using small rollers and overdoing hairspray. One or two pumps of Bumble and bumble Thickening Spray through the roots before rolling is all you need. DIY friendly and cheaper than salon root-lifts.
The Bond Builder Pre-Blow Routine That Helps Brittle Ends
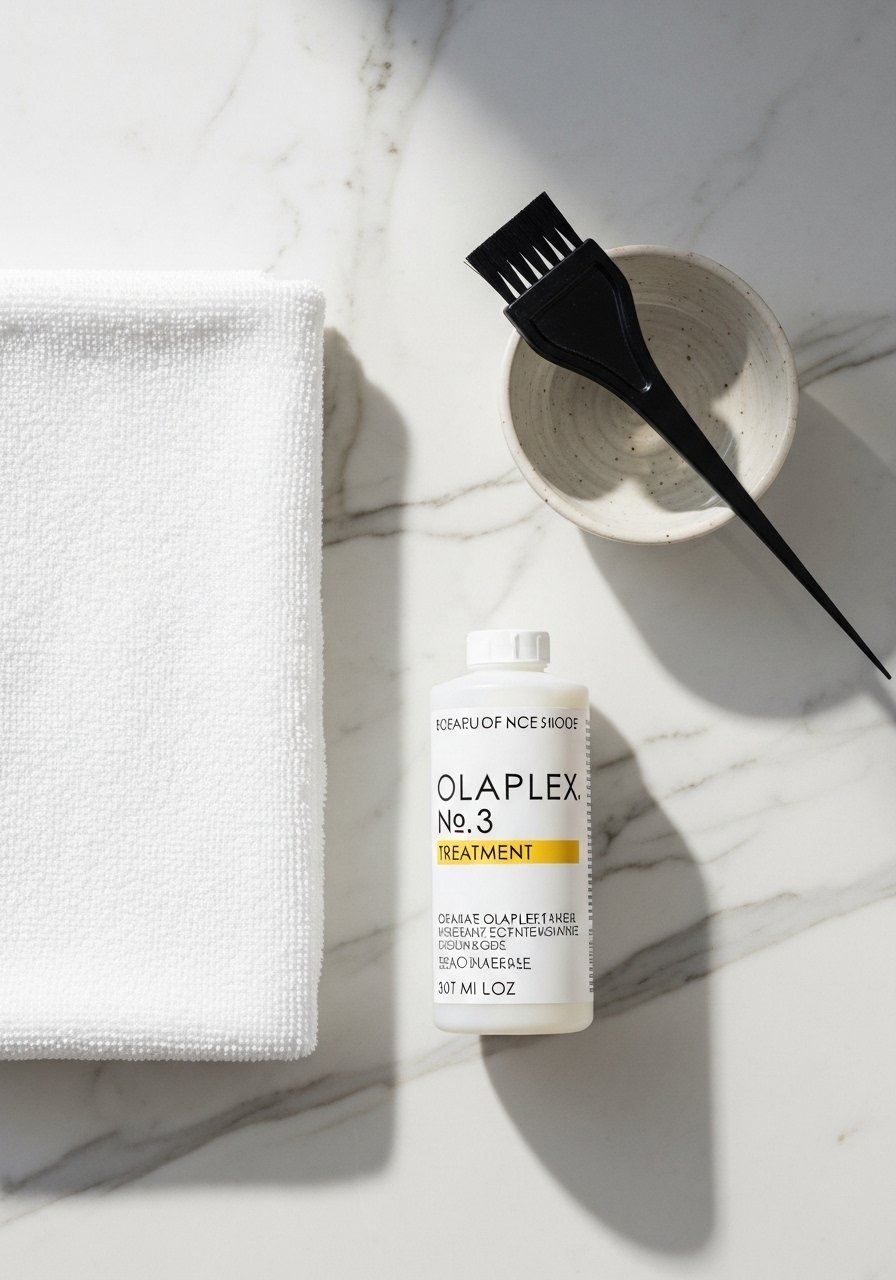
If you have brittle ends from past color work, do a weekly bond builder treatment before you blow dry. I do this once a week for color-treated hair. Apply a quarter-sized amount of Olaplex No. 3 Hair Perfector mid-length to ends on damp hair, leave for 10 to 20 minutes, then rinse and proceed to your usual prep. Buy from the official store on Amazon or grab it from Sephora to avoid counterfeits. People expect immediate miracle repair. Bond builders strengthen fibers over time and smooth the appearance, they do not undo previous breakage. Salon pros will do stronger in-salon options, but the weekly at-home step bridges appointments and makes blow dry results look smoother. Safety note, if your hair is overprocessed from home bleaching, book a salon consult before layering chemical treatments.
Cool Shot Glass Hair Finish For Sleek Looks
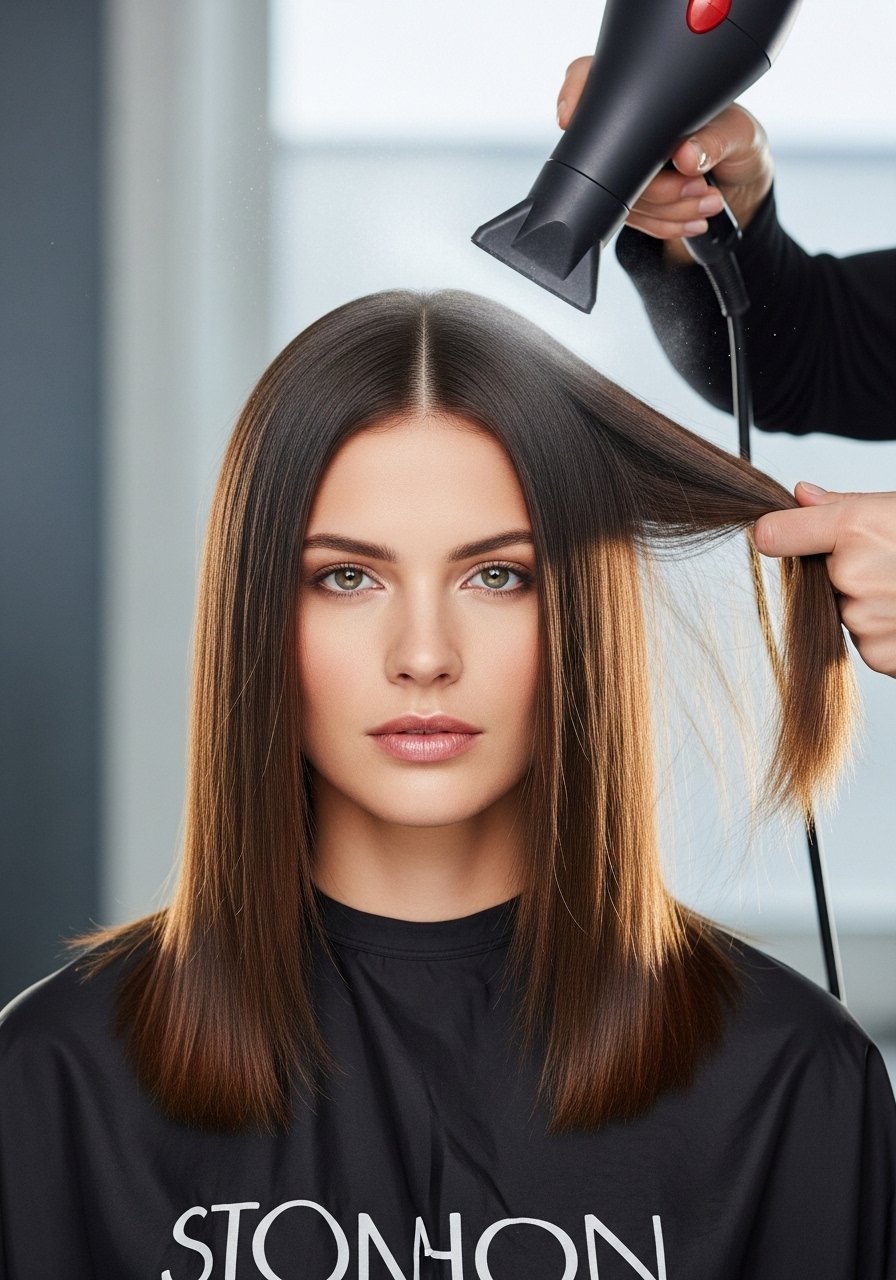
For a glass hair finish without a salon gloss, seal every section with a blast of cold air after you smooth it with a paddle brush. Work in small 1-inch sections, brush from root to tip while following the nozzle, then click cool for 3 to 5 seconds. Finish with a rice grain amount of anti-frizz serum on the ends only. People overapply oil and end up with greasy roots. Try Color Wow Dream Coat anti-humidity spray lightly through mid-lengths for weather resistance. The detail others skip is the cool shot timing. If you cool for less than two seconds the cuticle does not fully set, and if you overcool the hair can feel flat. This is salon-level polish with minimal product spend.
Quick Diffuse For Thick Hair With Sectioning
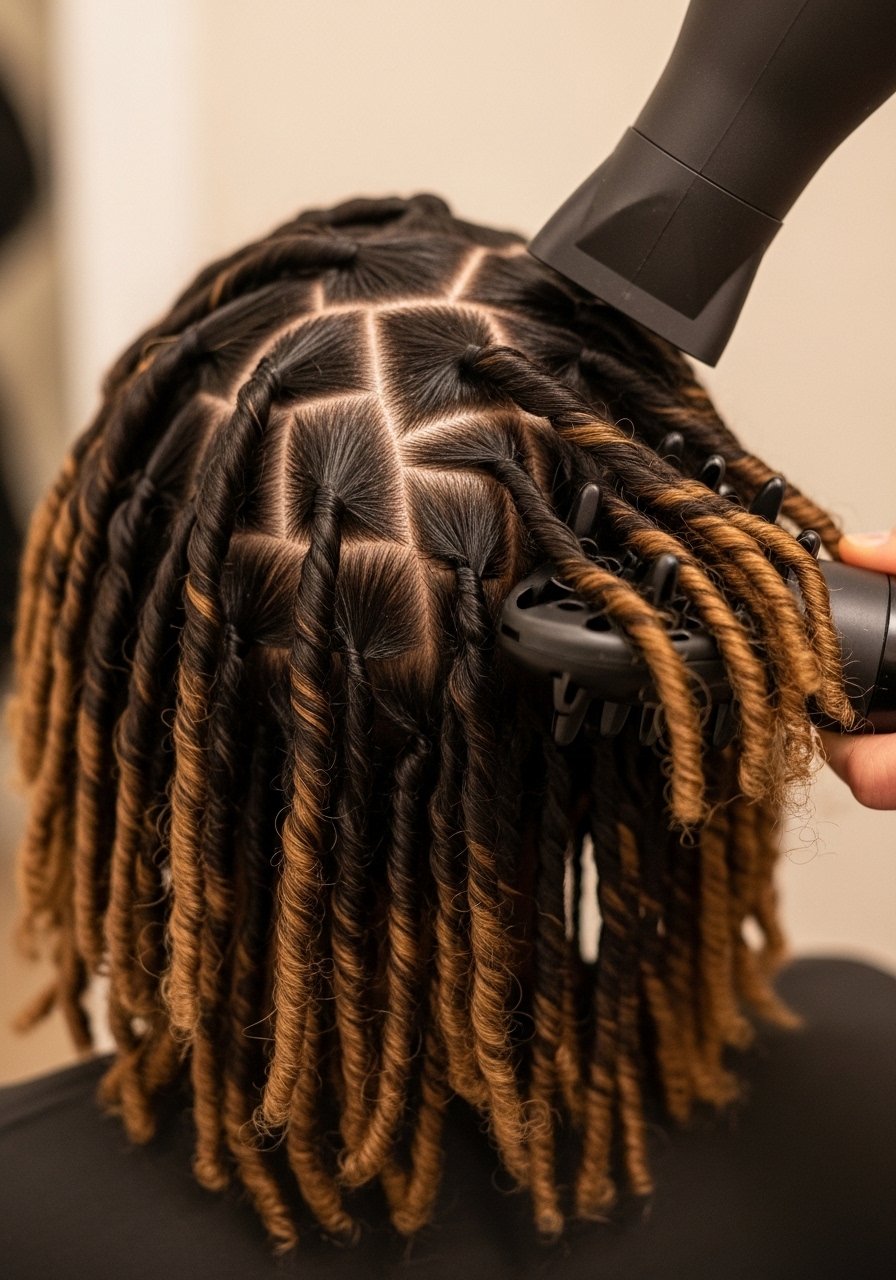
Thick coils need structure more than product. Instead of tossing and diffusing everything at once, section into four quadrants and then subdivide each into three larger parts. Diffuse eight to twelve sections on low heat for 25 to 35 seconds per section while cupping the hair at the roots for lift. I always use a heat protectant spray before any iron over 300F and I treat diffusing heat similarly. The common mistake is assuming more product equals more hold. For Type 4 hair I use a light cream first and a tiny dab of gel at the ends. If your hair feels crunchy you used too much gel on each subsection. Salon note, a stylist can set a longer lasting shape with twist outs or rods, but this sectioned diffuse keeps dryness and breakage lower.
Textured Blow Dry With Sea Salt For Shoulder-Length Waves

If you like textured blown out waves that look undone, mix one part sea salt spray to three parts leave-in on damp mid-lengths and ends, then rough-dry with your fingers until 80 percent dry. Finish with a quick 300F pass using a medium-barrel brush to add soft bends. This combo gives natural separation without the dried-out feel of old salt sprays. Most people soak the roots in salt spray and end up with dry, flat hair. Keep product low at the roots and focus on mid-lengths. I pair this with a lightweight oil on the ends after drying to avoid strawiness. For budget shopping, grab a travel size of Not Your Mother Beach Babe Texturizing Spray and a small leave-in for experiments.
What I Keep In My At-Home Blow Dry Kit
Oribe Royal Blowout Heat Styling Spray 4.2oz. A splurge that smooths and detangles. Also at Sephora and Ulta.
Olaplex No. 3 Hair Perfector 3.3oz. Weekly treatment that helped my ends hold up. Buy from the official store on Amazon or pick it up at Sephora to avoid counterfeits.
Color Wow Dream Coat Anti-Humidity Spray 6.7oz. One light mist before drying and frizz takes a nap for days.
Boar Bristle Radial Brush 2 inch. For smooth rounds and root lift on fine to medium hair.
Microfiber Hair Towel pack. Cuts blow dry time and tames early frizz.
Velcro Rollers Large Set. Cheap root lift that beats powders most days.
Diffuser Attachment That Fits Your Dryer. Check fit before you buy.
Lightweight Heat Protectant Spray under $20. Heat protectant before any iron over 300F matters more than brand hype.
Robe Tie Heatless Waves For No-Heat Days
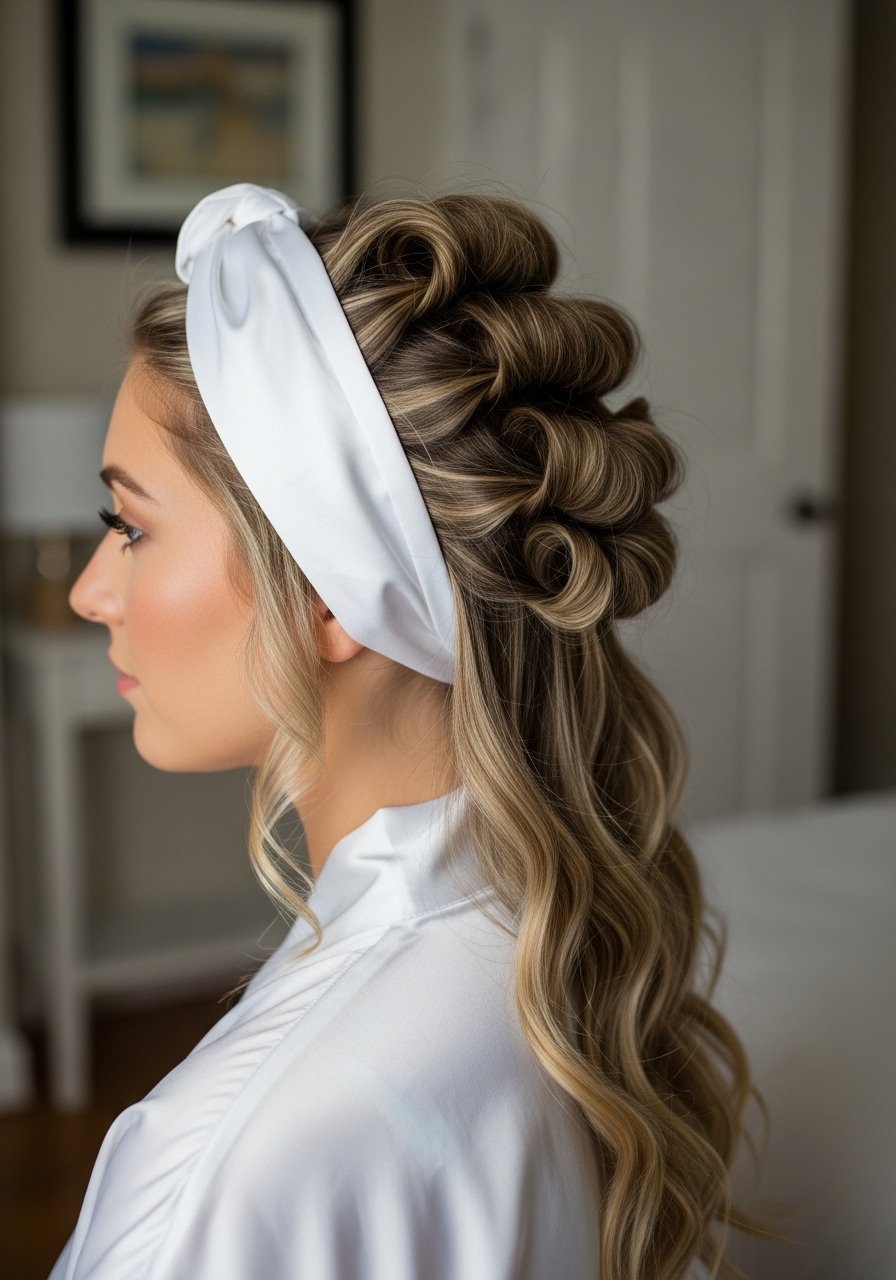
If you want a blow-dry look without heat, the robe tie method gives a soft bend that reads like a salon rough blowout. On damp hair, place a fabric sash across the top of your head and coil 1 to 1.5 inch sections around it away from the face. Sleep on it and unwrap in the morning. Brush through with fingers only. This method works best on 2A to 3A hair and on longer lengths. Common error is using elastic bands that create dents. Use fabric only, and do light product before wrapping, about a pea size of leave-in for shoulder-length hair. This is a true at-home hack that pairs well with the sea salt technique from earlier if you want more grit.
Curtain Bang Blow Dry For Soft Face Framing
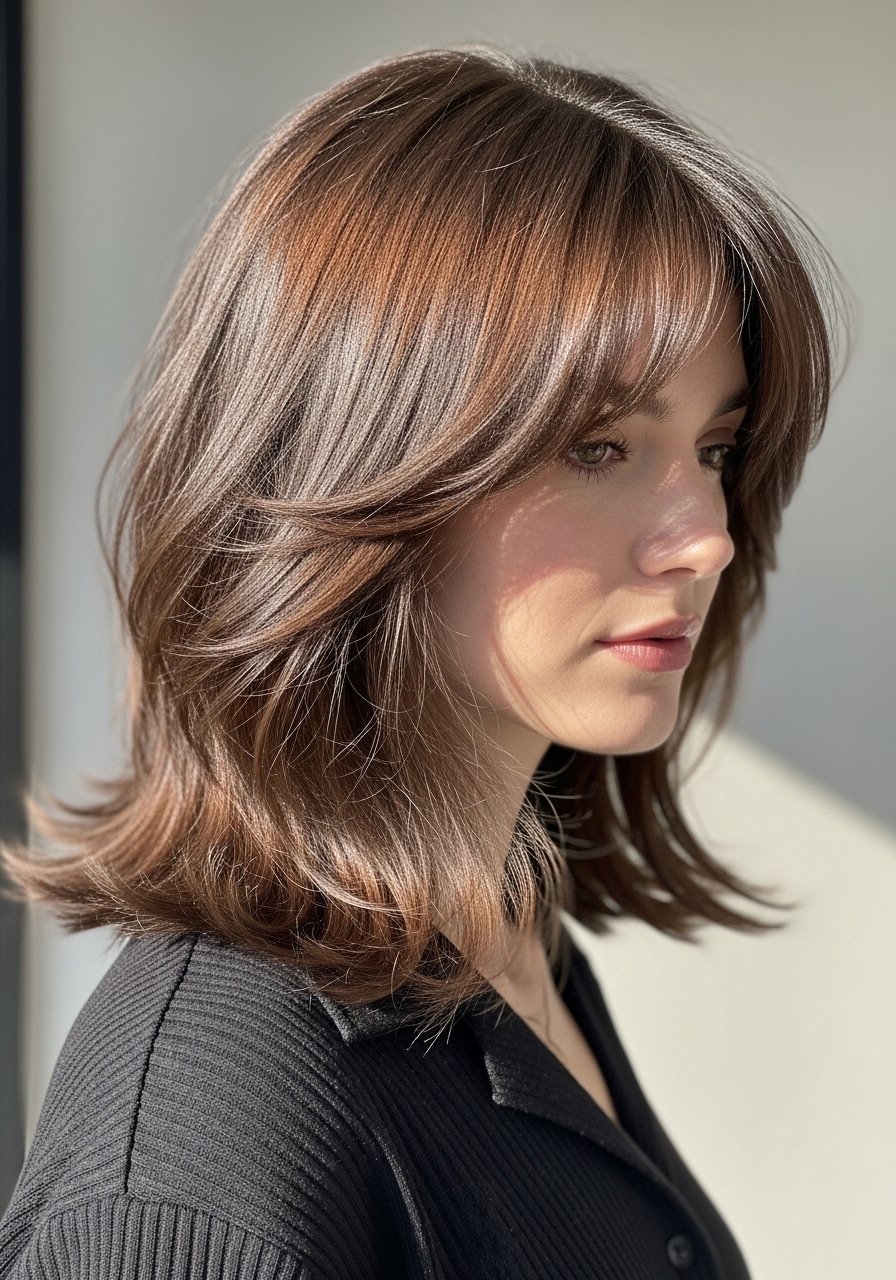
Curtain bangs need the right angle when you blow dry them. Start with a small section at the center, blow dry away from the face on medium heat using a small round brush. Then do the two side sections with a slightly larger brush to create that soft feather. I hold the brush vertically at the ends for that lived-in sweep. If your bangs puff up after five minutes you are either using too much product or drying from the roots only. A dab of smoothing cream on the ends after cooling keeps the frame in place. Salon note, a stylist shapes curtain bangs to match your face shape, but this styling method will keep them behaving between trims.
Money Piece Face-Framing Blow Finish
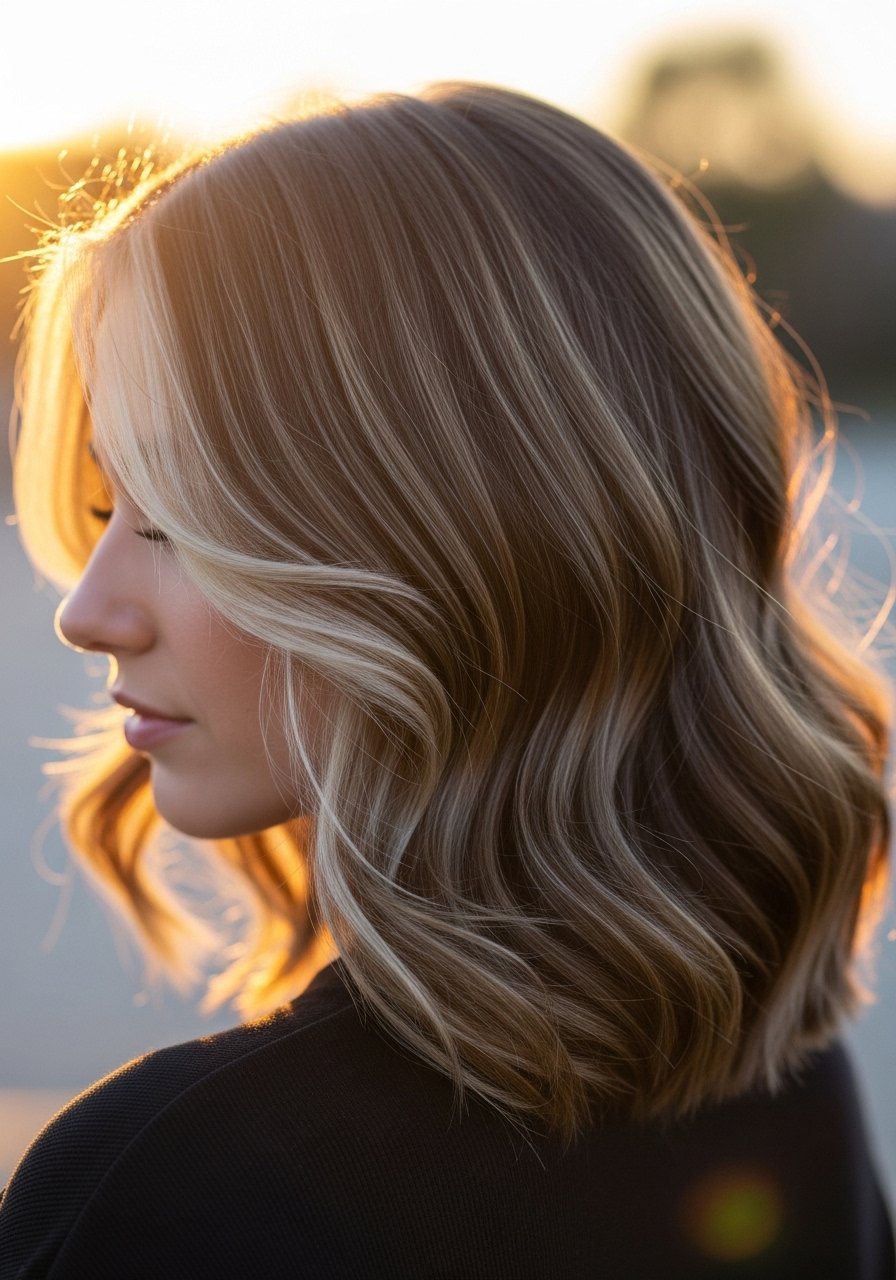
If you have front face-framing highlights, blow drying them slightly forward and then sweeping them back creates instant brightness at the face. Work these pieces first on a low to medium heat and finish with the cool shot to lock the tone in. I brush them forward with a small brush for five seconds, then flip them back with a quick blast. A frequent mistake is overdosing the front with product to try to make them pop. Use a light cream and a shine spray on the ends. If your color is fresh, avoid clarifying shampoos for the first week and ask your colorist about a glaze to protect the tone. This technique makes your highlights read cleaner without heavy maintenance.
Salt And Volume Textured Finish For Short Cuts
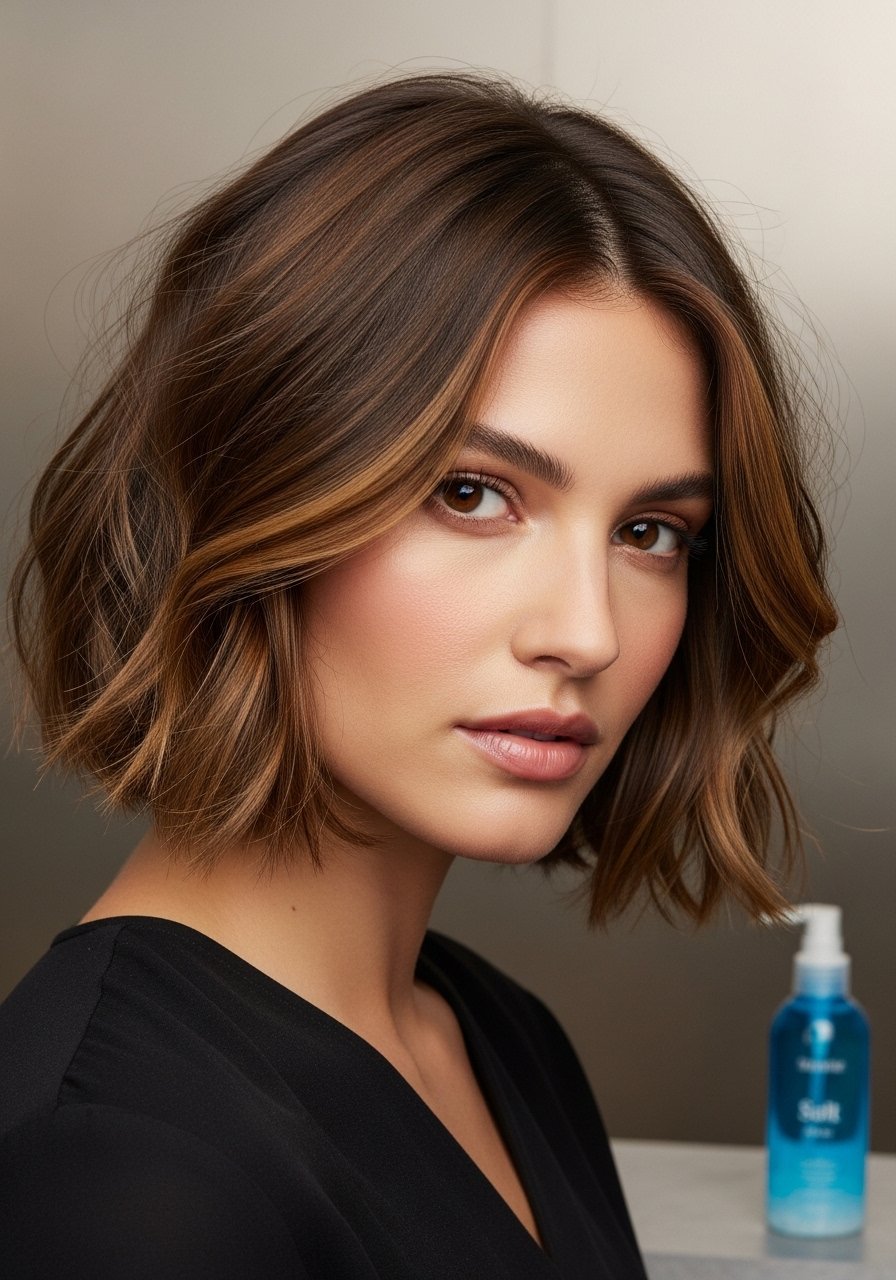
Shorter cuts respond better to texture than volume. For a textured blow dry, rough-dry with your hands for body, then use a small round brush to give the shape. Finish with a palm-sized amount of texture paste warmed between fingers and applied to the ends. For 1B to 2A short hair, two to three pumps of salt spray before drying is enough. I used to overwork the paste and then wonder why the style felt clumpy. Apply sparingly and build if needed. This is a quick daily fix that keeps style time under 10 minutes and works well for haircuts that rely on shape rather than length.
What I Wish I Knew Before Spending On Tools
- Heat protectant goes on damp hair, not dry. The cuticle is more open and the product actually absorbs. Color Wow heat protectant is a popular pick among stylists.
- Grab a microfiber hair towel for $12. It cuts your blow dry time by a third and stops the frizz before it starts.
- Hair grows about half an inch a month at most, regardless of what biotin gummies promise you. The thing that helps length retention is reducing breakage with a silk pillowcase and weekly bond treatments.
- Drugstore shampoo is fine. Where you actually need to spend money is conditioner and the occasional bond builder. Olaplex No. 5 Bond Maintenance Conditioner helps damaged hair hold shape better than a cheaper conditioner alone.
- If you plan to style with hot tools often, try a higher quality dryer. The noise and speed difference add up. Dyson and other brands are available on Amazon and at Best Buy. Watch for counterfeits and buy from authorized sellers.
Frequently Asked Questions
Q: Can I use Olaplex No. 3 if my hair is not damaged, or will it make it worse?
A: You can use it even if your hair is not visibly damaged. It will not harm healthy hair. Most people do one treatment every one to two weeks as maintenance. If you want to be conservative use it every other week.
Q: How often should I actually use purple shampoo to fix brassy tones without making my hair dry?
A: A friend asked why her hair felt like straw. She had been using purple shampoo every wash for six months. Swapped to once a week and it came back. For most people once weekly is enough. If you have heavy brassiness reduce frequency and follow with a deep conditioner.
Q: What heat setting should I use to avoid damage but still get a smooth blowout?
A: Start with medium heat for most blow drying and reserve high only for very thick hair saved for bulk drying. If you finish with a flat iron keep it at or under 375F for colored or fragile hair. Remember the rule about heat protectant before any iron over 300F.
Q: Is finger-drying my curls better than diffusing?
A: Finger-drying can work if you want softer, less defined texture. Diffusing on low heat gives more lift and definition, especially if you use the LOC method first. For Type 4 coils, diffuser with sectioning for consistent results.
Q: Do I need the Dyson Airwrap to get these looks in 2025?
A: No. Lots of the looks here are technique based, not tool exclusive. I spent $300 on a Dyson and then used my $30 round brush more. If you style daily and want less time, a higher end tool may be worth it. Otherwise a good dryer, the right brush, and product knowledge gets you most of the way.
Q: How long does a proper blowout typically last on medium hair?
A: On medium density hair with proper prep and light hold product expect one to three days. If you have fine hair it will often last less than 24 hours. For longevity use root lift plus a light anti-humidity spray.