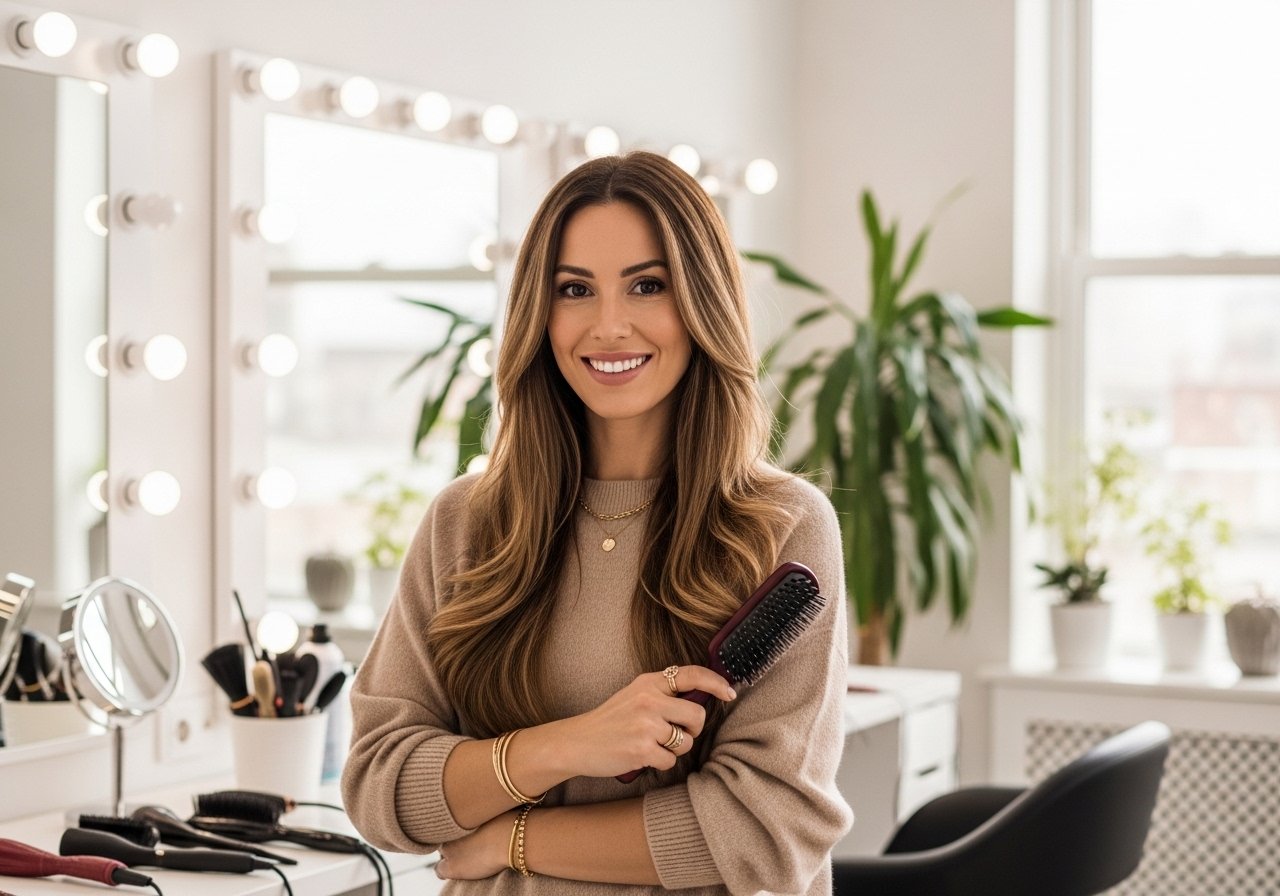
I tried going full blonde once and paid for months in recovery. These 13 ideas are the things that actually worked for me and the friends I fixed after salon disasters. Mostly aimed at medium to thick wavy or slightly curly 2A through 3B hair, some tips include adjustments for finer or coarser textures. Expect a mix of quick fixes you can do at home and salon-level moves worth the booking. Budget ranges run from under $20 for a purple shampoo to one splurge tool around $300, with most upkeep doable every 6 to 12 weeks depending on contrast.
Face-Framing Caramel Money Piece For Dark Hair
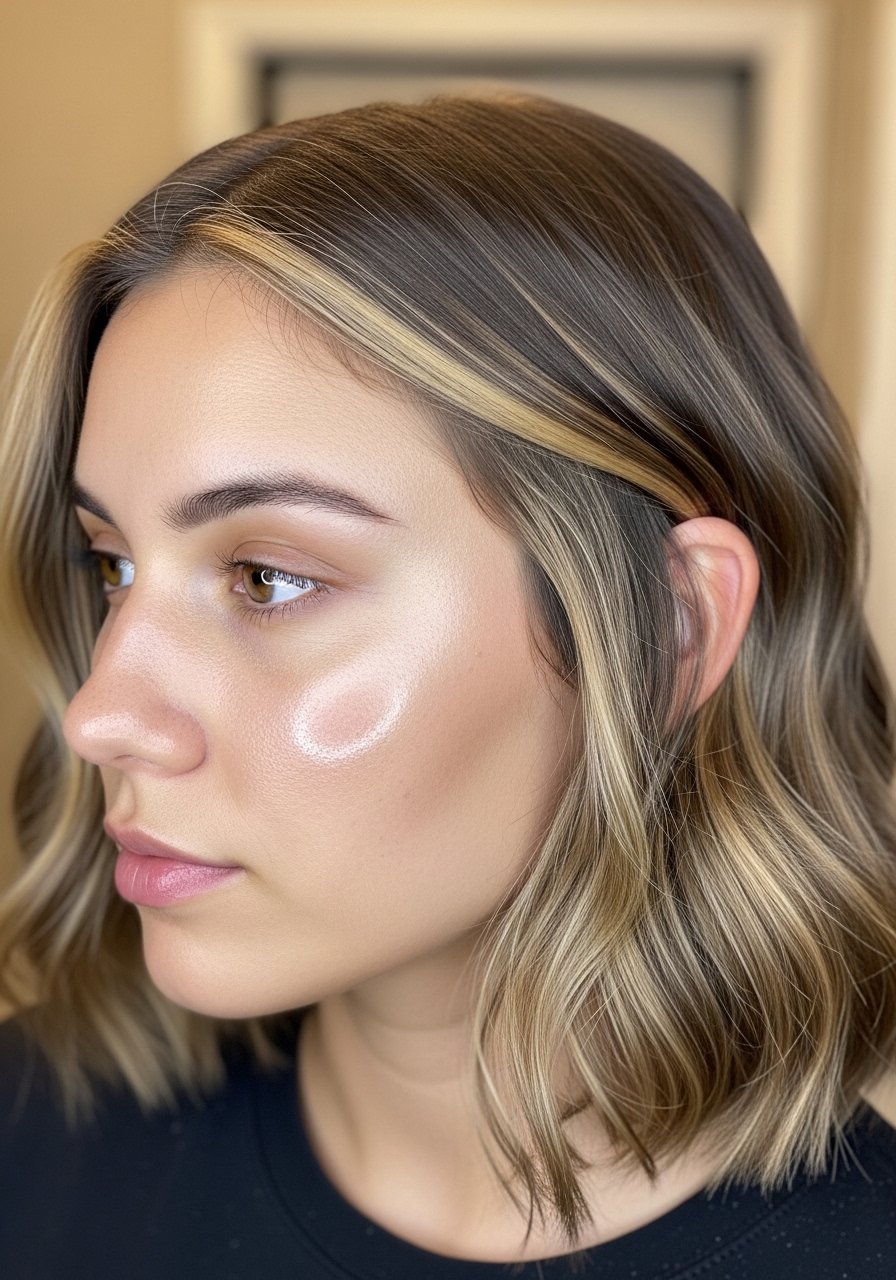
If you want brightness without full commitment, ask for a narrow money piece in warm caramel instead of full head color. For medium-thickness 2A to 3B hair, I tell my stylist to paint the front 1 to 1.5 inch sections with a 30 volume developer foiled for 20 minutes on my mid-brown base. The result is face-brightening without brass across the crown. A common mistake is going too wide with the pieces, which makes regrowth obvious. This is an easy salon job, not something to bleach freehand at home. If your roots are dark, request a light root smudge to blend. Avoid overlapping bleach over fresh permanent color, it increases breakage risk.
Seamless Balayage Melt With Foil Painting
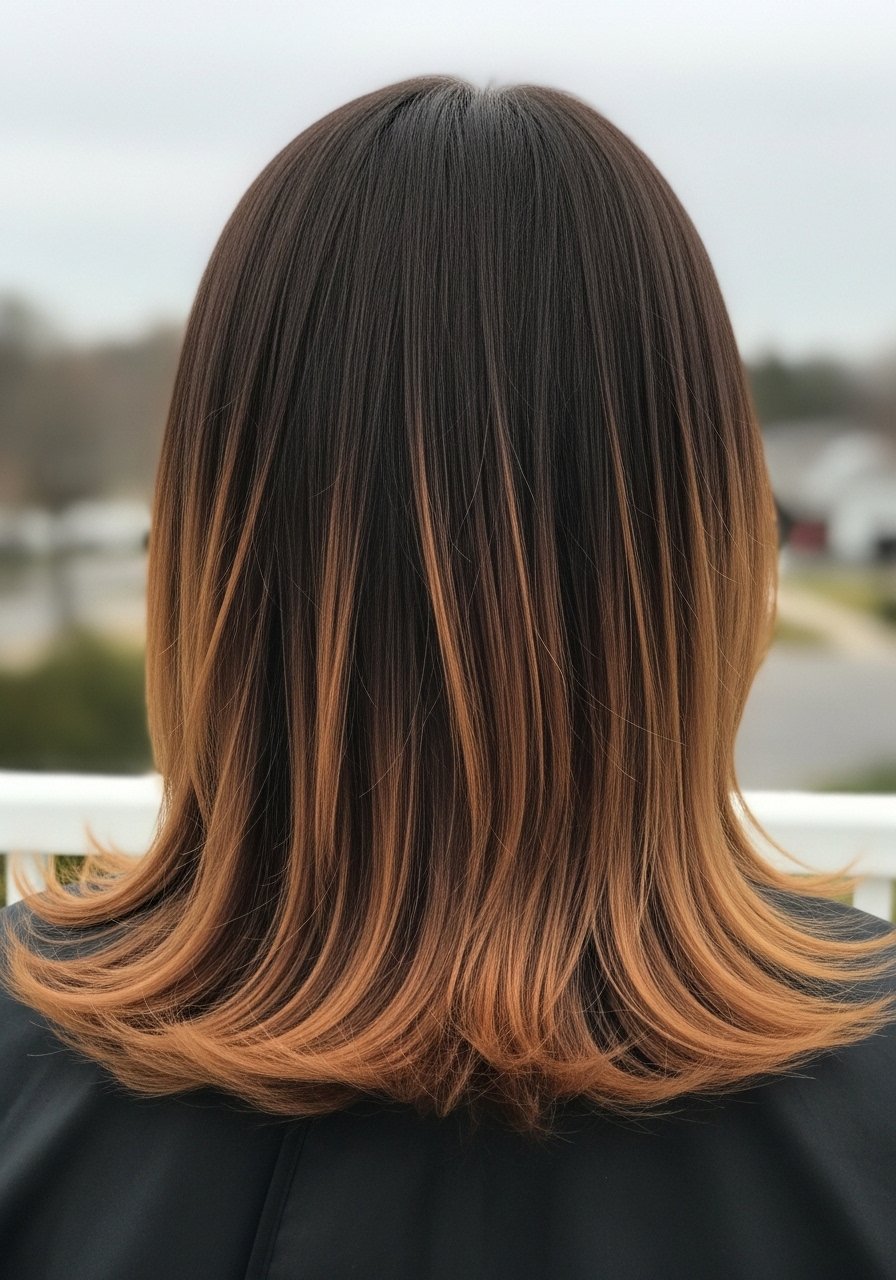
When I say melt I mean the color reads gradual from root to tip. For thick 3B or straighter 1B hair, ask for 4 to 6 diagonal slices per side, thin at the hairline and thicker toward the mid-lengths. The stylist should feather each paint stroke and use a 10 to 20 minute foil finish at the ends to lift the last 1 to 2 levels. The benefit is fewer salon visits because there is no harsh line. People think balayage is always gentle. It can still break hair if the bleach overlaps too much. Bond building before and after lightening is essential, and heat protectant is required before any iron over 300F.
Root Smudge Trick To Stretch Appointments
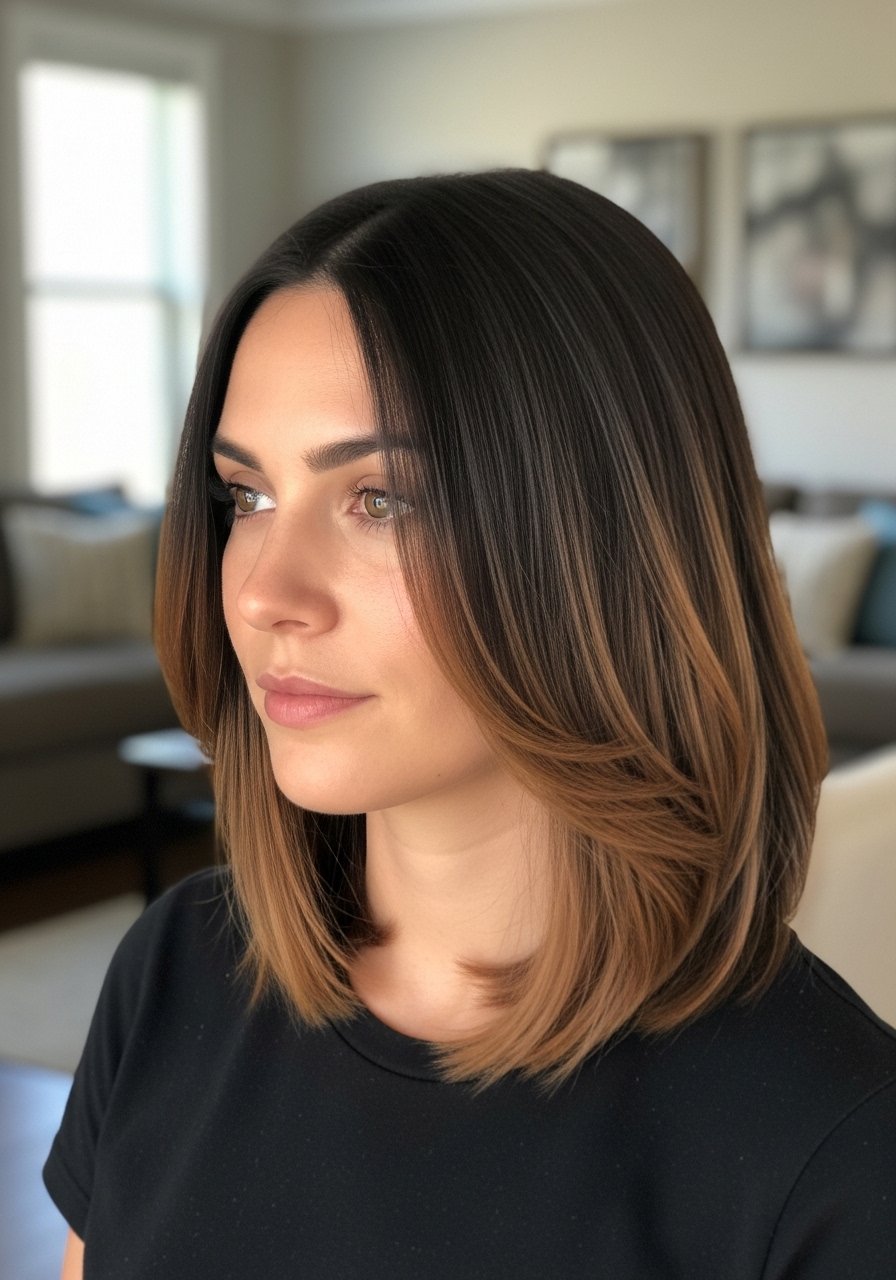
If you hate visible regrowth, the root smudge is your friend. My stylist uses a demi-permanent shade one to two levels darker than my balayage and paints it along the part and around the hairline in two thin 1-inch passes. It lives on for six to ten weeks and makes your next balayage look intentional. I pair this with a gloss service every 8 weeks to keep the warmth even. DIYers can try a color-depositing spray for temporary blending, but patch test for scalp sensitivity first. Overdoing at-home root smudges is a common misstep and causes uneven banding.
Caramel Babylights For Fine Dark Hair
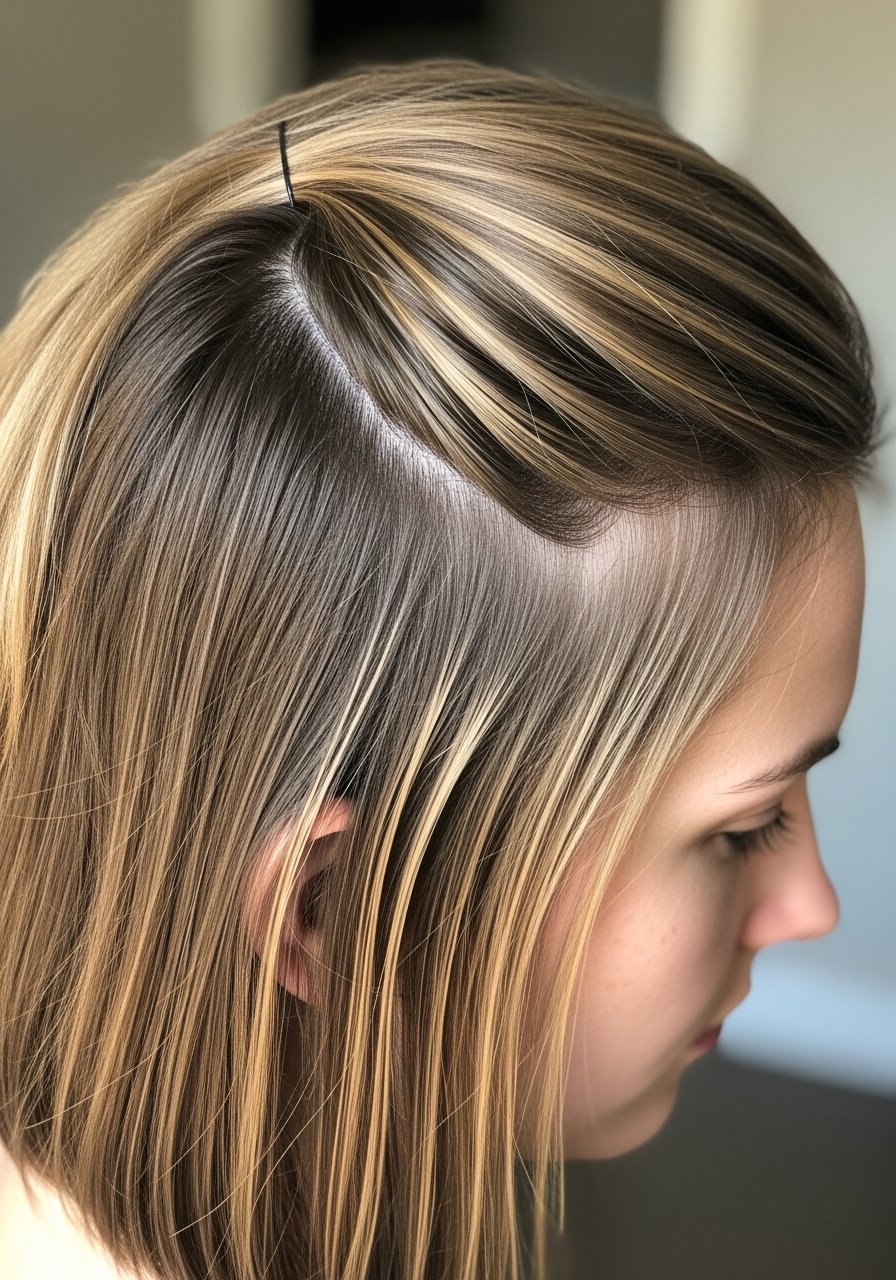
Fine hair loses dimension fast, so tiny babylights are the answer. Ask for 10 to 12 foil-wrapped slices spaced about half an inch apart across the crown. On a dark brown base use 20 volume and leave the foils in for about 12 to 18 minutes checking every 3 minutes. The payoff is brightness without the weight or obvious grow-out. People assume more highlights equal more brightness. On fine hair it actually makes hair look thinner if they overdo the sectioning. This is a salon technique unless you are very skilled with foils. Always rinse with cool water to lock cuticle layers.
Soap Cap Gloss To Tone Brass At Home
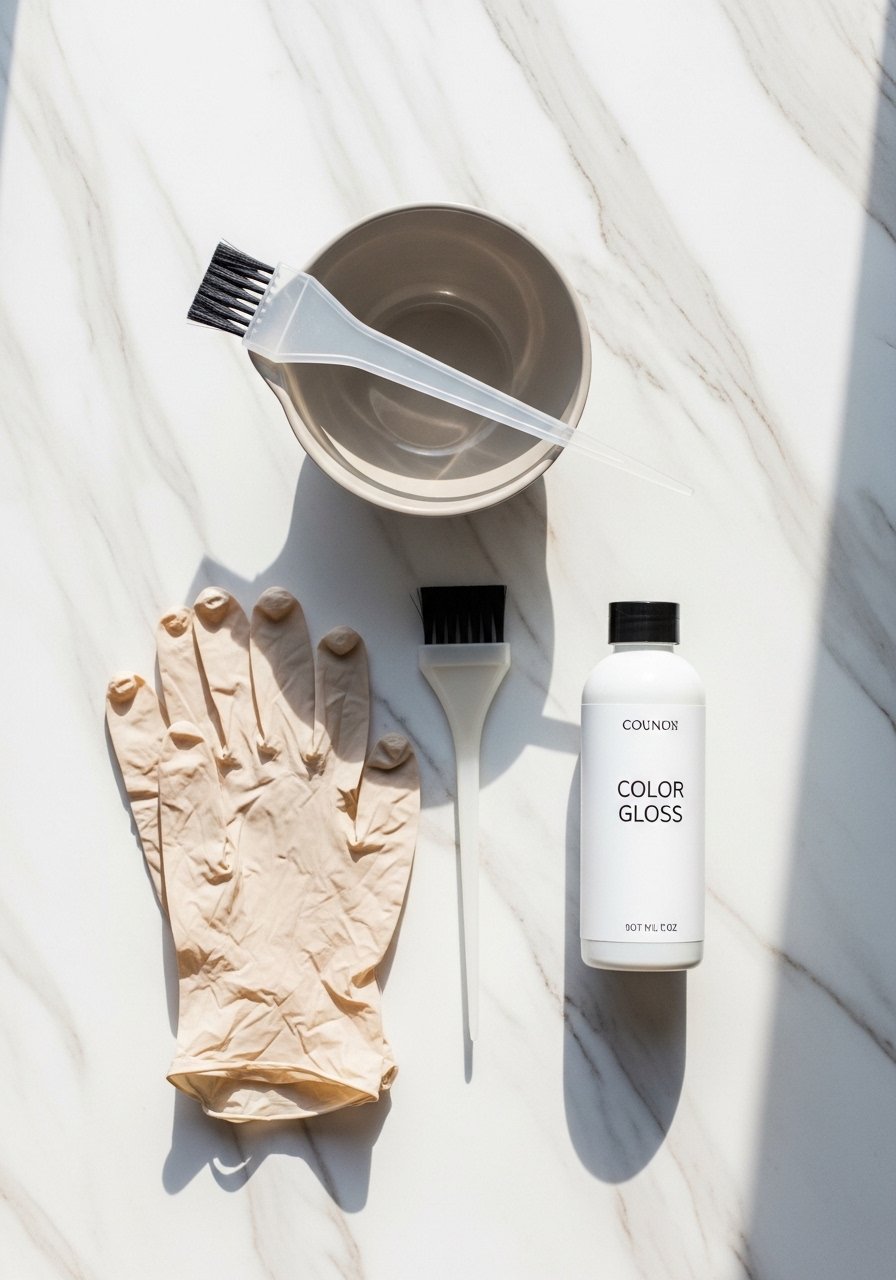
I keep a small gloss kit in my bathroom drawer for the week brass hits hardest. Mix one part clear gloss or demi-permanent shade to two parts conditioner and apply to towel-dried hair for 10 minutes, then rinse. If your balayage leans warm, a cooler caramel gloss can neutralize brassy orange tones without lifting more pigment. Use this once every 4 to 6 weeks. Overdoing glosses every wash is a mistake because buildup dulls the paint. Patch test for allergies before trying any acid-based toners. This is a DIY-safe move for maintenance, not a replacement for a proper salon toner when your hair needs lifting.
The Bond Builder Add-On That Actually Helps
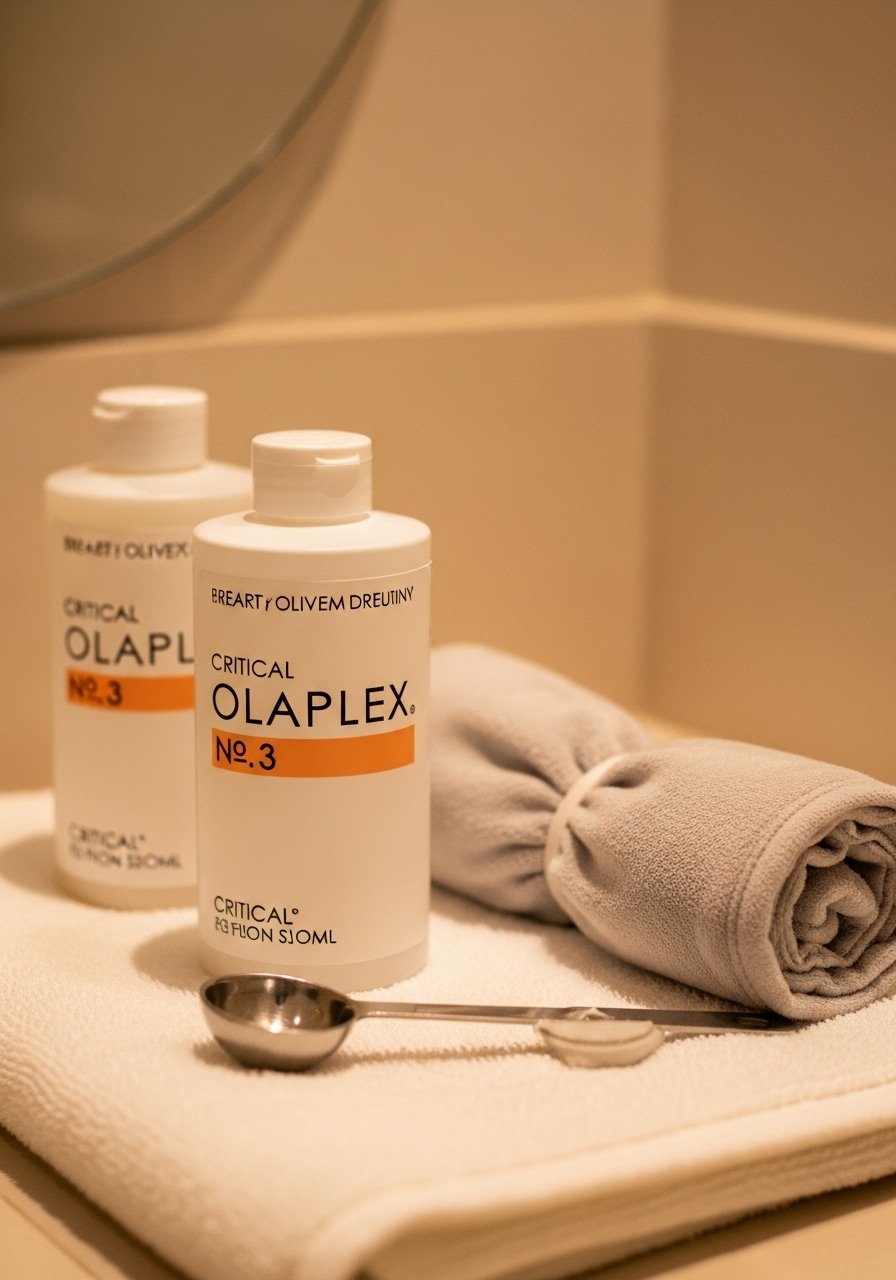
After I botched a DIY lift I learned bond builders are not a miracle but they stop the bleeding. Apply a 15ml dose of a recommended bond builder like Olaplex No. 3 to damp, towel-squeezed mid-lengths and ends for 10 minutes before shampoo. I do this once a week when I am keeping balayage lightened frequently. A common mistake is expecting No. 3 to repair split ends. It strengthens internal bonds but trimming is still the only fix for splits. Buy from the official store on Amazon or pick it up at Sephora to avoid counterfeits. Use with a moisturizing conditioner afterward.
Heat Styling Formula For Caramel Blur Waves
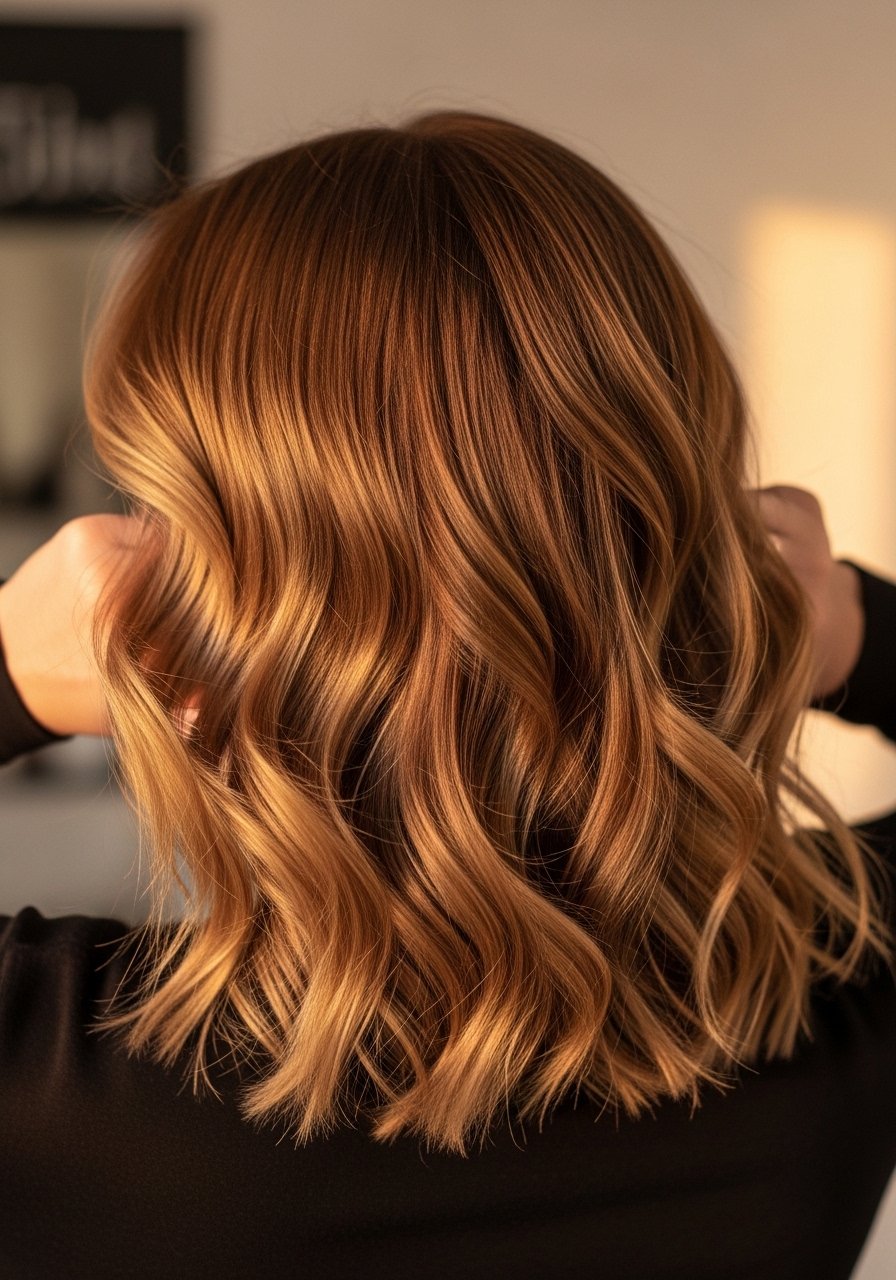
To keep balayage pieces blended when you heat style, I use a heat approach that limits damage. Spray a lightweight heat protectant on damp hair and let it sit until hair is nearly dry. Most heat protectants you spray on dry hair before flat ironing barely work. They need to absorb into damp or just-dried hair to actually shield the cuticle. Section hair into four quadrants and use a 1.25-inch barrel at 330F for 6 seconds per wrap. Brushing gently with a wide-tooth paddle breaks up curls into soft waves. Overheating or holding iron too long is the usual error. Finish with a light oil on the ends to sell the caramel tone.
What I Bring For A Caramel Balayage Appointment
Olaplex No. 3 hair perfector 3.3oz. Buy from the official seller on Amazon or get it at Sephora to avoid counterfeits
A demi-permanent gloss for toning, 2oz bottle, pick a shade labeled "caramel" or "warm beige" on Amazon
Purple shampoo for brunettes 8oz, use once every 7 to 10 days to avoid dryness
A lightweight heat protectant spray, 6oz, apply to damp hair before blow dry
A wide-tooth comb for detangling wet hair without breakage
Microfiber hair towel wrap to cut drying time and reduce frizz
Boar bristle paddle brush to distribute oils and smooth mid-lengths
Color-safe sulfate-free shampoo 8oz for gentle cleansing
Deep conditioning mask 8oz for weekly mid-week treatments
A note on tools: for the one splurge toy I trust my $299 styler when I need fast drying and soft waves, otherwise a $30 round brush does most of the work
Oil Gloss Touch-Up Between Appointments
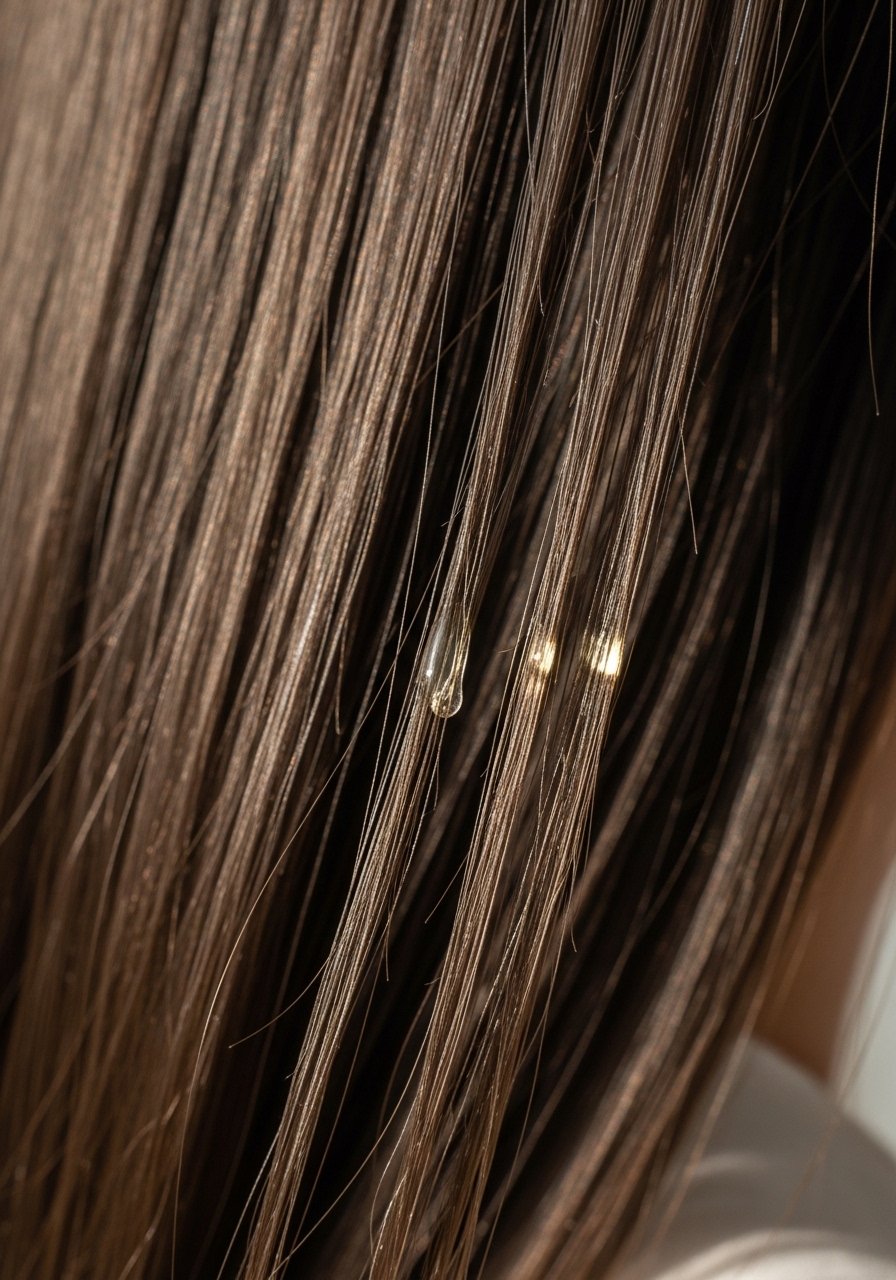
When color gets dull between glosses I use a silkier oil to reflect light and mask minor brass. Dime-sized amount warmed between palms and smoothed over ends locks down frizz and makes the caramel highlights read richer. For coarse or Type 3 curls use a nickel-sized amount and rake through while hair is damp. Avoid putting oil at the roots unless your hair is very dry because it looks greasy fast. Oils are a maintenance trick, not a substitute for toning. If your ends are super porous, an oil will sit on top and attract dirt faster, so pair with a weekly bond treatment.
Purple Shampoo Schedule To Fight Brass Without Drying
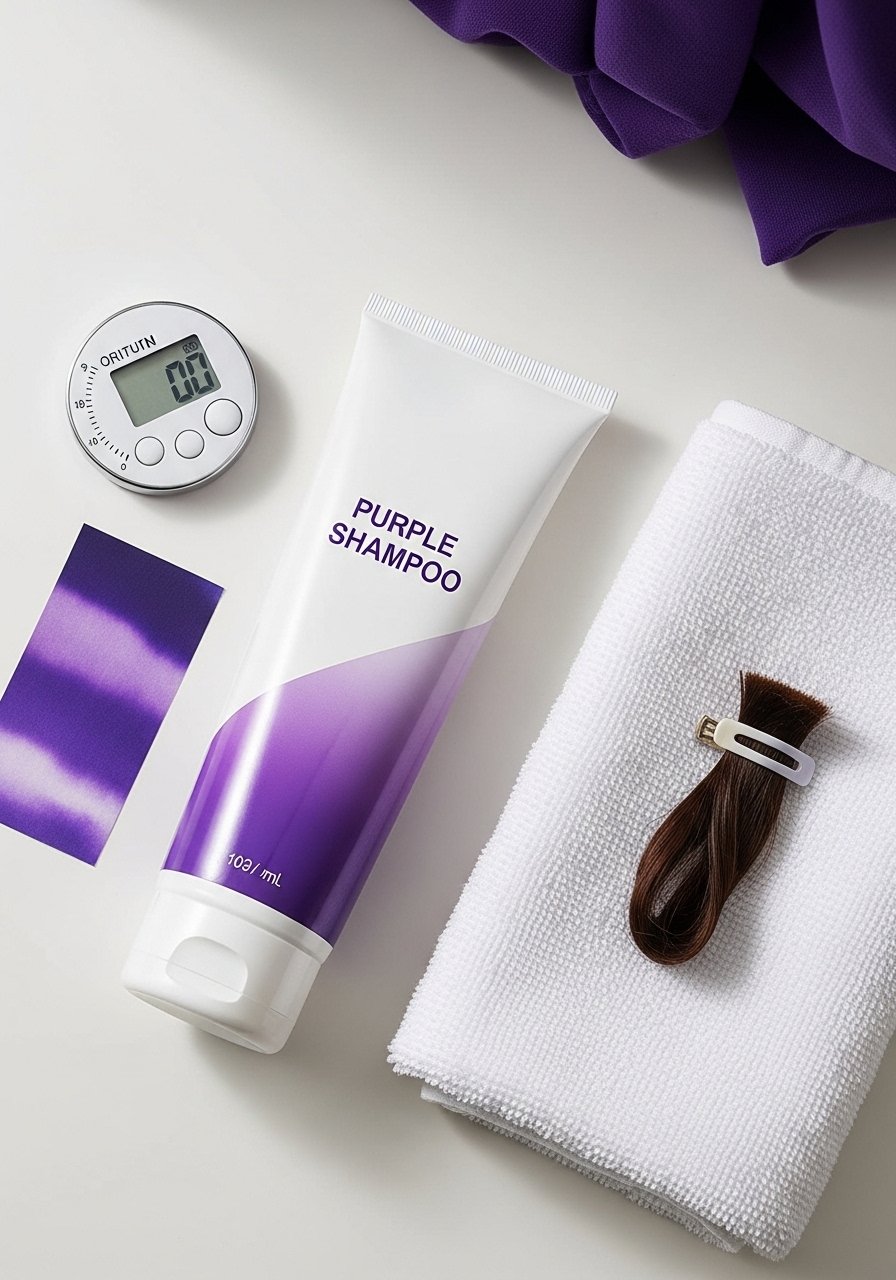
I stop people from using purple shampoo every wash. For caramel balayage on dark hair, once every 7 to 10 days is kinder to the cuticle. Leave in for 2 to 5 minutes depending on how brassy you are, then rinse. A common mistake is leaving it on too long the first time and ending up with a lavender tint. For fine hair reduce frequency to once every two weeks. If your tonality needs more frequent help, switch to a purple conditioner instead because it deposits less pigment and moisturizes at the same time.
DIY Hand-Painting For Subtle Bright Pieces
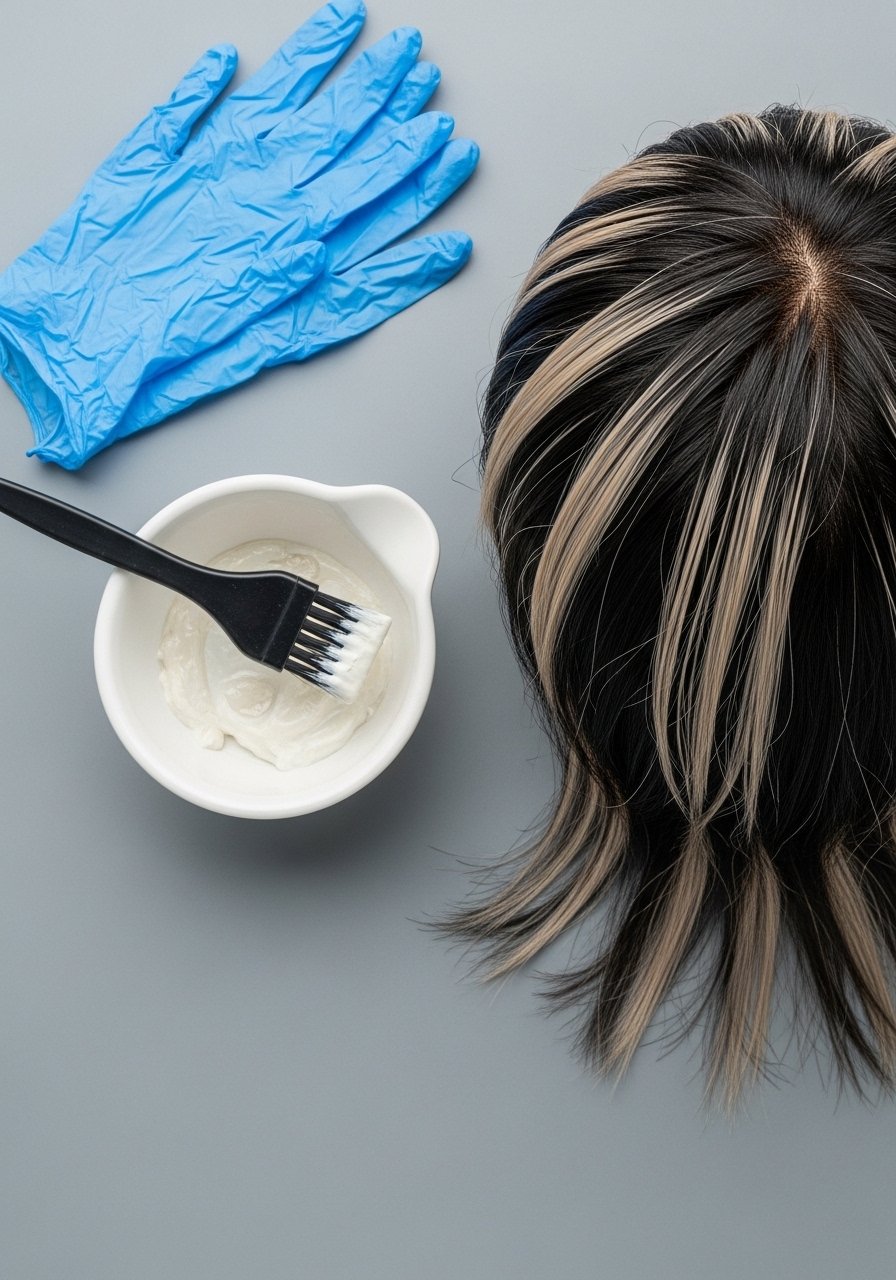
If you are comfortable with bowls and brushes try small hand-painted pieces at home for subtle brightness. Work on a mannequin first and practice 1-inch diagonal slices, paint from mid-length to ends, and feather out the paint to avoid hard lines. Use 10 to 20 volume depending on how much lift you need and check every 3 minutes. The common error is overlapping previous lightened areas. Mark sections with clips and keep a map so you do not double-process. This is low-cost for experienced DIYers, but book a correction if you lift too high or see breakage.
Scalp-Safe Lightening Method For Curly Dark Hair
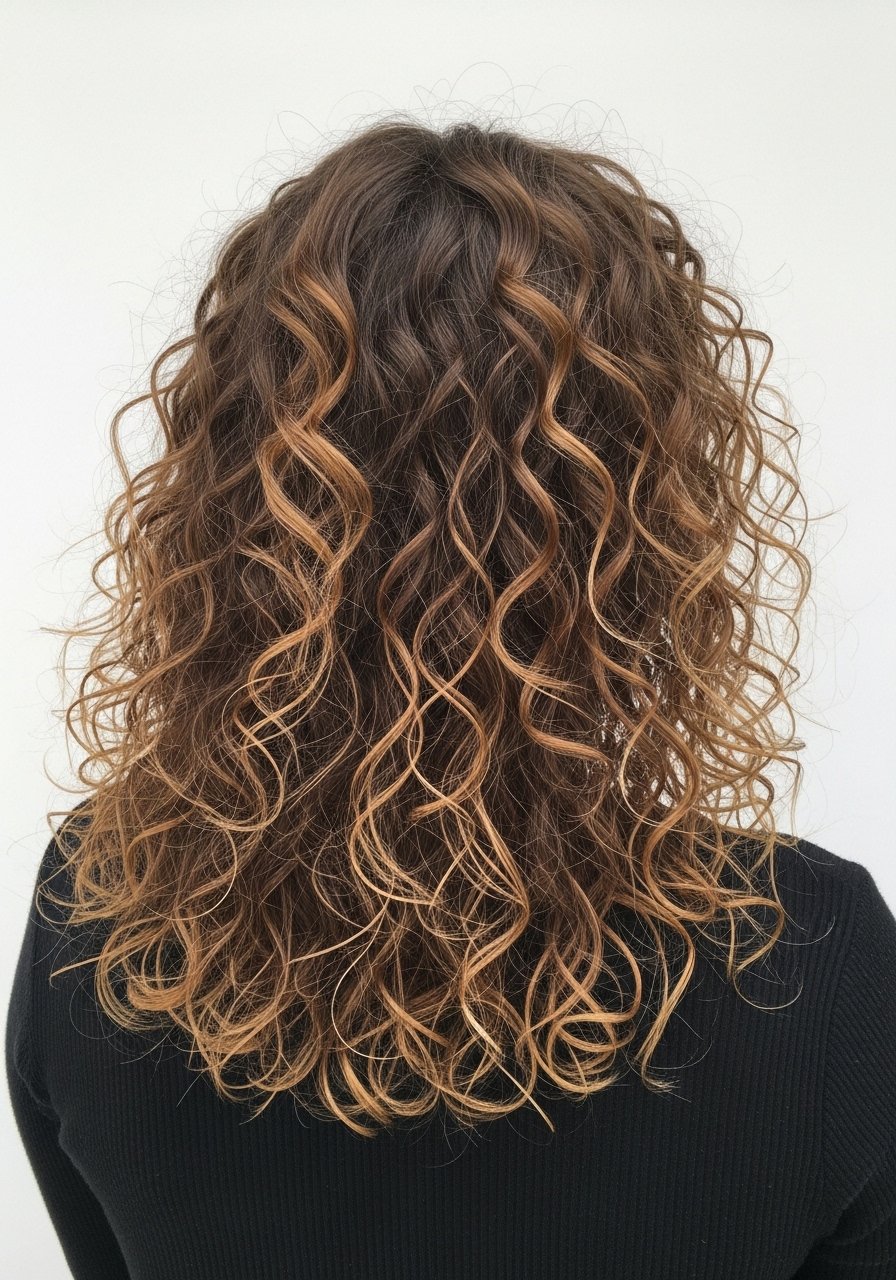
Curly hair needs gentler approaches because porosity varies along the strand. For Type 3 curls I ask for a balayage that avoids the scalp and lifts only the mid-lengths and ends. The stylist used small 0.5-inch sections and a creamy lightener applied with a brush tip, leaving it on 12 to 18 minutes at most. The trick is to never saturate tight curls in bleach, which causes frizz and uneven lift. Bond builder add-ons and lower developer volumes prevent shock to the curl pattern. If you have a sensitive scalp, request a barrier cream and patch test before any bleach.
Second-Day Dry Texture That Shows The Color Best
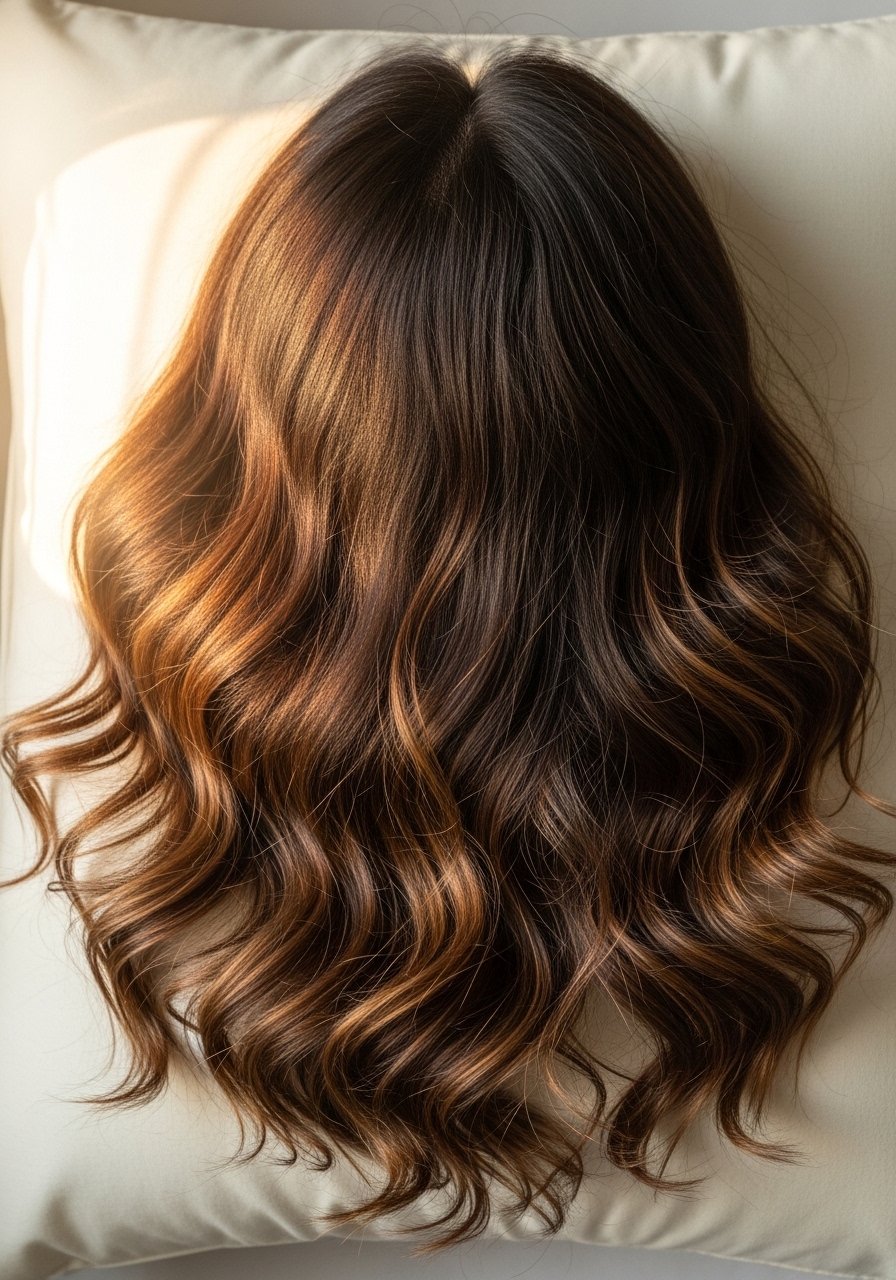
I prefer how balayage looks on day two. To get the texture right, sleep on loosely twisted sections or a silk pillowcase and refresh with a light salt spray in the roots and a small mist of leave-in on the ends. Hair grows about half an inch a month at most, so stretch your appointments by making second-day hair work. A mistake people make is piling product on freshly washed hair and killing the movement. For thicker hair use a heavier cream on day one and a spray on day two. This method reduces heat styling and preserves color vibrancy.
Clip-In Caramel Lowlights To Test Placement
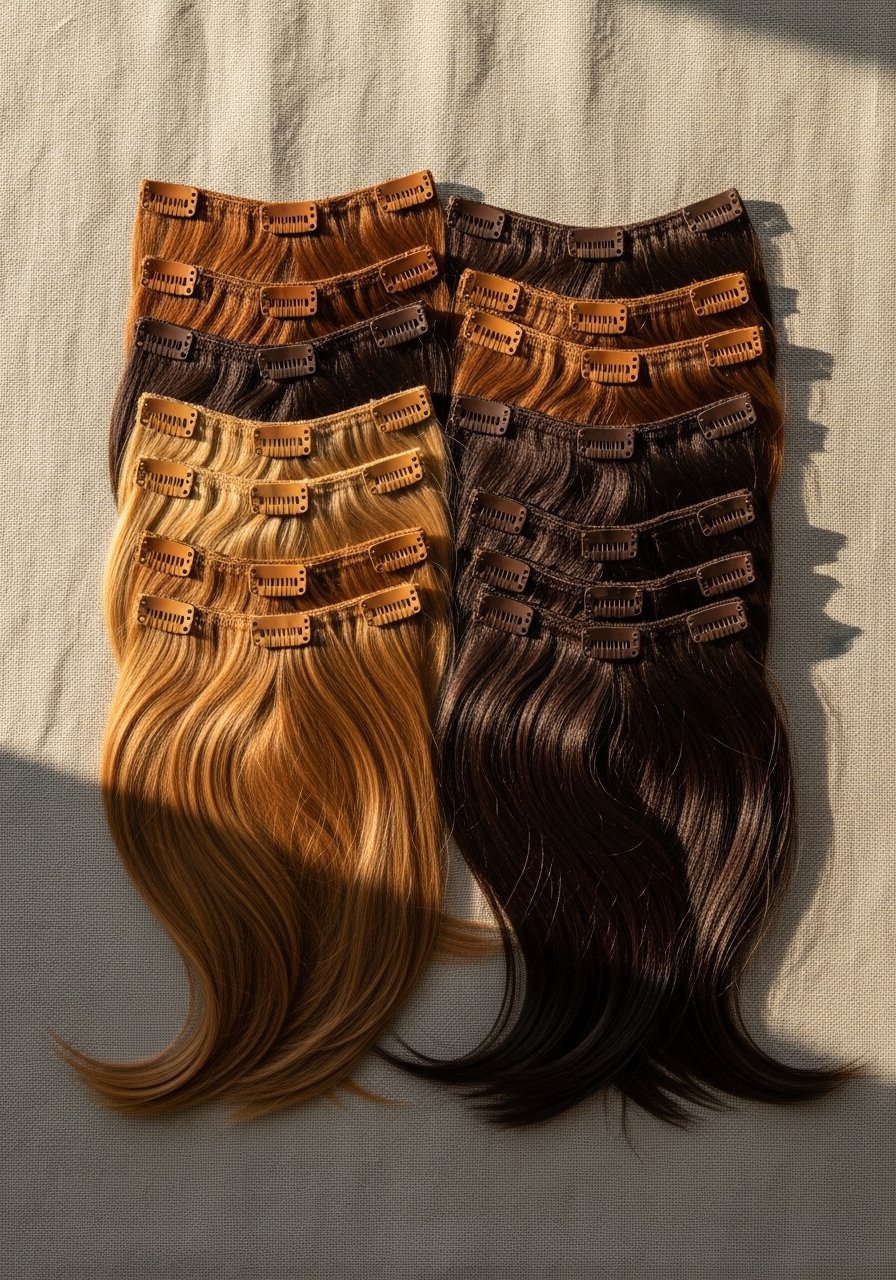
If you are unsure about how much caramel you want, try clip-in lowlights before committing. I bought a set that matched my base and clipped in one or two strands around the face to live with for a week. It tells you how the color reads in different lights and if you actually like the maintenance. Clips are also a low-damage option for events. Look for human-hair pieces so they blend and style the same. Buying cheap synthetic clips is the mistake that makes you feel worse about your decision.
What I Wish I Knew Before My First Balayage Appointment
- Book a consultation and bring photos that show lighting similar to your day-to-day life. Salon photos taken with ring lights lie
- Ask your colorist for a maintenance plan, not just the initial price
- Heat protectant goes on damp hair, not dry. A reliable heat protectant spray applied before blow drying absorbs and works better
- If your hair has been colored darker recently, lifting over that is risky. Multiple sessions are safer than one aggressive appointment
- When a stylist suggests a bond builder, ask to see the product name and whether it is mixed into the lightener or used as an additive
Frequently Asked Questions
Q: Can I ask for caramel balayage on naturally black hair?
A: Yes, but expect multiple sessions for a soft caramel look without brass. Lifting from very dark to a warm caramel is slower if you want to avoid high breakage risk. Discuss bond-building add-ons with your colorist.
Q: How often should I tone balayage to keep the caramel from going orange?
A: Every 6 to 8 weeks is common for medium-contrast looks. If you are gentle with purple shampoos and use a gloss at home every 4 to 6 weeks, you can stretch salon toning longer.
Q: Is it safe to bleach over salon-dyed dark hair at home?
A: Lifting bleach over previous permanent dye is risky and a major cause of breakage. This is best handled in the salon where the color history is known. If you try at home, patch test and accept you may need multiple sessions.
Q: Will bond builders like Olaplex fix my dry damaged ends?
A: They strengthen internal bonds and reduce further breakage, but they do not permanently repair split ends. A trim is still necessary to remove splits. For weekly in-home upkeep use Olaplex No. 3 and follow with a deep conditioner.
Q: How often should I use purple shampoo on a warm caramel balayage?
A: Start with once every 7 to 10 days and adjust. If you see dryness or lavender tones, reduce frequency or switch to a purple conditioner for gentler tone control.
Q: Can I get a caramel look without bleach by using color fillers or glosses?
A: Glosses and color-depositing products can warm and enrich existing highlights but cannot lift dark pigment to true blonde. They are great for maintenance and low-contrast warmth, but not for major lightening. If you need lifting, a lightener in a salon is the route.