I kept saying I would wait until my next salon appointment, then I snipped in a few face-framing red lowlights myself and never looked back. The change was small enough that people asked if I had a new haircut, not a new color. Below are looks I actually screenshot, tried on friends, fixed with a color-depositing conditioner, or had a salon do when my DIY went sideways.
These ideas are geared toward Type 2A waves through Type 4C coils, mostly shoulder length to mid-back. Skill ranges from two-minute maintenance to one-salon-visit appointments. Budget runs from budget-friendly color-depositing conditioners to one splurge gloss every three months. A handful are DIY safe, several are worth booking a colorist for.
Subtle Red Face-Framing Lowlights for Waves
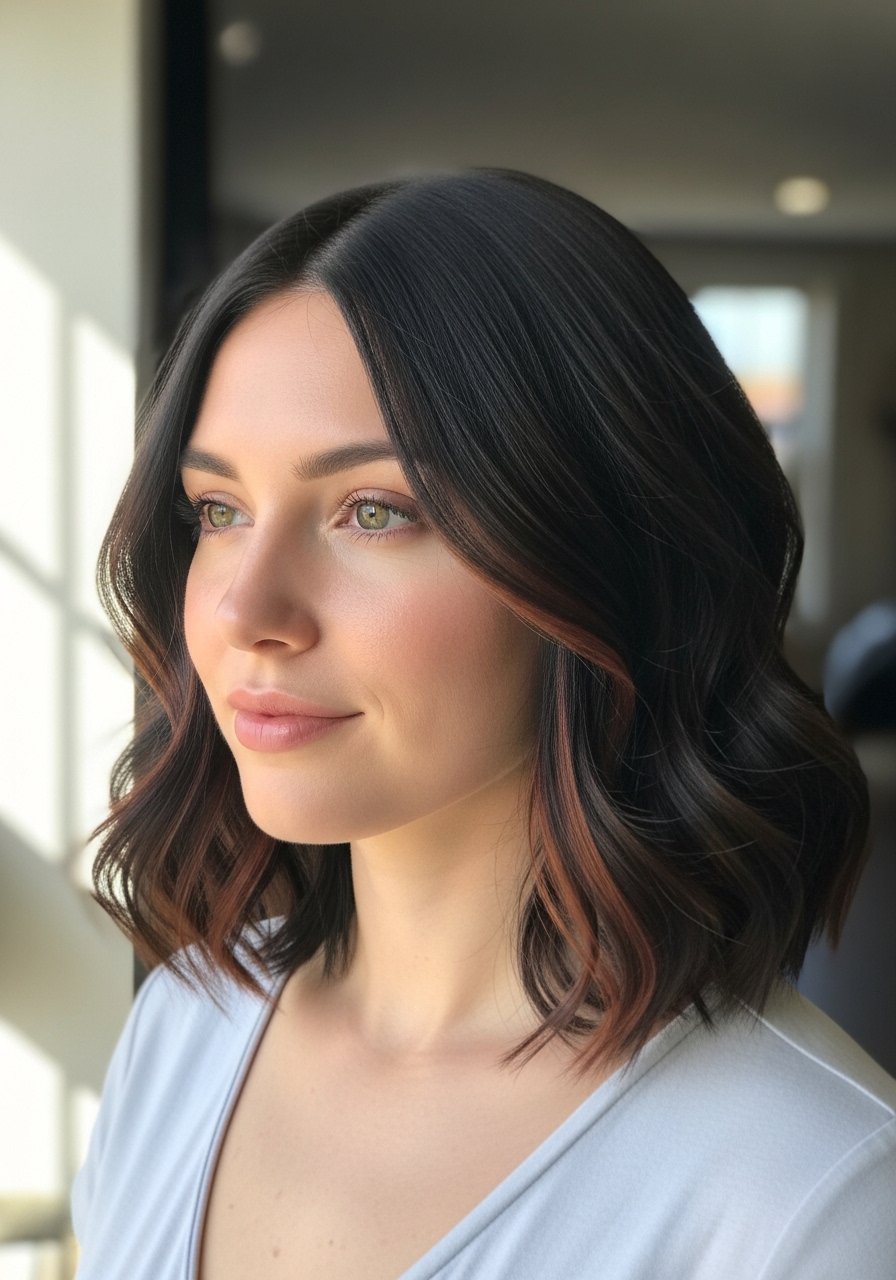
The easiest change I made was adding two thin slices of red lowlights on either side, about 1/8 inch each, placed where the sun would hit. On 2A to 3B hair this creates movement without needing a full color day. Ask for lowlights that sit two to three shades warmer than your base so they peek without reading as red from across a room. Time wise this is a 45 to 90 minute salon touch depending on placement, or you can use a targeted semi-permanent glaze at home. A common mistake is asking for streaks that are too wide, which looks dated. If you try at home, use a color-depositing conditioner in red tones sparingly, one dime-sized amount per slice, and always patch test for scalp sensitivity.
Deep Auburn Lowlights Blended With Balayage

If you want warm depth without bleaching the root, ask for deep auburn lowlights painted toward the mid-lengths. This is ideal for medium to thick hair and gives a dimensional look that ages better as it grows out. In the salon, expect a balayage glaze that takes 90 to 120 minutes. The reason it works is the lowlights add contrast within the curl pattern, making each ringlet look defined. At home, maintain it with a sulfate-free shampoo and one glaze every six to eight washes. A rookie move is shampooing every day, which fast forwards fade. For upkeep between glosses, a color-preserving conditioner used twice a week helps the auburn read without brass.
Peekaboo Red Lowlights Underneath Thick Hair
I love hidden color for people nervous about maintenance. On dense or coarse textures like 3C to 4C, placing red lowlights under the overtopping layer gives a pop only when the hair moves. It is a low-risk salon move that takes about 60 minutes and keeps daily styling simple. If you try to DIY, section into four horizontal rows and tint only the bottom two, keeping processing time close to the manufacturer directions and doing a strand test. Beware of overprocessing dark hair to lift red pigment, it can break if you try to push it too far too fast. A weekly bond-maintaining treatment like Olaplex No. 3 hair perfector used for three minutes before shampooing helps with dryness from color services.
Money Piece Red Lowlights for Shorter Cuts

Money pieces are still very wearable when done as lowlights. On shorter lengths and bobs, a narrow money piece creates contrast without making the whole head high maintenance. It sits best on 1B to 2C hair and takes 30 to 60 minutes in the chair. A mistake is asking for the front to be too bright for a first try. Start one to two shades deeper than you want, then book a toner if you want it brighter. For styling, two spritzes of a texture spray help the red sit forward without needing daily heat. If you use heat over 300F, put heat protectant on damp hair first, for example a lightweight heat shield spray.
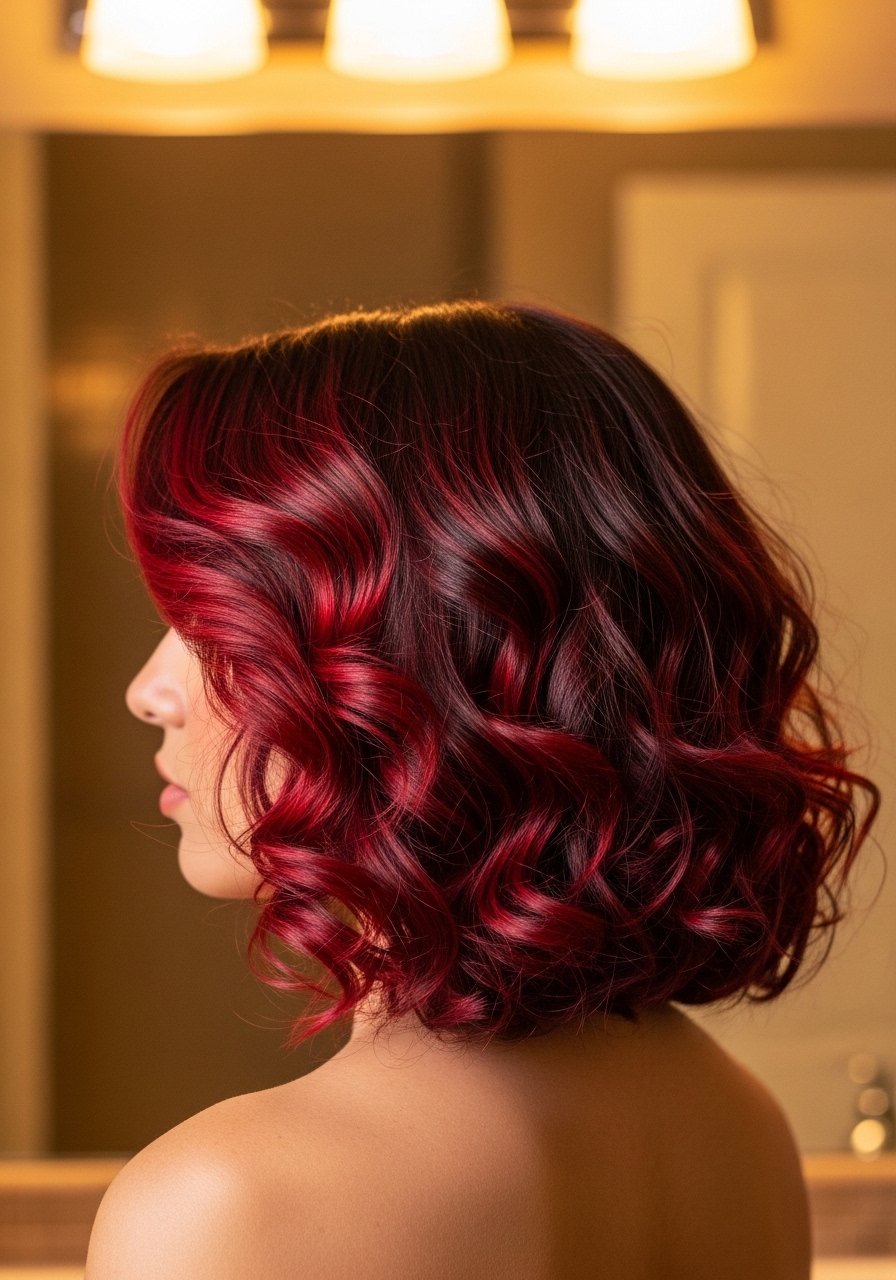
Cherry-Red Lowlights on Natural Coils

On 4A to 4C textures the trick is placement and hydration. I suggested to a friend that we add thin cherry-red lowlights at the mid-lengths and ends, not at the root. Her coils popped, and the lowlights washed down naturally over three months. Expect a salon gloss for best results and deep conditioning after. A common frustration is the red fading into orange quickly. The fix is a deposit-only red rinse every three weeks instead of constant salon visits. Use a color-depositing mask once per month, applying it in small sections with a gloved hand to avoid staining the scalp.
Low-Maintenance Red Glaze on Black Hair

My favorite cheat is a semi-permanent red glaze that lasts four to six weeks on black hair without lifting. It is a ten to 20 minute application after shampoo, great for people who want refreshes at home. The outcome is shine and subtle tone change rather than dramatic lift. The common error is leaving the glaze on too long, which can deposit too much pigment and make the color look flat. If you have a sensitive scalp, do a 48 hour patch test. Glosses do not undo previous damage, they only add color and a smoothing effect until the next wash.
Placement Guide for Face Shapes and Red Lowlights

There is actually a placement logic most stylists use that I learned the hard way. For round faces, keep lowlights vertical near the jawline to slim the silhouette. For long faces, add lowlights across the temples to shorten visually. This matters more on straighter textures, 1A to 2B, where the placement reads cleanly. The common mistake is copying a celebrity photo without considering curl pattern and face shape. If you are doing DIY, map your sections into thirds top to bottom and place lowlights in the middle third for the most natural look. Salon pros generally do this in one appointment, while at home you can mimic it with a color-depositing pen for small slices.
What I Keep in My Black-Red Color Kit
- My color kit finally shrank to the essentials on a budget. Olaplex No. 3 hair perfector for weekly strengthening, a sulfate-free clarifying shampoo 8oz for once-a-month reset, and a color-depositing conditioner in warm red for between-gloss boosts.
- For tools I keep a wide-tooth comb and a microfiber hair towel to cut drying time.
- If you buy premium products like Olaplex on Amazon, buy from the official store to avoid counterfeits or just grab them at Sephora or Ulta.
Two-Tone Red Lowlights for Shoulder-Length Hair

Two-tone lowlights add depth without full bleaching. On shoulder-length waves the darker mahogany near the root keeps the look grounded as it grows. In the salon this is usually a two-step process with a demi-permanent near the mid-lengths for seamless blending. The result feels lived-in and lasts longer between touchups. A frequent error is over-contrasting the root and mid-length tones, which makes regrowth obvious. If you maintain at home, refresh the mid-lengths with a color gloss every six to eight weeks. Use a conditioner with UV filter on sunny days to slow red fade.
Red Lowlights for Curly Bangs

Curly bangs are already high maintenance, so a few lowlights in the bangs can make them read intentional. On 3A to 3C curls, I place two to four thin lowlight slices across the bangs and then tone lightly. This makes the bangs appear more dimensional as they dry. The common mistake is saturating the entire bang, which requires constant touchups. For safety, strand test first and limit processing time by five minutes less than manufacturer directions on small sections to avoid dryness.
Gloss and Bond Combo for Red Lowlights

If you want color and strength, book a gloss with a bond-building add-on. In practice this is a 90 minute appointment that gives tone and a smoother cuticle for four to six weeks. I did this after a DIY darkening went patchy, and the combo kept the red looking rich without extra dryness. Note that bond builders do not undo breakage history, they only strengthen temporarily. If you try at home, use a retail bond treatment between salon visits to keep ends cooperating.
Color-Deposit Sprays for Fast Red Refreshes
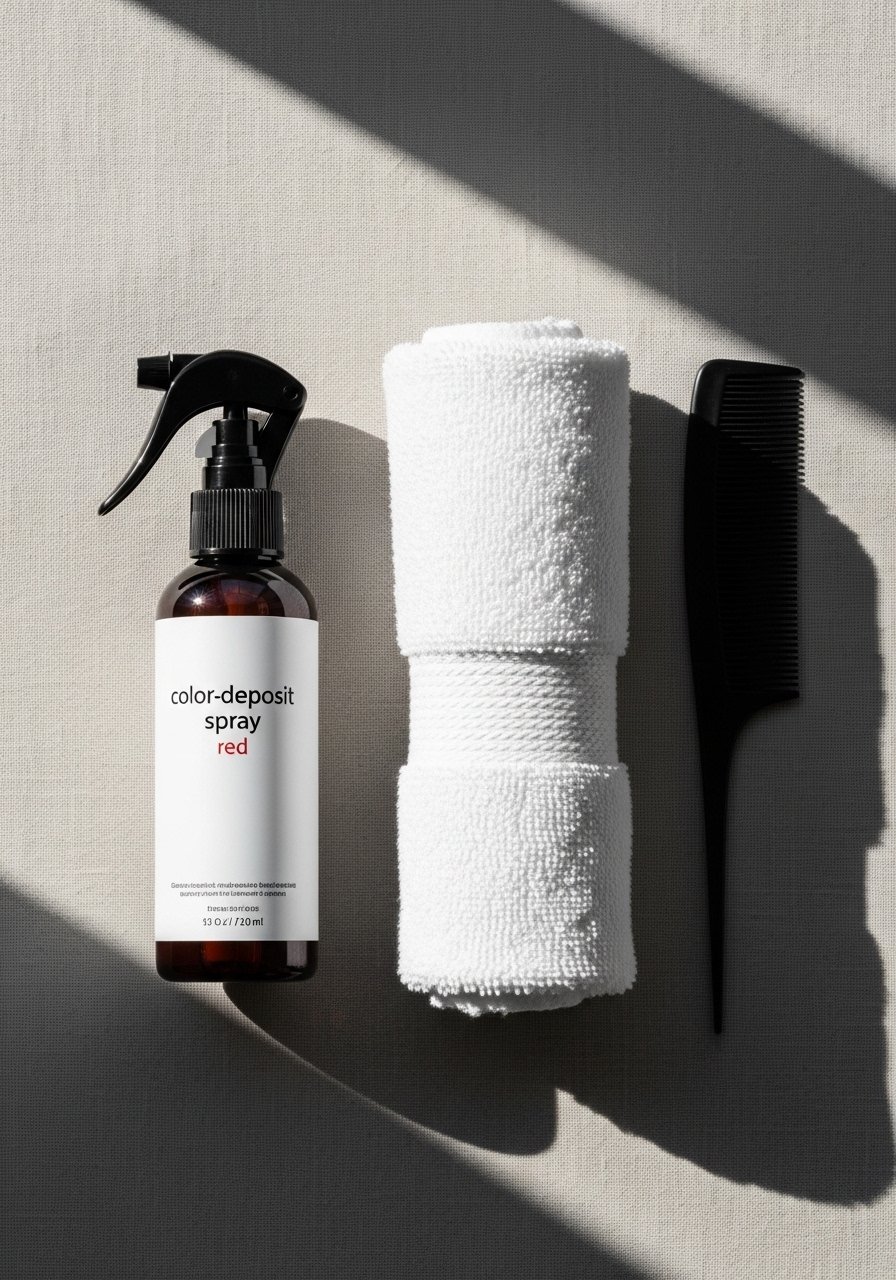
For nights out or to test red without commitment, a color-deposit spray is the fastest trick. Spritz the mid-lengths and ends, then style. It lasts through one wash and does not involve peroxide. A mistake is spraying near the scalp, which can stain pillows and shirts. Spray in small bursts, brush through with a wide-tooth comb, and let dry completely before leaning on light fabrics. If you need a product, look for washable options labeled for dark hair tones.
Red Lowlights for Greying Black Hair

For people blending grey, a warm red lowlight placed sparingly around the part line and temples can take the contrast edge off. It reads natural on 1B to 2B hair and reduces the need for full-head color. Many clients hate how roots show quickly, so lowlights placed strategically make regrowth less obvious. The common misstep is overdoing the warmth which can accentuate grey instead of softening it. If you color at home, mix one part depositor to three parts conditioner and apply only where needed and monitor every five minutes.
Heatless Roped Lowlights for Gentle Styling

If you avoid heat, you can still emphasize lowlights by styling with rope twists or braids that pull the lowlighted strands forward. I do this the night before, sleep on a silk pillowcase, and wake up with separated, defined pieces where the red sits forward. On coilier types the lowlights appear more peppered and less blocky. The mistake is sleeping on cotton and smushing the style, which makes the color sit flat. Use a silk pillowcase and a light hold cream to keep frizz at bay.
Red Lowlights That Fade Well for Busy Schedules

If you only get to the salon twice a year, ask for lowlights formulated to fade gracefully. That means choosing slightly deeper reds and asking the colorist to blend at the root. It reduces the two week panic call about regrowth and looks intentional even as it softens. The common frustration is a month of bright red, then nothing. A good at-home plan is a monthly color-depositing mask and weekly bond treatment to keep strands from drying out while the pigment fades.
What I Wish Someone Had Told Me Before Picking Red
- Red fades faster than most colors because the pigment molecules are larger. Expect top tone maintenance every four to six weeks for vivid shades.
- Heat protectant belongs on damp hair when you plan to iron over 300F, or the product cannot absorb properly. I use a lightweight heat protectant spray on damp hair before styling.
- If you spot test and a patch shows irritation, stop and see a dermatologist. I once ignored tingling and paid for a scalp recovery month.
- For black hair with red lowlights, the 80/20 rule helps. Put 80 percent of product near the mid-lengths and ends, 20 percent near the roots, especially when using colored masks.
Frequently Asked Questions
Q: How often will red lowlights need touchups?
A: For vivid reds expect salon glosses or deposits every four to six weeks. If you pick deeper, less bright reds, you can stretch to eight to twelve weeks with a color-depositing conditioner between appointments.
Q: Can you put red lowlights on very dark black hair without bleaching?
A: You can deposit red on very dark hair, but the effect will be subtle unless you pre-lighten a tiny slice. Lifting over previous color increases breakage risk, so treat it as a salon job and ask for strand tests.
Q: Will red dye stain my pillowcases and towels?
A: Fresh pigment can transfer until the first two washes. Use dark towels, sleep on a silk pillowcase for the first night, and rinse excess color in cool water.
Q: Is a bond builder necessary after lowlighting black hair red?
A: Bond builders do not erase damage history, but they make hair feel smoother and reduce breakage from processing. On color-treated hair, one bonding treatment every two to four weeks helps retention.
Q: How do I stop red from going brassy or orange?
A: Use cool-toned color-depositing products when you notice warm shift, and avoid daily hot showers. A clarifying shampoo once a month removes buildup that can accelerate brassiness.
Q: Can I do red lowlights at home safely?
A: Targeted lowlights can be done at home if you stick to deposit-only or demi-permanent formulas and section carefully. Do a strand test and avoid attempting heavy lift over previous dye at home. If you need major lift or color correction, see a colorist.