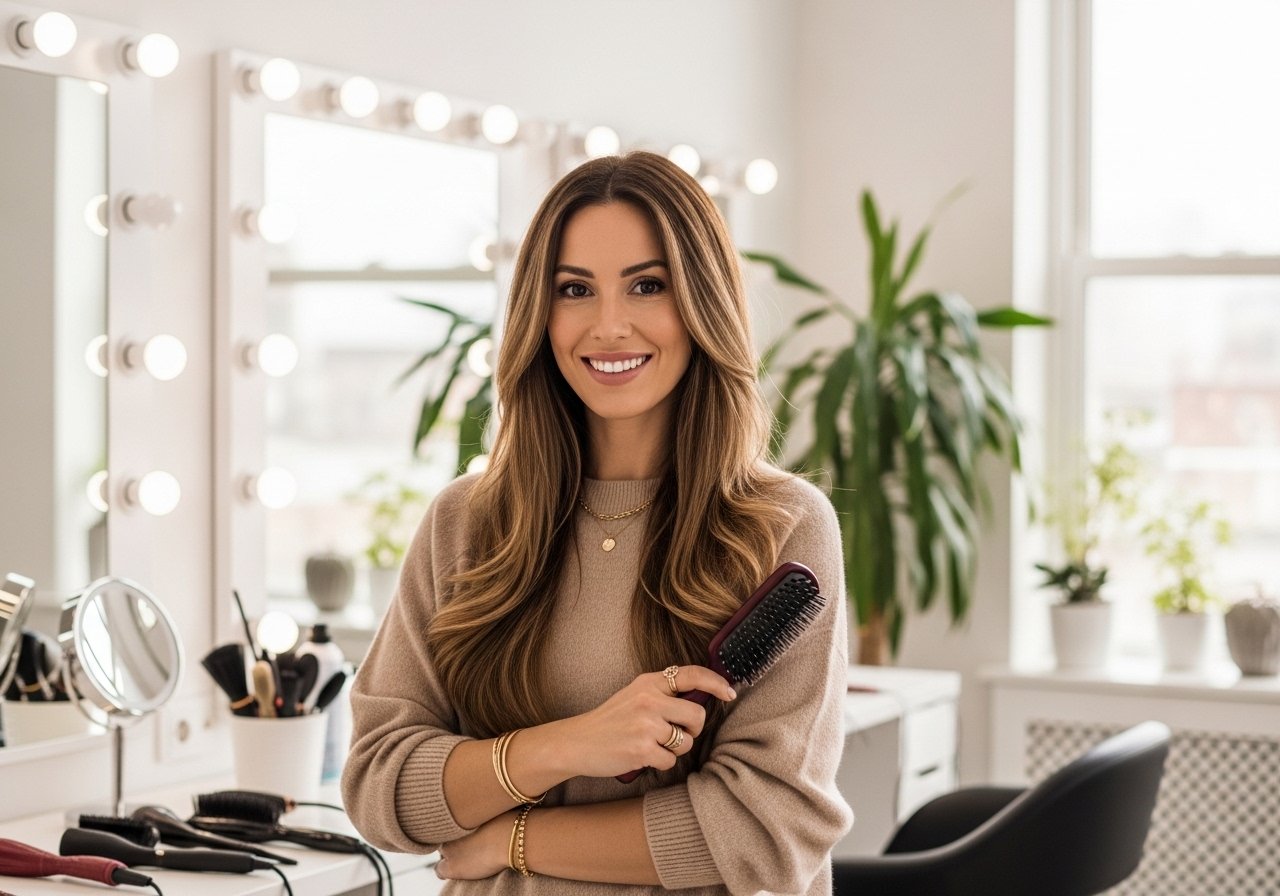
I chopped my hair to my collarbone on a whim and instantly hated how heavy it felt at the back of my neck. That dumb moment taught me two things, fast: cut strategy matters more than length, and some styling tricks actually make collarbone hair feel lighter and look intentional. Below are the looks and small habit changes that saved me money, time, and a few bad salon trips.
These ideas are written with wavy 2A through curly 3B hair in mind, plus notes for thicker 3C to 4A textures where needed. Most styles are doable at home in 10 to 30 minutes, with three that are better booked at a salon. Budget ranges from under $20 for a silk scrunchie to a tool splurge around $400. Time commitments are honest, and I note when the upkeep is the real cost.
Shoulder-Grazing Blunt Lob With Soft Face-Framing

If your hair is mostly straight and fine, a blunt cut with thin face-framing layers keeps the ends from looking wispy while still softening the face. Ask for one long guide length around the collarbone and two short shaping layers in front, about 1 to 2 inches shorter than the back. It works best on low-to-medium density hair and takes about 15 minutes with a round brush and blow dryer at medium heat. For at-home upkeep, two spritzes of a lightweight silk serum through the ends after drying smooths any razor frizz. A common mistake is asking for too many face layers, which turns blunt into shaggy fast. Salon is recommended for the first cut, then trims every nine to twelve weeks.
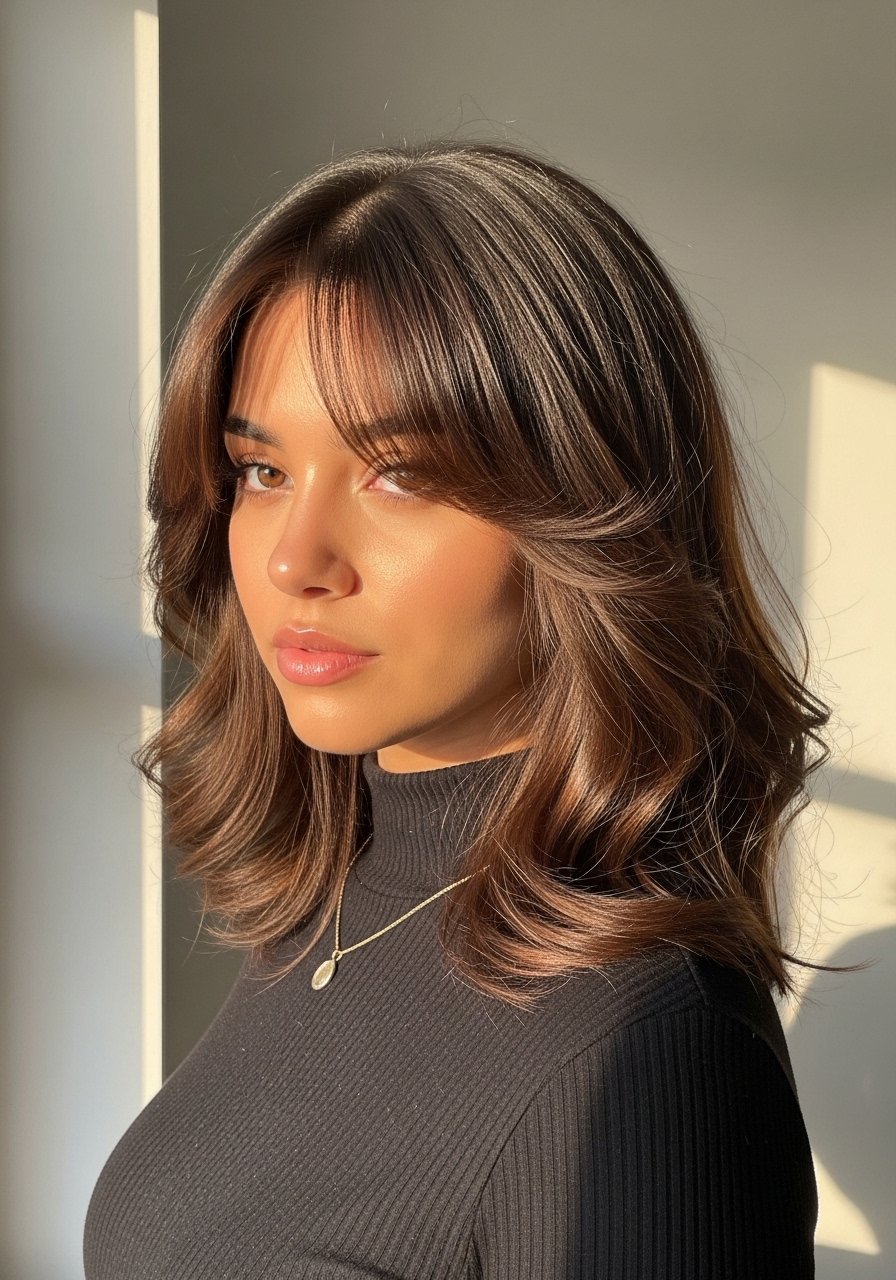
Feathered Collarbone Shag For Fine Hair

My fine hair needed movement without losing bulk at the ends. A feathered shag adds texture by cutting the mid-lengths on alternating sections, about six to eight slices around the head. It looks saloned but is low-maintenance, and a quick 90-second scrunch with a salt spray keeps it from going flat. Spray a texturizing sea salt spray into damp hair, rough-dry on low, then tousle. The problem most people run into is over-texturizing with powder at the roots, which makes it look dirty. If your hair is fine but color-treated, use a weekly bond-builder like Olaplex No. 3 Hair Perfector to prevent split ends, and buy from the official seller to avoid counterfeits.
Curtain Bangs For Round Faces Without The Forehead Gap
Curtain bangs can make a round face feel longer if the cut angles are correct. Ask for bangs that start at the cheekbone level and taper in, not a straight horizontal chop. I recommend starting slightly longer, then trimming after a week once you see how they lay. For styling, a 1-inch round brush and one pass with a blow dryer at medium heat smooths them in 30 seconds. A common mistake is cutting them too short for your hair texture. If you have curly hair, get them cut dry. Allergy note, if you color them lighter, do an allergy patch test before any dye near the forehead.
Heatless Robe Tie Waves Overnight
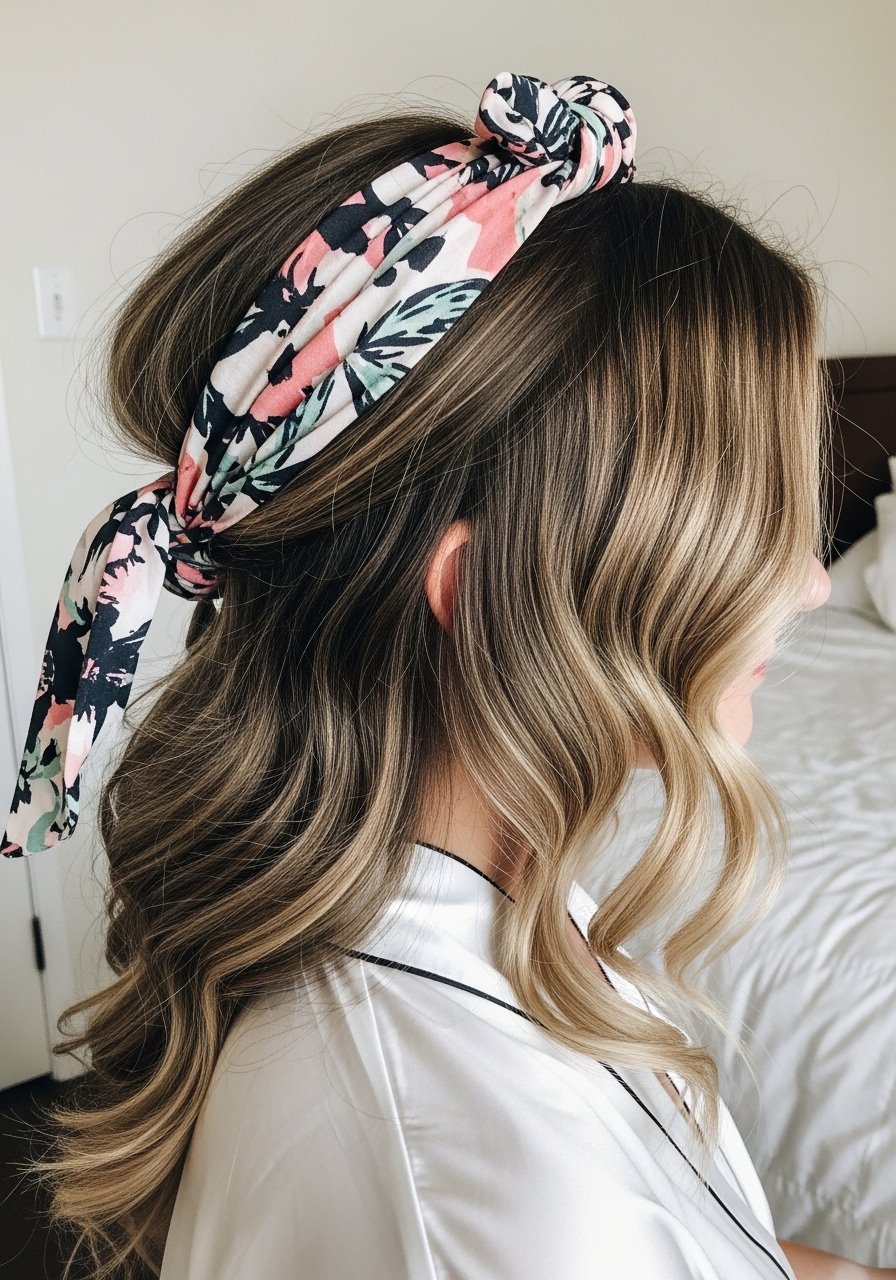
If you hate heat, this is the method I use when I want soft, lived-in waves. Divide dry or nearly dry hair into six sections and wrap each around the robe tie, coil twice, and pin with a clip. Sleep on it, release in the morning, and finger-comb in a pea-sized amount of light leave-in cream. My curls looked great on TikTok and like wet noodles by 11am. Finally figured out it was the gel-only routine. The robe-tie method gives you texture without crunchy residue. Mistake to avoid, wrapping hair when it is too wet, which creates frizz. This is totally DIY and great for second-day hair.
Money Piece Highlights You Can Touch Up Yourself

The money piece is the lighter front section that brightens the face, and it actually grows out nicely if you place it right. For an at-home touch-up, bleach small face-framing sections about half an inch wide, leaving about 1 inch between panels. Use 10 to 20 volume developer depending on your base color, and check every five minutes. This is one to be careful with because lifting over previous dye risks breakage. If your roots are dark and you want a dramatic lift, see a salon. If you feel confident, a precision highlighting kit and an allergy patch test are musts. A real-life note, I plan touch-ups every 10 to 14 weeks, not every month.
One-Tool Blowout For Busy Mornings

I bought the expensive tool and used it twice, then went back to my $30 round brush. The trick is sectioning. Work in four panels, three passes with a 1.5-inch round brush on medium heat, and finish with a blast of cool air. If you want the shine hold, one quick spritz of anti-humidity spray while hair is still warm helps. Heat protectant before any iron over 300F is necessary, so apply a protectant to damp hair and let it absorb for 30 seconds. The common mistake is blasting full heat and doing the whole head in one pass. That flattens the cut and creates split ends.
The Bond Builder Routine That Actually Repairs Ends
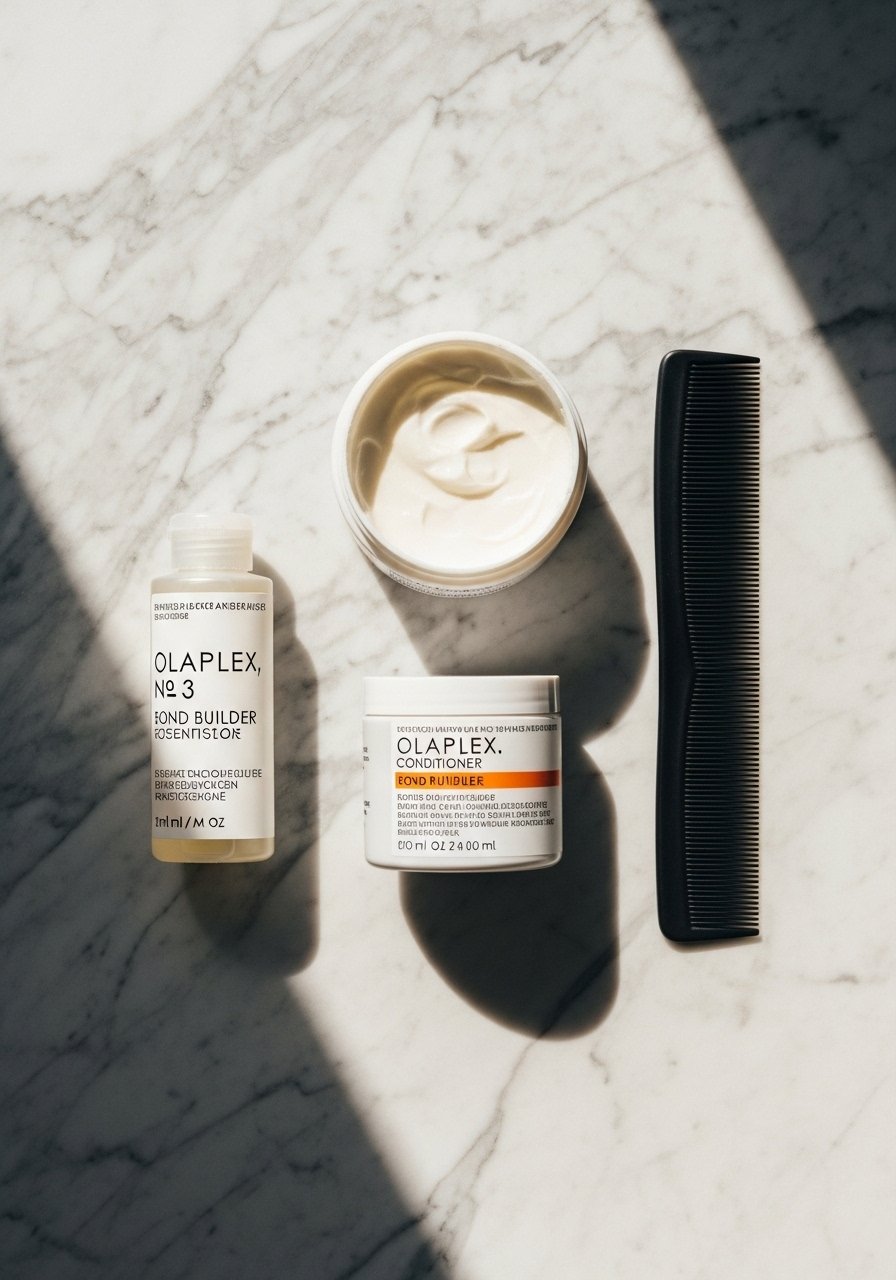
After I overprocessed my ends with kitchen bleach, weekly bond builder treatments stopped the brittle feel and reduced breakage. Use a bond builder like Olaplex No. 3 Hair Perfector once a week for 10 minutes, then follow with a rich conditioner. For very dry ends, leave it on for 20 minutes under a warm towel. Hair grows about half an inch a month at most, regardless of what biotin gummies promise you, so retention matters more than miracle growth pills. Watch for counterfeits on marketplace sites, buy from the official Olaplex store on Amazon or pick it up at Ulta.
My Minimal Collarbone Kit That Actually Works
Olaplex, affordable tools, and a few surprises I keep in rotation.
- Honestly the best $30 I spend in any year. Olaplex No. 3 Hair Perfector used once a week is the difference between damaged ends and smooth ones. Buy from the official seller on Amazon or grab it at Sephora to be safe
- For daily moisture, a 8oz sulfate-free conditioner that detangles without weighing down fine collarbone hair
- Found this while hunting for a pillowcase upgrade. A silk pillowcase queen size cut my morning frizz in half on second-day styles
- A microfiber hair towel for faster drying and less friction
- A 1-inch curling wand for beachy waves, use on 325 to 350F for thicker hair
- A lightweight leave-in cream that won’t flatten fine textures
- Claw clips pack for quick half-up looks and heatless styling
- Anti-humidity spray for days when the weather will not cooperate
- Wide-tooth comb to detangle wet curls without breakage
- Thermal protection spray apply to damp hair, wait 30 seconds before heat
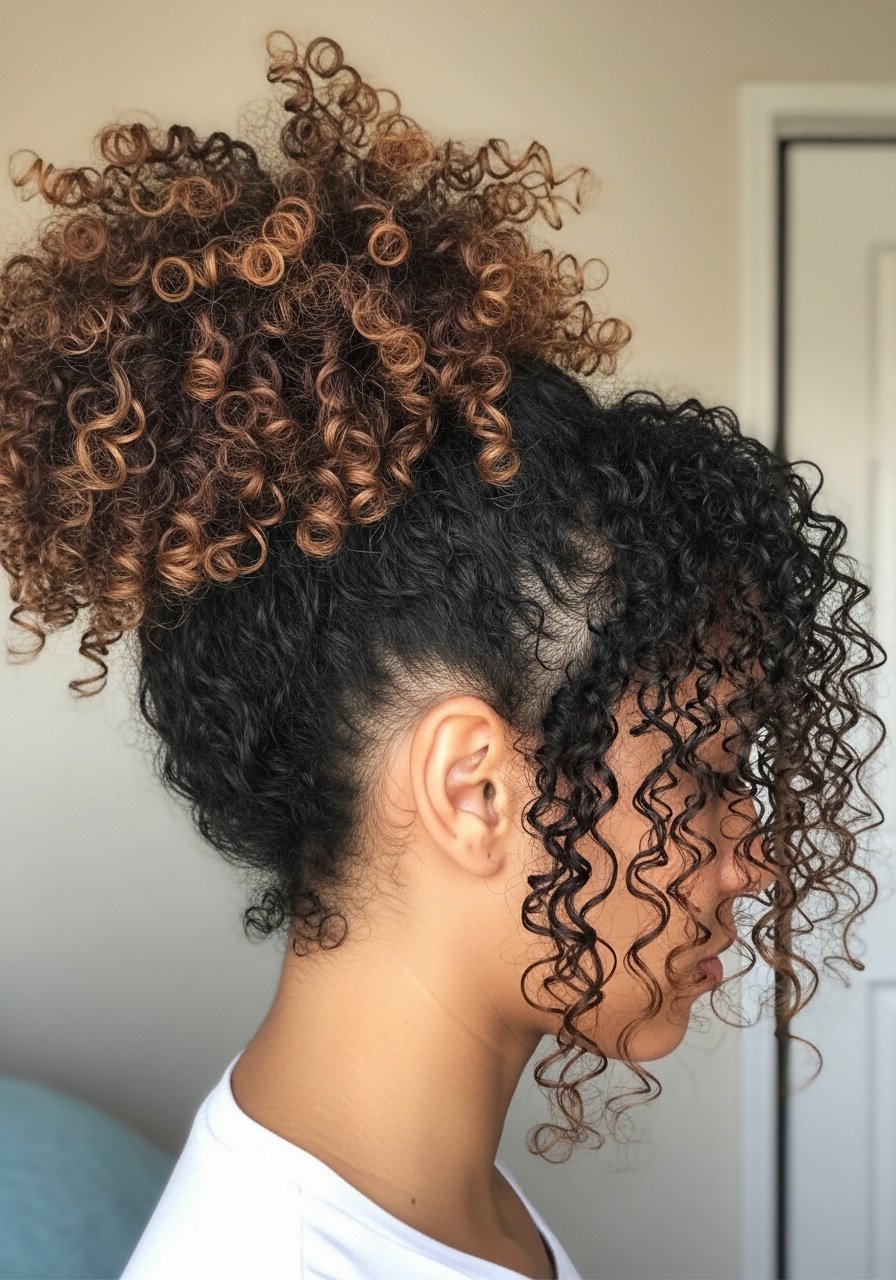
Textured Claw Clip Half-Up For Thick Hair
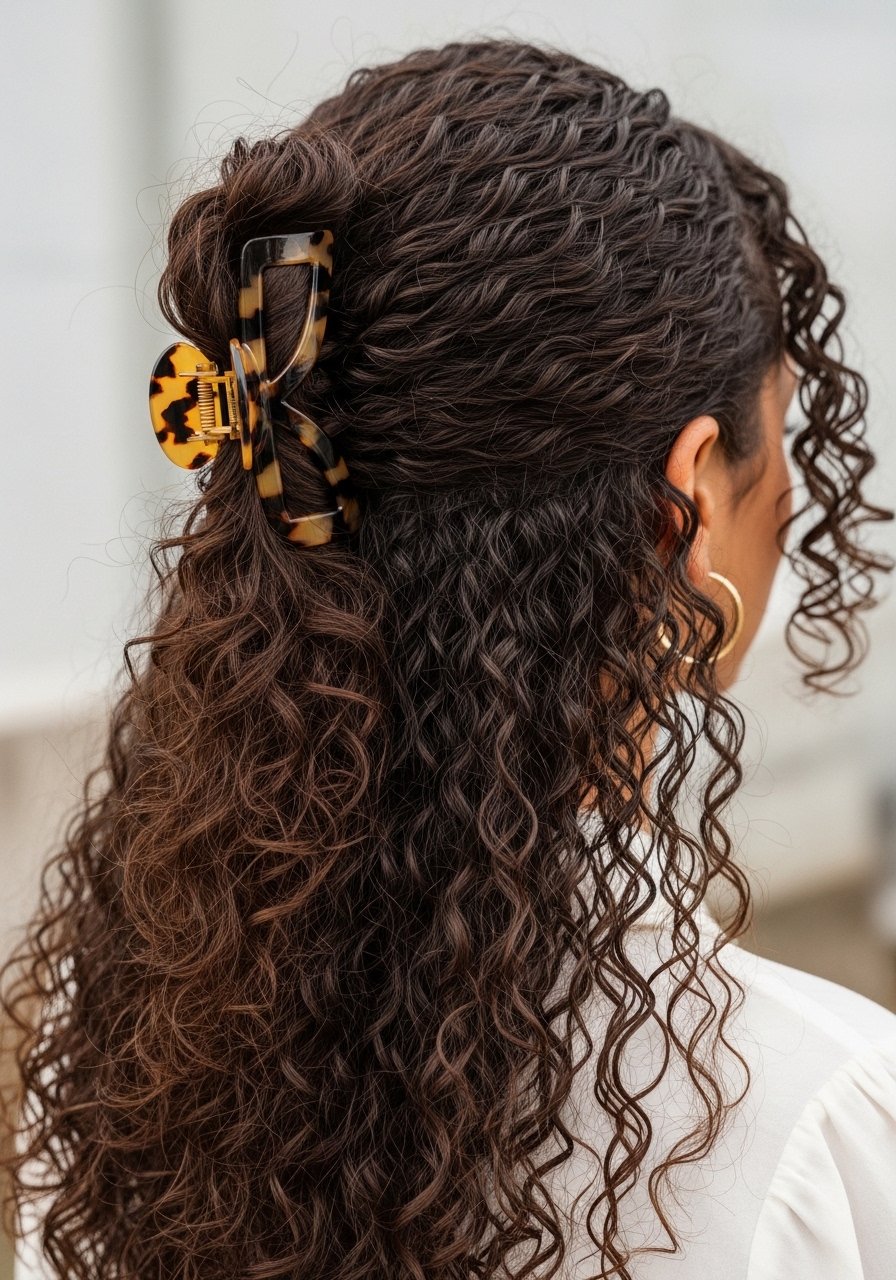
Thick hair at collarbone length can look blunt and heavy. A textured half-up with a claw clip lifts the weight at the nape and creates a casual shape. Rough-dry with a diffuser until about 70 percent dry, then twist the top half into a loose bun and secure with a large claw clip. A pea-sized amount of curl cream smoothed onto the crown keeps frizz down. If your hair is prone to slipping, add one small bobby pin behind each ear to anchor the clip. This is a fast fix for second-day volume and completely DIY.
Glass Hair Finish Without A Salon Gloss
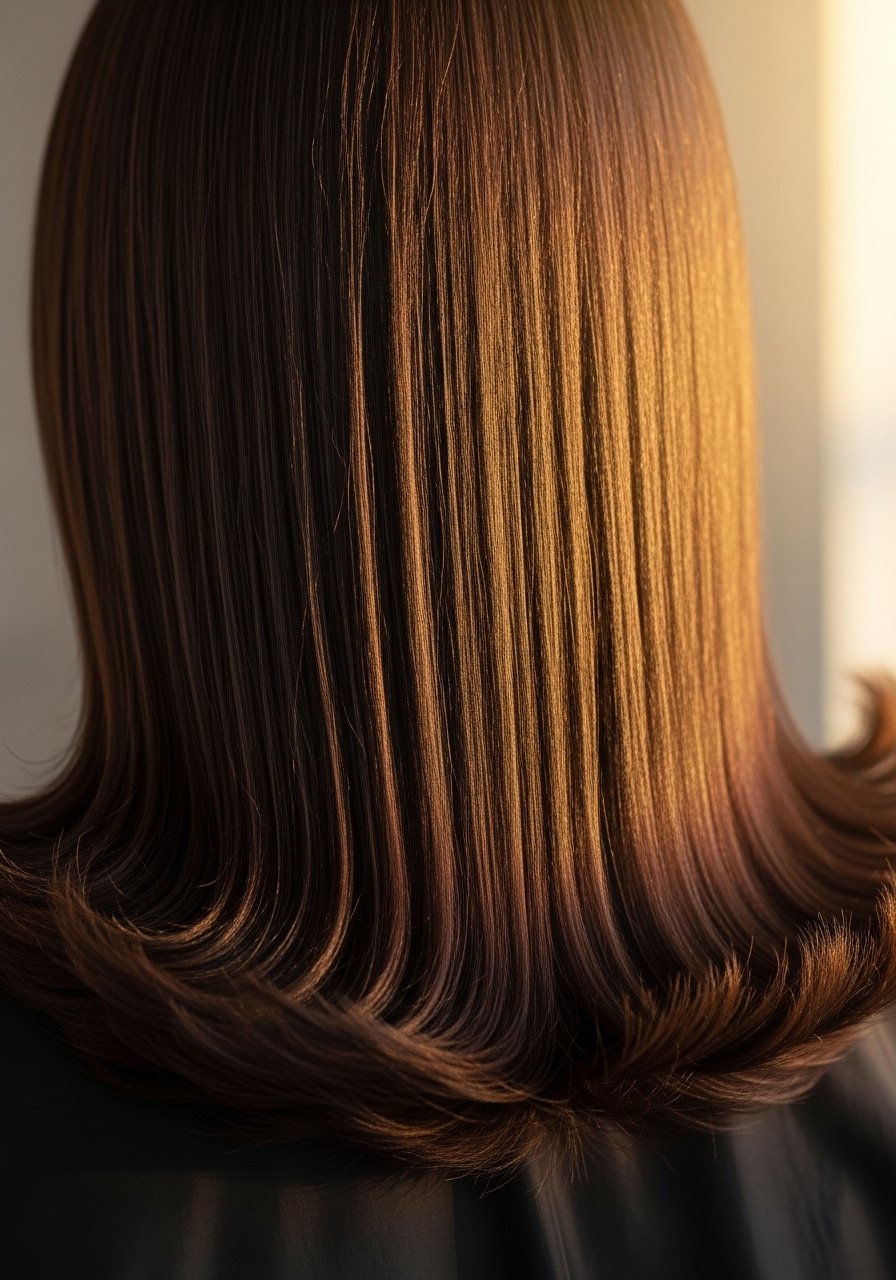
If you want that reflective finish but do not want a salon gloss every month, the real trick is layering. Start with a clarifying wash every two to four weeks depending on styling product buildup. Then use a smoothing mask for five minutes, rinse, and finish with a tiny drop of a high-shine serum on the ends after blow-drying. One spritz of anti-frizz shine spray while hair is still warm locks the surface. Avoid over-applying oil at the roots. This approach mimics a gloss effect and stretches salon visits, but if you want color toning with the gloss, that is a salon job.
Beachy Waves With A One-Inch Wand
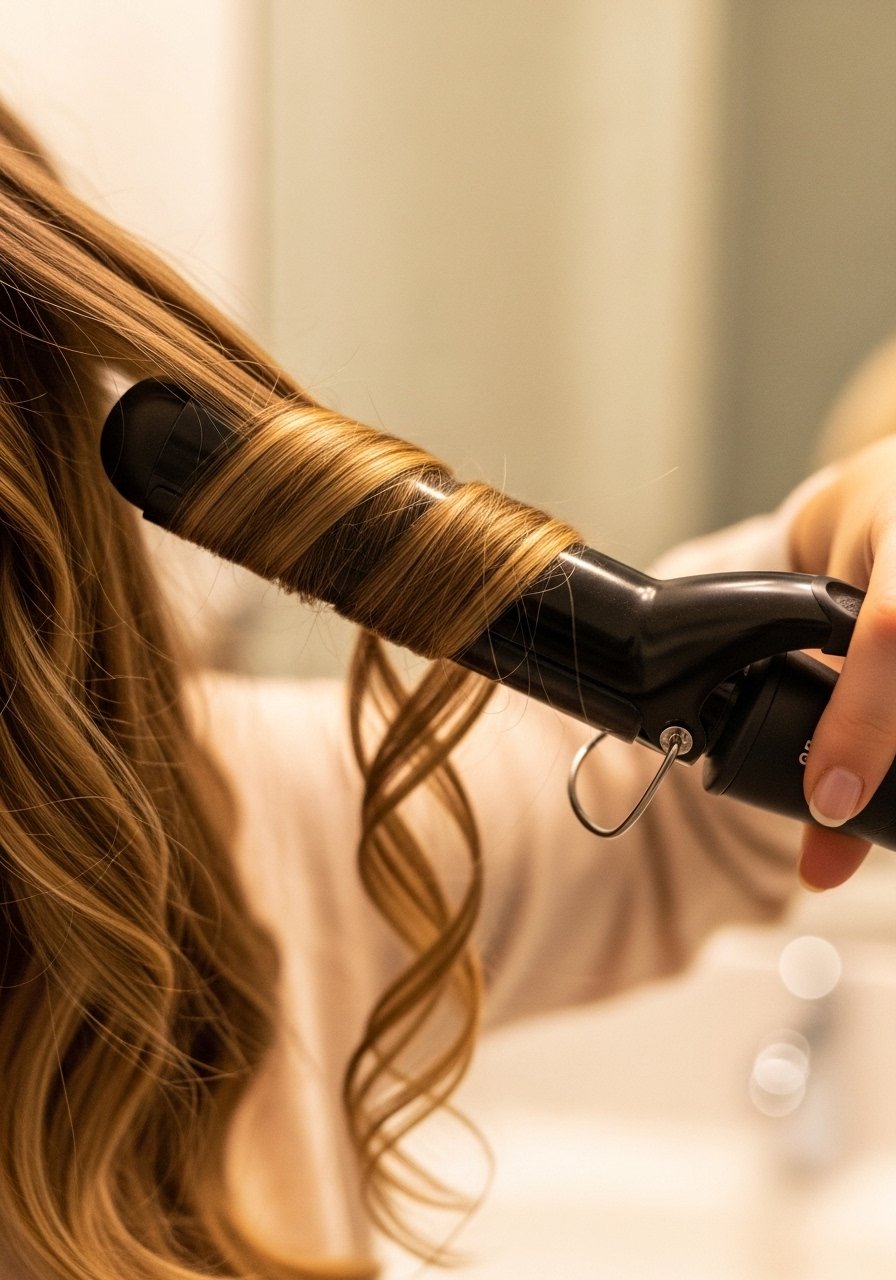
A one-inch wand gives the best beachy waves on collarbone hair if you wrap 1-inch sections away from the face and leave the last half inch out for movement. Use the wand at 325F for medium density hair, and 350F if your hair is thick. Remember heat protectant before any iron over 300F, and let each curl cool clipped to the head for 60 seconds before releasing. Finish with a quick shake and one spray of texture mist. The mistake is curling many tiny sections, which looks crunchy. Bigger sections equal a more modern relaxed wave.
The 4-Step Wash Day For Type 4C That Cuts Time In Half

Curly 4A to 4C textures can spend hours on wash day if you do every step. My streamlined routine starts with a co-wash or sulfate-free shampoo in four sections, finger detangle, apply a cream conditioner and detangle with a wide-tooth comb, then deep condition under a shower cap for 15 minutes. Rinse with cool water and apply leave-in using the LOC method, layering leave-in, oil, and cream for long-lasting definition. For Type 4C this brings more consistent curl clumping and reduces styling time by almost half. The common error is skipping detangling before conditioning, which causes knots and breakage.
Subtle Balayage That Grows Out Gracefully
If you want color but hate salon visits, ask for a money-piece-forward balayage with softer lifts and more painted pieces toward the ends. That approach grows out with less obvious regrowth. Bleach-over-bleach warnings apply here. If you have darker color underlayers, do not attempt dramatic lifts at home. Use a color-safe shampoo once to twice a week and a purple shampoo only when brassiness appears. For an at-home maintain, a glossing rinse every six to eight weeks keeps tones fresh. If you see major brassy bands, book a salon fix rather than layering more toner at home.
Pineapple Sleep Method For Defined Second-Day Curls
If your curls collapse after sleeping, try the pineapple. Gather hair loosely at the crown with a soft scrunchie and let curls fall forward. In the morning apply a light mist of water mixed with a tiny bit of leave-in, then scrunch out the crunch. For tighter coils, pin a few sections at the crown to keep volume where you want it. A common mistake is tying too tight, which creates dents. This method preserves shape and is cheap to test with a pack of silk scrunchies.
Soft Face-Framing Pieces For Broad Foreheads

If your forehead feels too wide with collarbone hair, short graduated face-framing pieces that start at cheekbone level visually narrow it. Cut conservatively and let the pieces air settle for a week before snipping more. For styling, a dab of smoothing cream and a quick round brush pass keeps the foreground in place. Avoid cutting a heavy fringe as it can make the face look shorter rather than slimmer. This is a small cost salon cut and then easy at-home trims to keep the length balanced.
Low-Maintenance Hemp Oil Scalp Reset

My scalp used to flake after over-washing. A monthly hemp oil massage before shampooing calmed irritation and reduced flaking without stripping color. Apply about a nickel-sized amount, massage for five minutes, let sit 20 to 30 minutes, then wash. If you have psoriasis, see a dermatologist first. For sensitive scalps, patch test a small area 24 hours before full use. This is an inexpensive at-home fix that reduces the need for medicated shampoos if your issue is dryness rather than a medical condition.
What I Wish Someone Told Me Before Cutting To My Collarbone
- Heat protectant goes on damp hair, not dry. The cuticle is more open and the product actually absorbs. A popular thermal spray works best applied and given 30 seconds to settle
- Grab a microfiber hair towel for $12. It cuts your blow dry time by a third and stops the frizz before it starts
- Hair grows about half an inch a month at most, regardless of what biotin gummies promise you. The thing that helps length retention is reducing breakage with a silk pillowcase and weekly bond treatments
- Drugstore shampoo is fine. Where you actually need to spend is conditioner and a bond builder. Olaplex No. 5 Bond Maintenance Conditioner does more for damaged hair than an expensive shampoo
Frequently Asked Questions
Q: How often should I trim collarbone-length hair to keep the shape?
A: Every nine to twelve weeks is a good rhythm for collarbone cuts, shorter if you have a soft layered cut that loses shape quickly. If your ends are color-damaged, trimming every eight weeks helps prevent breakage.
Q: Can I use Olaplex No. 3 if my hair is not damaged, or will it make it worse?
A: You can use Olaplex No. 3 on intact hair occasionally to strengthen bonds and reduce breakage, but you do not need it weekly if your hair is healthy. Once every two to four weeks is enough for maintenance.
Q: How often should I actually use purple shampoo without drying out my hair?
A: Use purple shampoo once every one to two weeks for lightened hair to avoid buildup. If your hair is fine or dry, mix a dollop with conditioner and leave it for three minutes to be gentler.
Q: Is it safe to lift money-piece highlights at home over previous color?
A: Lifting bleach over previous color risks breakage, especially close to the hairline. If your hair has multiple layers of dye, book a salon appointment. For small touch-ups on virgin hair, use 10 to 20 volume developer and check in five-minute intervals.
Q: What is the LOC method and do I need to follow it?
A: LOC stands for Leave-in, Oil, Cream. It is a layering method that helps curls retain moisture by sealing the leave-in with oil and then a cream. For Type 4 textures it often beats a single product approach.
Q: My curls look flat after styling and frizzy by midday. What am I doing wrong?
A: Most people overapply gel and skip a cream underlayer. My curls looked great on TikTok and like wet noodles by 11am. Finally figured out it was the gel-only routine. Add a leave-in cream first, then a light gel and diffuse on low heat.
Q: Can I get a glossy finish at home without salon glosses?
A: Yes. Clarify when needed, deep condition, and finish with a small amount of shine serum and anti-frizz spray while hair is warm. If you want color toning with the gloss, that step belongs in a salon.