I tried adding green to my hair because I wanted something low-commitment that still felt bold. I ended up bleaching my ends in my kitchen and paying a salon to fix the banding two months later. After that I learned when to DIY, when to book pro, and which colors actually fade in a pretty way instead of looking muddy. Here are green ideas that actually hold up in real life.
These picks work best on medium to dark brunettes, from fine 1B straight to dense 4A coils, with notes where a technique needs adjustment. Expect DIY sessions to run 30 to 90 minutes depending on lift, and a salon appointment to be a half day. Budgets range from $15 for a semi-permanent conditioner tint to $200 plus for salon color and bonding repairs.
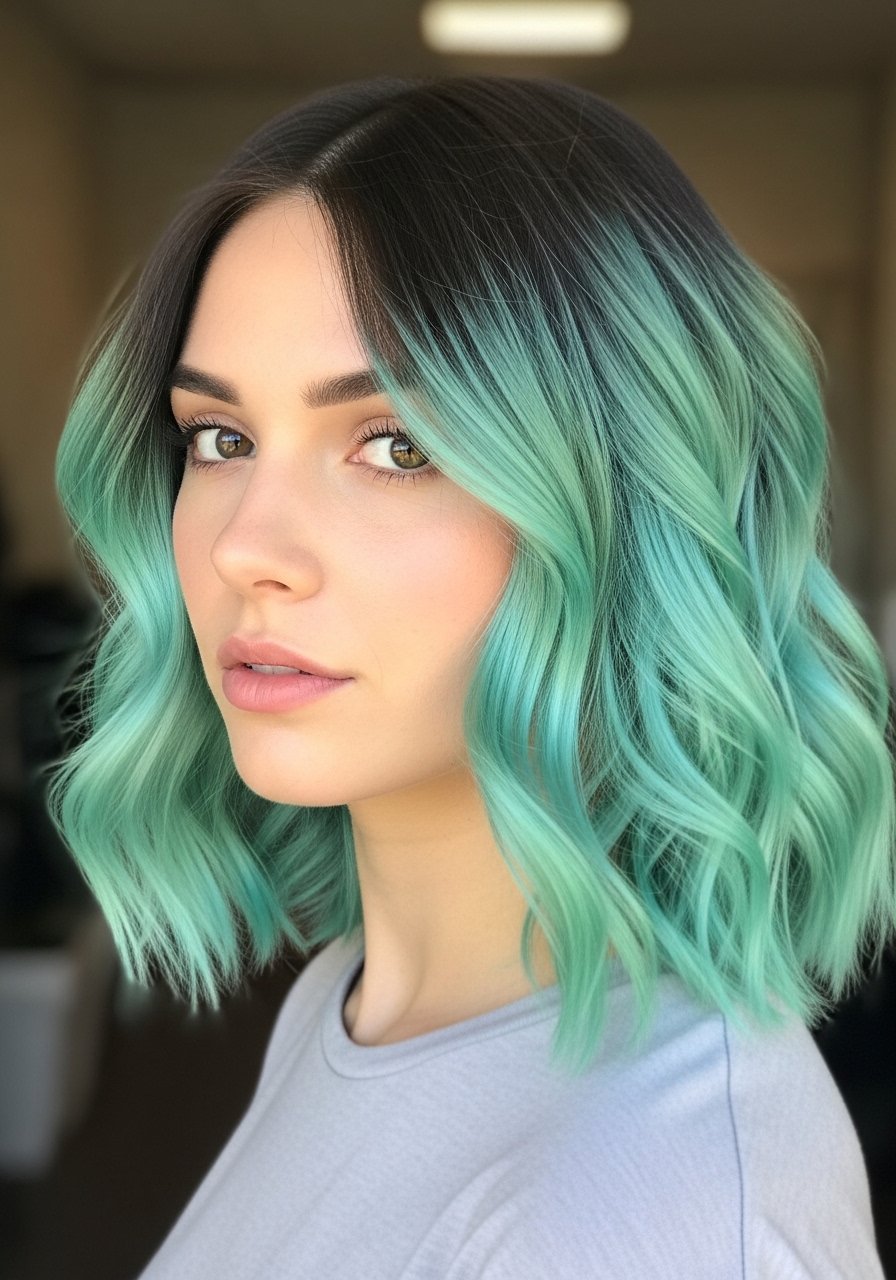
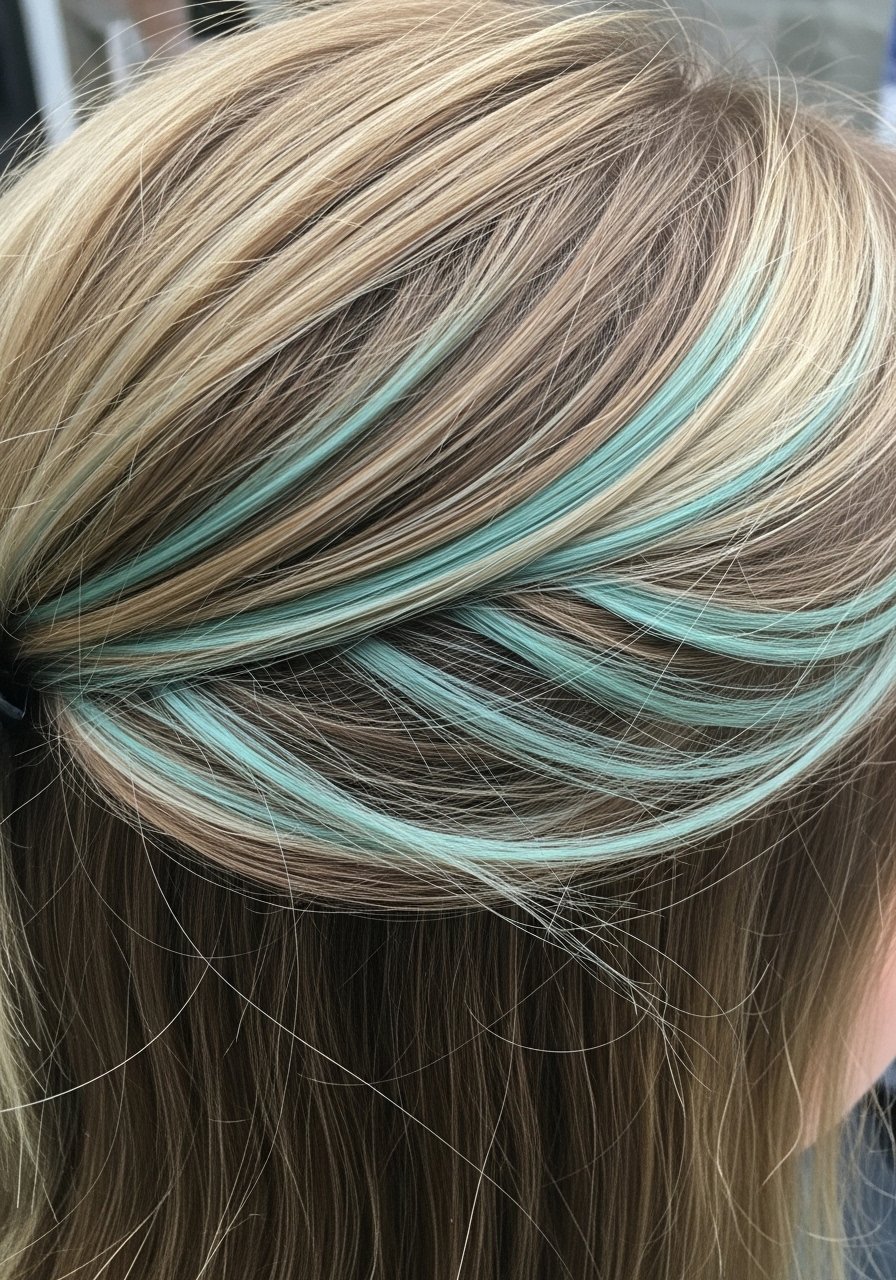
Teal Balayage That Grows Out Gracefully
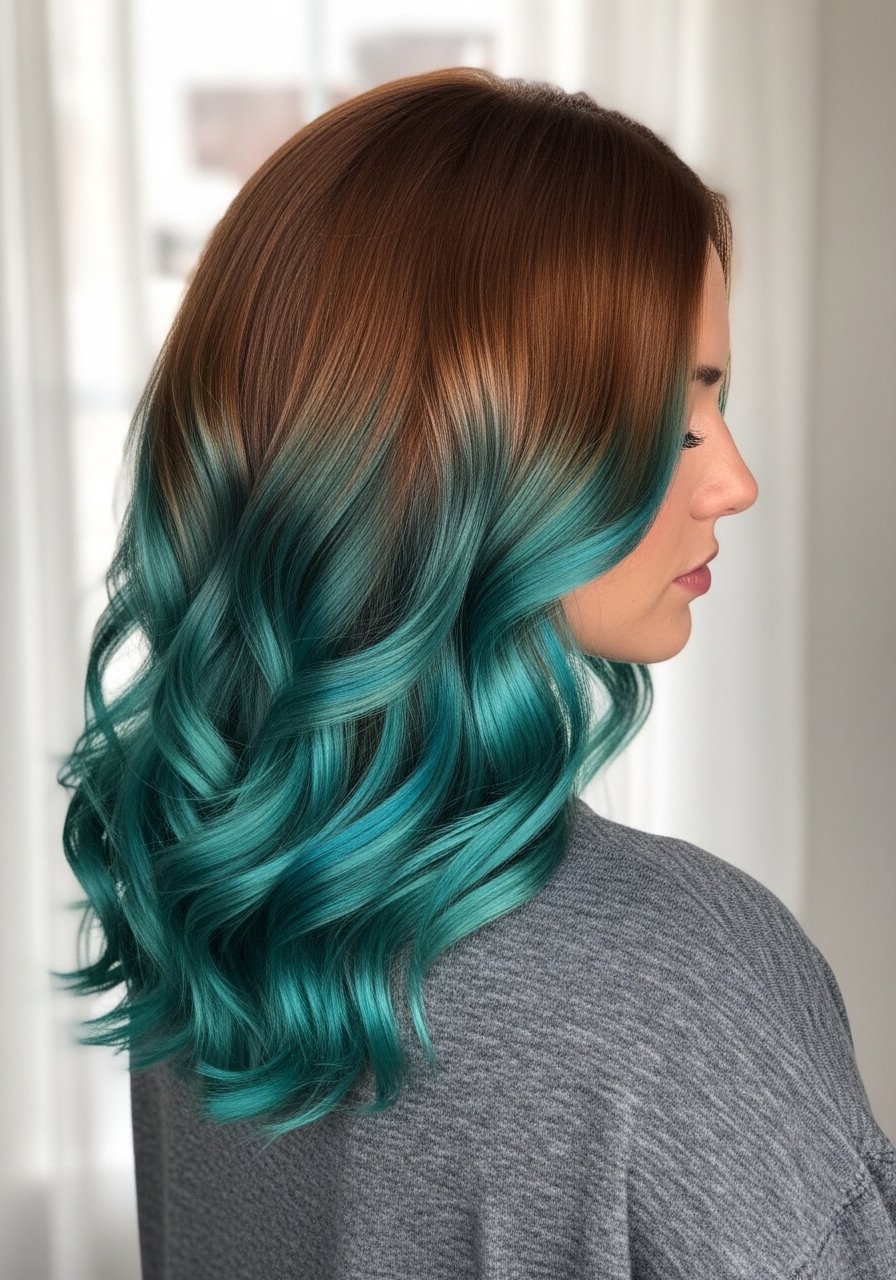
I like teal when I want color that looks intentional three months later. For fine to medium wavy hair, paint the teal as a balayage on 6 to 8 panels, keeping the first two inches of root untouched so regrowth hides. For lift, use a 20 volume developer and a quick 15 minute check, not an all-day bleach soak, then tone with a low-porosity gloss. Semi-permanent teals like Arctic Fox Aquamarine last longer on hair that got a protein treatment first. Common mistake, over-bleaching the same section. Safety note, do a patch test for dye sensitivity and avoid lifting over fresh color.
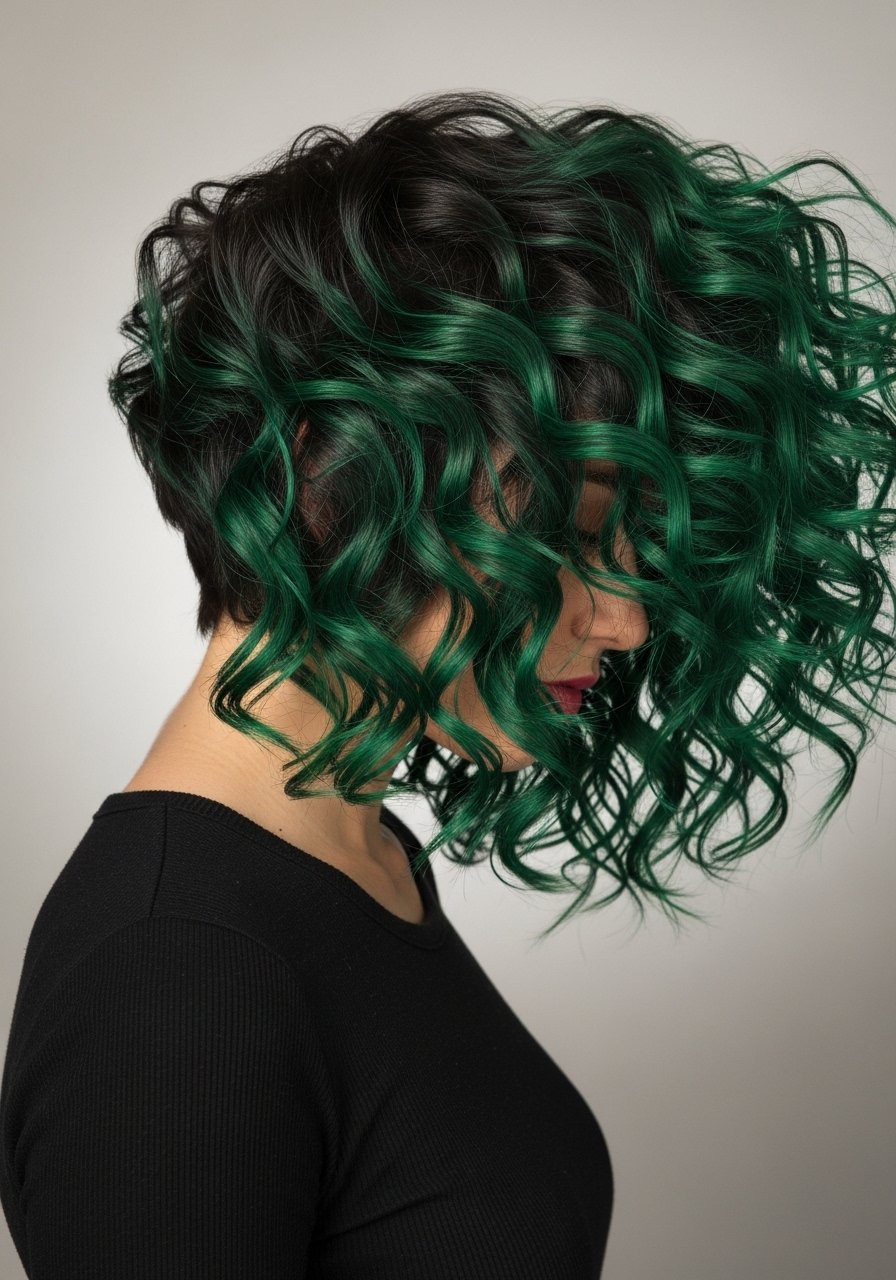
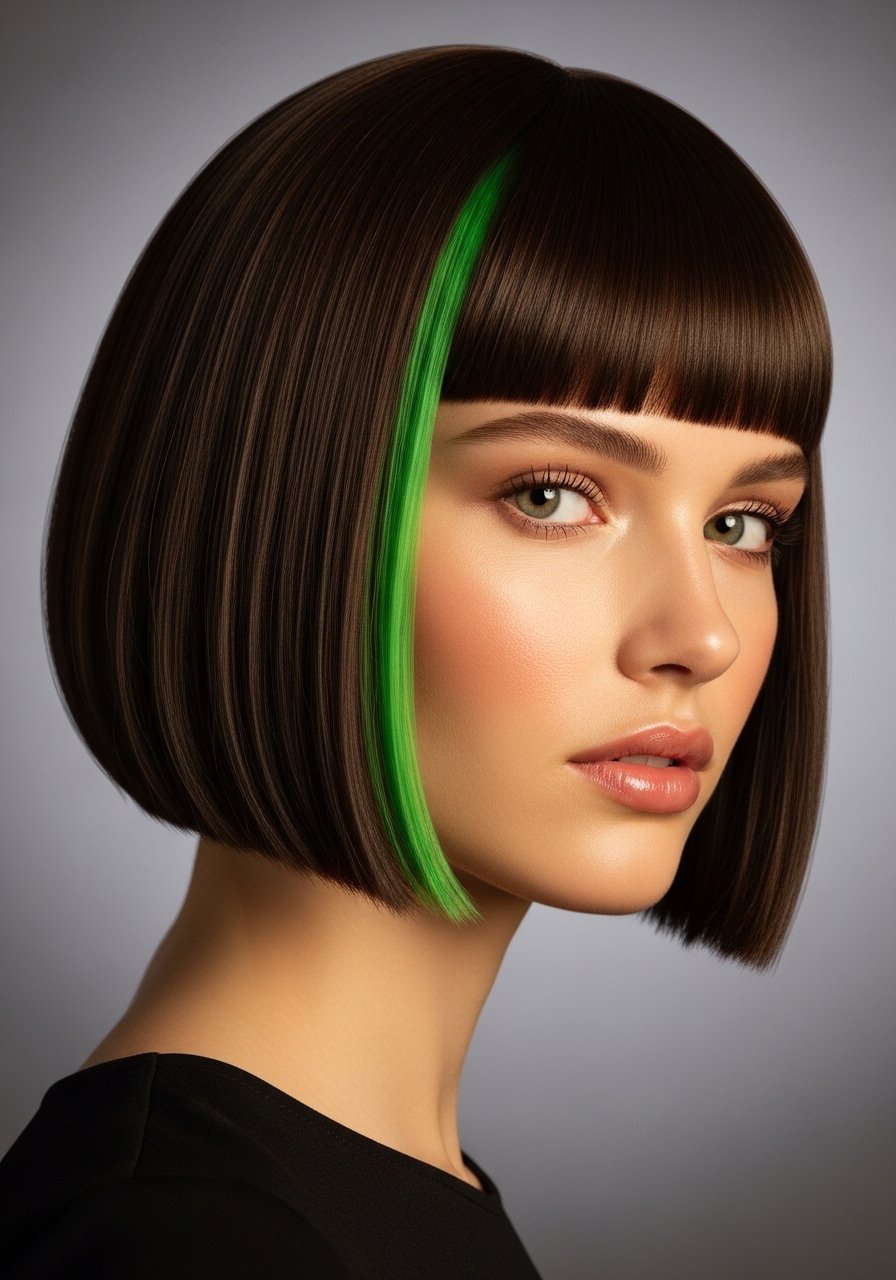
Emerald Face-Framing Money Piece
A face-framing emerald slice feels instant and bold without committing your whole head. It suits medium density and curly 3A to 4A hair if you keep the section small, about four 1/2-inch vertical slices per side. Lift the pieces to a pale honey, then deposit an emerald tone with a 1:1 mixing ratio of color to developer for semi-permanent shades. If your hair is dark and fragile, book the lift in two sessions. One mistake I made was going too wide on the first try. Salon note, pros can feather the edge so the piece grows out gracefully.
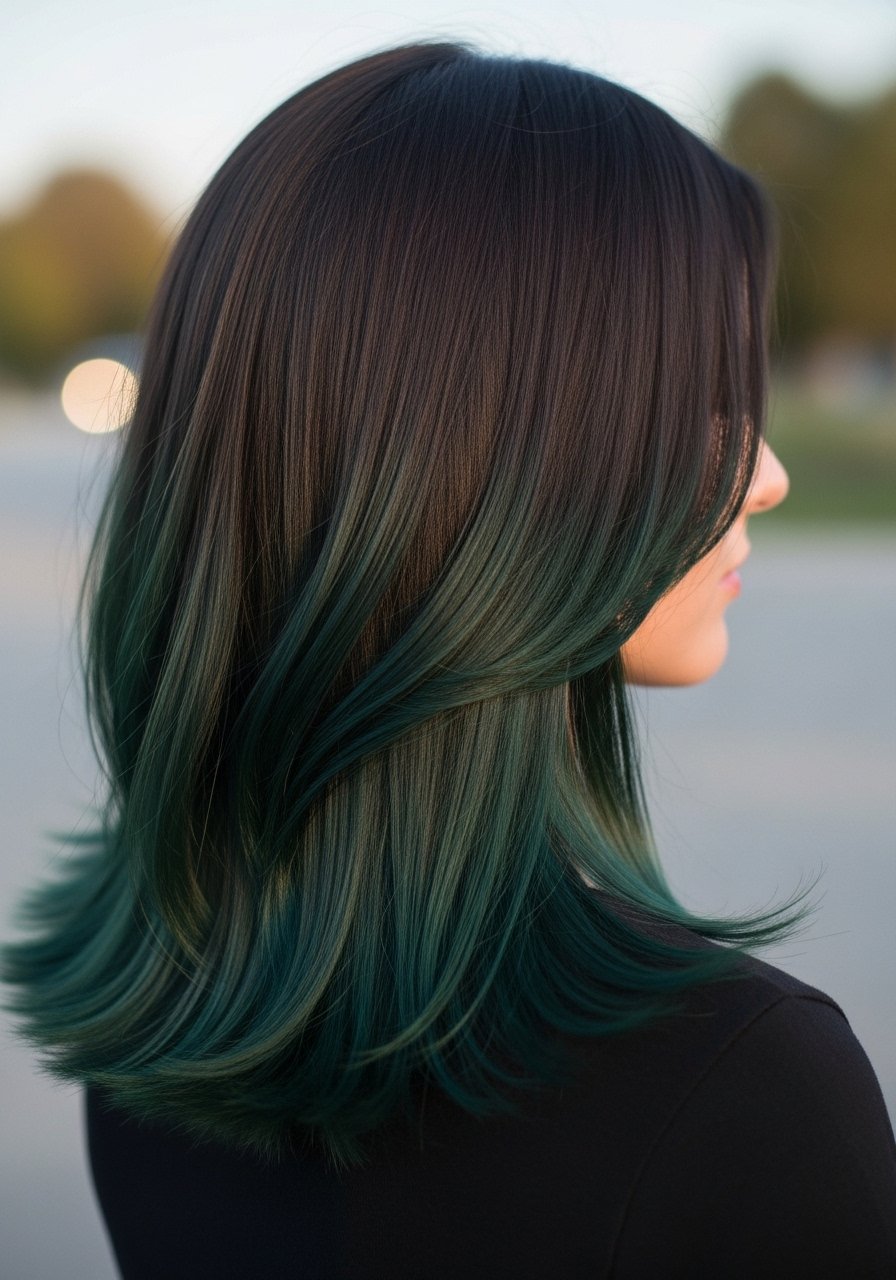
Sage Ash Gloss Over Natural Brunette
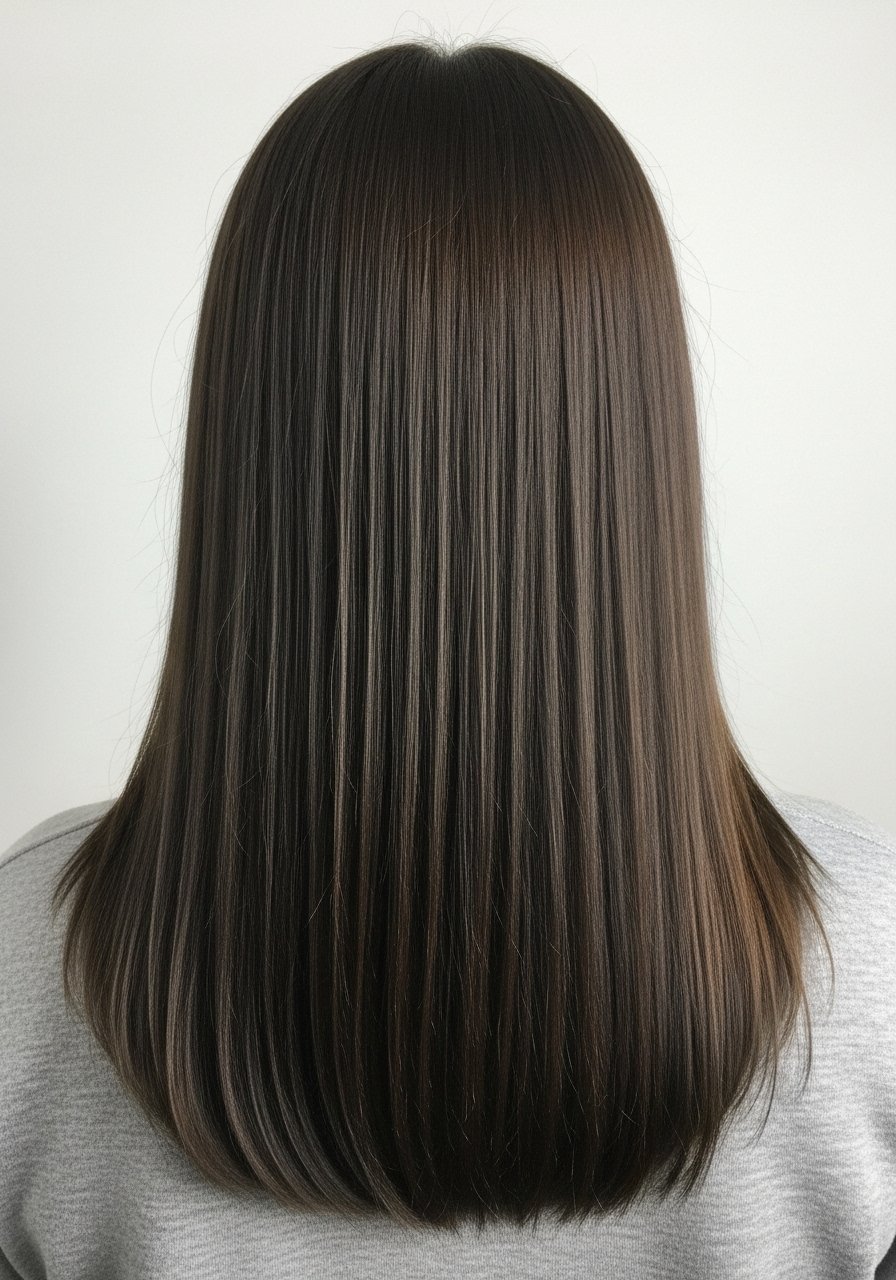
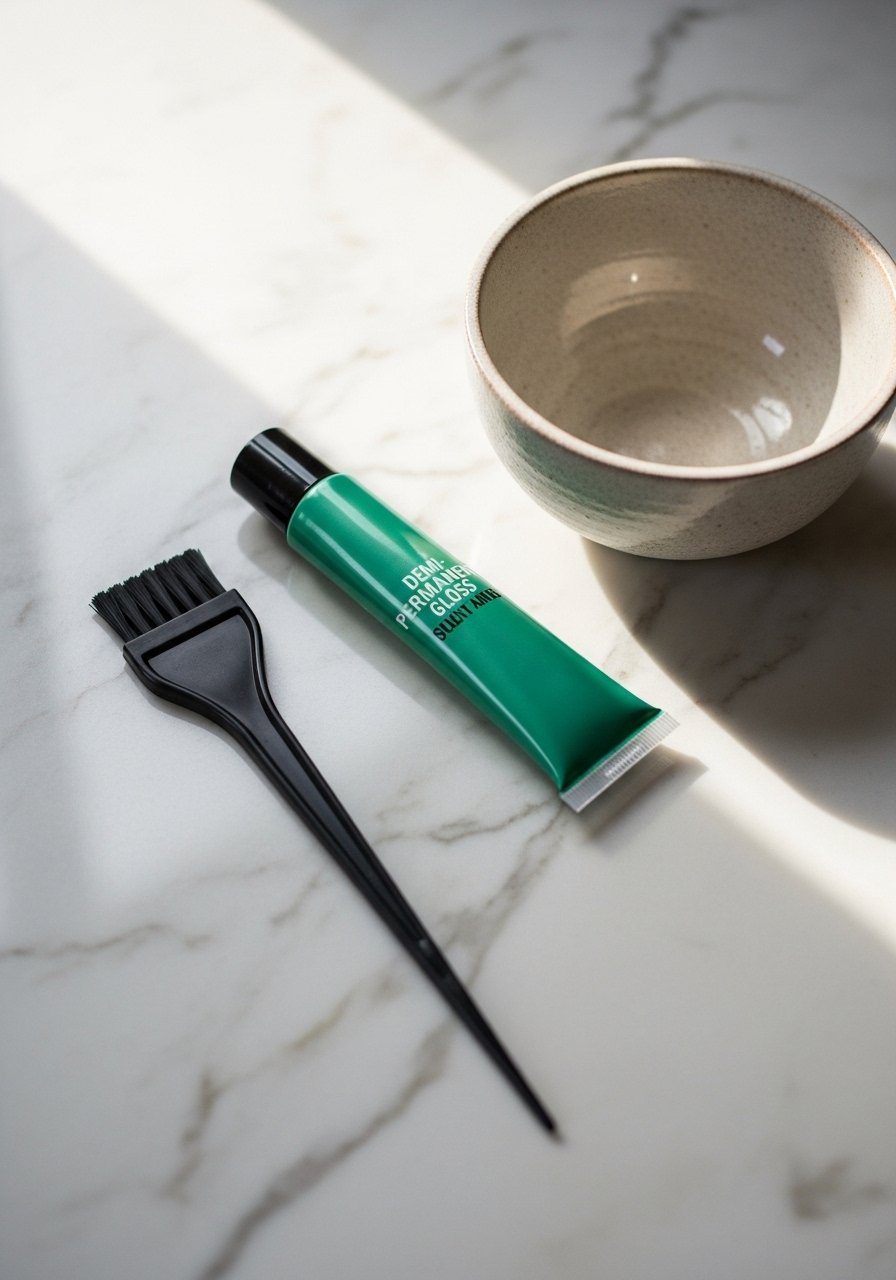
Sage ash is the move when you want green without looking neon. For low-porosity brunettes run a warm water rinse, towel blot to damp, then apply a demi-permanent sage gloss for 10 minutes. I usually mix one part gloss to two parts developer for subtle deposit. It suits medium to thick straight and wavy hair and costs under $40 for an at-home gloss. Common mistake, leaving gloss on too long and ending up muddy. If your brunette has previous red dye, a gentle clarifier one wash before the gloss helps color sit evenly.
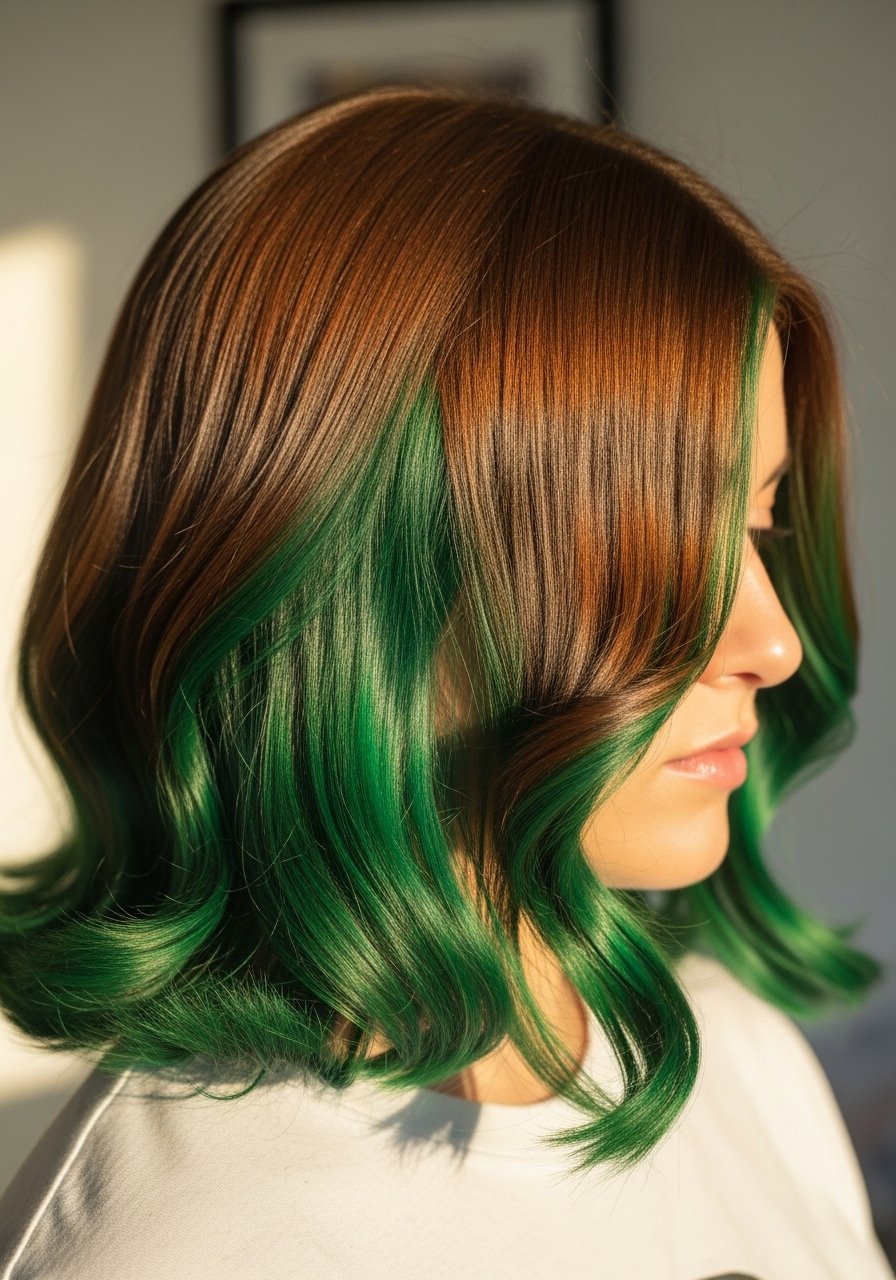
Forest Underlights for Thick Hair
Underlights are my favorite when I want to keep most hair natural. On dense or curly hair, section into 6 to 10 horizontal panels under the top layer and paint skinny 1/4-inch slices. Forest green hides warmth better than bright green, so you lift to a golden base only and deposit a cool forest tone. This takes 45 to 75 minutes at home depending on how many panels you do. Mistake to avoid, rushing the sectioning. With curls, secure each panel with duckbill clips so color does not bleed. Salon pros will charge more but they blend the top layer so it never looks like a strip.
Rooted Seafoam With a Shadow Root
Rooted seafoam is for brunettes who want a pastel vibe that does not scream "I just dyed it." Keep a 1 to 2 inch shadow root for low maintenance. For pastel seafoam, dilute the pigment to a 1:3 ratio of dye to conditioner and apply to pre-lightened hair for 3 to 8 minutes depending on desired intensity. This is great on fine 2A through 3B hair because the root anchoring prevents banding. Common mistake, trying to get pastel over dark brown without adequate lift. If you need more than a level 8 lift, plan two sessions and use a bond-builder weekly.
Mint Tips on a Blunt Bob
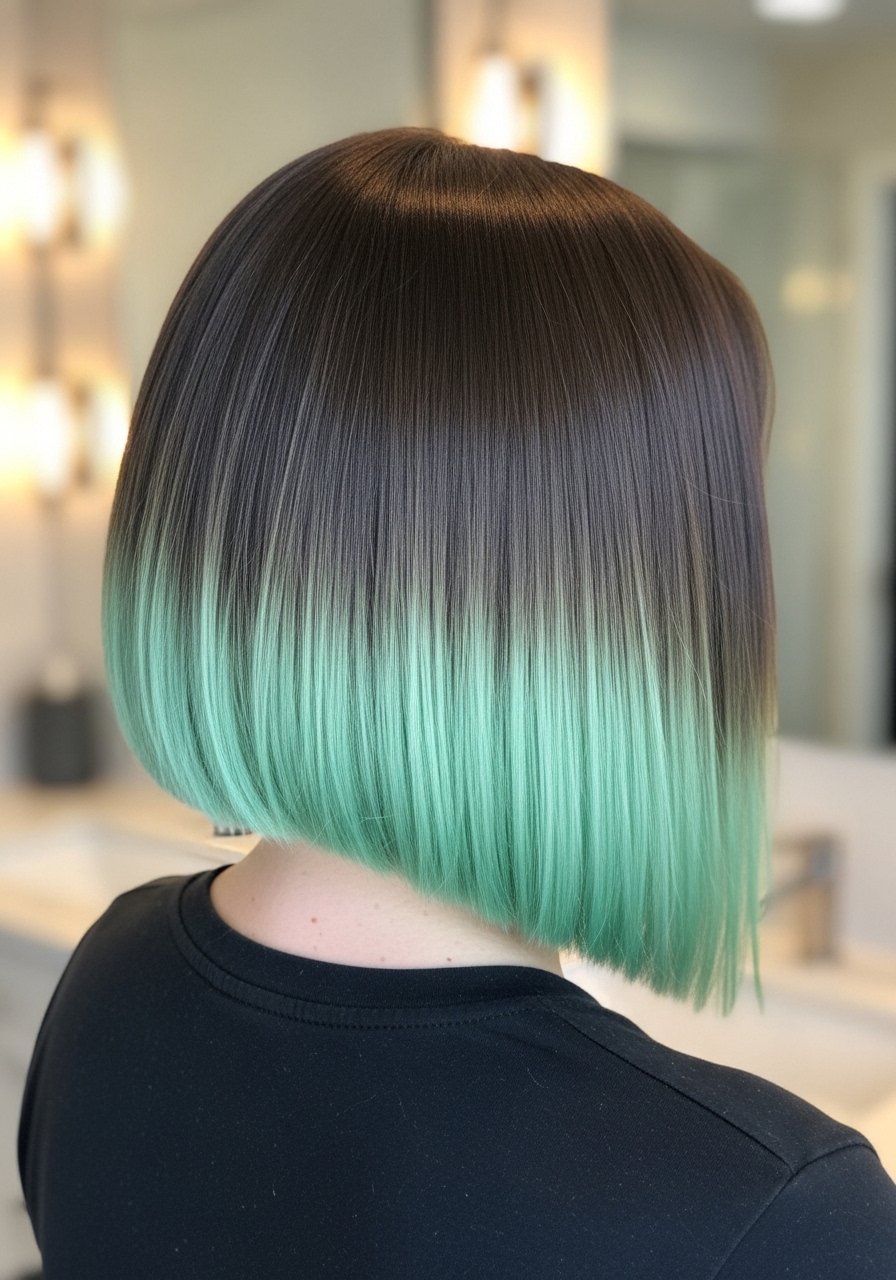
If you have a bob and want a quick punch, mint tips are the fastest route. Section off the ends in 1-inch horizontal panels and paint just the last 1.5 to 2 inches. On straight fine hair you will see the line crisp, on waves it softens. Use a direct dye with a tiny amount of conditioner to prevent bleeding, and rinse cool after 3 to 5 minutes. Budget friendly and reversible in two to three washes if you choose a semi-permanent tint. Safety, avoid overlapping bleach on already lightened tips unless you have at least two weeks between sessions.
Peacock Fade on a Short Pixie
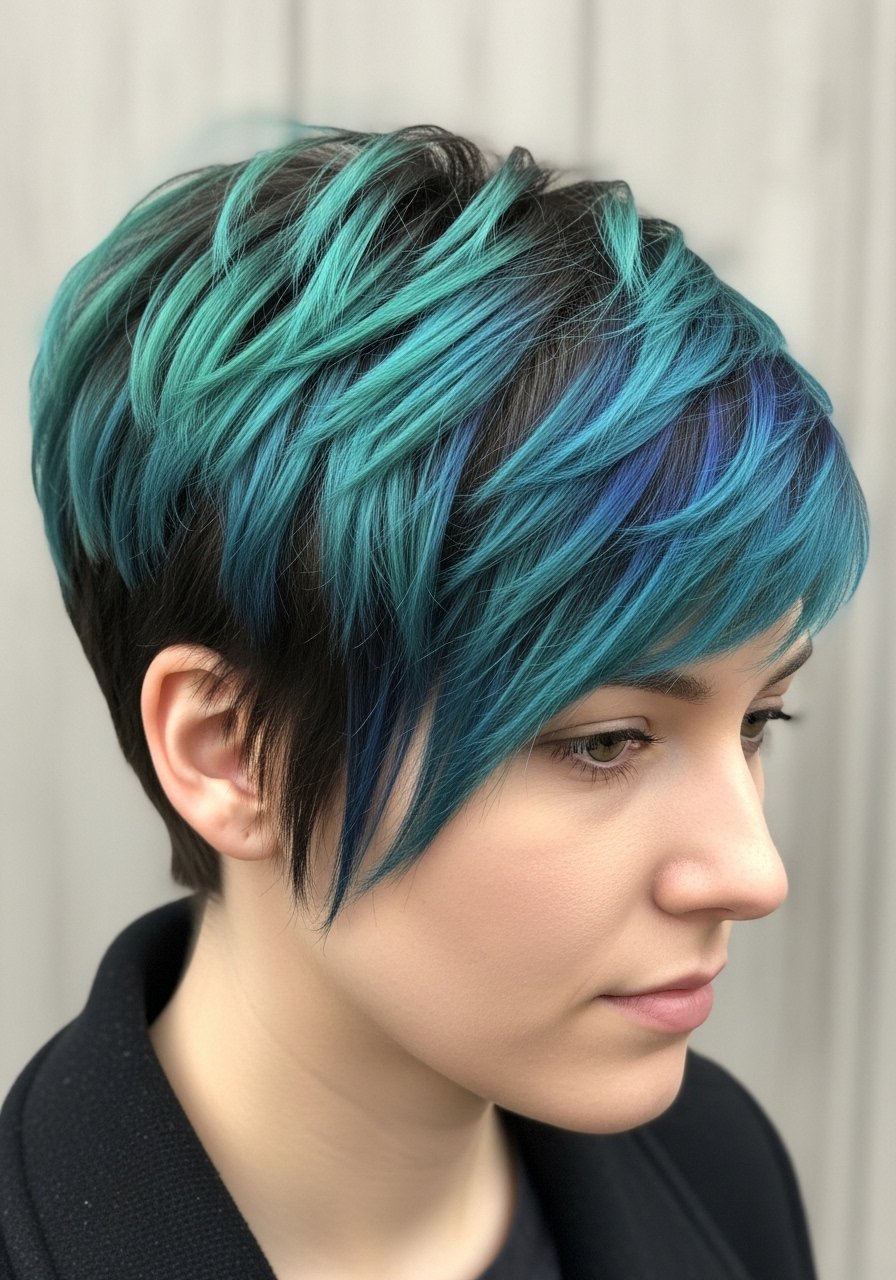
Short hair takes color differently. On a pixie you can create a peacock fade that reads sophisticated rather than costume. Work in three small sections and blend colors wet to wet for a smooth transition, keeping heat under 300F when styling. This is fast in the chair, about 45 to 90 minutes, and ideal for 1B to 2C textures. My rookie mistake was using a heavy conditioner to blend, which diluted the pigment. If you are doing it at home, use a small tint brush and 6 to 8 tiny strokes for seamless blending.
What I Pack When I Plan a Green Change
- Honestly, the thing I reorder first is Olaplex No.3 Hair Perfector 3.3oz. I use it weekly after color sessions to reduce breakage. Buy from the official store on Amazon or at Sephora to avoid counterfeits.
- For lift, an 8oz clear sulfate-free clarifying shampoo helps strip oils before color. Sulfate-free clarifying shampoo 8oz under $20.
- If you plan pastels, a quality cream developer 10-volume for toning and deposit control.
- For deposit colors, Arctic Fox semi-permanent dye offers cruelty-free greens in many shades. Also sold at Ulta.
- For vivid accents, Manic Panic Amplified lasts and rinses without turning brassy. Budget friendly.
- For protectant and finish, Color Wow Dream Coat 4 oz keeps damp humidity at bay for three to four days.
- A silk pillowcase queen under $30 cut my morning frizz and helps color longevity.
- For bond recovery after lift, K18 molecular repair hair mask single-use packs. Buy from official seller on Amazon or at salon counters to avoid fakes.
- A pair of nitrile gloves and an artist brush set, small investment that saves your nails and helps precise sectioning.
Olive Lowlights for Subtle Green Depth
Olive lowlights are what I use when a client wants green that reads natural. On medium to thick hair, weave 1/8-inch slices every 1 to 1.5 inches in the mid-lengths and ends. Deposit an olive mixed at a 1:2 dye-to-conditioner ratio for muted depth. This takes about 35 to 60 minutes and fades to a softer olive rather than muddy brown. Common mistake, applying lowlights too close to the root on fine hair. If you are unsure, do a single panel test first and check results after two washes.
Candy-Green Neon Accent With a Single Session
Candy-green accents need almost no commitment if you keep them small. Prelight the strand to a pale yellow using a 10 to 20 volume developer with 5 to 10 minute checks, then apply a candy green for 5 to 10 minutes. This is a 30 to 45 minute at-home task and looks great on straight to wavy 1B to 2C hair. Mistake I made, leaving bright pigments on too long and ending up patchy when I rinsed with warm water. Use cool water rinse to lock pigment and a color-safe conditioner with every wash.
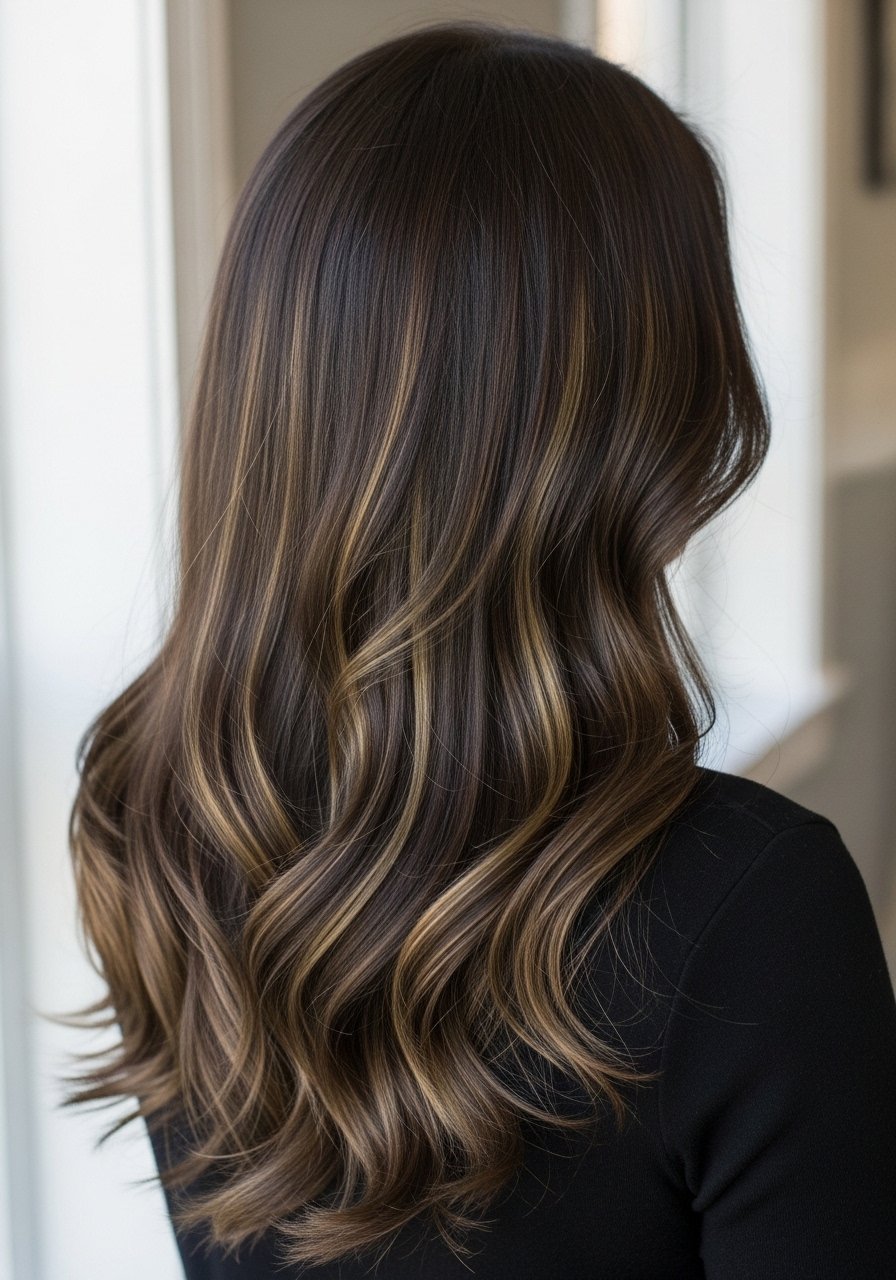
Deep Green Espresso Melt for Brunette Depth
If you do not want bright green but crave something different, a deep green espresso melt is the answer. On medium to coarse hair, place darker green at the ends and blend into the natural root with four to six vertical feathering strokes. Deposit time is short, three to six minutes if you use a demi-permanent. This style fades into inky green, not muddy brown, and needs less maintenance than pastel greens. One safety tip, darker tones can mask brass so clarifying every fourth wash helps avoid buildup.
Teal Babylights to Keep Dimension on Fine Hair
Babylights are the secret weapon for fine brunettes who want color without weight. Paint super-thin 1/16 to 1/8-inch slices around face and crown for dimension. Keep processing to 10 to 20 minutes with lower developer to avoid damage. I did this once and my hair looked salon-fresh for six weeks without heavy maintenance. Common error, using thick slices which read blocky. If you have low porosity hair, warm the plastic cap for a few minutes to help the pigment take.
Green Gloss Toner to Revive Fading Color
A green gloss can revive faded color in 10 to 20 minutes. Mix one tube of demi-permanent gloss with 1 to 2 tablespoons of clear gloss to stretch the shade if you want subtler results. Use on medium to dark brunettes every four to six weeks to refresh tone without lift. I use this between full color appointments so the shade never drifts into muddy tones. Avoid overlapped lightening during the same session. Allergy patch test is a must for every new formula.
Heat-Proof Styling Routine That Protects Green
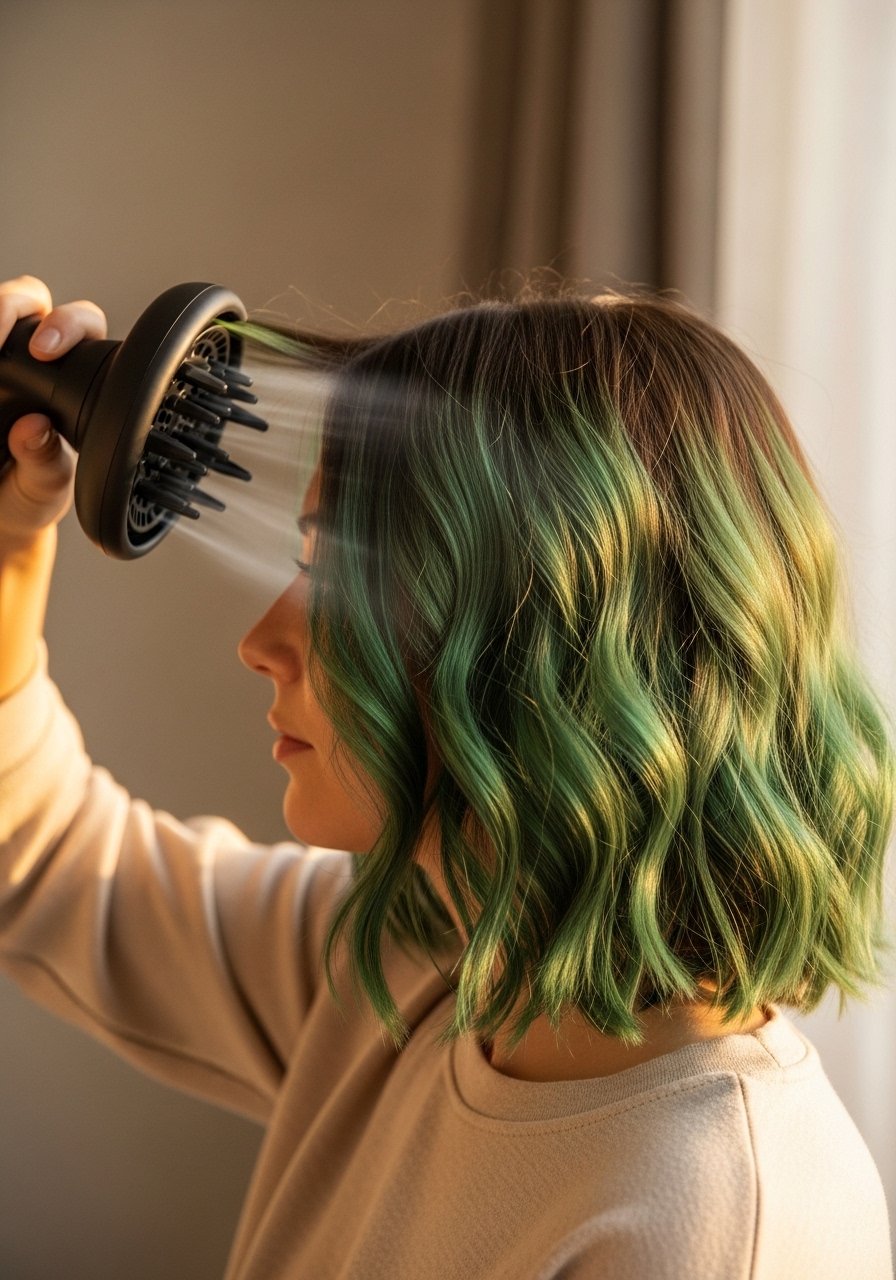
Color fades faster when styling overheats hair. Always apply a heat protectant to damp hair before any iron over 300F. For me that means two spritzes of a silicone-free protectant sprayed 6 to 8 inches from roots, then diffuse on medium heat around 350F max. Use Color Wow Dream Coat sparingly after styling to lock out humidity. I learned the hard way that daily 420F flat ironing turns jewel greens into tired khaki. If you must use hot tools often, stretch color appointments or pick deeper pigments.
How I Keep Green From Looking Muddy
- Heat settings matter. I only flat iron at 300 to 350F for colored hair, never higher. Use this color-safe heat protectant on damp hair before any iron.
- Swap shampoo twice a week. Overwashing strips pigments. I rinse with cool water and use a color-safe sulfate-free shampoo 8oz when I shampoo.
- Use a gloss every four to six weeks. A demi gloss refreshes tone and adds temporary seal. A demi-permanent gloss tube is usually $12 to $25.
- Patch test every dye. I learned this after an itchy scalp week. A 48-hour patch test catches most reactions.
- Rotate between a mild clarifying wash every fourth shampoo and a hydrating mask weekly. A clarifying shampoo 8oz and a bond-building mask like K18 single-use packs saved my ends after a heavy lift.
Frequently Asked Questions
Q: Can I go green over box-dyed brown at home?
A: Lifting over box dye is risky and a top cause of breakage. If your hair has an old permanent color, book a salon correction so the pro can safely lift in stages. If you try at home, expect multiple sessions and use bond-builder treatments between lifts.
Q: How often will a semi-permanent green fade on a brunette?
A: Most semi-permanents fade noticeably after six to twelve washes. Pastels and bright neons fade faster, deeper jewel tones hold longer. Spacing washes, rinsing cool, and using color-safe products extends wear.
Q: Will green stain my towels or pillowcases?
A: Bright pigments can transfer for the first one to two washes. Use dark towels and a silk pillowcase, and sleep with your hair braided or in a loose bun the first night. Washing new color on its own cycle the first two times also helps.
Q: Can I use Olaplex or K18 after coloring green?
A: Yes, both bond-building treatments are fine after color. Olaplex No.3 used weekly and K18 single-use before a blow-dry are common routines. Buy from official sellers on Amazon or at Sephora to avoid counterfeits.
Q: How do I avoid green turning muddy on warm-toned brunettes?
A: Neutralize warmth before depositing green. A quick purple or blue toner wash reduces yellow undertones. For very warm hair, consider a cooler green or add a 10 percent blue mix to your green to keep it crisp.
Q: Is it safe to bleach dark brown hair to get pastel green in one session?
A: No. Lifting dark brown to the pale base pastels need often takes more than one session and can cause serious damage if rushed. Plan two sessions spaced a few weeks apart and use bond reconstruction treatments in between.