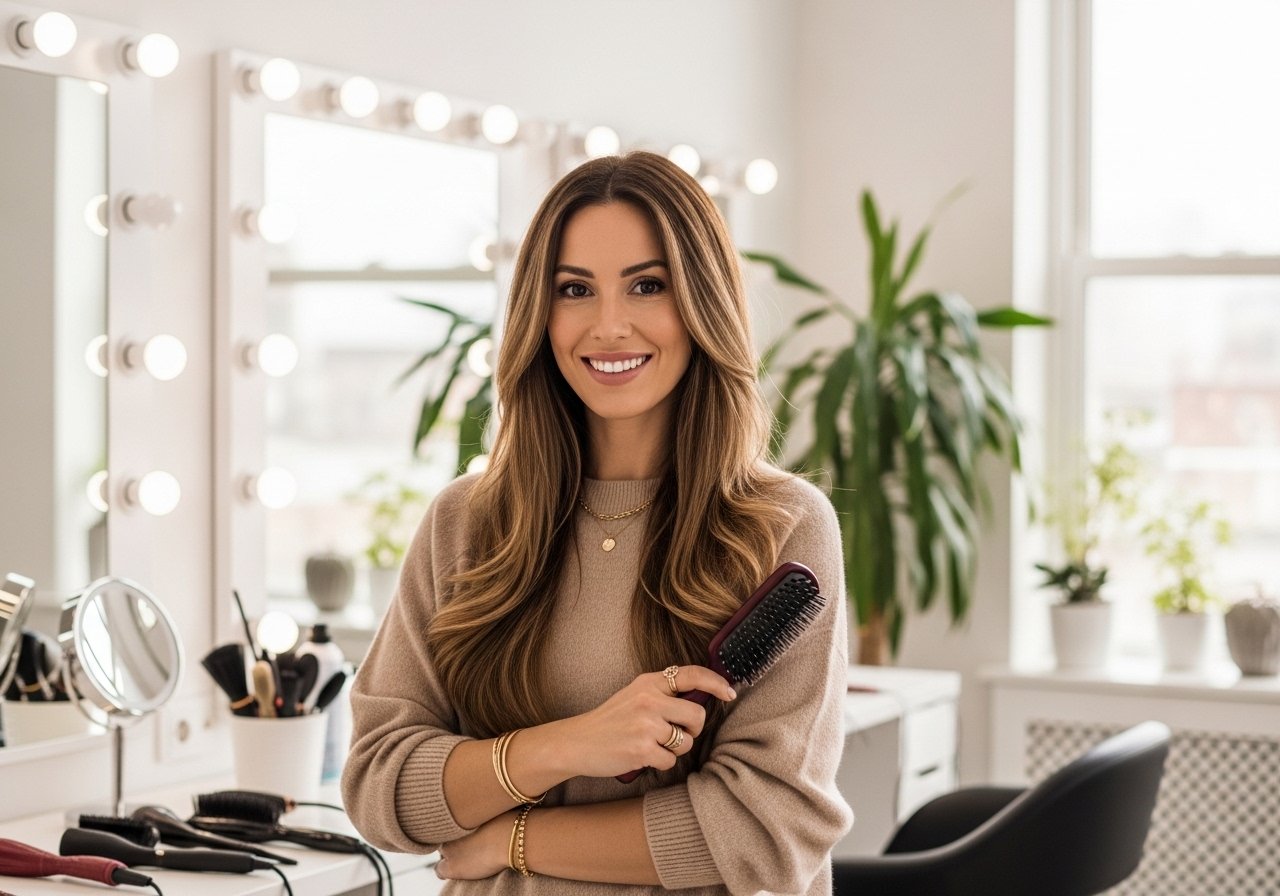
I remember staring at a photo of myself and wondering if lowlights would make my black hair look flat or finally give it depth. After a few salon experiments and one at-home kit that went too warm, I learned how subtle lowlights add dimension without looking dyed. Here are looks, styling methods, and real maintenance notes that actually work when your base is black and you want low-contrast shadowing.
These ideas serve Type 2A through 4C textures, mostly shoulder length to mid-back. Skill varies from one-hour DIY touch-ups to salon-only lifts. Budget runs from drugstore buys under $20 to one salon session that pays off. Some looks are simple at home, others need a pro for safety and proper lift.
Subtle Face-Framing Lowlights for Shoulder-Length Hair
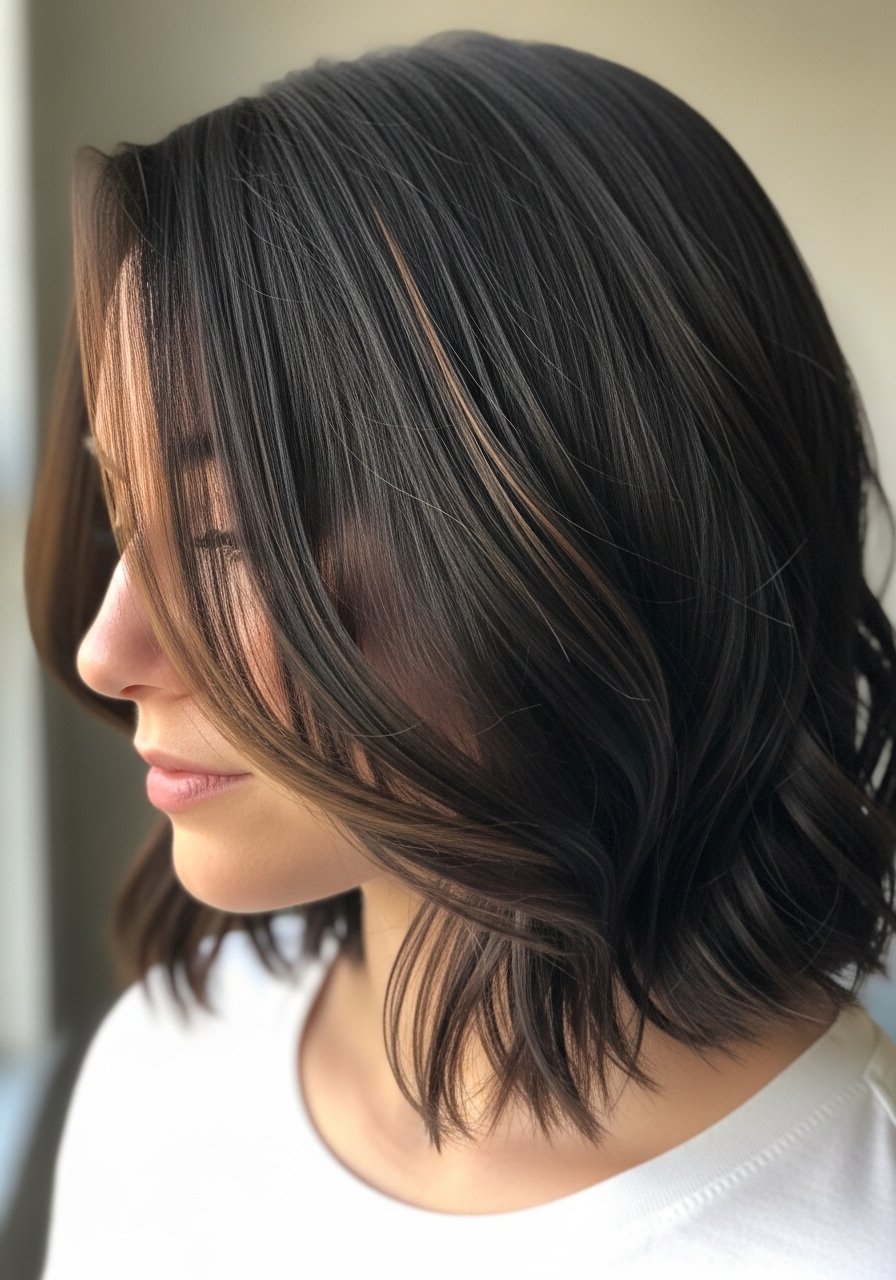
Thin face-framing lowlights give black hair a soft halo without shouting color. Ask for small, feathered sections, no more than 1/8 inch each, placed along the cheekbone level. For shoulder-length waves this creates movement when you part it off center. If you try at home, use a demi-permanent brown and leave for the product time on the box, then check every five minutes. A common mistake is using large sections, which makes the color read chunky. This works for fine to medium straight and wavy hair and takes about 45 minutes in-salon, cheaper at home but riskier. Watch scalp sensitivity and always patch test.
Low-Contrast Lowlights for Type 4 Coils
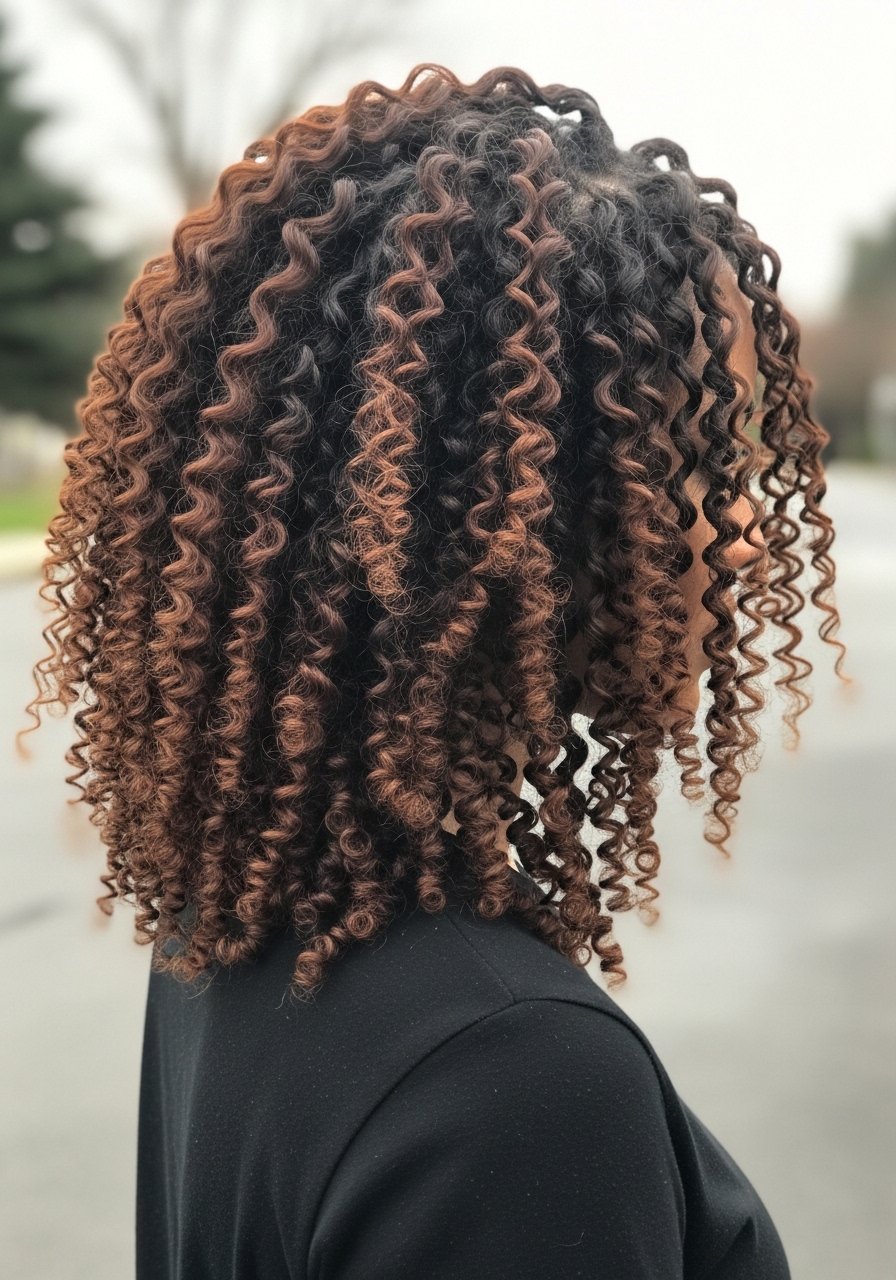
If you have tight coils, lowlights should live in the underlayers where they add depth without altering your curl pattern. I ask stylists for 20 to 30 tiny sections in the nape and crown rather than the whole head. The result is more dimensional shrinkage and less visible regrowth. For DIY, never lift coils more than one level at a time and use a bond builder like Olaplex No. 3 hair perfector once a week afterward. The problem this fixes is that one-tone black hair can look flat in photos. Salon application is safest here because over-processing textured hair breaks easily.
Soft Money Piece Lowlights to Brighten the Front
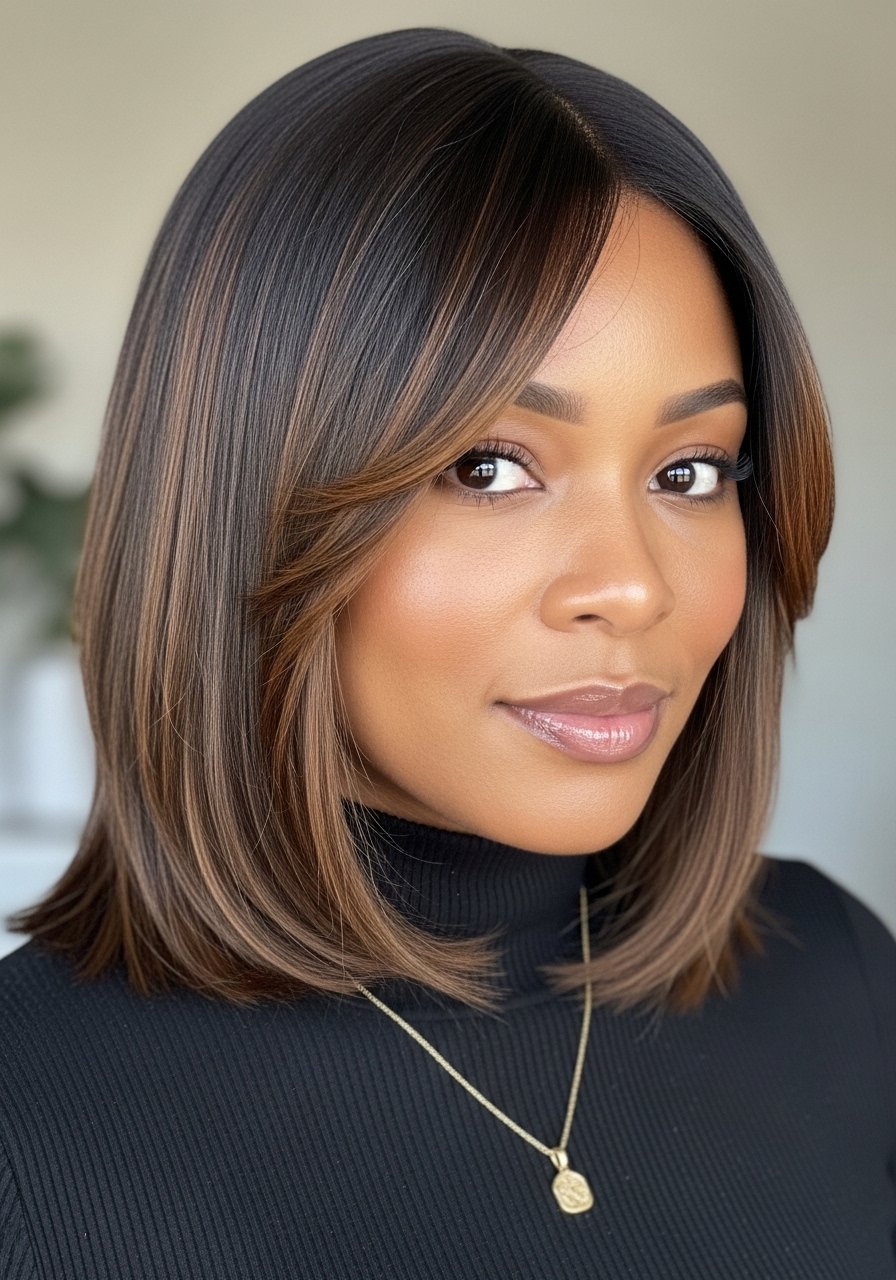
A money piece is often a highlight, but you can invert it and place a slightly darker lowlight at the face to add softness for deeper skin tones. Use delicate 1/16 inch slices, painted back toward the crown, and tone immediately so the edges are seamless. For fine hair set your flat iron under 300F when styling after color to avoid frying the face-framing pieces. The technique takes 30 to 60 minutes and reads natural in photos. Mistake to avoid, letting the lowlight sit too long and turn muddy. If you are nervous, book a consult and bring a close-up photo.
Gloss Bonding Treatment to Blend Lowlights
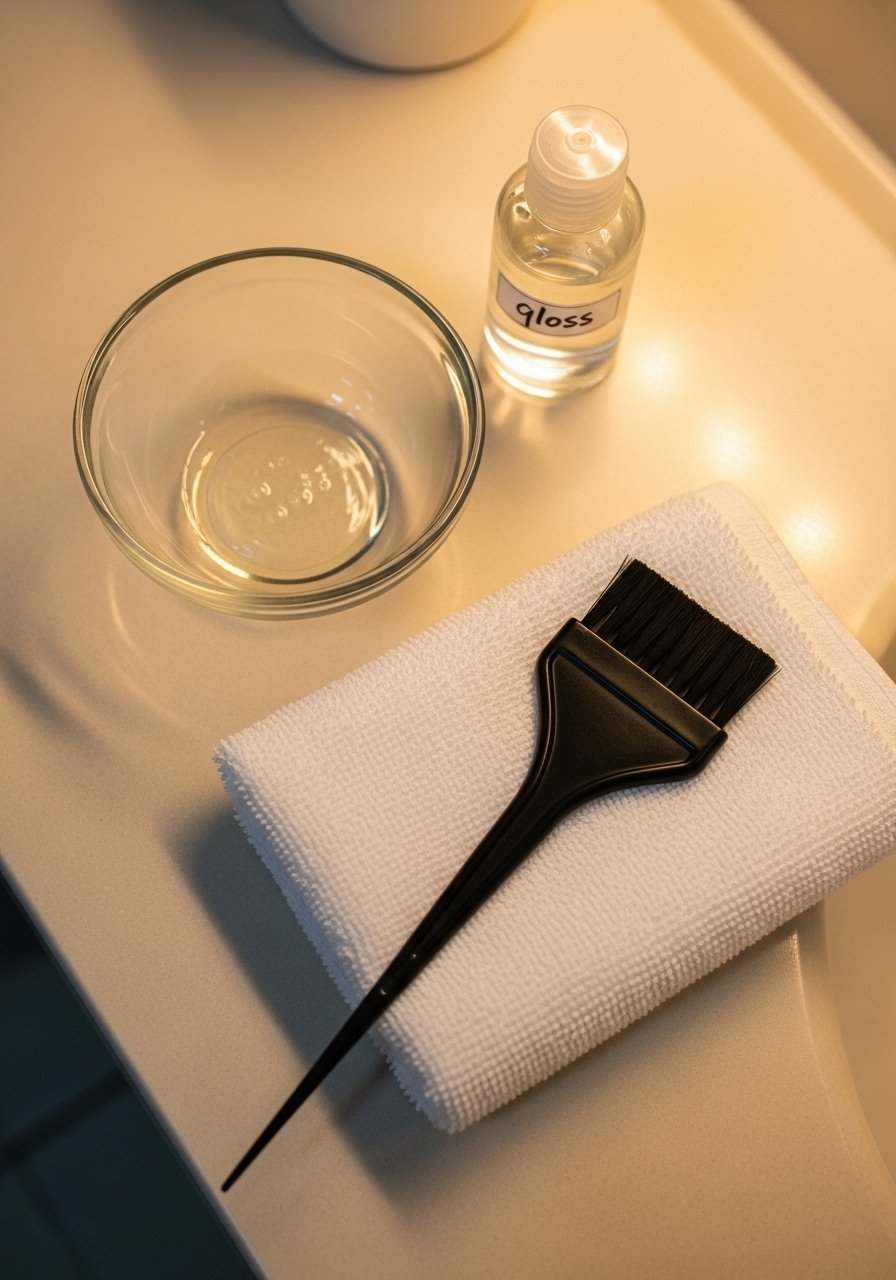
Glosses are the secret to making lowlights sit like they always belonged there. A clear or slightly tinted gloss applied for 10 to 20 minutes post-color smooths the cuticle and removes brass. On color-treated black hair I do a 10-minute gloss after every color appointment and a 5-minute glaze at home between sessions. If you want a DIY option try a 2 to 1 mix of clear gloss and water for a light refresh, applied with a wide-tooth comb. Warning, glosses are not a replacement for lift. If your lowlights were over-processed, a gloss will only mask. Salon glosses last longer but an at-home glaze works for quick refreshes.
Root Shadow Technique for Easier Grow-Out
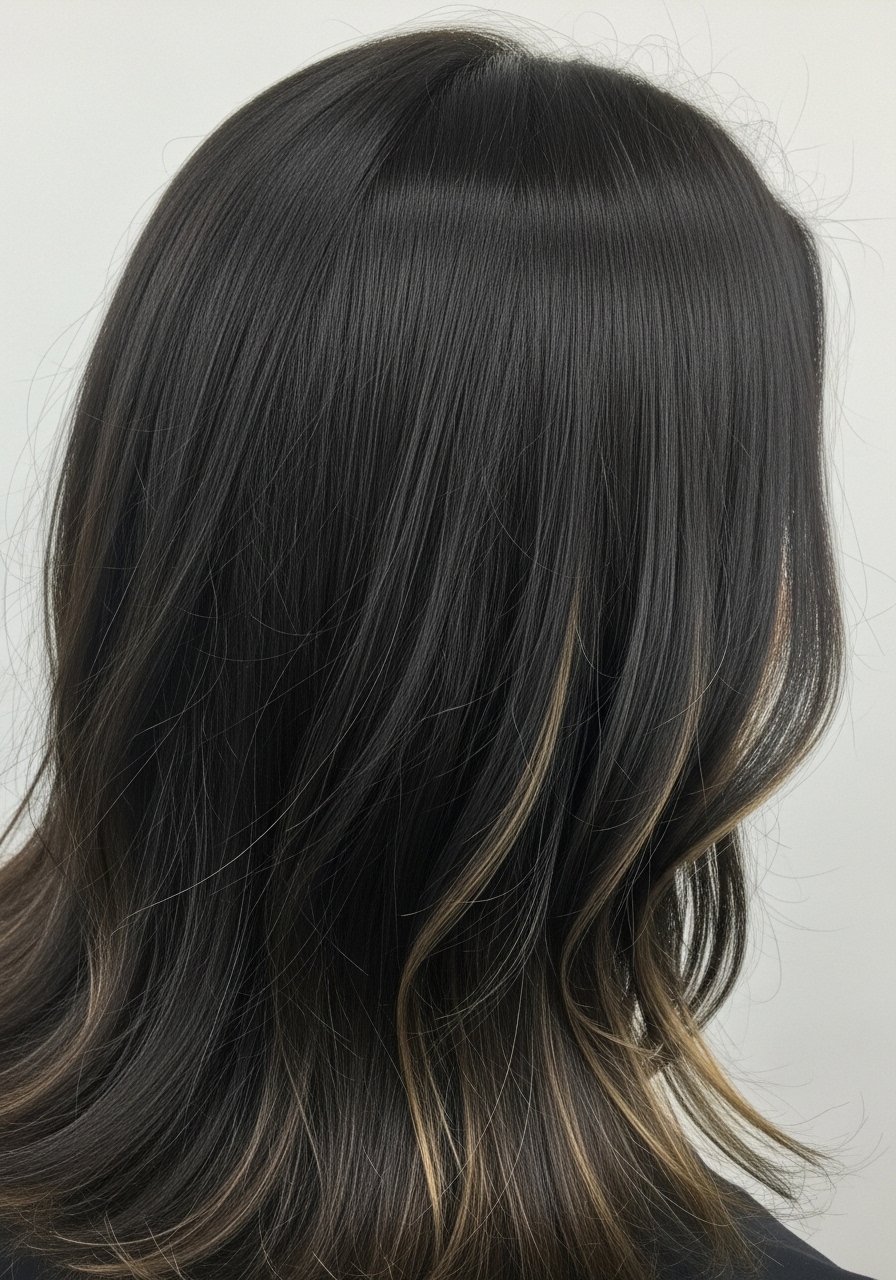
Root shadows make lowlights grow out invisibly. The idea is to paint a slightly deeper pigment along the root line, blending it into the lowlights so regrowth looks intentional. This cuts maintenance from six to eight weeks instead of four. I tell stylists to use a 2-to-3 minute feathered smear with a demi color at the line, not a glaze on the whole shaft. DIYers can mimic the look with an ammonia-free root touch powder for two-week fixes. Safety note, lifting near previously colored roots can cause breakage, so leave heavy lifting to the salon.
Heat-Friendly Styling to Show Off Dimension
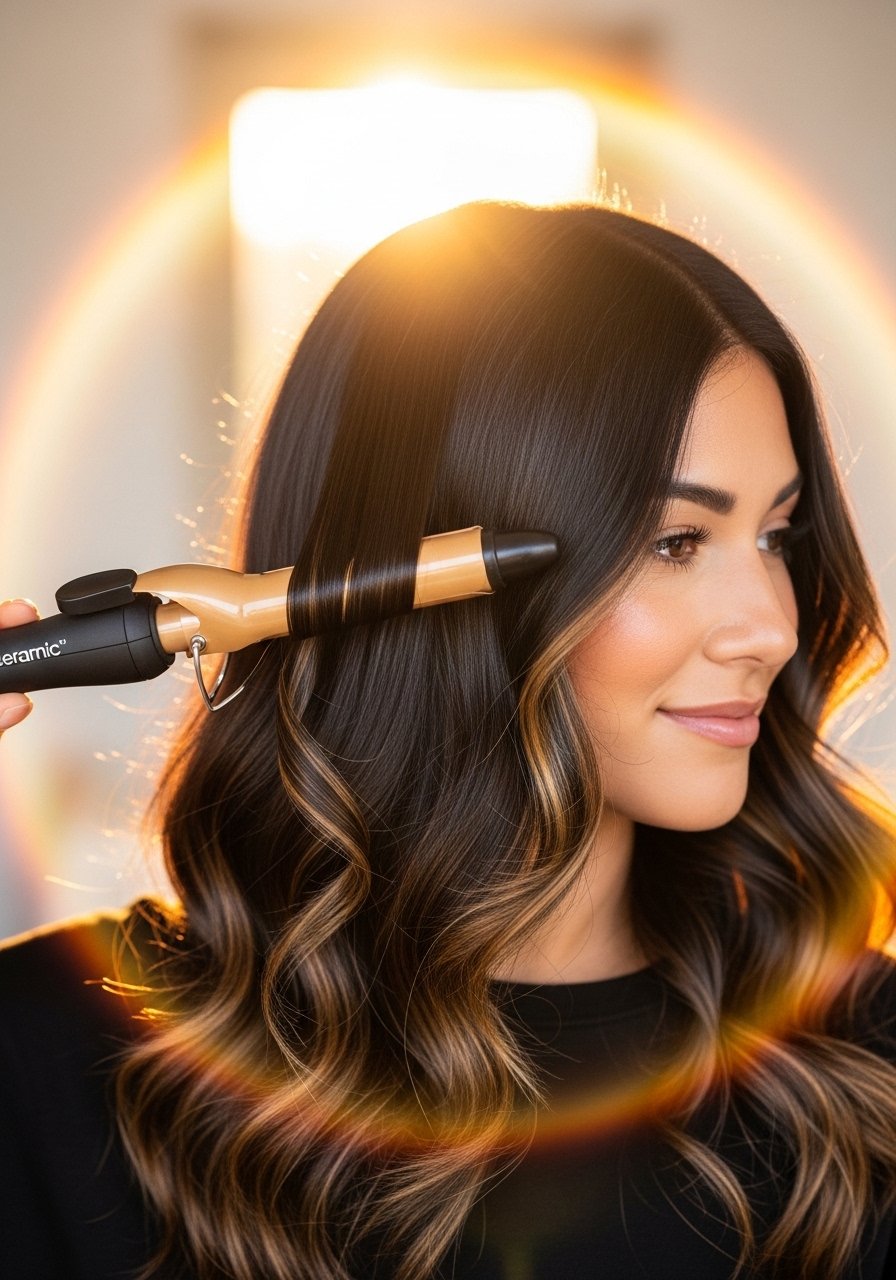
To highlight lowlights use heat strategically. For fine hair keep a curling iron at 300F to avoid over-damage. For thicker hair 350F often gets the bend without frying. Always apply a heat protectant first, and if you are using any iron over 300F, the protectant must be on damp or just-dried hair so it absorbs. A good anti-humidity spray like Color Wow Dream Coat after styling will lock the shine and keep the lowlights defined for days. Common mistake, assuming more heat equals longer hold. Section into 1-inch pieces, curl away from the face, and finger-comb to keep that lived-in depth.
The 4-Step Wash Day That Preserves Lowlights
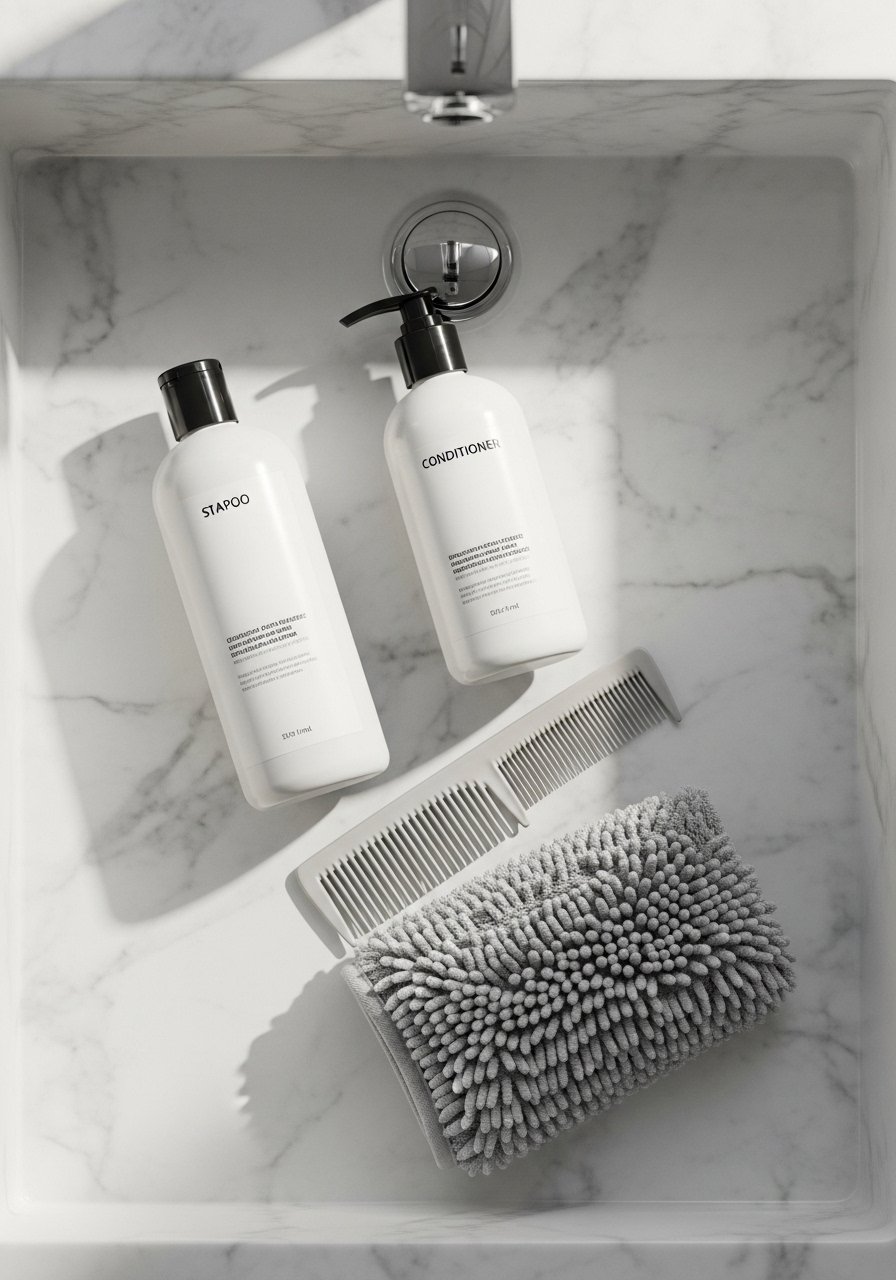
Introduce a wash sequence that respects lowlights: sulfate-free clarifying once every two weeks, gentle shampoo otherwise, a protein-light deep conditioner once every 10 days for colored hair, and a lightweight oil on ends. I make the oil a last-step, no more than three drops for shoulder-length hair. Avoid purple shampoos on lowlights unless they are brassier than you like, and if you use one, limit to once a week. The problem this routine solves is color wash-out from over-washing. If your lowlights were placed over lifted hair, watch for porosity and use bond builders like Olaplex No. 5 conditioner in rotation.
What I Keep in My Lowlights Kit
A few things earned shelf space after all my color mistakes. I only list what I actually reach for.
- Honestly this small gloss kit is the one I repurchase. Clear color glaze 8oz good for two at-home refreshes
- For damage control, Olaplex No. 3 hair perfector 3.3oz, buy from the official store on Amazon or Sephora to avoid counterfeits
- A microfiber wrap, under $12, cuts dry time in half. Microfiber hair towel
- A midweight heat protectant I trust on damp hair, Color Wow heat protectant
- For curls, a leave-in cream that layers under gel. SheaMoisture Curl Enhancing Smoothie
- A fine-tooth tint brush and 12-section clips for DIY placements, both under $20 combined
- A silk pillowcase queen size that cut morning frizz drastically, Silk pillowcase
- A clarifying shampoo 8oz for monthly use, Sulfate-free clarifying shampoo 8oz
- A lightweight oil for ends, 1oz dropper, Argan oil 1oz
- A boar bristle paddle brush for distributing oil on low-porosity lengths, Boar bristle paddle brush
Glossy Blowout That Makes Lowlights Pop
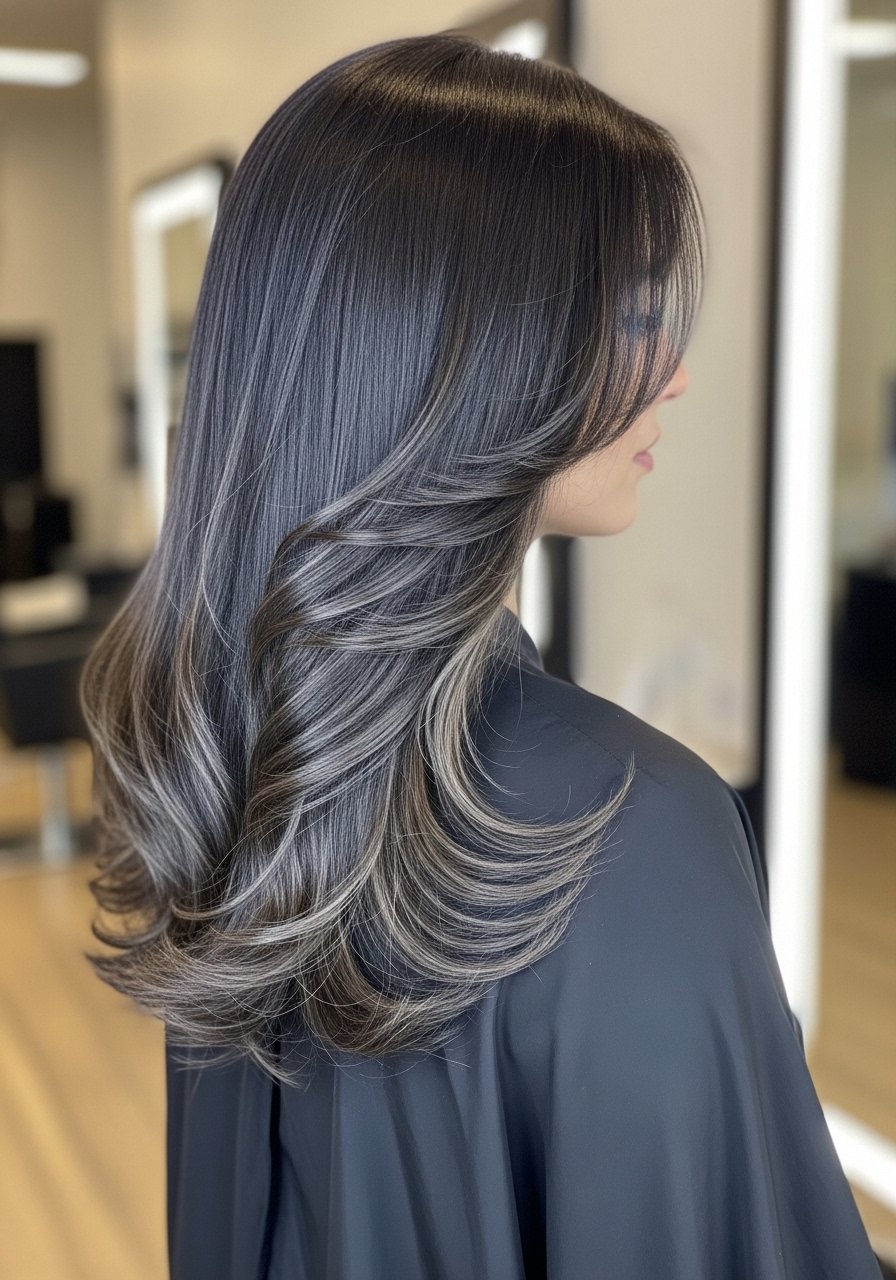
A proper blowout shows lowlights without exposing the foil pattern. Section hair into four quadrants and use a medium round brush, drying root to tip in 2 to 3 passes per section at medium heat. Finish with a cool blast to set the cuticle. One quick product trick, two spritzes of a humidity-blocking mist at the mid-shaft before the final brush through keeps shine and flattens flyaways. If you own a Dyson or a quality dryer, this will last three to four days. I spent $300 on a fancy styler and then used my $30 brush more for months, so prioritize the technique over the gadget.
Wash-and-Go Lowlights for 3B Curls
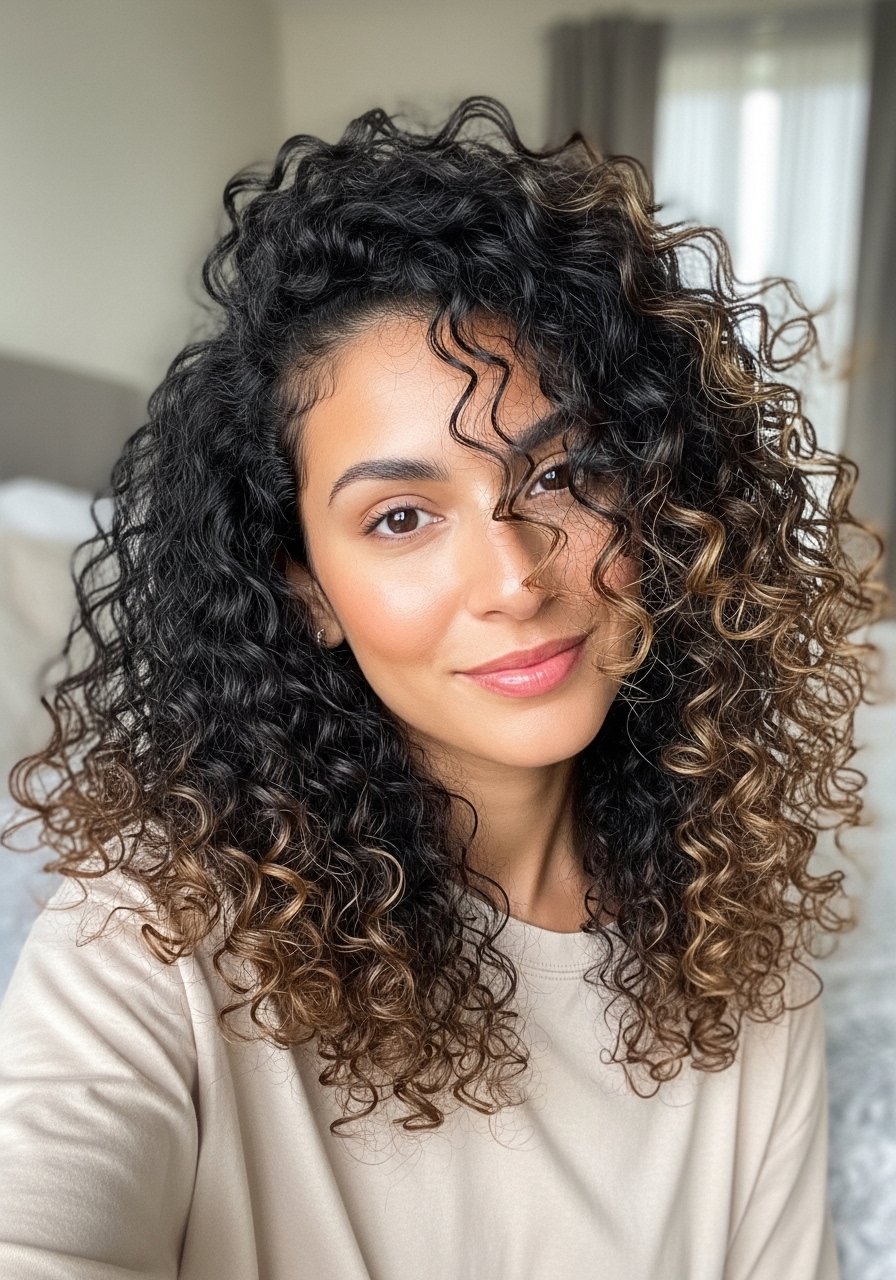
My curls used to look great on TikTok and like wet noodles by 11am. Finally figured out it was the gel-only routine. Added a leave-in cream underneath and it changed everything. For 3B curls start on soaking wet hair, apply a pea-sized amount of leave-in per two inches of hair, then a light gel on top using the LOC method, locking with oil if needed. Lowlights add depth that reads best on second and third day hair, so plan styles around that. If your lowlights were applied over previously lightened sections, treat them gently and avoid daily heat.
Mid-Length Balayage Lowlights for Fine Hair
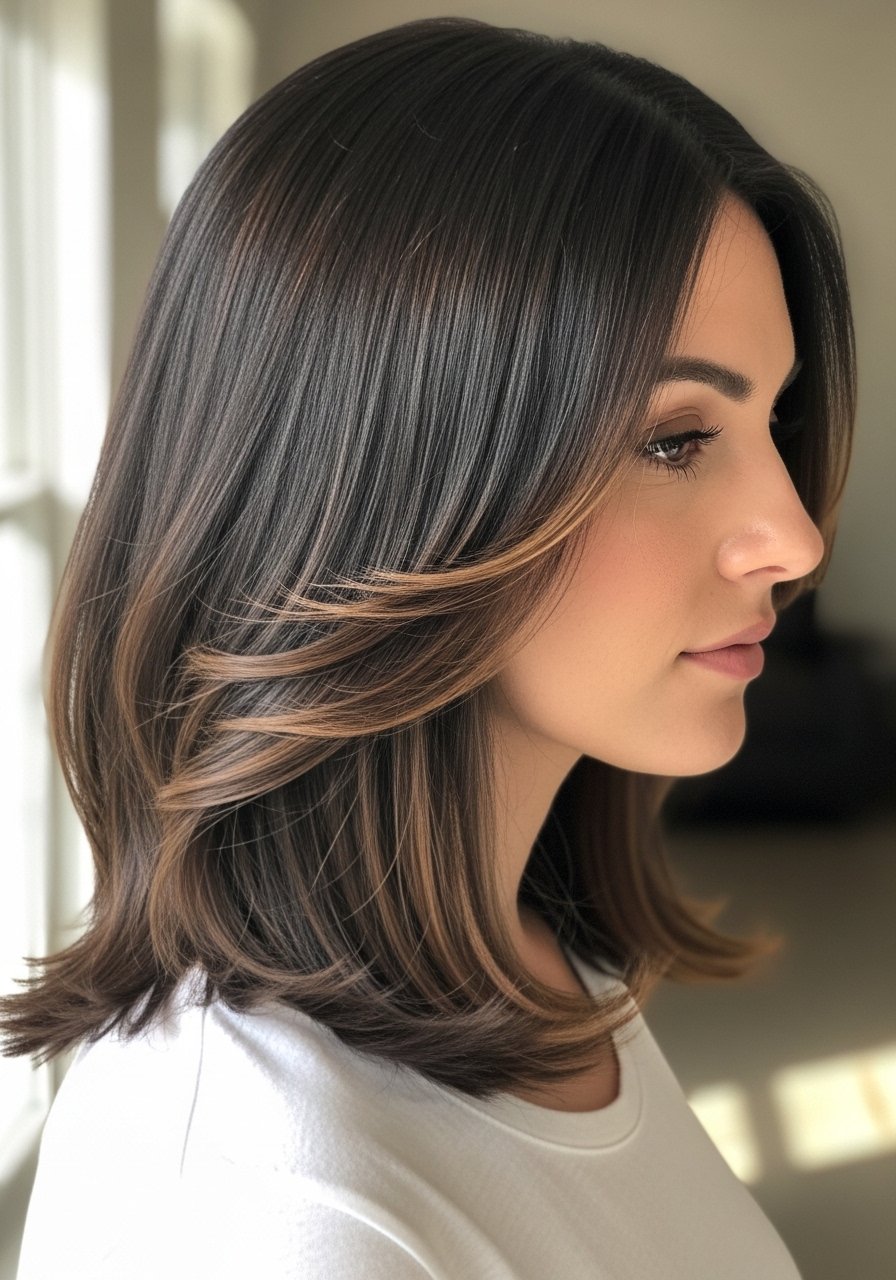
Fine hair needs thin, painted lowlights to avoid weight. I tell my colorist to use a buttercup-sized amount of dye per slice and paint with a 2 to 3 minute feathered stroke. The result is depth without a heavy shadow line. Salon-only for most people because over-saturation creates patchiness. Styling is simple, a quick tousle with salt spray on damp hair and a low-heat dry. If you are DIYing, keep sections narrow and monitor development every three minutes.
Underlayer Lowlights for Low-Maintenance Texture
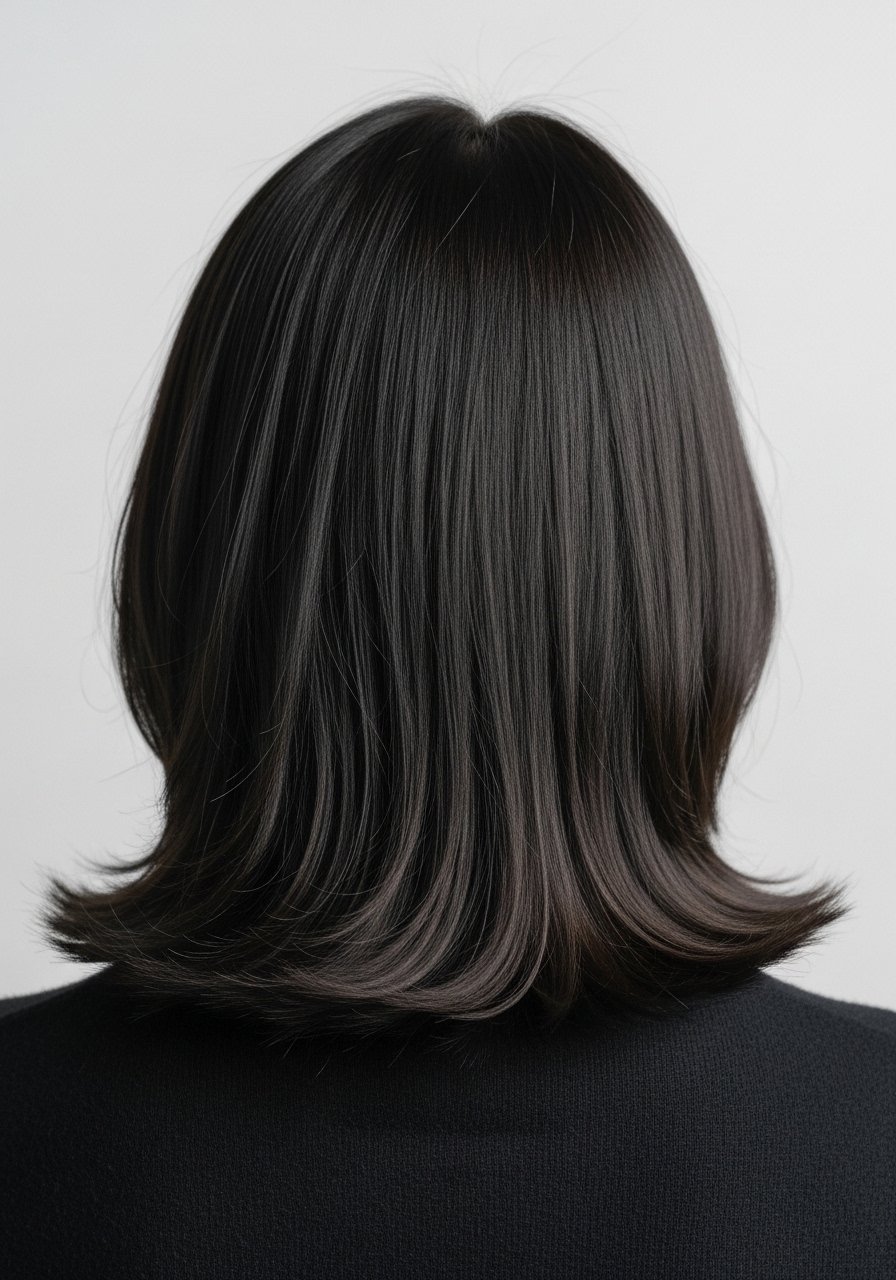
Underlayer lowlights hide regrowth and add texture without changing your overall color. Place lowlights under the top layer and around the nape. I do this when I want a lived-in effect and only touch up every 10 to 12 weeks. The trade-off is less immediate face brightness, but your styling becomes more forgiving. This suits medium to thick densities best. At-home kits can do this but sectioning matters. Use 10 to 12 tiny slices, not broad foils.
Nighttime Routine to Keep Lowlights Vibrant
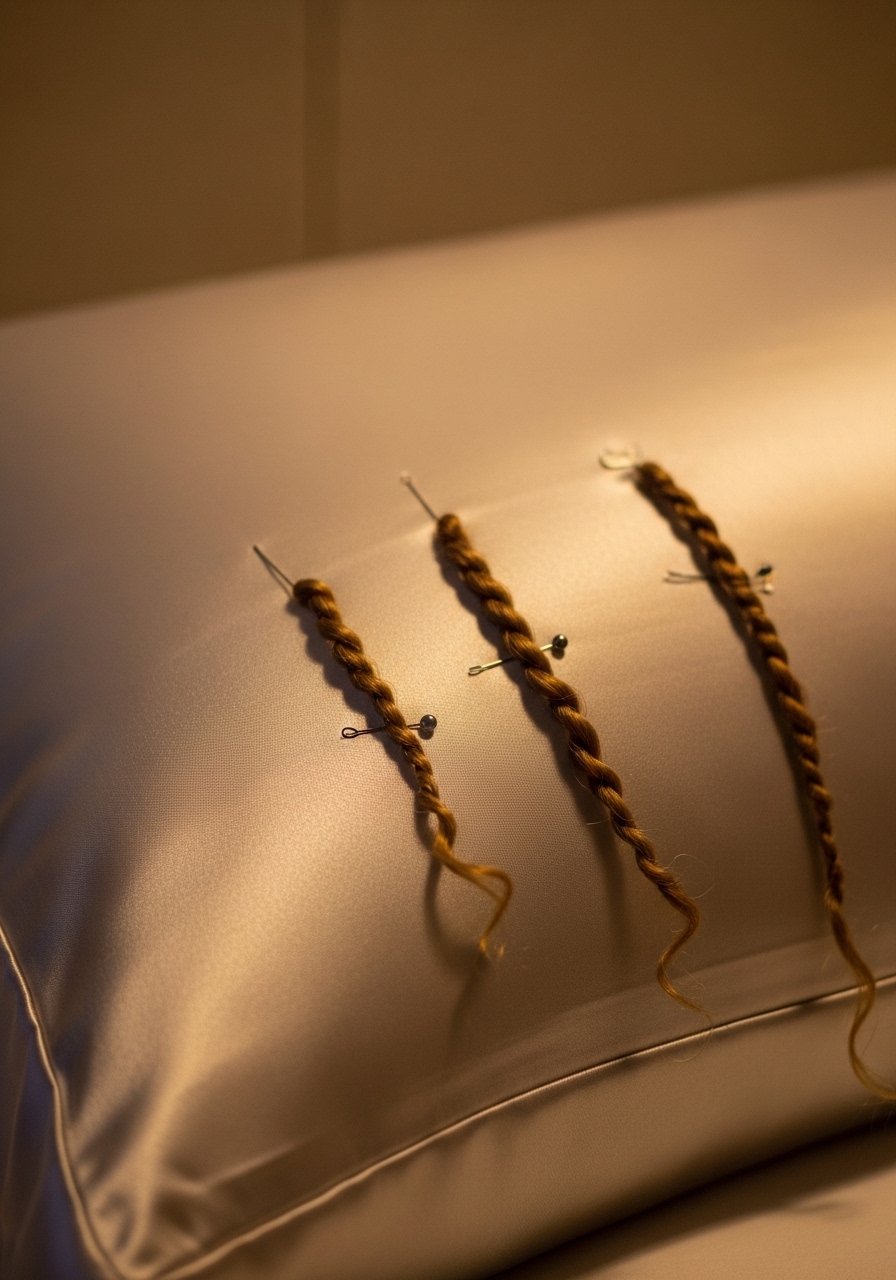
How you sleep matters. Swap cotton for a silk pillowcase and pineapple loose tops for curly textures. For straight hair, a loose silk scarf wrapped at the nape prevents friction and color dust. I apply one drop of oil to my ends before bed once a week for mid-length hair. Hair grows about half an inch a month at most, regardless of what biotin gummies promise you. That line is true and the maintenance you do between cuts keeps the color looking intentional as it grows.
Micro-Section DIY Touch-Ups for Subtle Dimension
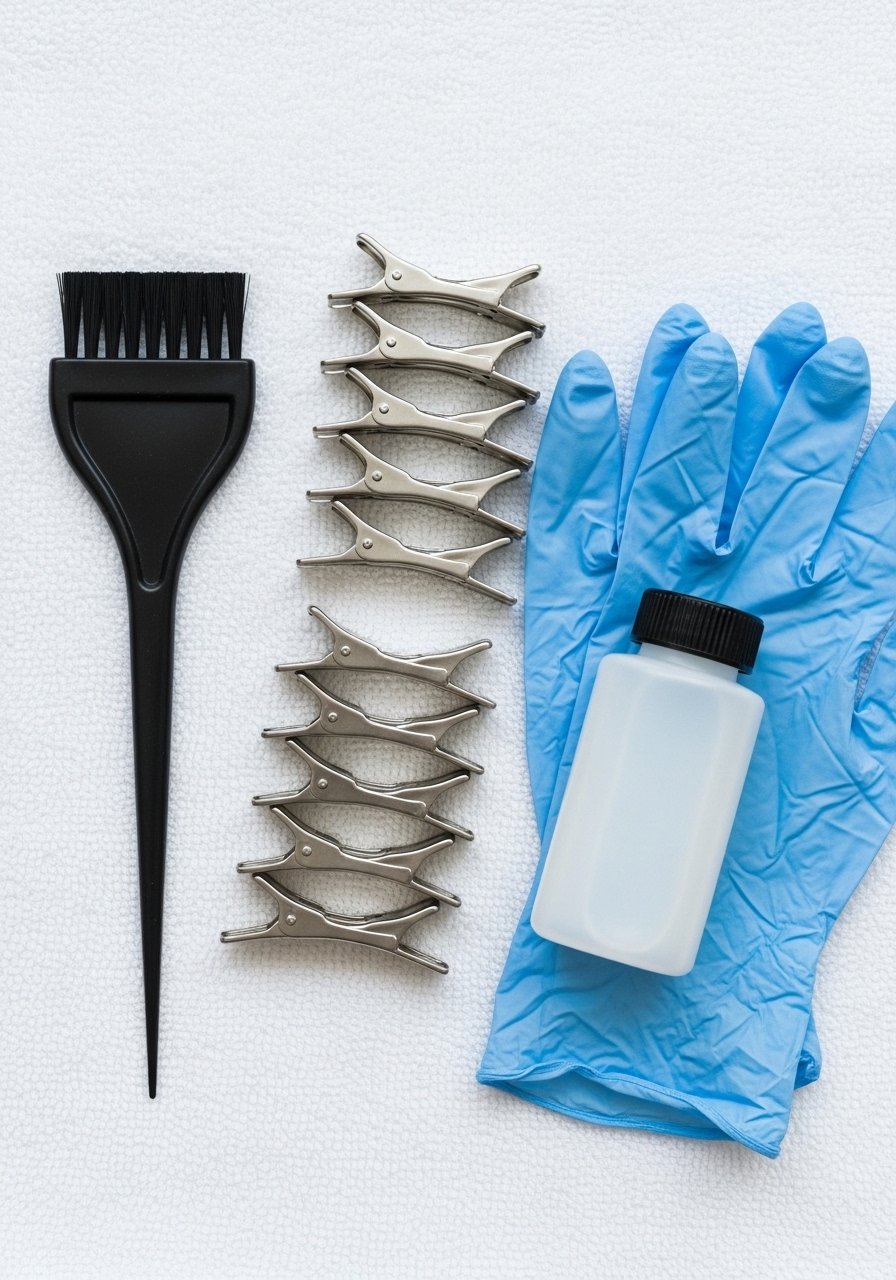
If you want a subtle DIY refresh, micro-sectioning is your friend. Work in 1/8 inch slices, apply a demi or glaze to the underside of each slice, then process for half the box time. This keeps the top layer natural and avoids obvious banding. Tip, do a strand test before hitting the whole head. The mistake I see a lot is using full-strength developer on thin slices. For safety, avoid lifting over existing color. If you are unsure, do two sessions a month apart rather than a heavy one.
Color-Safe Clarifying to Remove Product Buildup
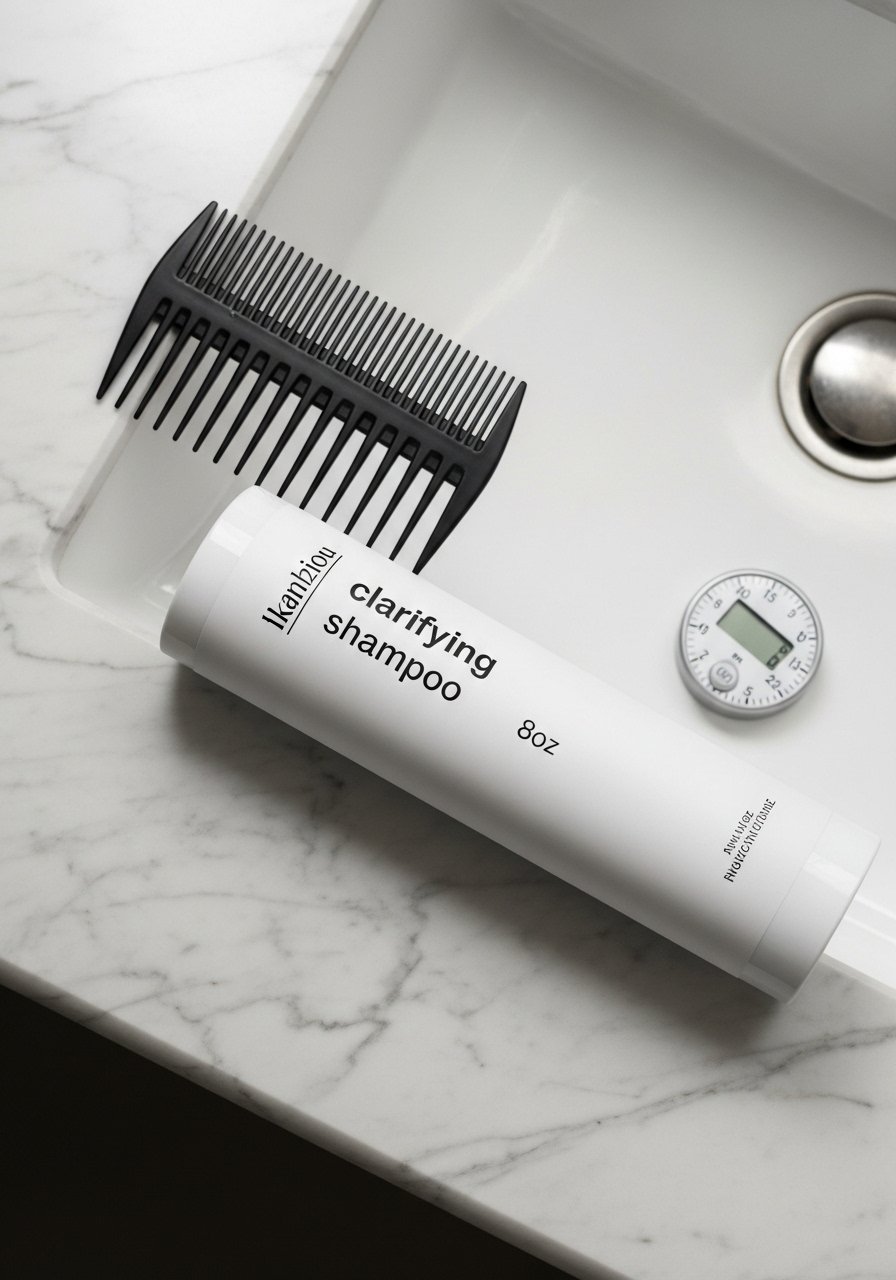
Product buildup kills lowlight depth. Use an 8oz clarifying shampoo monthly, or every three washes if you use heavy styling products. Follow with a protein-light mask and a bond builder if your hair is treated. A common misstep is clarifying too often, which dries color-treated hair. If you have sensitive scalp, skip clarifying more than once a month. For color safety, always follow with a conditioner that seals the cuticle like Olaplex No. 5 conditioner.
Trim-and-Blend Session That Saves Time and Money
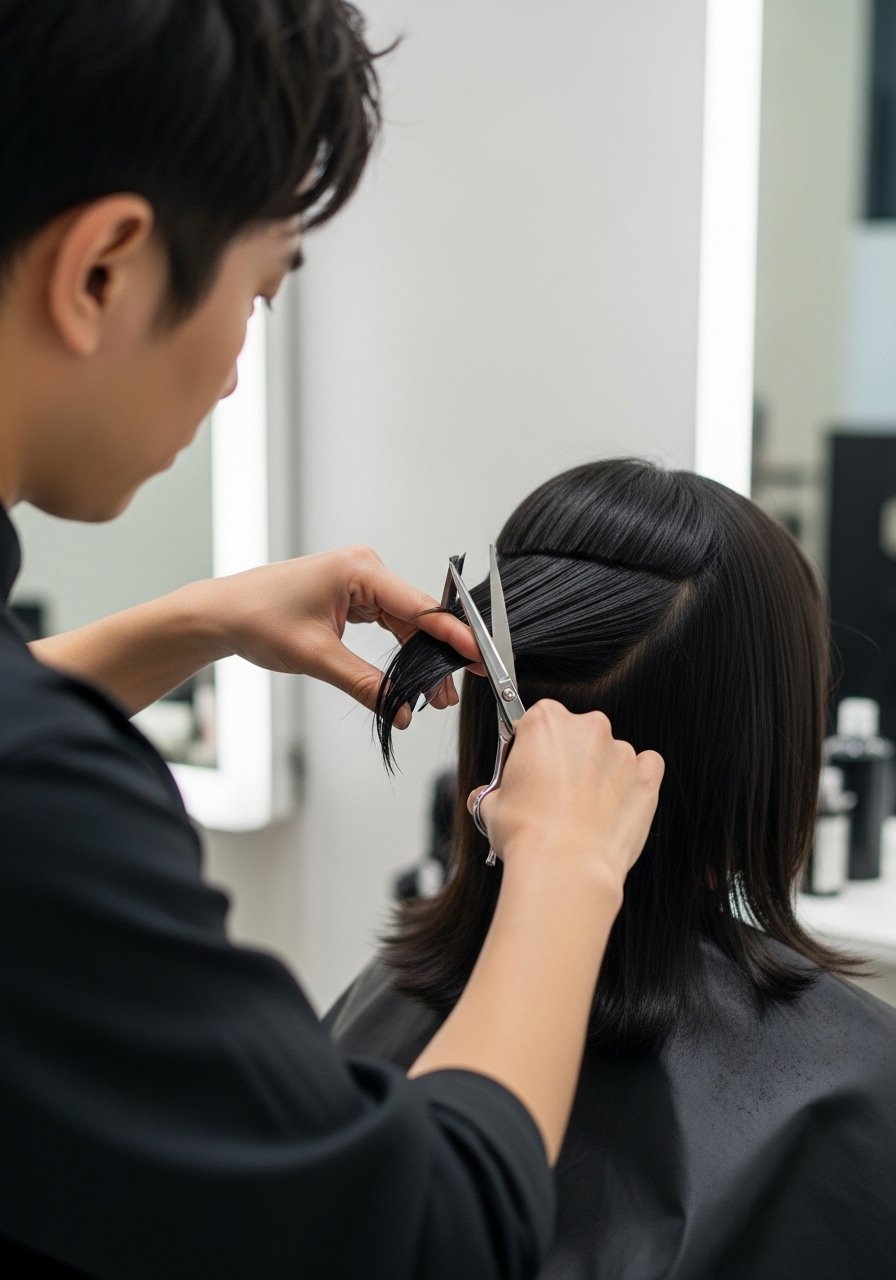
A small trim and a quick blend does more for lowlights than an expensive retouch. Ask for a dusting of 1/4 to 1/2 inch and a color softening at the ends. It keeps hair from looking frayed and keeps lowlights from sinking into damaged tips. I get this every 10 to 12 weeks instead of a full color service at eight weeks. The salon route costs more but saves money long term because you are not redoing the whole head.
What I Wish I Knew Before Getting Lowlights
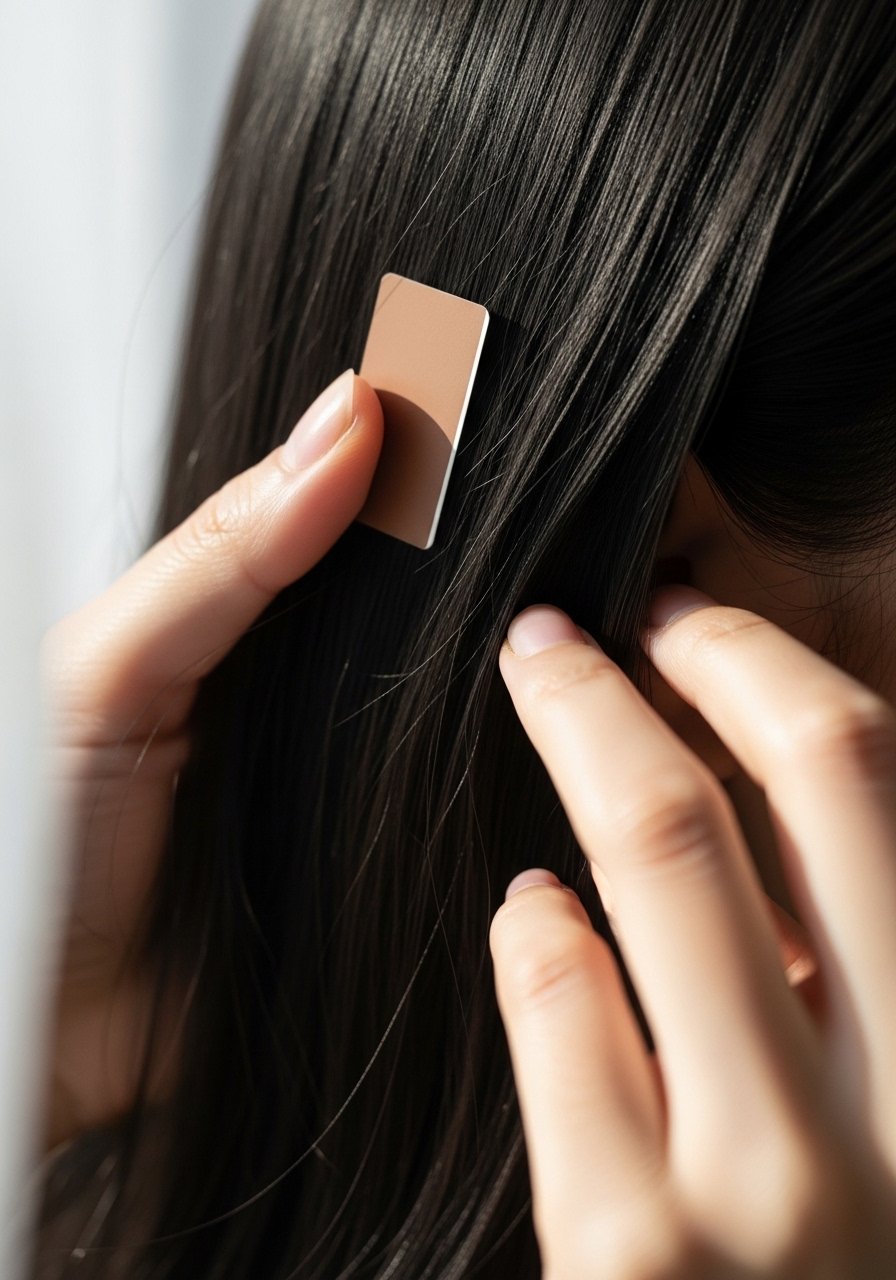
Heat protectant goes on damp hair, not dry. The cuticle is more open and the product actually absorbs. This Color Wow heat protectant is the one I keep in rotation. Cut back on purple shampoo, and if you use it, do so once a week only. If you have high porosity from previous lightening, bond builders will help with texture but they do not reverse damage. Lastly, if you style daily, spend on a good tool. If you style twice a week, save the money.
Frequently Asked Questions
Q: Can I add lowlights at home without ruining my black base?
A: Yes, if you keep sections tiny, use demi or glaze formulas, and avoid lifting dark hair dramatically. Do a strand test and patch test. If you need to lift more than one level, book a salon appointment.
Q: How often should I refresh lowlights so they look subtle, not stripy?
A: Every 10 to 12 weeks for underlayers and root shadows. Face-framing pieces may need attention at eight weeks. Root shadowing extends the window to eight to 12 weeks depending on how fast your hair grows.
Q: Will lowlights make my hair look thinner?
A: They can if placed in heavy, chunky sections. Micro-slices and underlayer placement preserve density. For fine hair ask for thin painted strokes and avoid full-head foiling.
Q: Can I use Olaplex No. 3 even if my hair is not badly damaged?
A: Yes, it is safe to use weekly as a preventive step. Buy from the official store on Amazon or Sephora to avoid counterfeits. It will not make healthy hair worse.
Q: How often should I use clarifying shampoo without fading my lowlights?
A: Once a month is usually enough, or every three washes if you use heavy products. Follow with a hydrating rinse and a bond-building conditioner.
Q: Should I heat-style lowlights the same way I do with highlights?
A: Yes but use lower settings for fine or chemically treated hair. Heat protectant must be applied to damp or just-dried hair before any iron over 300F.